docker安装es7.6.2(es-sql插件)
1.拉去镜像
docker pull elasticsearch:7.6.2
2.启动容器
docker run --restart=always -p 9200:9200 -p 9300:9300 -e "discovery.type=single-node" -e ES_JAVA_OPTS="-Xms512m -Xmx512m" --name='elasticsearch' --cpuset-cpus="1" -m 2G -d elasticsearch:7.6.2
3.防火墙开放端口 9200 和 9300
浏览器访问ip:9200

安装
docker ps
2.进入es容器
docker exec -it 容器id /bin/bash
3.安装 es 对应版本的 es-sql
./bin/elasticsearch-plugin install https://github.com/NLPchina/elasticsearch-sql/releases/download/7.6.2.0/elasticsearch-sql-7.6.2.0.zip
4.退出容器
exit
5.重启docker容器
docker restart 容器ID
6.通过sql 查询
curl -X GET "ip:9200/_nlpcn/sql" -H 'Content-Type: application/json' -d'select * from 表 limit 10'

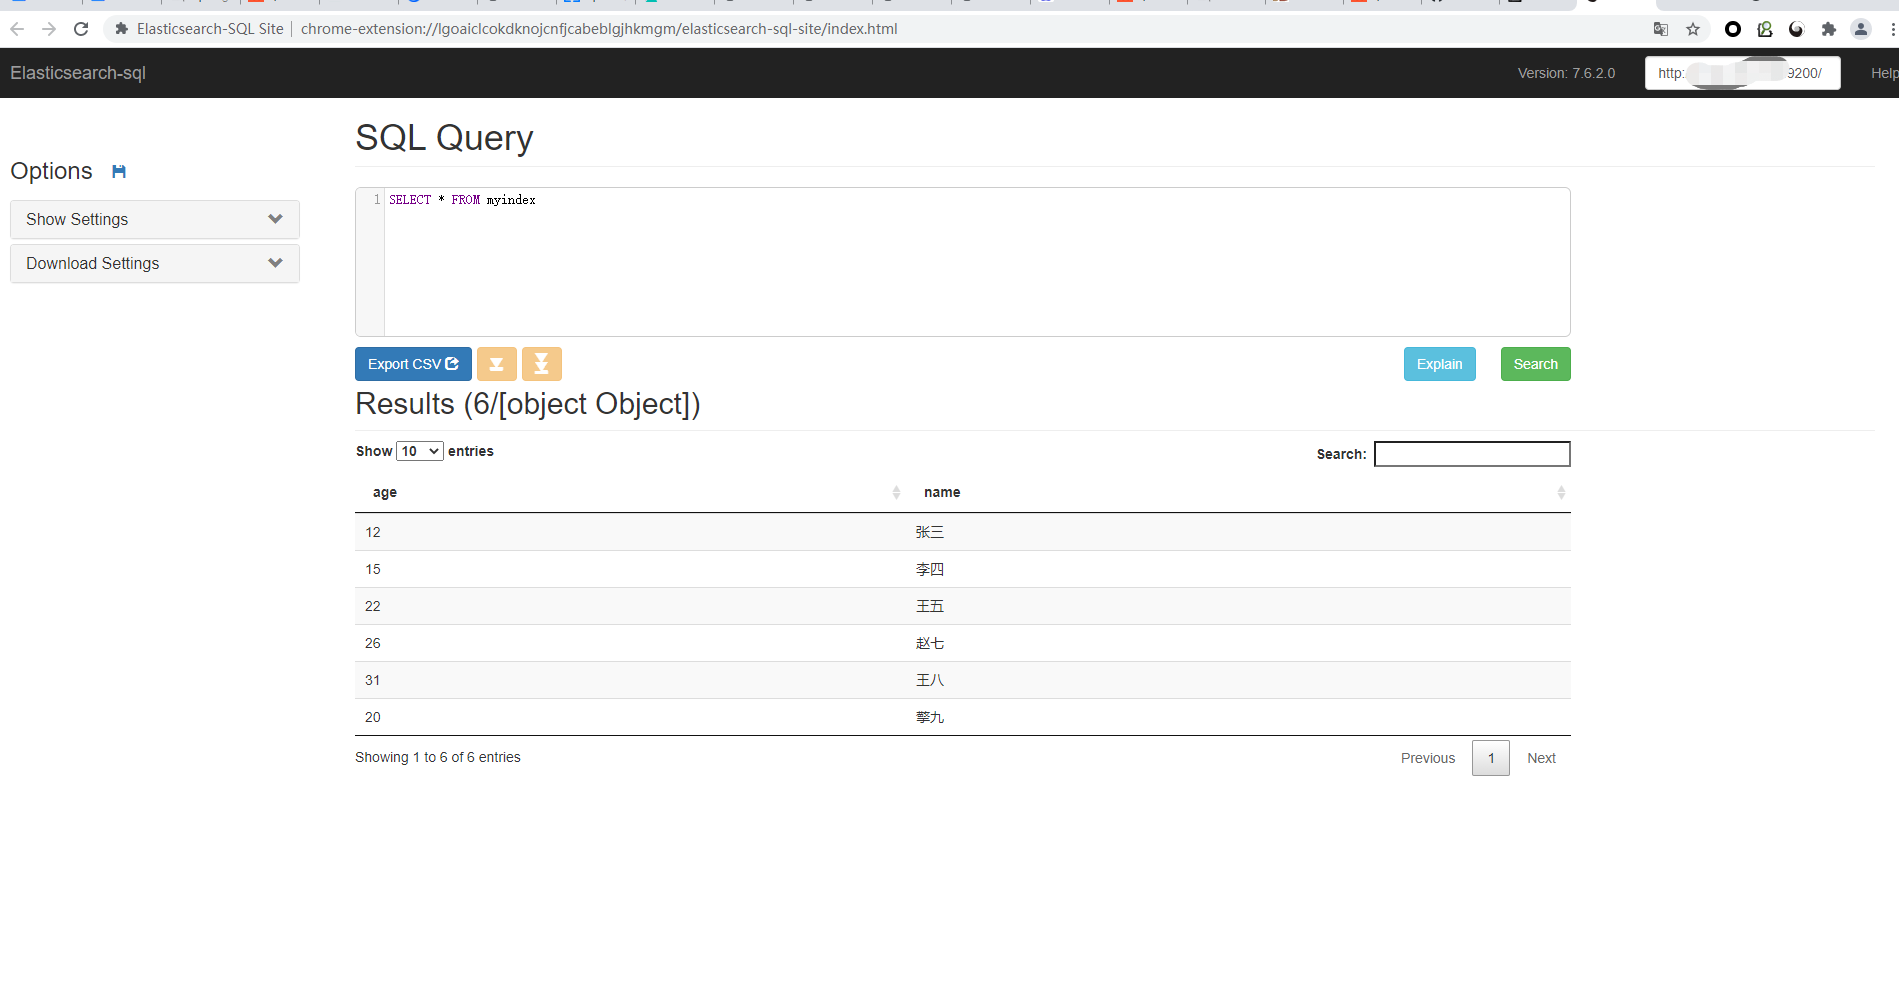
7.web可视化界面

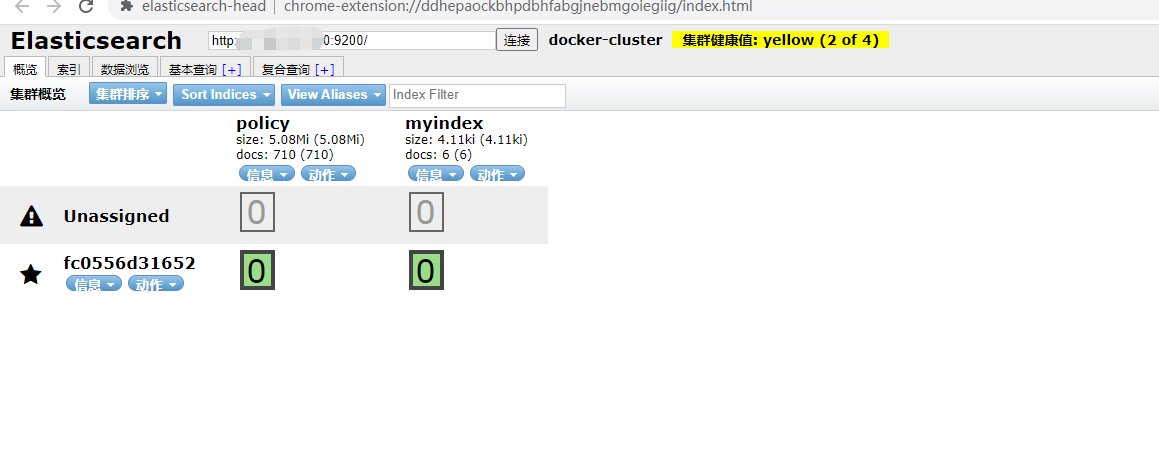
下载插件跟es-head一样。
进入es容器添加 /usr/share/elasticsearch/config elasticsearch.yml
http.cors.enabled: true
http.cors.allow-credentials: true
http.cors.allow-origin : "*"
http.cors.allow-headers: WWW-Authenticate,X-Requested-With,X-Auth-Token,Content-Type,Content-Length,Authorization

es-sql 分页默认最大10000条 (也就是说limit 10000,10100会报错)也可以去修改它的限制这里可以找度娘
通过http的形式去查询
     <dependency>
            <groupId>org.apache.httpcomponents</groupId>
            <artifactId>httpclient</artifactId>
            <version>4.5.13</version>
        </dependency>

          <dependency>
            <groupId>com.alibaba</groupId>
            <artifactId>fastjson</artifactId>
            <version>1.2.70</version>
        </dependency>
public class HttpUtils {

    /**
     * 发送 get 请求
     *
     * @param url 请求地址
     * @return 请求结果
     */
    public static String get(String url) {
        String result = null;
        CloseableHttpResponse response = null;
        CloseableHttpClient httpclient = HttpClients.createDefault();
        try {
            // 创建uri
            URIBuilder builder = new URIBuilder(url);
            URI uri = builder.build();
            // 创建http GET请求
            HttpGet httpGet = new HttpGet(uri);
            // 执行请求
            response = httpclient.execute(httpGet);
            if (response.getStatusLine().getStatusCode() == 200) {
                result = EntityUtils.toString(response.getEntity(), "UTF-8");
            }
        } catch (Exception e) {
            e.printStackTrace();
        }
        return result;
    }
    }
   @Test
    public void aaatest(){
        String post = HttpUtils.post("http://ip:9200/_nlpcn/sql", "SELECT * FROM myindex");
        System.out.println(JSONObject.parseObject(post));
    }


