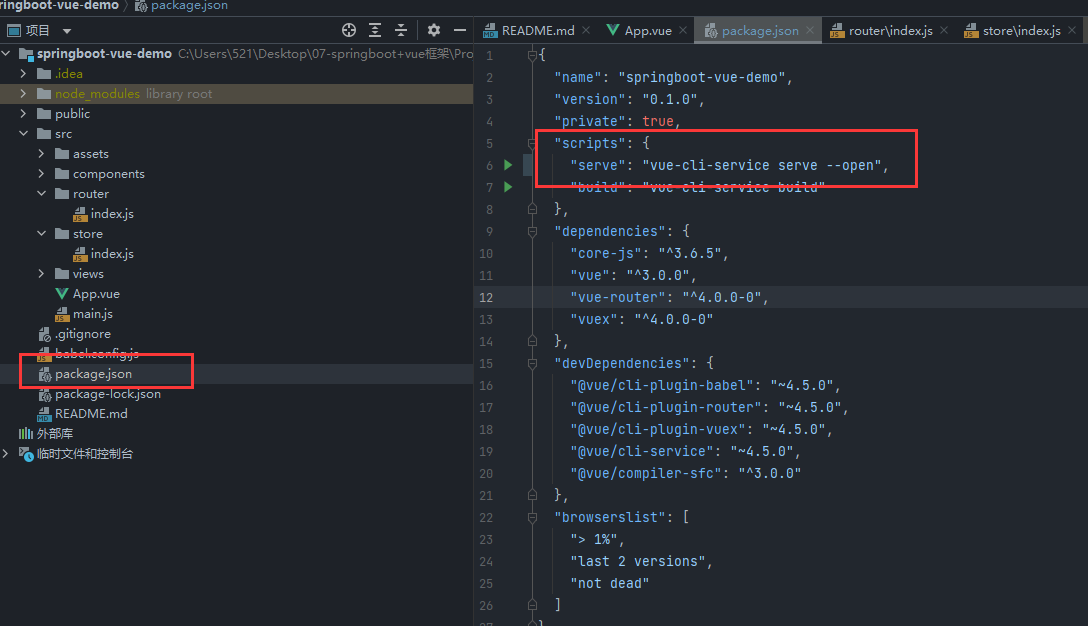
vue+springboot环境搭建
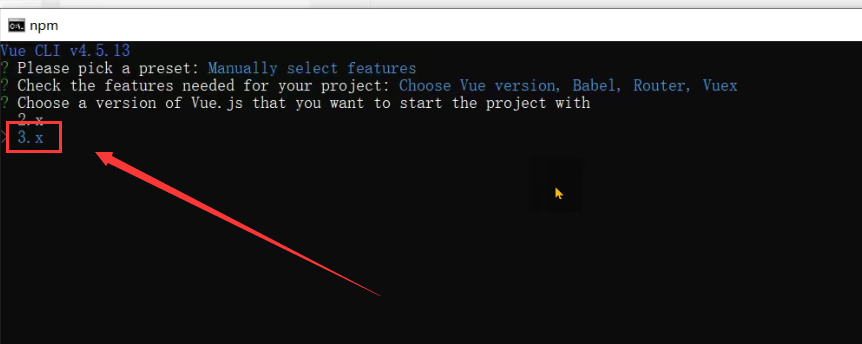
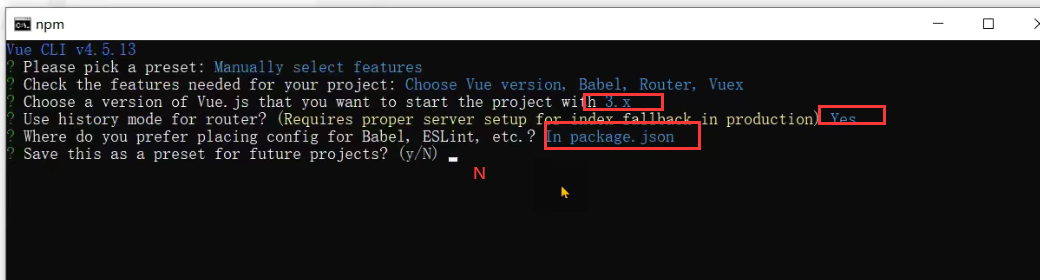
vue create springboot-vue-demo
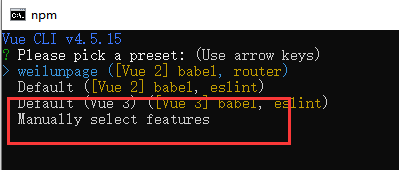
按下空格是否选择


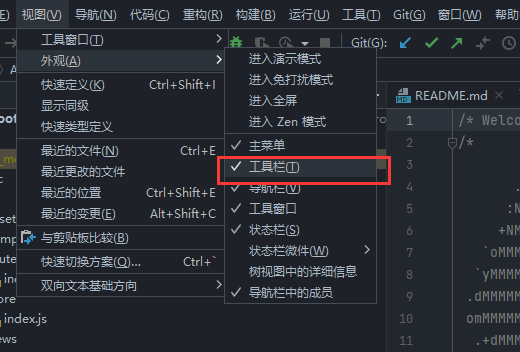
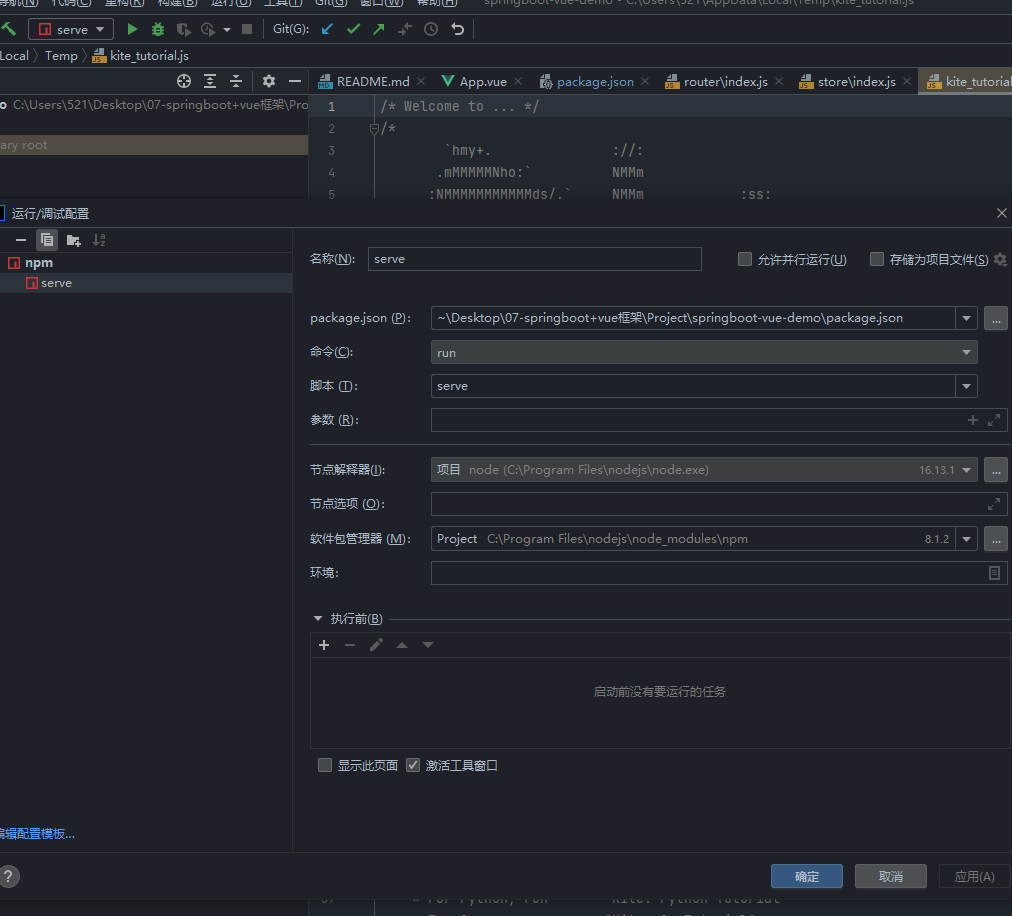
IJ的设置
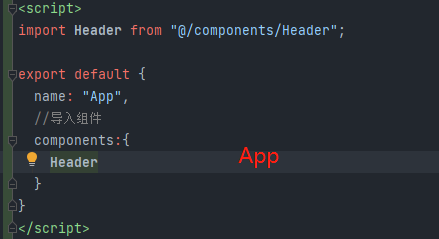
alt+enter导入组件
element plus
https://element-plus.org/zh-CN/component/button.html

安装:
npm install element-plus --save
引入
main.js


import ElementPlus from 'element-plus'
import 'element-plus/dist/index.css'


.use(ElementPlus)
spring+mybatis-plus
打开网页:start.spring.io
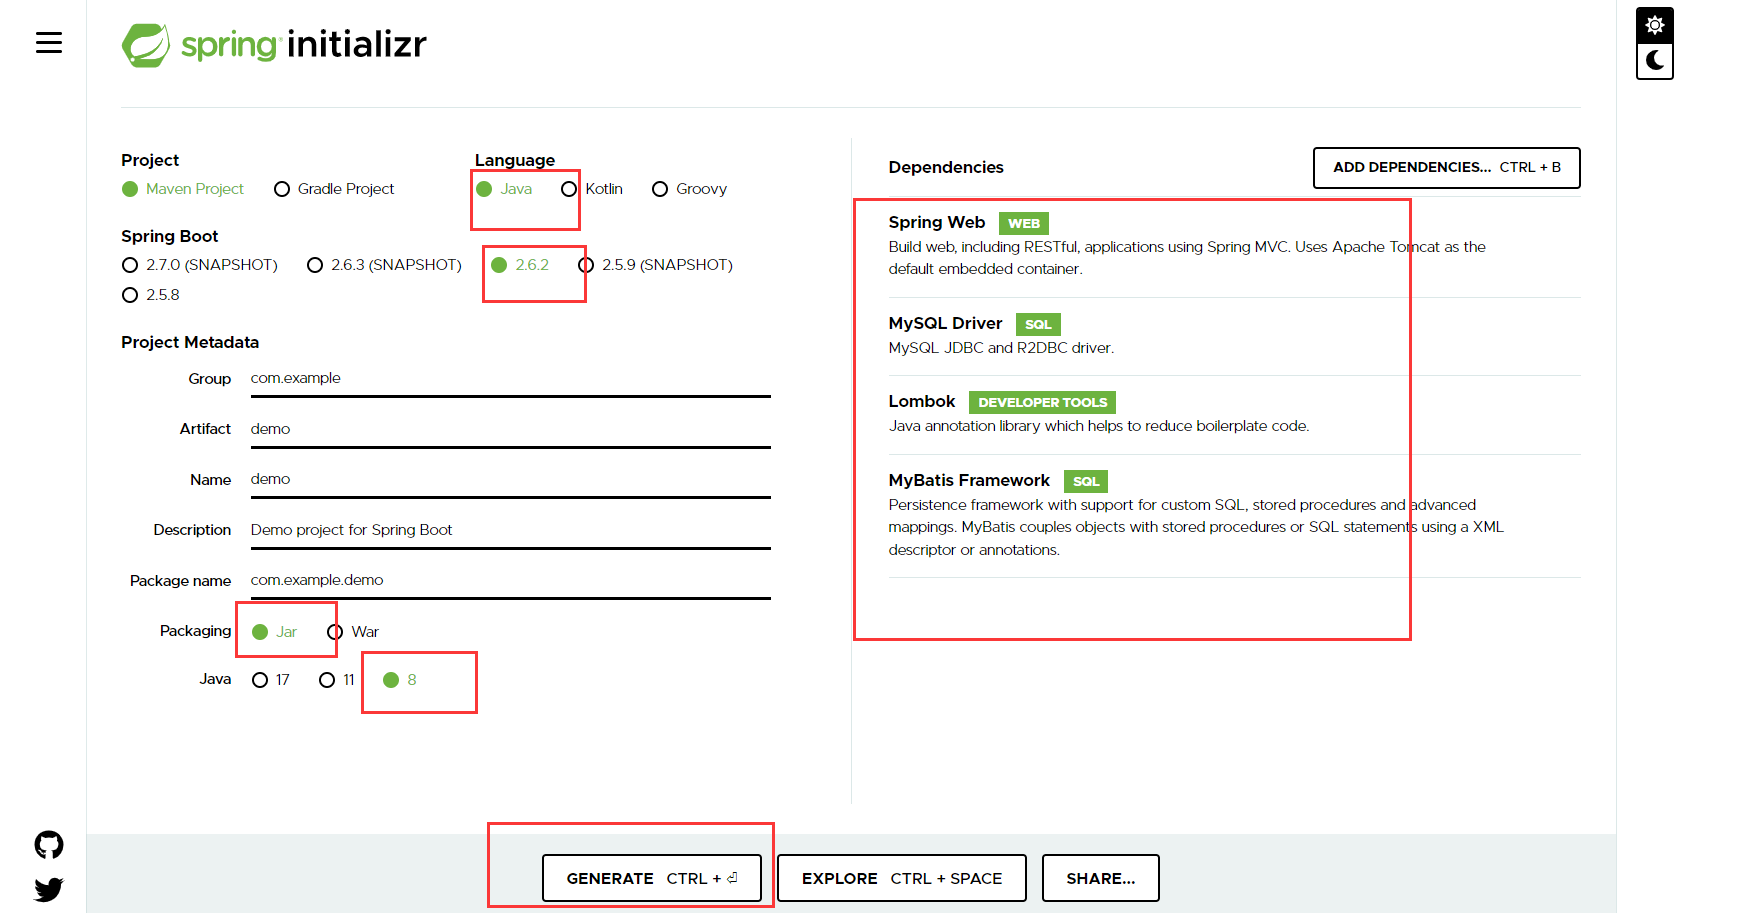
在IJ中新建模块:


安装Lombok插件
使用工具Hutool
Maven
在项目的pom.xml的dependencies中加入以下内容:

<dependency>
    <groupId>cn.hutool</groupId>
    <artifactId>hutool-all</artifactId>
    <version>5.7.19</version>
</dependency>
实现登录注册
项目安装部署
编译打包后端
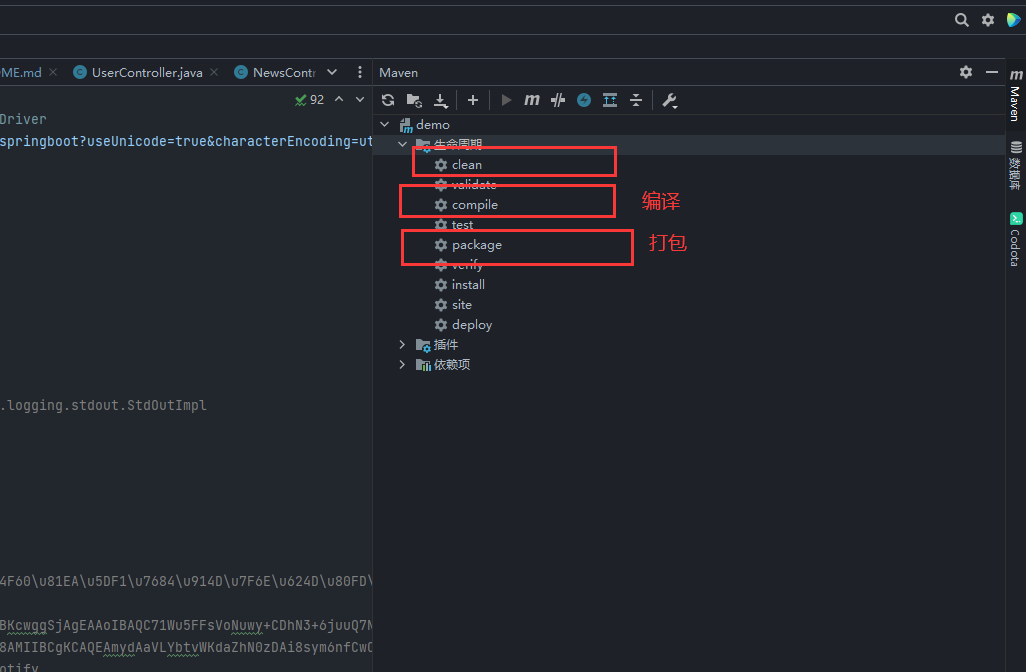
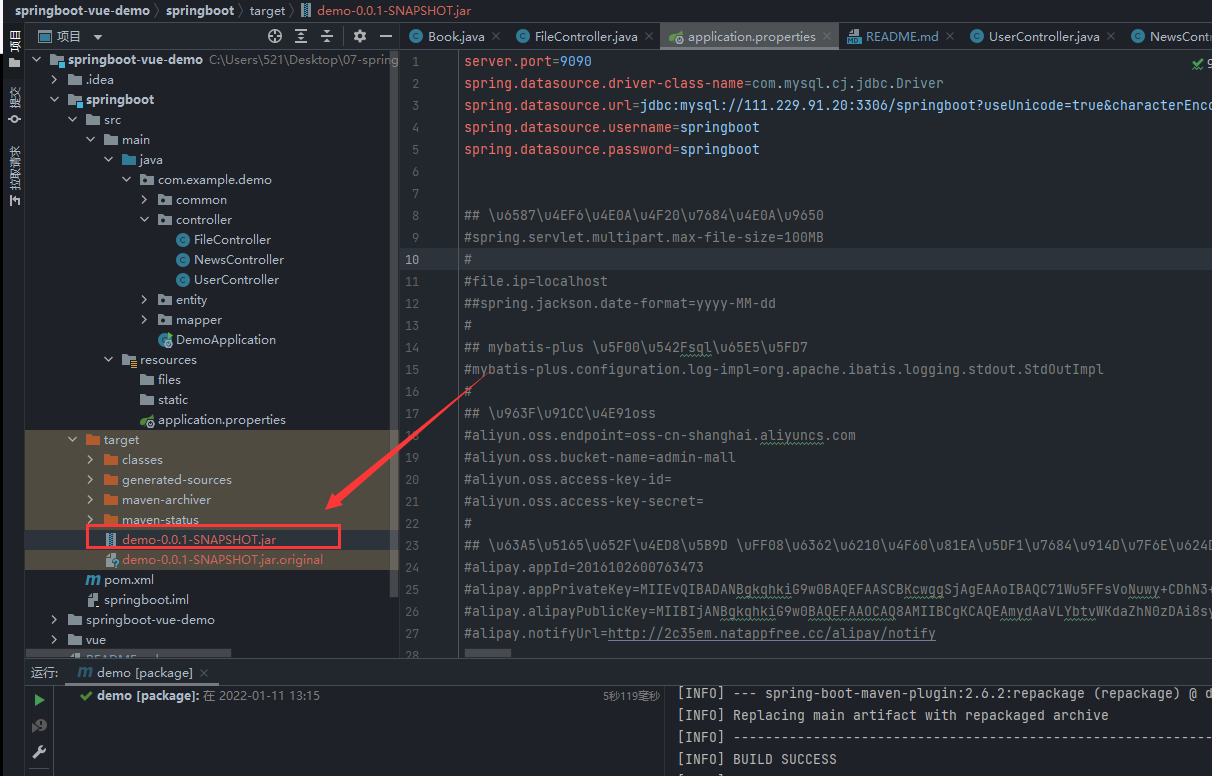
本地打包成功后:最后将.jar包放在服务器上面
type="jdk" jdkName="corretto-1.8"
运行
挂载到后台进行启动:
nohup java -jar springboot-0.0.1-SNAPSHOT.jar --spring.profiles.active=prod &

查看启动参数
tailf nohup.out
编译打包前端
本地打包成功后:
npm run build
服务器端配置nginx
cd /user/local/nginx/
vim conf/nginx.conf
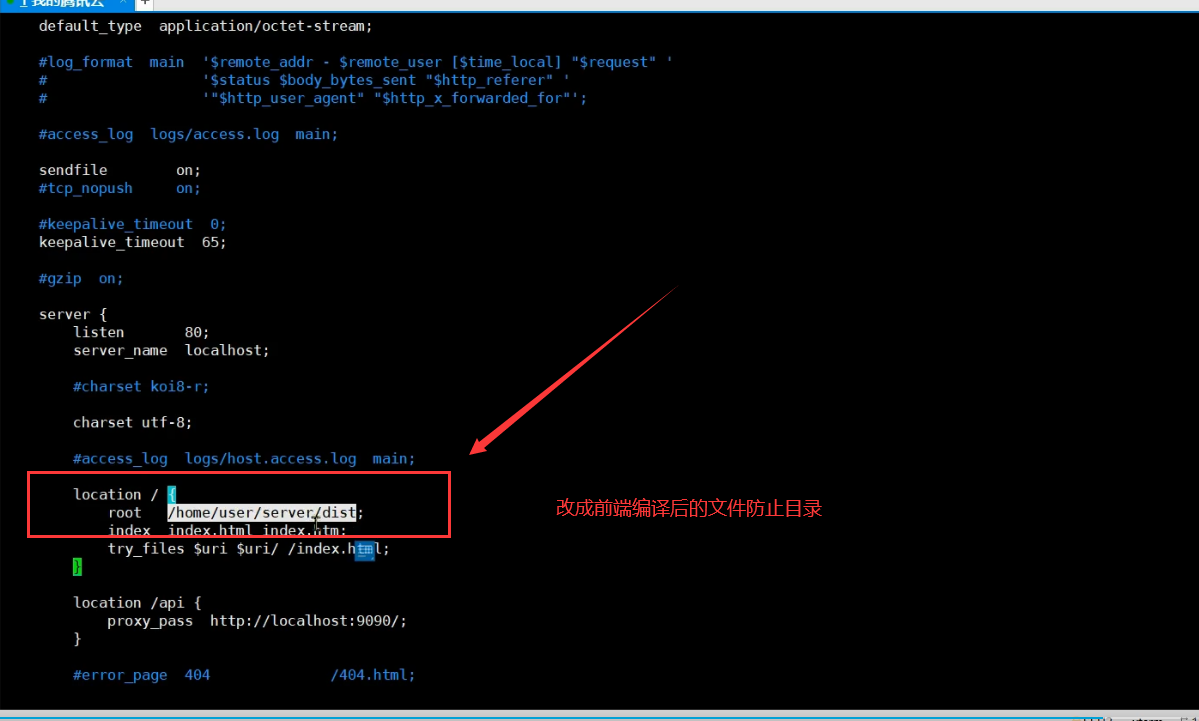
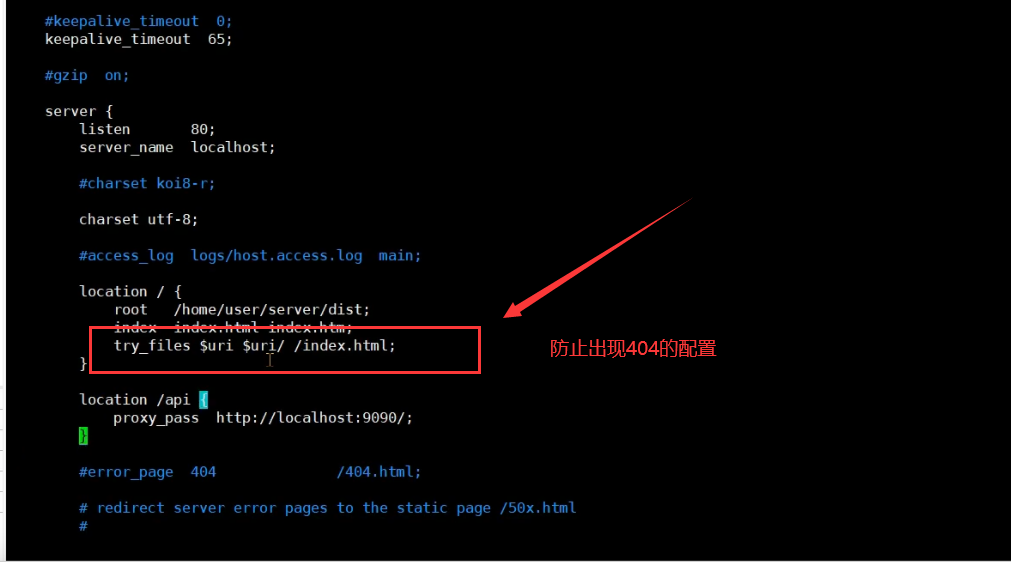
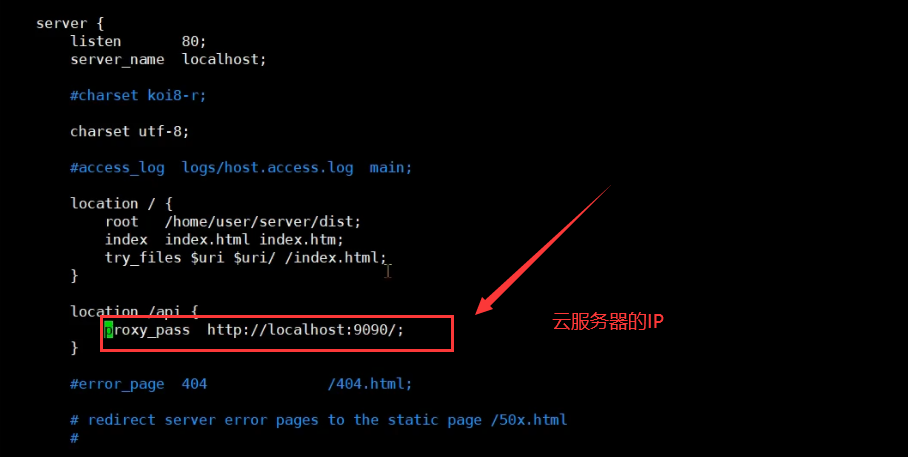
一个完整的前端服务器:server
配置完成后:重启nginx
./sbin/nignx -s reload

 浙公网安备 33010602011771号