搭建zookeeper集群
环境centos6.8
准备zookeeper安装包:zookeeper-3.4.6.tar.gz
单节点搭建
解压
$ tar -zxf zookeeper-3.4.6.tar.gz
$ cd zookeeper-3.4.6
$ mkdir data
创建配置文件
使用命令vi“conf / zoo.cfg"打开名为 conf / zoo.cfg
的配置文件,并将所有以下参数设置为起点。
$ vi conf/zoo.cfg
tickTime=2000
dataDir=/path/to/zookeeper/data
clientPort=2181
initLimit=5
syncLimit=2
一旦配置文件成功保存并再次返回终端,您可以启动zookeeper服务器。
启动ZooKeeper服务器
$ bin/zkServer.sh start
执行此命令后,您将得到如下所示的响应 -
$ JMX enabled by default
$ Using config: /Users/../zookeeper-3.4.6/bin/../conf/zoo.cfg
$ Starting zookeeper ... STARTED
启动CLI
$ bin/zkCli.sh
输入上面的命令后,您将被连接到zookeeper服务器,并将获得以下响应。
Connecting to localhost:2181
................
................
................
Welcome to ZooKeeper!
................
................
WATCHER::
WatchedEvent state:SyncConnected type: None path:null
[zk: localhost:2181(CONNECTED) 0]
停止Zookeeper服务器
连接服务器并执行所有操作后,可以使用以下命令停止zookeeper服务器 -
$ bin/zkServer.sh stop
集群搭建
解压
tar -zxf zookeeper-3.4.6.tar.gz
移动到特定目录
mv zookeeper-3.4.6 /uer/zookeeper01
准备配置文件,从zookeeper/conf/zoo_sample.cfg中复制
cd /uer/zookeeper01/conf
cp zoo_sample.cfg zoo.cfg
创建data目录
cd ../
mkdir data
cd data
创建一个id
echo 1 >> myid
可以检查一下
vi myid
然后退出目录
cd ../../
复制多份zookeeper文件
cp -r zookeeper01 zookeeper02
cp -r zookeeper01 zookeeper03
修改myid
vi zookeeper02/data/myid
改成2
vi zookeeper03/data/myid
改成3
修改配置文件
vi zookeeper01/conf/zoo.cfg
修改日志目录
修改端口
修改server信息
修改完成的如下:
|
# The number of milliseconds of each tick tickTime=2000 # The number of ticks that the initial # synchronization phase can take initLimit=10 # The number of ticks that can pass between # sending a request and getting an acknowledgement syncLimit=5 # the directory where the snapshot is stored. # do not use /tmp for storage, /tmp here is just # example sakes. dataDir=/usr/zookeeper01/data # the port at which the clients will connect clientPort=2181 server.1=127.0.0.1:2881:3881 server.2=127.0.0.1:2882:3882 server.3=127.0.0.1:2883:3883 # the maximum number of client connections. # increase this if you need to handle more clients #maxClientCnxns=60 # # Be sure to read the maintenance section of the # administrator guide before turning on autopurge. # # http://zookeeper.apache.org/doc/current/zookeeperAdmin.html#sc_maintenance # # The number of snapshots to retain in dataDir #autopurge.snapRetainCount=3 # Purge task interval in hours # Set to "0" to disable auto purge feature #autopurge.purgeInterval=1 |
其他两个节点,需要修改文件目录和端口,server信息不需要修改,保持完全一样即可
执行命令启动服务:
zookeeper01/bin/zkServer.sh start
zookeeper02/bin/zkServer.sh start
zookeeper03/bin/zkServer.sh start
查看状态,判断主机和从机:
zookeeper01/bin/zkServer.sh status
zookeeper02/bin/zkServer.sh status
zookeeper03/bin/zkServer.sh status
Mode: follower:从机
Mode: leader: 主机
进入zookeeper
zookeeper03/bin/zkCli.sh
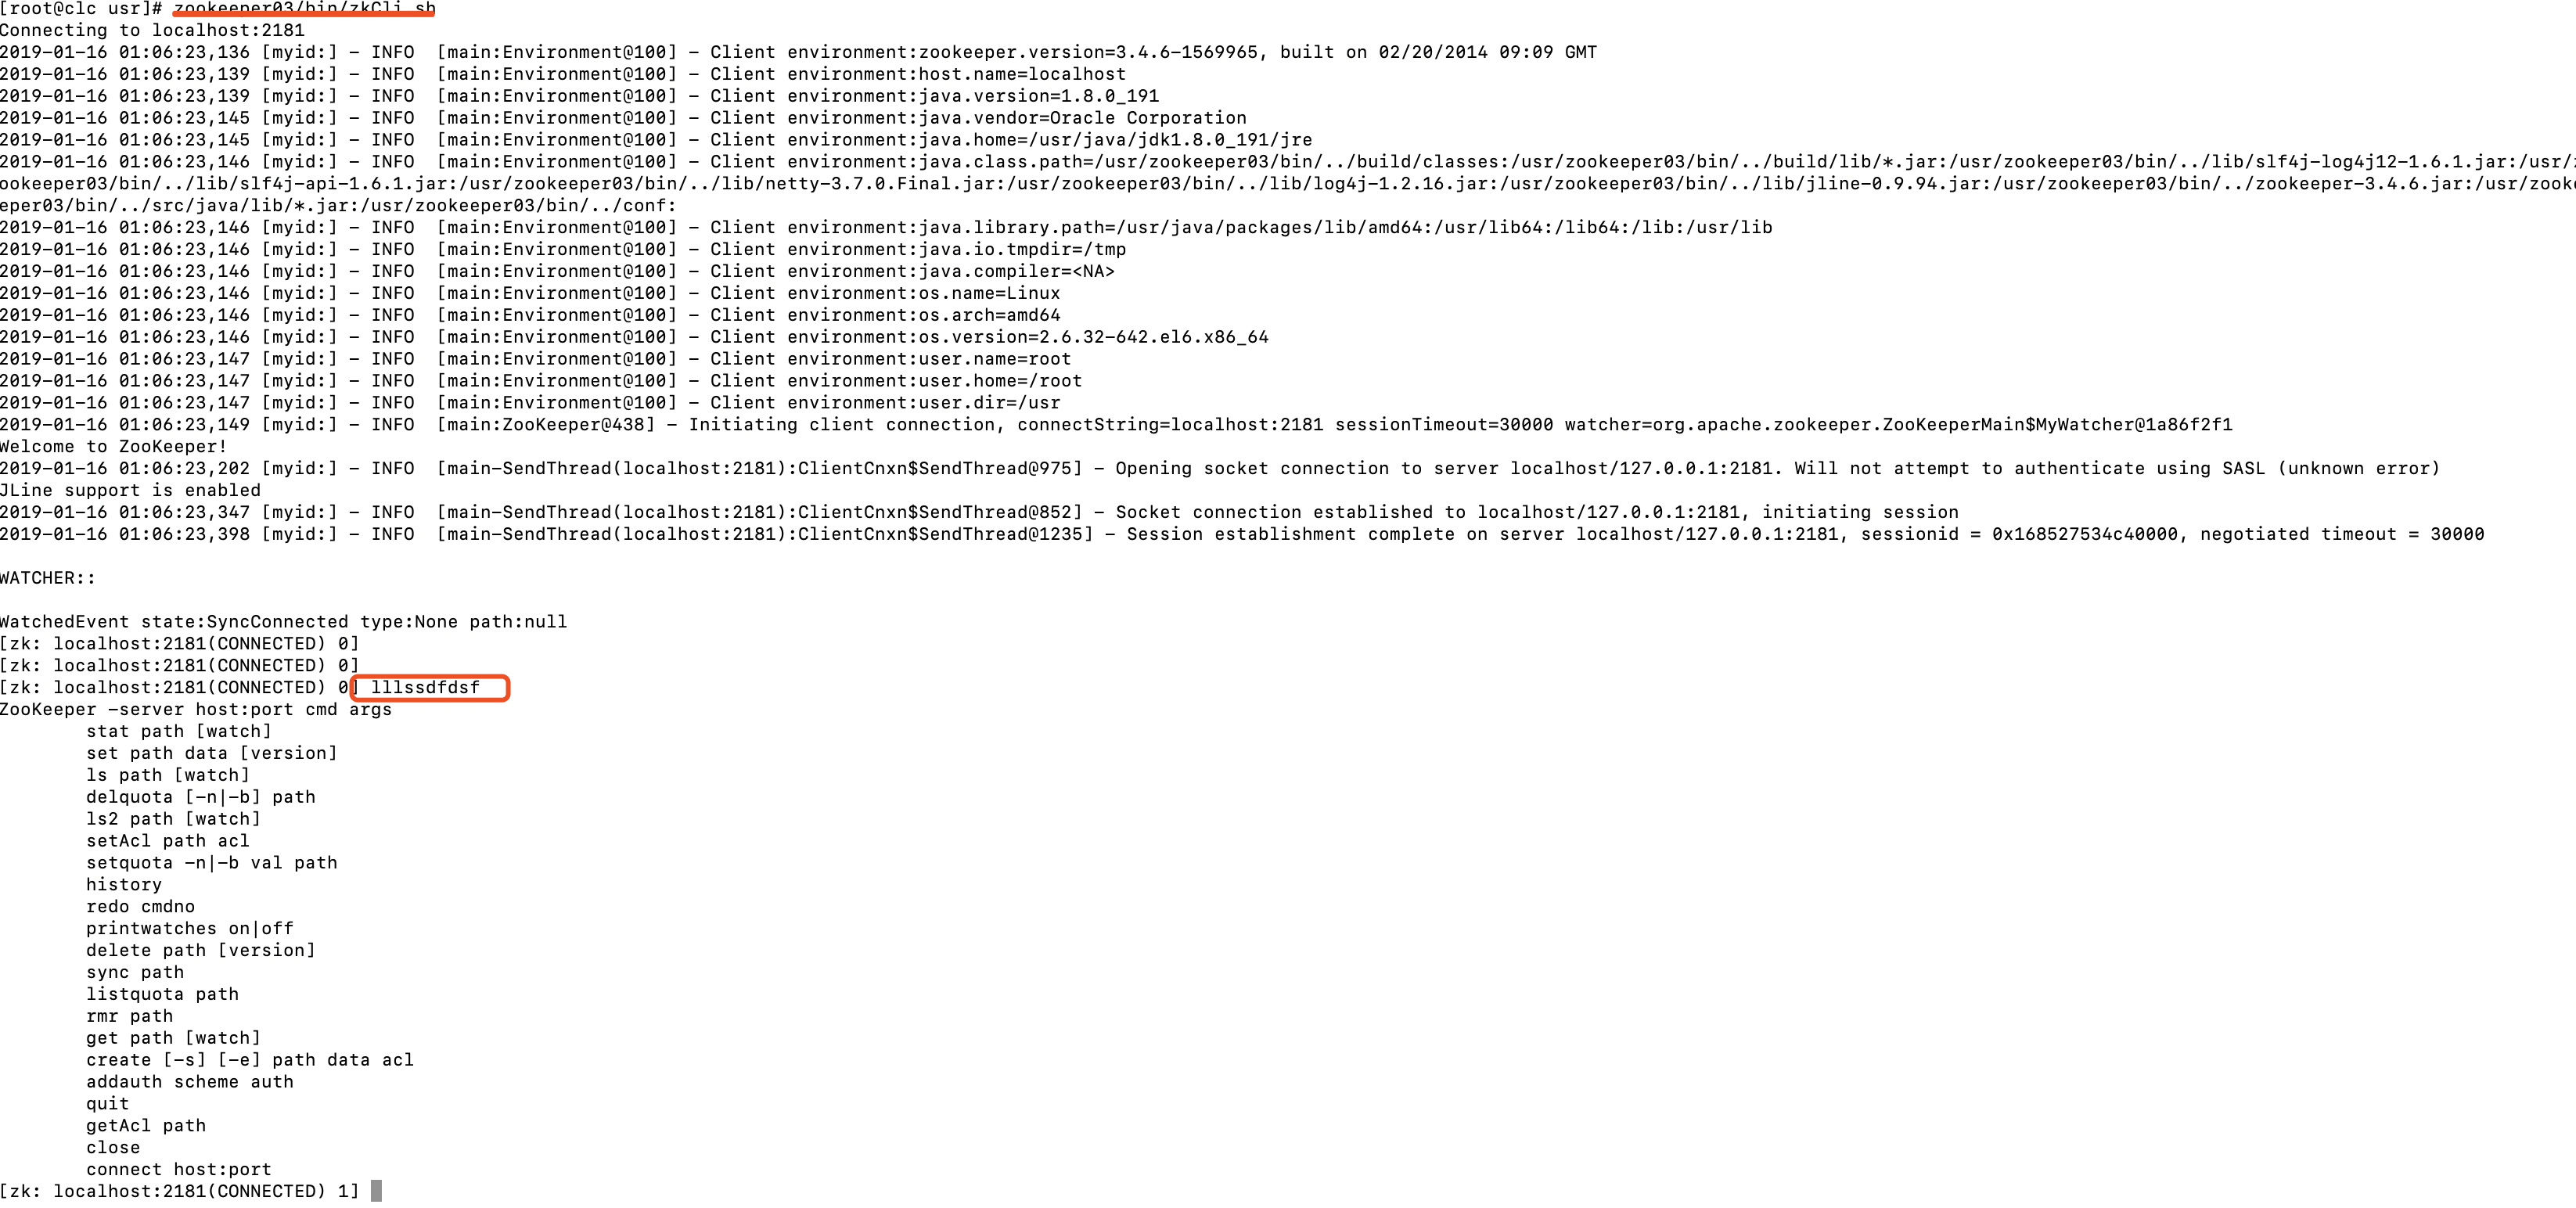
进入zookeeper界面后,可以执行zk命令,如果不知道zk的命令,就瞎写几个字母,然后就会有命令的提示
stat path [watch]
set path data [version]
ls path [watch]
delquota [-n|-b] path
ls2 path [watch]
setAcl path acl
setquota -n|-b val path
history
redo cmdno
printwatches on|off
delete path [version]
sync path
listquota path
rmr path
get path [watch]
create [-s] [-e] path data acl
addauth scheme auth
quit
getAcl path
close
connect host:port

 浙公网安备 33010602011771号