Spring集成CXF发布WebService并在客户端调用
Spring集成CXF发布WebService
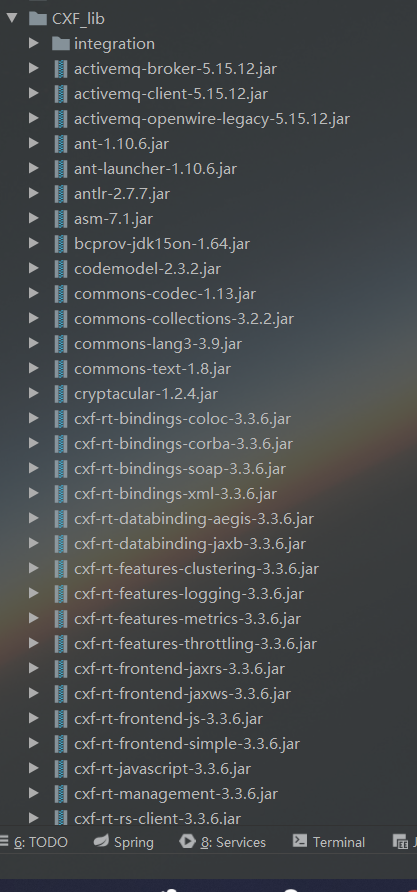
1.导入jar包
因为官方下载的包里面有其他版本的sprring包,全导入会产生版本冲突,所以去掉spring的部分,然后在项目根目录下新建了一个CXF_lib目录,保存jar包。
2.编写PianoInterface接口
新建一个PianoInterface接口定义方法,并添加注解@WebService
package com.CXF;

import javax.jws.WebService;

@WebService
public interface PianoInterface {

    //根据Brand查询价格
    public int getPriceByBrand(String brand);
}
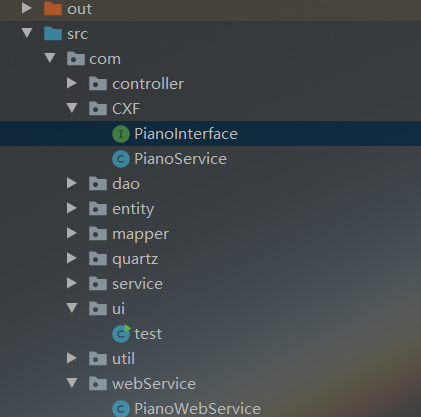
3.创建PianoService实现PianoInterface接口
package com.CXF;

import com.service.PianoServiceImpl;
import org.springframework.context.ApplicationContext;
import org.springframework.context.support.FileSystemXmlApplicationContext;

import javax.jws.WebService;

@WebService(endpointInterface = "com.CXF.PianoInterface")
public class PianoService implements PianoInterface {

    /**
     * @description 根据品牌查询价格
     * @param brand 品牌
     * @return int price 价格
     * @date 2020/4/2
     * @author Charlotte
     */
    @Override
    public int getPriceByBrand(String brand) {
        ApplicationContext ctx = new FileSystemXmlApplicationContext("src/applicationContext.xml");
        PianoServiceImpl pianoService = (PianoServiceImpl) ctx.getBean("pianoServiceImpl");
        return pianoService.getPriceByBrand(brand);
    }
}
4.修改spring配置文件
修改applicationContext.xml文件
添加
xmlns:jaxws="http://cxf.apache.org/jaxws"
http://cxf.apache.org/jaxws
http://cxf.apache.org/schemas/jaxws.xsd
添加
<!-- 配置发布webservice服务 -->
    <jaxws:server address="/PianoWs"
                  serviceClass="com.CXF.PianoService">
        <jaxws:serviceBean>
            <bean class="com.CXF.PianoService"></bean>
        </jaxws:serviceBean>
    </jaxws:server>
配置web.xml
<!--    CXF配置Servlet-->
    <servlet>
        <servlet-name>cxf</servlet-name> <servlet-class>org.apache.cxf.transport.servlet.CXFServlet</servlet-class>
        <!-- 初始化CXFServlet -->
<!--        <init-param>-->
<!--            <param-name>config-location</param-name>-->
<!--            <param-value>classpath:applicationContext.xml</param-value>-->
<!--        </init-param>-->
        <load-on-startup>1</load-on-startup>
    </servlet>
    <servlet-mapping>
        <servlet-name>cxf</servlet-name>
        <url-pattern>/ws/*</url-pattern>
    </servlet-mapping>
发布WebService
package com.ui;

import com.CXF.PianoInterface;
import com.CXF.PianoService;
import com.webService.PianoWebService;
import org.apache.cxf.jaxws.JaxWsServerFactoryBean;

import javax.xml.ws.Endpoint;

public class test {
    public static void main(String[] args) {
        //JAVA自带的WebService发布类
//        PianoWebService pianoWebService = new PianoWebService();
//        Endpoint.   publish("http://localhost:8080/pianowebservice",pianoWebService);
//        System.out.println("启动webservice");
        //使用CXF发布WebService
        JaxWsServerFactoryBean jsfb = new JaxWsServerFactoryBean();
        //1.服务提供者实现的接口
        jsfb.setServiceClass(PianoInterface.class);
        //2.指定访问路径
        jsfb.setAddress("http://localhost:8080/ws");
        //3.指定服务实现类
        jsfb.setServiceBean(new PianoService());
        //jsfb.getInInterceptors().add(new LoggingInInterceptor());
        //jsfb.getOutInterceptors().add(new LoggingOutInterceptor());
        //4.发布
        jsfb.create();
        System.out.println("发布成功...");

    }

}
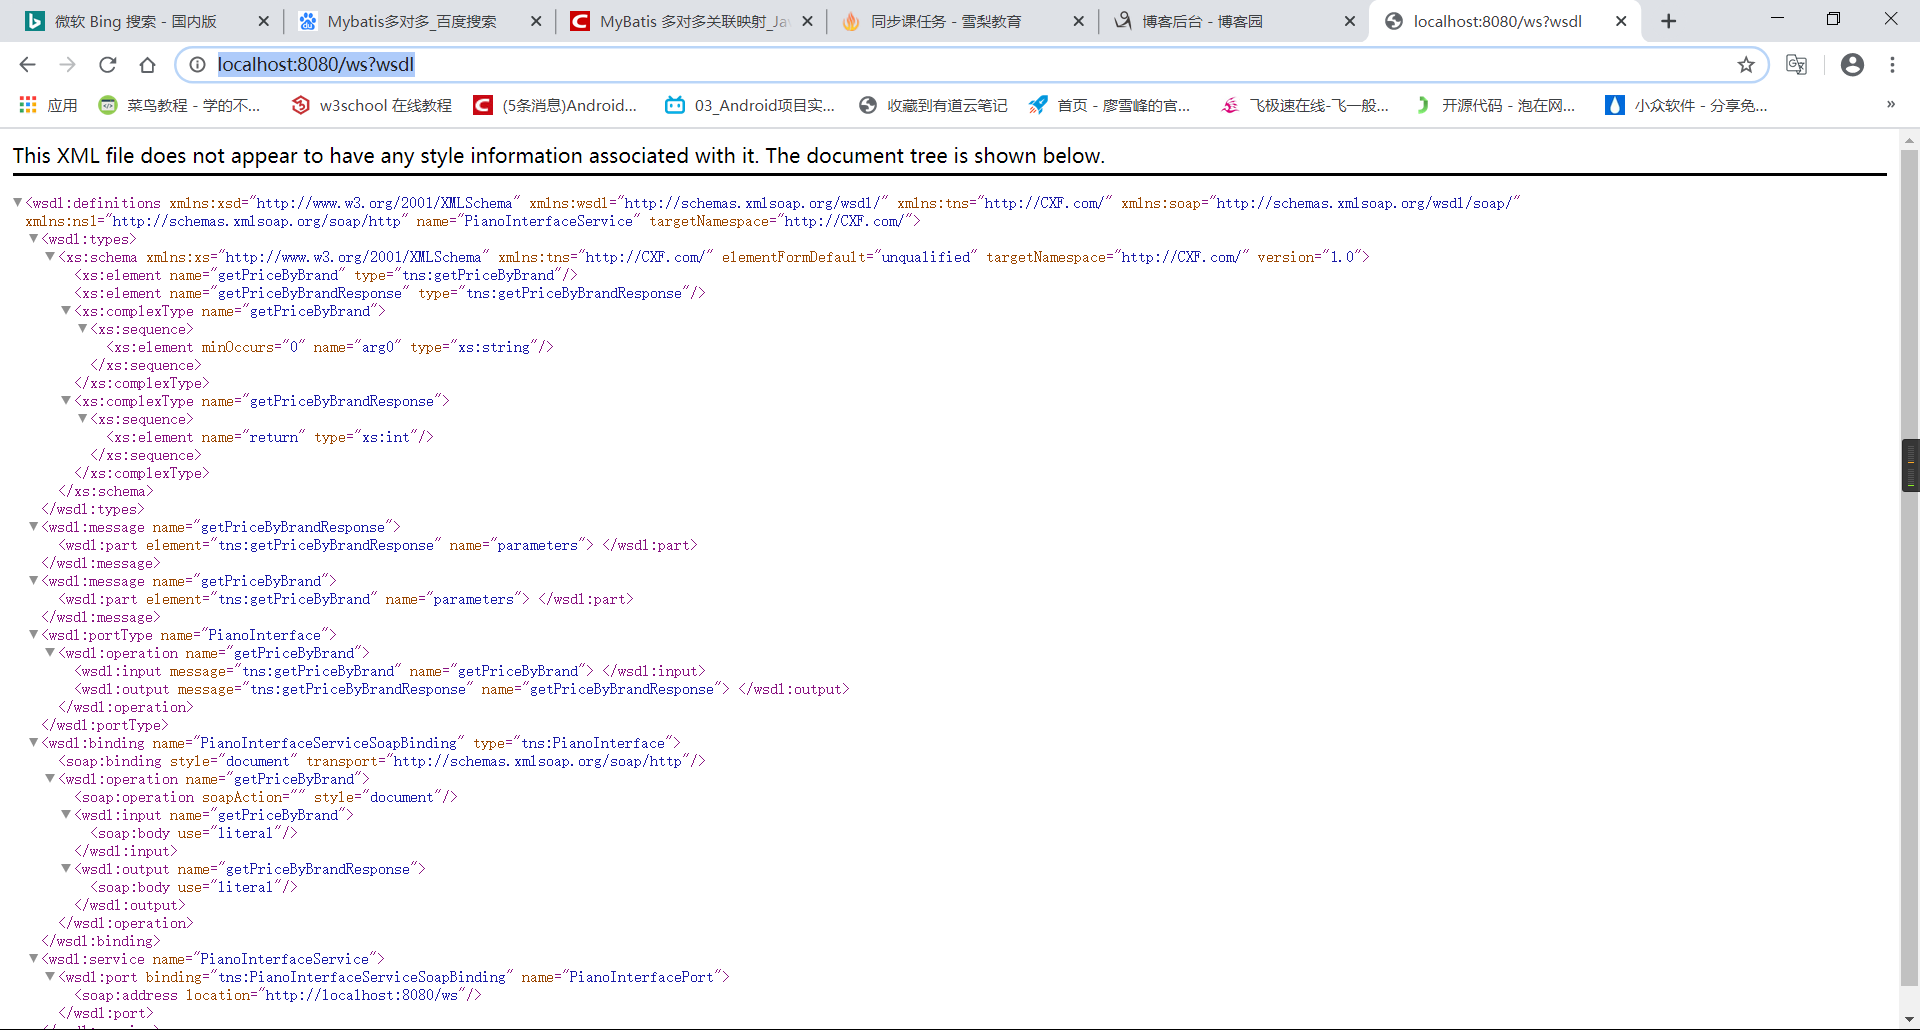
发布完成之后可以访问http://localhost:8080/ws?wsdl
客户端调用WebService
1.获取java文件
cmd进入jdk下的bin目录,然后输入以下代码
C:\Program Files\Java\jdk1.8.0_73\bin>wsimport -d F:\ -s F:\ -p com http://localhost:8080/pianowebservice?wsdl
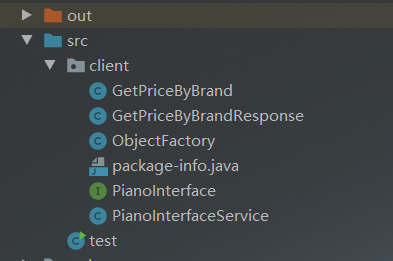
在上面指定的文件里得到生成的文件,然后复制java文件到项目中

2.客户端导入CXF的所有jar包,如果冲突可以不导入spring相关的jar包
编写test类
import client.PianoInterface;
        import client.PianoInterfaceService;
        import org.apache.cxf.jaxws.JaxWsProxyFactoryBean;

public class test {
    public static void main(String[] args) {
        //JAVA原生
//        PianoInterfaceService pianoWebService = new PianoInterfaceService();
//        PianoInterface pianoService = pianoWebService.getPianoInterfacePort();
//        int price = pianoService.getPriceByBrand("IQOO");
//        System.out.println("获得价格:"+price);
        //CXF
        JaxWsProxyFactoryBean soapFactoryBean = new JaxWsProxyFactoryBean();
        soapFactoryBean.setAddress("http://localhost:8080/ws");
        soapFactoryBean.setServiceClass(PianoInterface.class);
        Object o = soapFactoryBean.create();
        PianoInterface service = (PianoInterface) o;
        int price = service.getPriceByBrand("IQOO");
        System.out.println("获得价格:"+price);
    }
}
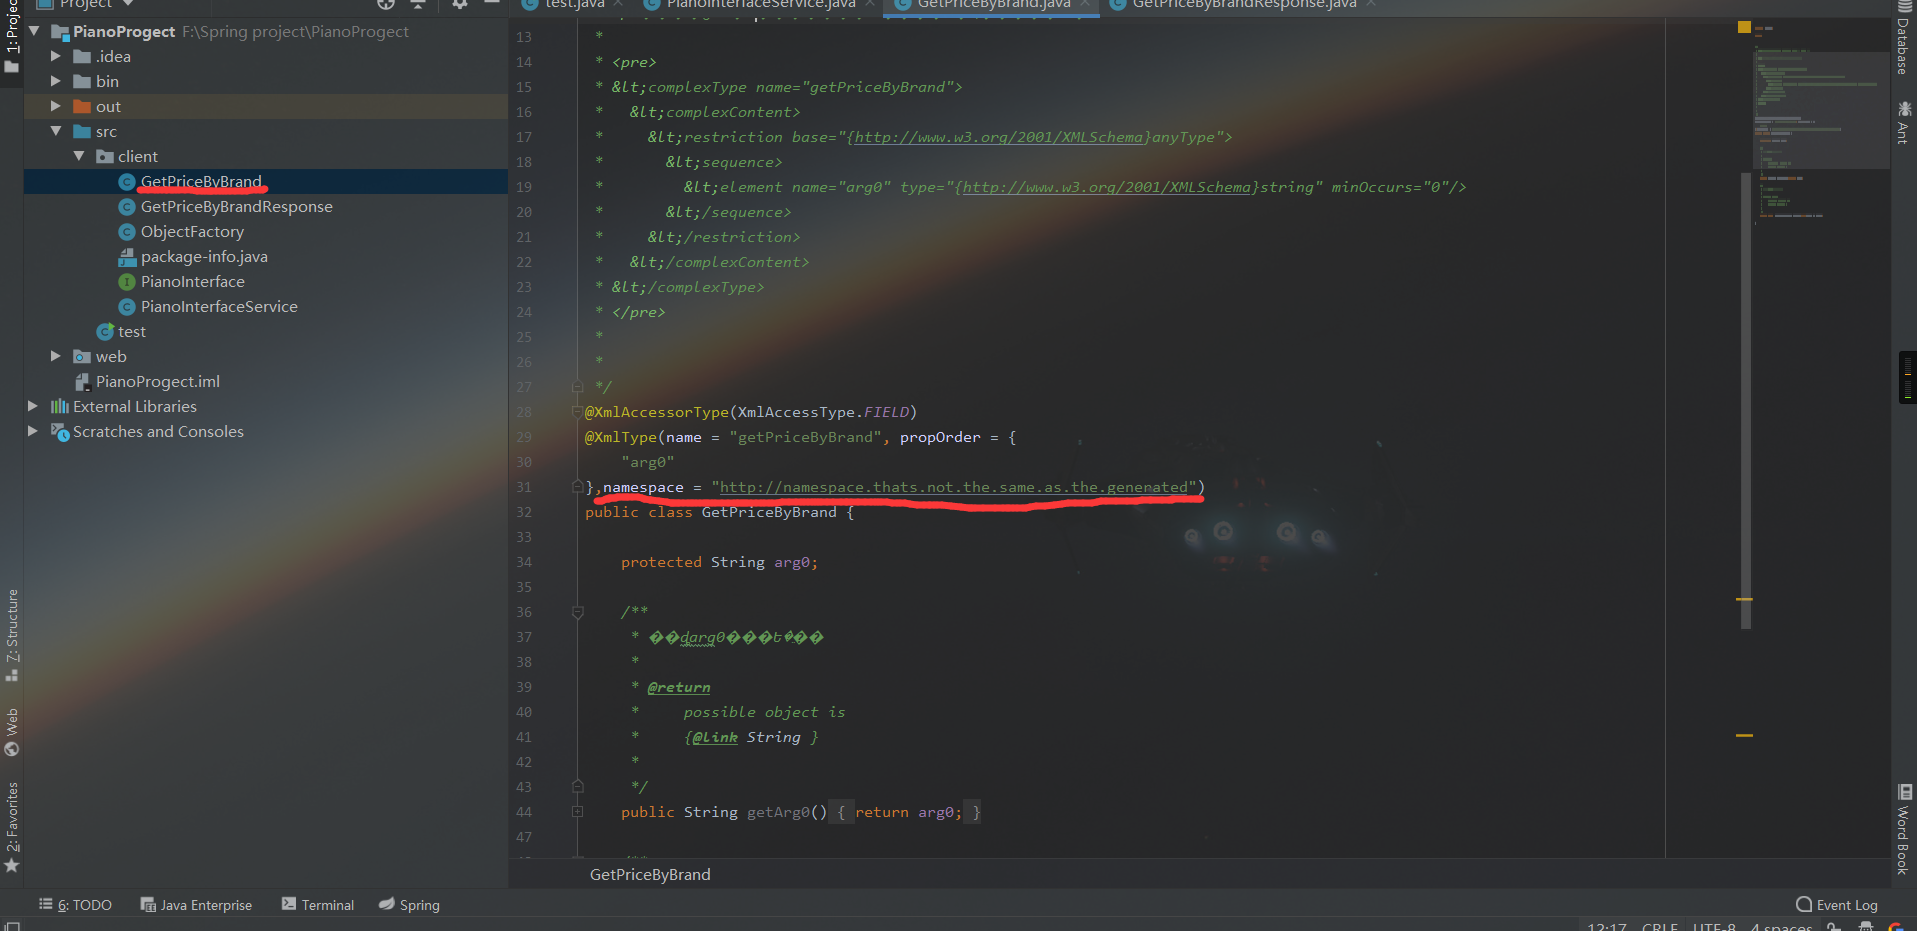
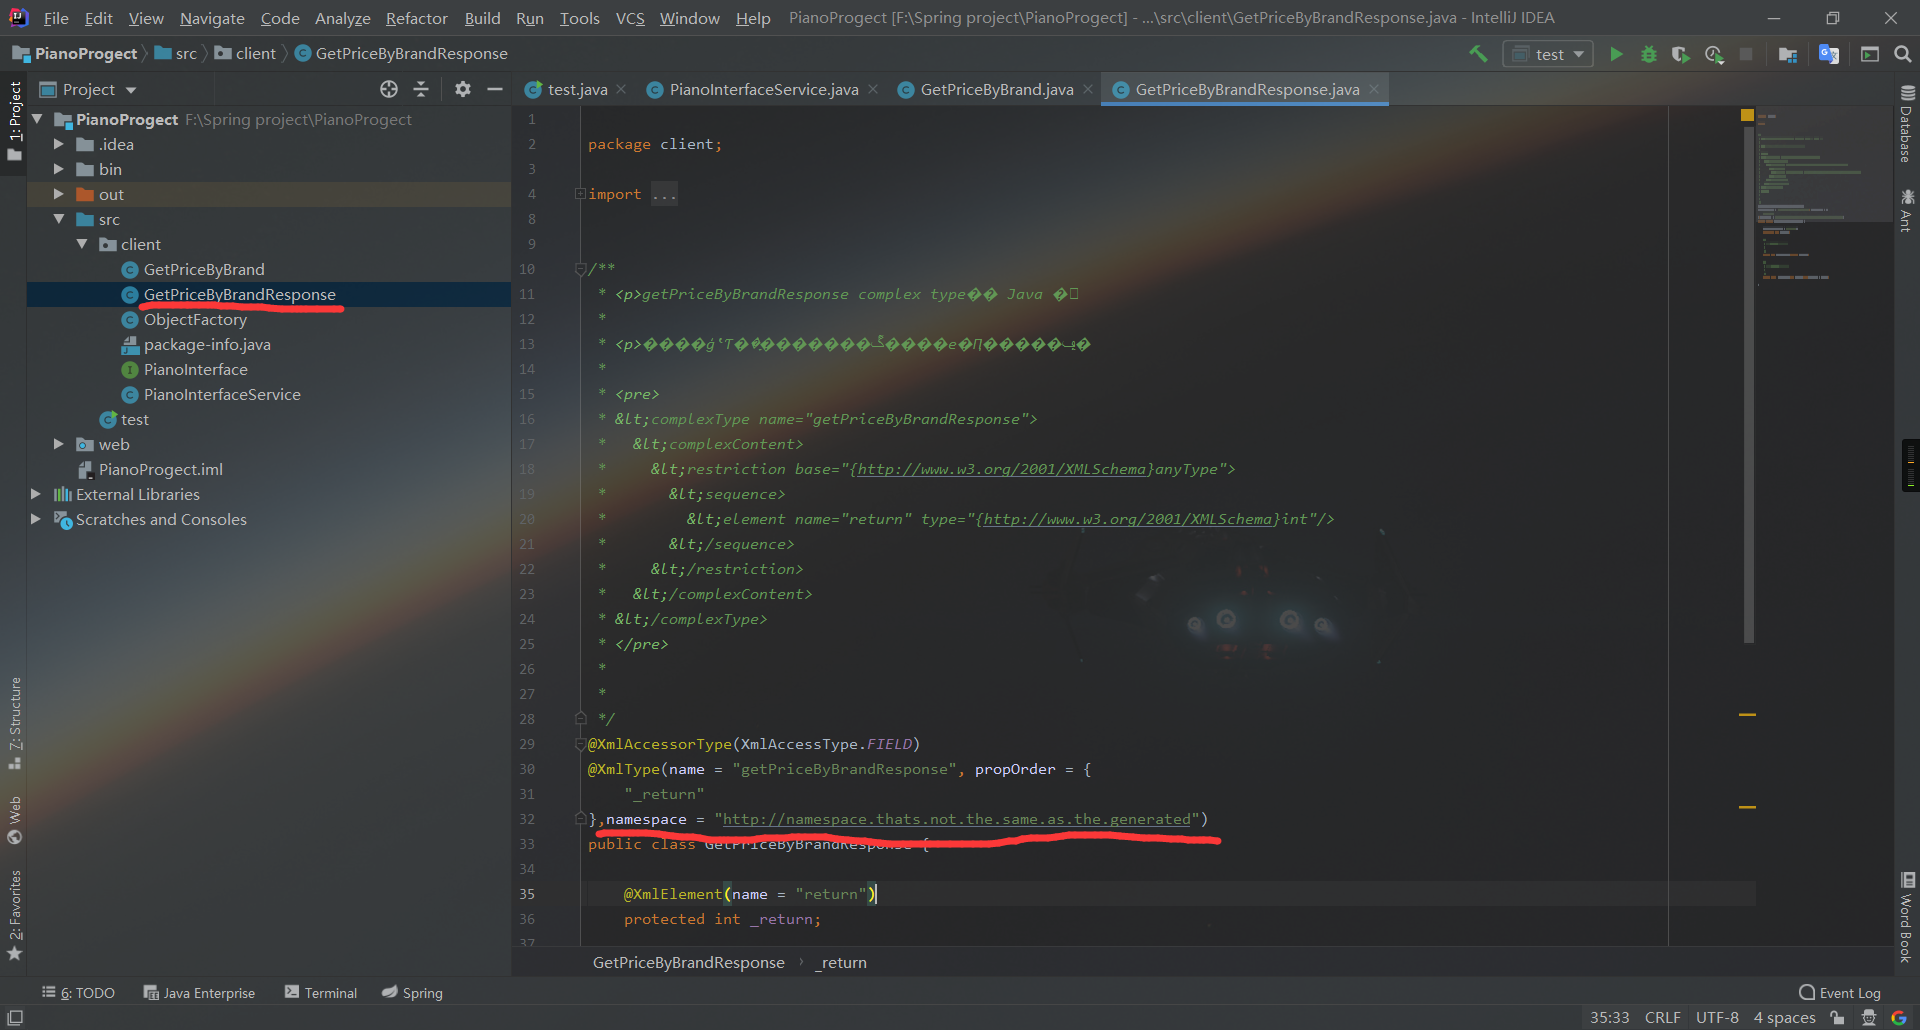
如果报
两个类具有相同的 XML 类型名称 "{http://webService.com/}getPriceResponse"。请使用 @XmlType.name 和 @XmlType.namespace 为类分配不同的名称
这个错可以在两个类里添加一个注解,namespace = "http://namespace.thats.not.the.same.as.the.generated"
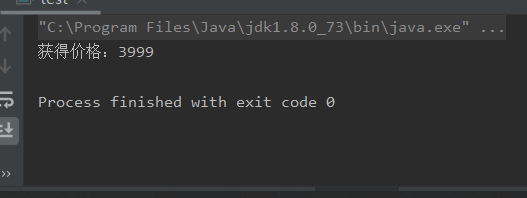
3.运行
本文来自博客园,作者:两小无猜,转载请注明原文链接:https://www.cnblogs.com/charlottepl/p/12633204.html


