
Linux Centos7安装mysql5.7详细教程【tar包安装】
一. 准备资源
1.准备资源,去官网下载mysql的tar包
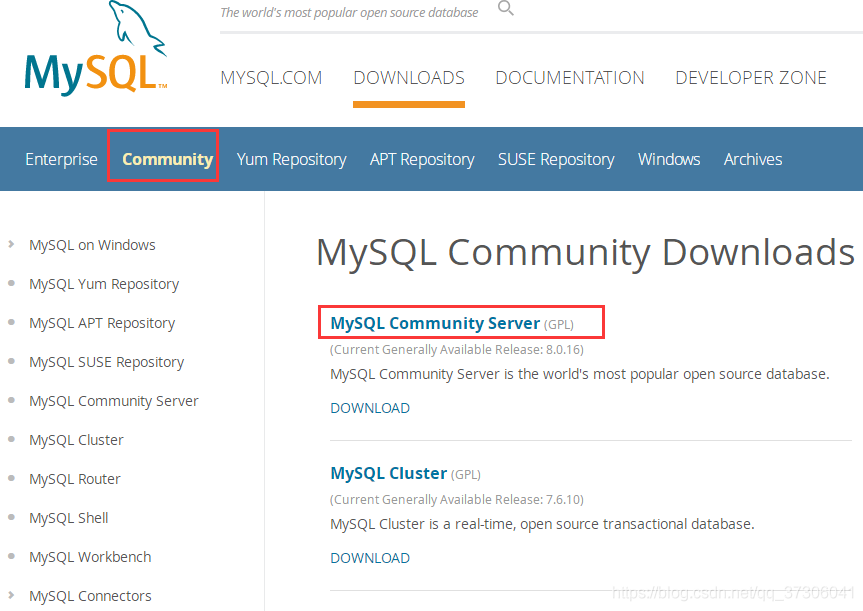
1.1点击进入官网地址:https://dev.mysql.com/downloads/
1.2 选择community
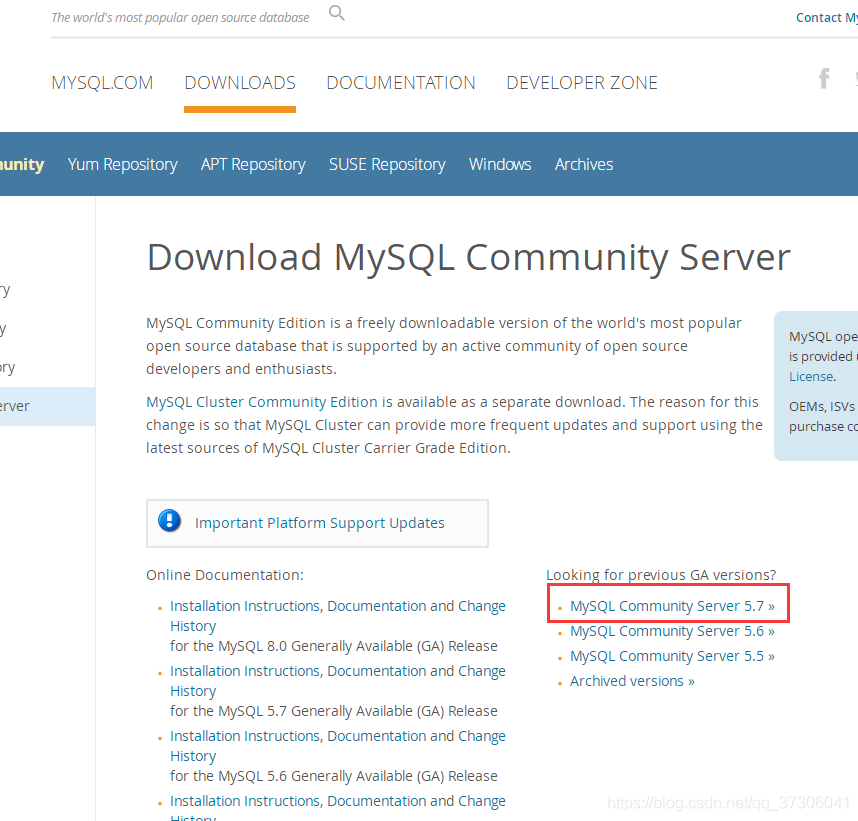
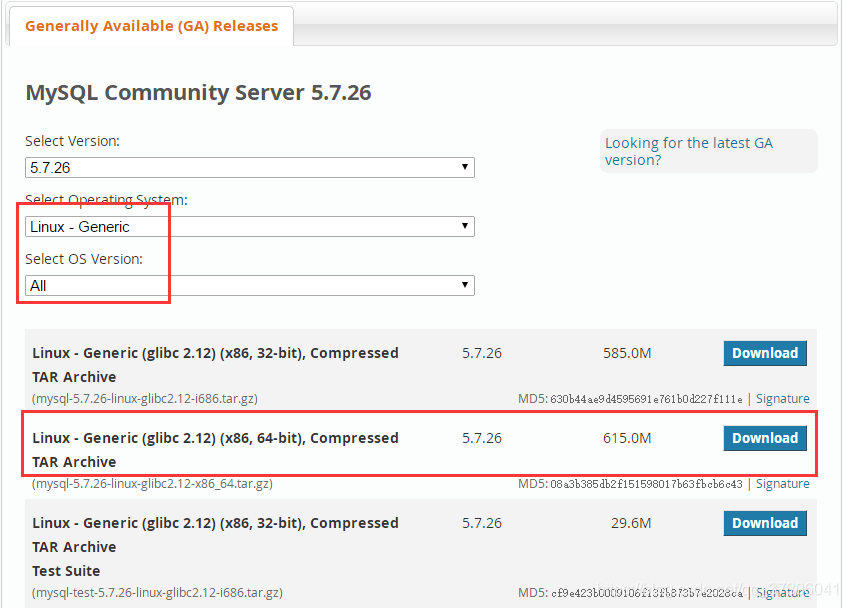
1.3 选择5.7对应的版本下载
2.上传tar包到服务器
/usr/local/

二.开始安装
3.卸载系统自带的Mariadb
1 [root@hdp265dnsnfs ~]# rpm -qa|grep mariadb
2 mariadb-libs-5.5.44-2.el7.centos.x86_64
3 [root@hdp265dnsnfs ~]# rpm -e --nodeps mariadb-libs-5.5.44-2.el7.centos.x86_64
4.删除etc目录下的my.cnf文件
1 [root@hdp265dnsnfs ~]# rm /etc/my.cnf
2 rm: cannot remove ?etc/my.cnf? No such file or directory
5.检查mysql是否存在
1 [root@hdp265dnsnfs ~]# rpm -qa | grep mysql
2 [root@hdp265dnsnfs ~]#
6.检查mysql组和用户是否存在,如无创建
1 [root@hdp265dnsnfs ~]# cat /etc/group | grep mysql
2 [root@hdp265dnsnfs ~]#  cat /etc/passwd | grep mysql
7.创建mysql用户组
1 [root@hdp265dnsnfs ~]# groupadd mysql
8.创建一个用户名为mysql的用户并加入mysql用户组
1 [root@hdp265dnsnfs ~]# useradd -g mysql mysql
9.制定password 为111111
1 [root@hdp265dnsnfs ~]# passwd mysql
2 Changing password for user mysql.
3 New password:
4 BAD PASSWORD: The password is a palindrome
5 Retype new password:
6 passwd: all authentication tokens updated successfully.
10.准备解压安装/usr/local
 1 root@hdp265dnsnfs local]# tar -zxvf mysql-5.7.18-linux-glibc2.5-x86_64.tar.gz
 2 [root@hdp265dnsnfs local]# mv mysql-5.7.18-linux-glibc2.5-x86_64/ mysql57
 3
 4 #更改所属的组和用户
 5 [root@hdp265dnsnfs local]# chown -R mysql mysql57/
 6 [root@hdp265dnsnfs local]# chgrp -R mysql mysql57/
 7 [root@hdp265dnsnfs local]# cd mysql57/
 8
 9 [root@hdp265dnsnfs mysql57]# mkdir data
10
11 [root@hdp265dnsnfs mysql57]# chown -R mysql:mysql data
11 在etc下新建配置文件my.cnf,并在该文件内添加以下配置(注意点,复制到my.cnf中检查一下每一行前后面不能有空格)
[mysql]
# 设置mysql客户端默认字符集
default-character-set=utf8
[mysqld]
skip-name-resolve
#设置3306端口
port = 3306
# 设置mysql的安装目录
basedir=/usr/local/mysql57
# 设置mysql数据库的数据的存放目录
datadir=/usr/local/mysql57/data
# 允许最大连接数
max_connections=200
# 服务端使用的字符集默认为8比特编码的latin1字符集
character-set-server=utf8
# 创建新表时将使用的默认存储引擎
default-storage-engine=INNODB
lower_case_table_names=1
max_allowed_packet=16M
12. 安装和初始化(如果提示-bash: ./mysqld:没有那个文件或目录就去查找你mysql_install_db的目录,我的是在/usr/local/mysql57/scripts下)
1 [root@hdp265dnsnfs mysql57]# scripts/mysql_install_db --user=mysql --basedir=/usr/local/mysql57/ --datadir=/usr/local/mysql57/data/
2 2017-04-17 17:40:02 [WARNING] mysql_install_db is deprecated. Please consider switching to mysqld --initialize
3 2017-04-17 17:40:05 [WARNING] The bootstrap log isn't empty:
4 2017-04-17 17:40:05 [WARNING] 2017-04-17T09:40:02.728710Z 0 [Warning] --bootstrap is deprecated. Please consider using --initialize instead
5 2017-04-17T09:40:02.729161Z 0 [Warning] Changed limits: max_open_files: 1024 (requested 5000)
6 2017-04-17T09:40:02.729167Z 0 [Warning] Changed limits: table_open_cache: 407 (requested 2000)
注意点:如果执行上面出现
1 FATAL ERROR: please install the following Perl modules before executing ./scripts/mysql_install_db:
需要先执行如下命令
1 yum -y install autoconf
2 yum install libaio* -y
再执行
1 scripts/mysql_install_db --user=mysql --basedir=/usr/local/mysql57/ --datadir=/usr/local/mysql57/data/
1 [root@hdp265dnsnfs mysql57]# cp ./support-files/mysql.server /etc/init.d/mysqld
2 [root@hdp265dnsnfs mysql57]# chown 777 /etc/my.cnf
3 [root@hdp265dnsnfs mysql57]# chmod +x /etc/init.d/mysqld
13.重启
1 [root@hdp265dnsnfs mysql57]# /etc/init.d/mysqld restart
2 Shutting down MySQL.. SUCCESS!
3 Starting MySQL. SUCCESS!
14.设置开机启动
1 [root@hdp265dnsnfs mysql57]# chkconfig --level 35 mysqld on
2 [root@hdp265dnsnfs mysql57]# chkconfig --list mysqld
3 [root@hdp265dnsnfs mysql57]# chmod +x /etc/rc.d/init.d/mysqld
4 [root@hdp265dnsnfs mysql57]# chkconfig --add mysqld
5 [root@hdp265dnsnfs mysql57]# chkconfig --list mysqld
6 [root@hdp265dnsnfs mysql57]# service mysqld status
7  SUCCESS! MySQL running (4475)
15.设置环境变量vim /etc/profile/ (把export PATH=$PATH:/usr/local/mysql57/bin加入到最后一行如果存在就不需要添加)
1 export PATH=$PATH:/usr/local/mysql57/bin
2
3 [root@hdp265dnsnfs mysql57]# source /etc/profile
16. 获得初始密码(如果获取不到就跳过这步,继续下面的操作)
1 [root@hdp265dnsnfs bin]# cat /root/.mysql_secret
2 # Password set for user 'root@localhost' at 2017-04-17 17:40:02
3 _pB*3VZl5T<6
17. 修改密码(如果上一步没有获取到初始密码,Enter password: 这里直接回车即可)
 1 [root@hdp265dnsnfs bin]# mysql -uroot -p
 2 Enter password:
 3 Welcome to the MySQL monitor.  Commands end with ; or \g.
 4 Your MySQL connection id is 5
 5 Server version: 5.7.18
 6
 7 Copyright (c) 2000, 2017, Oracle and/or its affiliates. All rights reserved.
 8
 9 Oracle is a registered trademark of Oracle Corporation and/or its
10 affiliates. Other names may be trademarks of their respective
11 owners.
12
13 Type 'help;' or '\h' for help. Type '\c' to clear the current input statement.
14
15 mysql> set PASSWORD = PASSWORD('111111');
16 Query OK, 0 rows affected, 1 warning (0.00 sec)
17
18 mysql> flush privileges;
19 Query OK, 0 rows affected (0.01 sec)
20 mysql> exit
18 .添加远程访问权限
 1 在本机先使用root用户登录mysql: mysql -u root -p"youpassword" 进行授权操作:
 2
 3 mysql>GRANT ALL PRIVILEGES ON *.* TO 'root'@'%' IDENTIFIED BY 'youpassword' WITH GRANT OPTION;
 4
 5 重载授权表:
 6
 7 FLUSH PRIVILEGES;
 8
 9 退出mysql数据库:
10
11 exit
19.重启生效(以下重启方法二选一即可)
1 /bin/systemctl restart  mysql.service  重启方法一
2
3 [root@hdp265dnsnfs bin]# /etc/init.d/mysqld restart    重启方法二
4 Shutting down MySQL.. SUCCESS! 5 Starting MySQL. SUCCESS!
20. 为了在任何目录下可以登录mysql
1 ln -s /usr/local/mysql57/bin/mysql /usr/bin/mysql
三.开启外部访问数据库(这步或者直接关闭防护墙也一样,看个人需求)
- 这是防火墙相关命令如果用不到可以跳过
- 查看防火墙(然后在下方可度以查看得到“active(running)”,此时说明防火墙已经被打开了)
1 systemctl status firewalld.service
- 关闭防火墙
1 systemctl stop firewalld.service
- 查看防火墙(在下方出现disavtive(dead),这权样就说明防火墙已经关闭)
1 systemctl status firewalld.service
- 永久关闭防火墙
1 systemctl disable firewalld.service
21. 开放防火墙端口
1 firewall-cmd --list-all
22.开放3306端口
1 firewall-cmd --permanent --add-port=3306/tcp
23.查看3306端口是否开放
1 firewall-cmd --query-port=3306/tcp
24.再次查看现在防火墙
1 firewall-cmd --list-all
来源于:https://blog.csdn.net/qq_37306041/article/details/89704783?depth_1-utm_source=distribute.wap_relevant.none-task-blog-BlogCommendFromBaidu-3&utm_medium=distribute.wap_relevant.none-task-blog-BlogCommendFromBaidu-3

 浙公网安备 33010602011771号