linux安装mysql
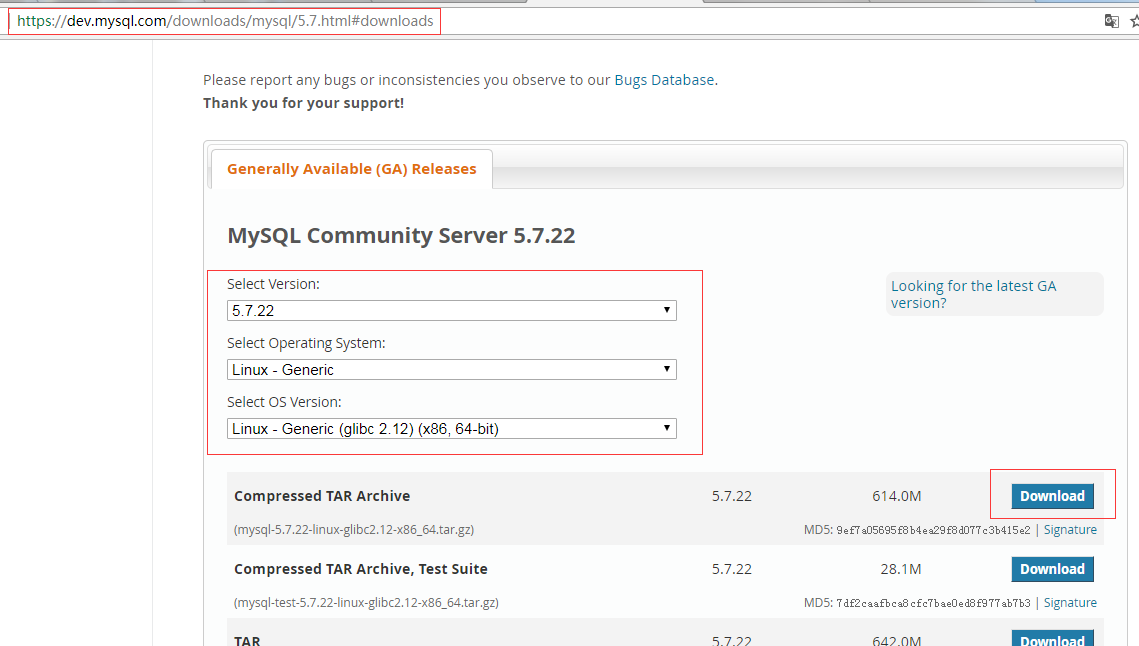
1. 下载:
https://dev.mysql.com/downloads/mysql/5.7.html#downloads

wget https://dev.mysql.com/get/Downloads/MySQL-5.7/mysql-5.7.22-linux-glibc2.12-x86_64.tar.gz

2. 解压:
# tar zxvf mysql-5.7.22-linux-glibc2.12-x86_64.tar.gz -C ../

3. 添加用户组和用户:
# groupadd mysql
# useradd -g mysql mysql

4. 安装:
重命名为mysql:
# mv mysql-5.7.22-linux-glibc2.12-x86_64/ ./mysql

# cd mysql/
# mkdir -p ./data/mysql

# chown -R mysql:mysql ./

# ./bin/mysqld --initialize --user=mysql --datadir=/usr/local/src/mysql/data/mysql/

# yum -y install numactl.x86_64

再执行:./bin/mysqld --initialize --user=mysql --datadir=/usr/local/src/mysql/data/mysql/
# cp support-files/mysql.server /etc/init.d/mysqld

# chmod 755 /etc/init.d/mysqld

修改启动脚本:
# vi /etc/init.d/mysqld

basedir=/usr/local/src/mysql/
datadir=/usr/local/src/mysql/data/mysql

5. 启动:
# service mysqld start


再启动:


再启动:

# vi /etc/my.cnf

初始化mysql:
# ./bin/mysqld --initialize --user=mysql --basedir=/usr/local/src/mysql --socket=/tmp/mysql.sock

再启动:

加入环境变量,编辑 /etc/profile,这样可以在任何地方用mysql命令了
# vi /etc/profile

# source /etc/profile
6. 连接:
免密登录:
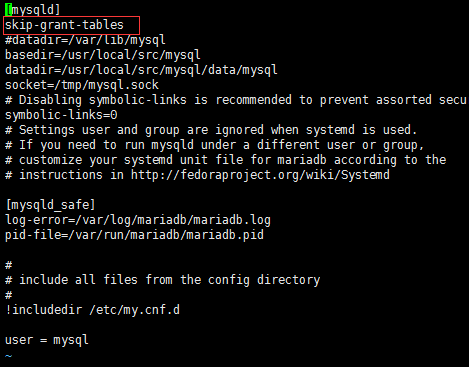
# vi /etc/my.cnf
添加 skip-grant-tables

重启mysql:
service mysql restart
连接:
mysql -uroot -p
不用输入密码直接 Enter
修改密码:
mysql> use mysql;
mysql> update mysql.user set authentication_string=password('你的密码') where user='root' and Host ='localhost';
退出,将 skip-grant-tables 注释或删除并重启mysql再使用密码登录 (密码输错,删除键好像不管用)
给远程客户端连接赋权限:
mysql> use mysql;
mysql> GRANT ALL PRIVILEGES ON *.* TO 'root'@'%' IDENTIFIED BY '你的密码' WITH GRANT OPTION;
mysql> FLUSH PRIVILEGES;
错误 ERROR 1820 (HY000): You must reset your password using ALTER USER statement before executing this statement.
解决:alter user 'root'@'localhost' identified by '你的密码'

*********设置服务器开机 mysql 自启动*********
# systemctl enable mysqld
# systemctl daemon-reload

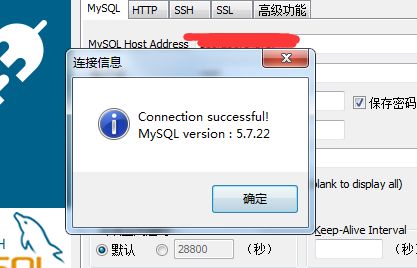
7. 客户端连接mysql:

posted on 2018-07-08 17:40 changlezhong 阅读(124) 评论(0) 编辑 收藏 举报


