
springboot @Async ------优雅的异步机制
springboot @Async ------优雅的异步机制
一、@Async 是什么?
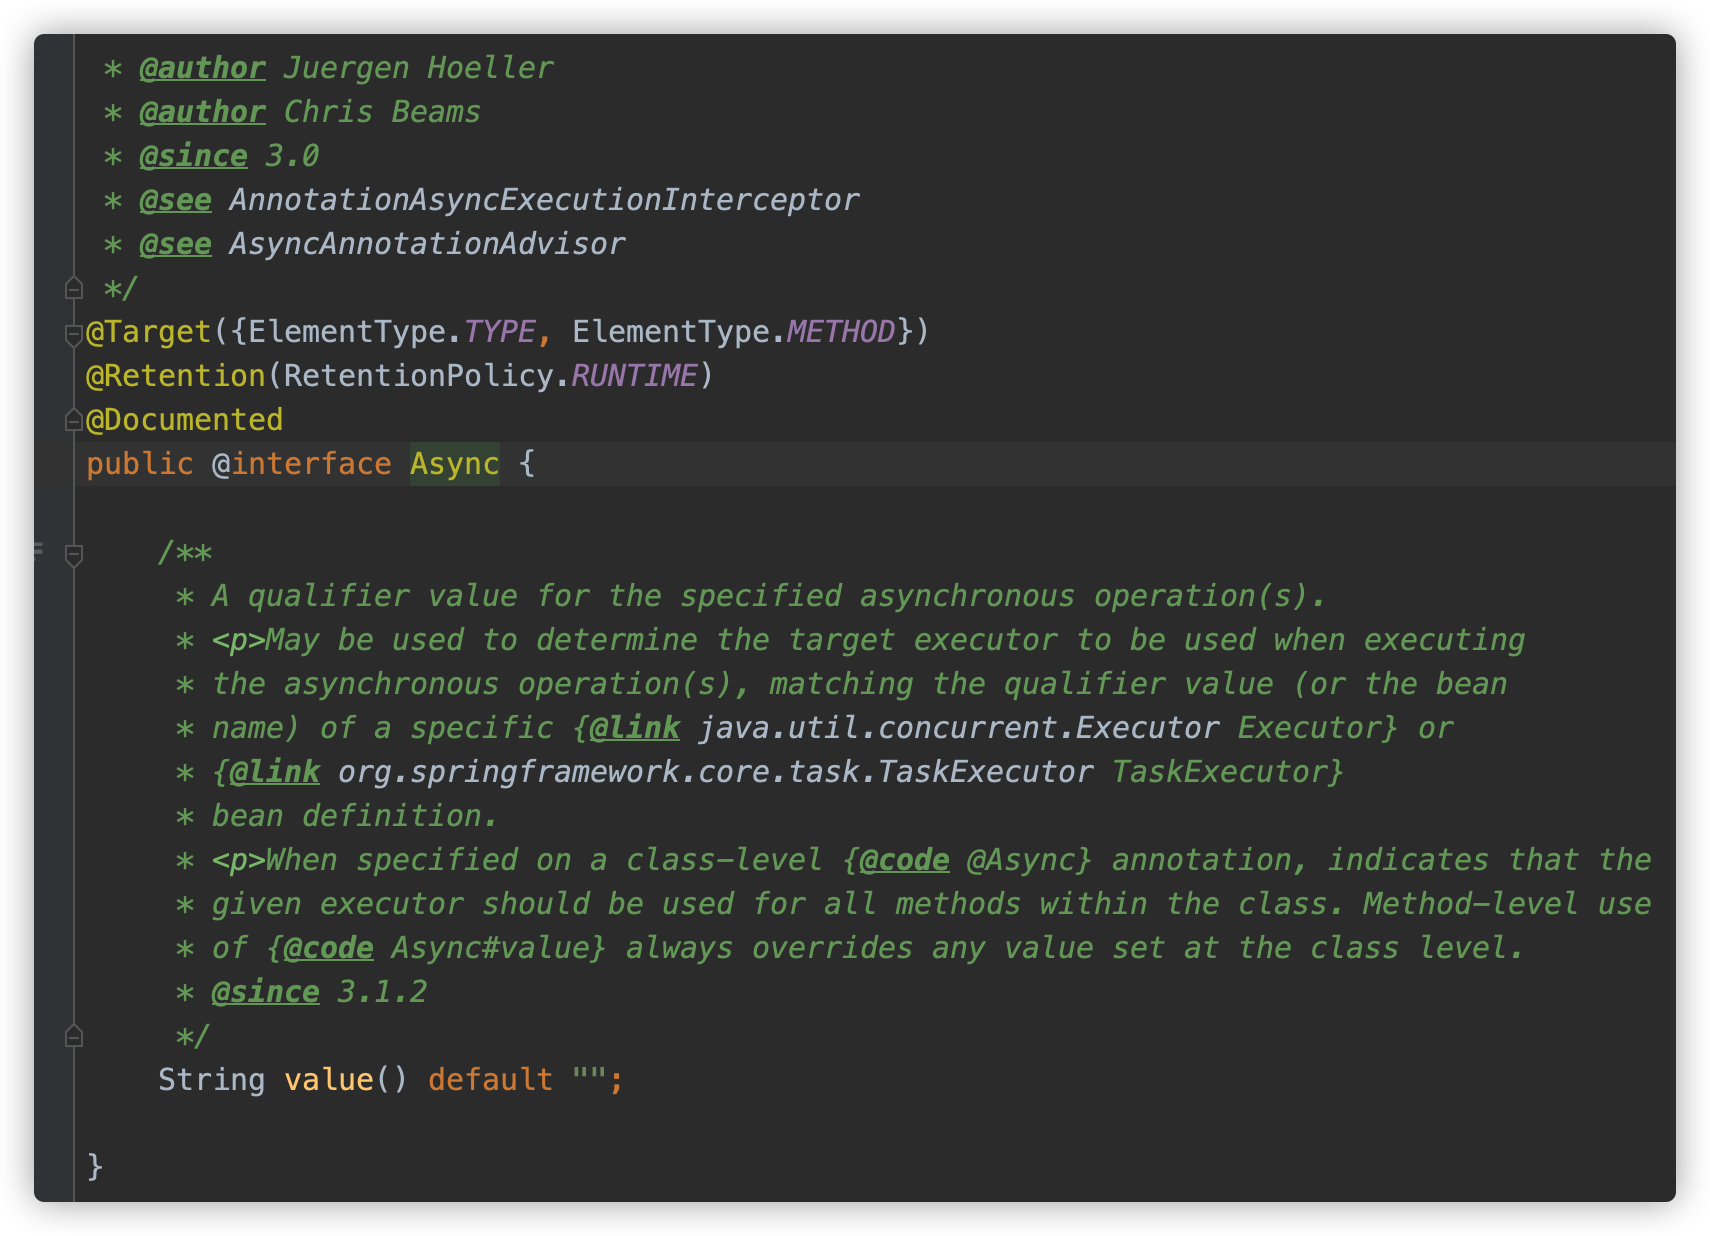
@Async是 spring3.0之后的引入的注解,
可以用来修饰类或者方法,被该注解修饰的方法为异步方法,修饰类时,类中所有的方法都是异步方法,
运行时spring会开启一个新的线程执行异步方法。
二、为什么要用它?
以往我们异步操作时,往往是这样:
 		/**
     * 实现Runnable接口
     */
    class Task implements Runnable {
        @Override
        public void run() {
            System.out.println(Thread.currentThread().getName() + ":异步任务");
        }
    }
或者是这样:
new Thread(() -> {
            System.out.println(Thread.currentThread().getName() + ":异步任务");
}).start();
当然在实际应用中我们通常会通过线程池获取线程:
private ExecutorService executorService = Executors.newSingleThreadExecutor();

executorService.execute(()->{
          System.out.println(Thread.currentThread().getName() + ":异步任务");
});
而使用 @Async 时,只需要这样:
@Async
public void asyncMethod(){
   System.out.println(Thread.currentThread().getName() + ":异步任务");
}
对比一下:
1.实现简单,让开发者更专注于业务实现
2.代码简洁,只有一个注解而已
当然这种方式还是有缺点的,这个下面的「注意事项」中讲到
三、怎么用?
第一步:在 Spring Boot 入口类上配置 @EnableAsync 注解开启异步处理
@SpringBootApplication
@EnableAsync
public class Application {
    public static void main(String[] args) {
        SpringApplication.run(Application.class, args);
    }
}
第二步:在需要异步的方法上配置@Async
@Async
 public void asyncMethod() {
     String name = Thread.currentThread().getName();
     log.info(">>>>>>>>>>>>>>>>>>asyncMethod Thread: " + name);
}
此时改异步方法就已经配置好了,写一个接口调用试一下
@GetMapping("/async/test")
    public ResponseEntity<String> asyncTest() {
        String name = Thread.currentThread().getName();
        log.info(">>>>>>>>>>>>>>>>>>master Thread: " + name);
        testAsyncService.asyncMethod();
        return ResponseEntity.ok("success");
}

public void asyncMethod() {
      String name = Thread.currentThread().getName();
      log.info(">>>>>>>>>>>>>>>>>>asyncMethod Thread: " + name);
}
看一下打印的日志:
INFO 48248 --- [nio-9999-exec-2] c.b.controller.TestAsyncController       : >>>>>>>>>>>>>>>>>>master Thread: http-nio-9999-exec-2
INFO 48248 --- [sync-Executor-1] com.baomihua.component.ContextDecorator  : SecurityContextHolder setContext
INFO 48248 --- [sync-Executor-1] com.baomihua.service.TestAsyncService    : >>>>>>>>>>>>>>>>>>asyncMethod Thread: async-Executor-1
可以看到使用主线程和异步方法的线程是不同的,说明异步已经生效。
四、扩展
1.线程池
@Async 默认异步配置使用的是SimpleAsyncTaskExecutor,该线程池默认来一个任务创建一个线程。
这样就存在一个隐患,如果短时间有大量的请求,就会创建大量的线程,极有可能压爆服务器内存
所以,一般会使用定义线程池:
首先来配置一个线程池:
/**
 * 异步任务线程池配置
 */
@Configuration
public class AsyncThreadPoolConfig {

    /**
     * 核心线程数:线程池创建时候初始化的线程数
     */
    @Value("${async.executor.core.pool.size:10}")
    private int corePoolSize;

    /**
     * 最大线程数:线程池最大的线程数,只有在缓冲队列满了之后才会申请超过核心线程数的线程
     */
    @Value("${async.executor.max.pool.size:50}")
    private int maxPoolSize;

    /**
     * 缓冲队列:用来缓冲执行任务的队列
     */
    @Value("${async.executor.queue.capacity:1000}")
    private int queueCapacity;

    /**
     * 允许线程的空闲时间(单位:秒):当超过了核心线程出之外的线程在空闲时间到达之后会被销毁
     */
    @Value("${async.executor.keepalive.Seconds:60}")
    private int keepAliveSeconds;

    @Bean("asyncExecutor")
    public Executor asyncExecutor(ContextDecorator contextDecorator) {
        ThreadPoolTaskExecutor executor = new ThreadPoolTaskExecutor();
        executor.setCorePoolSize(corePoolSize);
        executor.setMaxPoolSize(maxPoolSize);
        executor.setQueueCapacity(queueCapacity);
        executor.setKeepAliveSeconds(keepAliveSeconds);
        executor.setThreadNamePrefix("async-Executor-");
        executor.setWaitForTasksToCompleteOnShutdown(true);
        executor.setTaskDecorator(contextDecorator);
        // 线程池对拒绝任务的处理策略:这里采用了CallerRunsPolicy策略,当线程池没有处理能力的时候,该策略会直接在 execute 方法的调用线程中运行被拒绝的任务;如果执行程序已关闭,则会丢弃该任务
        executor.setRejectedExecutionHandler(new ThreadPoolExecutor.CallerRunsPolicy());
        executor.initialize();
        return executor;
    }
}
在使用的时候指定线程池即可
@Async("asyncExecutor")
public void asyncMethod() {
      String name = Thread.currentThread().getName();
      log.info(">>>>>>>>>>>>>>>>>>asyncMethod Thread: " + name);
}
2.获取返回值
使用@Async方法有void和Future两种返回值,Future就是适用于需要获取异步方法返回值的场景
@Async
public Future<String> asyncMethod1() {
      String name = Thread.currentThread().getName();
      log.info(">>>>>>>>>>>>>>>>>>asyncMethod1 Thread: " + name);
      return AsyncResult.forValue(name);
}
在调用异步方法是,可以使用Future中的get()方法获取异步方法的返回值,需要注意的是,这个方法是阻塞的,主线程会等待异步方法的子线程执行结束返回结果
举个栗子:
@Async
public Future<String> asyncMethod1() throws InterruptedException {
   String name = Thread.currentThread().getName();
   log.info(">>>>>>>>>>>>>>>>>>asyncMethod1 Thread: " + name);
   Thread.sleep(2000);
   return AsyncResult.forValue(name);
}
@Async
public Future<String> asyncMethod2() throws InterruptedException {
    String name = Thread.currentThread().getName();
    log.info(">>>>>>>>>>>>>>>>>>asyncMethod2 Thread: " + name);
    Thread.sleep(2000);
    return AsyncResult.forValue(name);
}
@Async
public Future<String> asyncMethod3() throws InterruptedException {
    String name = Thread.currentThread().getName();
    log.info(">>>>>>>>>>>>>>>>>>asyncMethod3 Thread: " + name);
    Thread.sleep(2000);
    return AsyncResult.forValue(name);
}
三个异步方法,每个方法中停了2秒,如果不使用异步,该方法至少会执行6秒
来个接口测试一下:
@GetMapping("/async")
    public ResponseEntity<String> asyncTest1() {
        long start = System.currentTimeMillis();
        String name = Thread.currentThread().getName();
        Future<String> stringFuture = testAsyncService.asyncMethod1();
        Future<String> stringFuture1 = testAsyncService.asyncMethod2();
        Future<String> stringFuture2 = testAsyncService.asyncMethod3();
        log.info(">>>>>>>>>>>>>>>>>>master Thread: " + name);
        List<String> list = new ArrayList<>();
        list.add(stringFuture.get());
        list.add(stringFuture1.get());
        list.add(stringFuture2.get());
        long end = System.currentTimeMillis();
        log.info(">>>>>>>>>>>>>>>>>>time={}", end - start);
        log.info(">>>>>>>>>>>>>>>>>>response = {}", list);
        return ResponseEntity.ok(list.toString());
}
瞅瞅打印日志:
INFO 51457 --- [nio-9999-exec-6] c.b.controller.TestAsyncController       : >>>>>>>>>>>>>>>>>>master Thread: http-nio-9999-exec-6
INFO 51457 --- [sync-Executor-8] com.baomihua.service.TestAsyncService    : >>>>>>>>>>>>>>>>>>asyncMethod2 Thread: async-Executor-8
INFO 51457 --- [sync-Executor-9] com.baomihua.service.TestAsyncService    : >>>>>>>>>>>>>>>>>>asyncMethod3 Thread: async-Executor-9
INFO 51457 --- [sync-Executor-7] com.baomihua.service.TestAsyncService    : >>>>>>>>>>>>>>>>>>asyncMethod1 Thread: async-Executor-7

INFO 51457 --- [nio-9999-exec-6] c.b.controller.TestAsyncController       : >>>>>>>>>>>>>>>>>>time=2013
INFO 51457 --- [nio-9999-exec-6] c.b.controller.TestAsyncController       : >>>>>>>>>>>>>>>>>>response = [async-Executor-7, async-Executor-8, async-Executor-9]
可以看到这个接口执行了2.13s,而且master Thread因为 Future.get() 而阻塞。
五、注意事项
讲讲注意事项吧
1.使用@Async 的类一定要注入到IOC容器中,加@Component注解
2.异步方法不能使用static修饰
3.同一个类中,非异步方法调用异步方法失效
4.不要 同时使用 @Transactional @Async注解,有坑
