AS 制作类微信界面(2)
一、项目内容
进行类微信界面框架设计,更新代码实现聊天界面。
二、代码实现
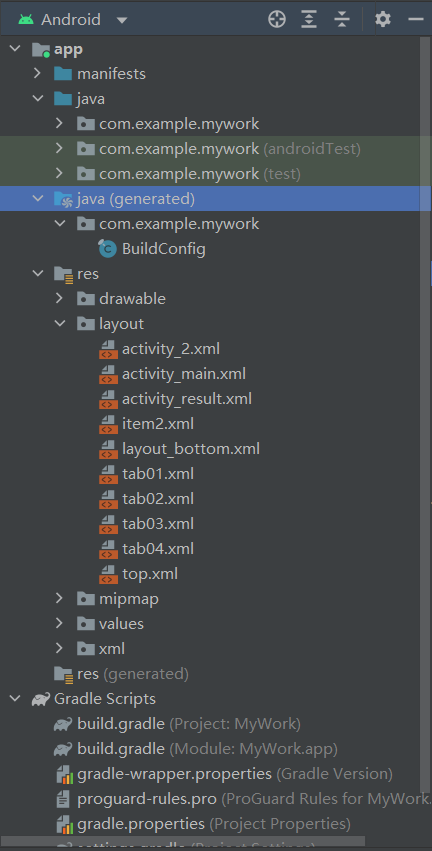
1、项目结构更新
2.新增界面及代码
tab02.xml
<?xml version="1.0" encoding="utf-8"?>
<LinearLayout xmlns:android="http://schemas.android.com/apk/res/android"
    android:layout_width="match_parent"
    android:layout_height="match_parent">

    <androidx.recyclerview.widget.RecyclerView
        android:id="@+id/recyclerView"
        android:layout_width="match_parent"
        android:layout_height="match_parent" />
</LinearLayout>

item.xml
<?xml version="1.0" encoding="utf-8"?>
<LinearLayout xmlns:android="http://schemas.android.com/apk/res/android"
    android:orientation="vertical"
    android:layout_width="match_parent"
    android:layout_height="wrap_content">

   <TextView
       android:id="@+id/textView1"
       android:layout_width="wrap_content"
       android:layout_height="wrap_content"
       android:layout_weight="1"
       android:gravity="center"
       android:text="这是列表项的一行"
        android:textSize="25sp" />

   <TextView
       android:id="@+id/textView2"
       android:layout_width="match_parent"
       android:layout_height="wrap_content"
       android:layout_gravity="center"
       android:gravity="center"
       android:layout_weight="1"
       android:text="价格"
       android:textSize="25sp" />
</LinearLayout>
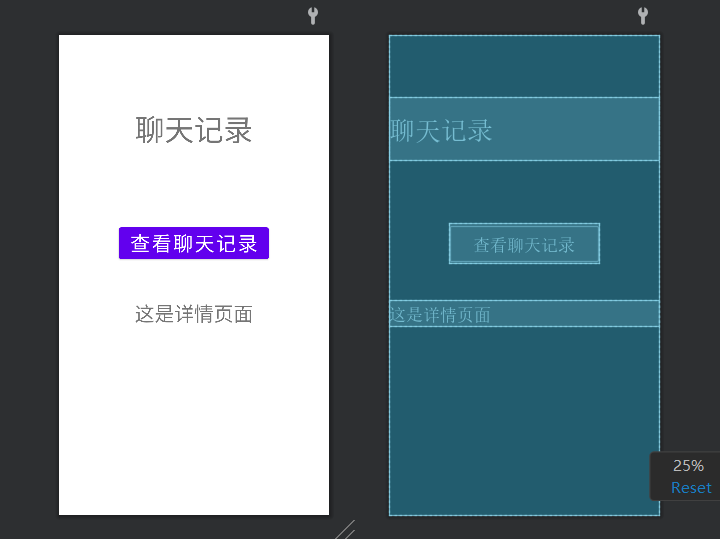
activity2.xml
<?xml version="1.0" encoding="utf-8"?>
<androidx.constraintlayout.widget.ConstraintLayout xmlns:android="http://schemas.android.com/apk/res/android"
    xmlns:app="http://schemas.android.com/apk/res-auto"
    xmlns:tools="http://schemas.android.com/tools"
    android:layout_width="match_parent"
    android:layout_height="match_parent"
    tools:context=".Activity2">

    <TextView
        android:id="@+id/textView10"
        android:layout_width="0dp"
        android:layout_height="wrap_content"
        android:layout_marginTop="404dp"
        android:gravity="center"
        android:text="这是详情页面"
        android:textSize="30dp"
        app:layout_constraintEnd_toEndOf="parent"
        app:layout_constraintHorizontal_bias="1.0"
        app:layout_constraintStart_toStartOf="parent"
        app:layout_constraintTop_toTopOf="parent" />

    <TextView
        android:id="@+id/textView11"
        android:layout_width="0dp"
        android:layout_height="95dp"
        android:layout_marginTop="96dp"
        android:gravity="center"
        android:text="聊天记录"
        android:textSize="45dp"
        app:layout_constraintEnd_toEndOf="parent"
        app:layout_constraintHorizontal_bias="0.0"
        app:layout_constraintStart_toStartOf="parent"
        app:layout_constraintTop_toTopOf="parent" />

    <Button
        android:id="@+id/button"
        android:layout_width="wrap_content"
        android:layout_height="wrap_content"
        android:text="查看聊天记录"
        android:textSize="30dp"
        app:layout_constraintBottom_toBottomOf="parent"
        app:layout_constraintEnd_toEndOf="parent"
        app:layout_constraintHorizontal_bias="0.498"
        app:layout_constraintStart_toStartOf="parent"
        app:layout_constraintTop_toTopOf="parent"
        app:layout_constraintVertical_bias="0.428" />

</androidx.constraintlayout.widget.ConstraintLayout>
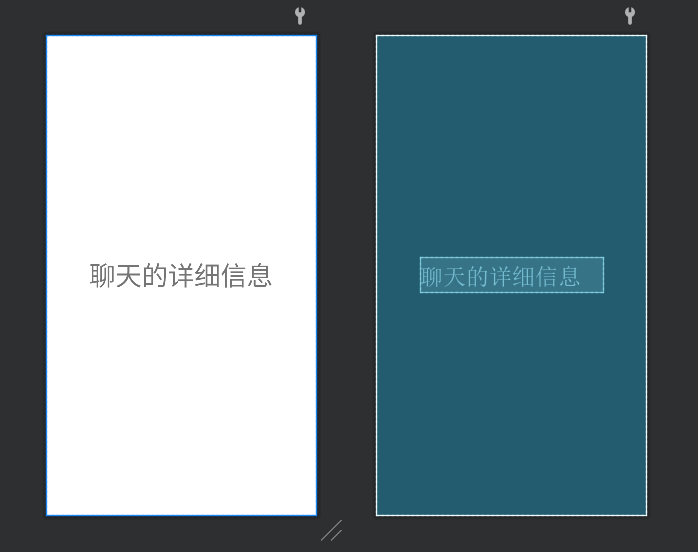
activity_result.xml
<?xml version="1.0" encoding="utf-8"?>
<androidx.constraintlayout.widget.ConstraintLayout xmlns:android="http://schemas.android.com/apk/res/android"
    xmlns:app="http://schemas.android.com/apk/res-auto"
    xmlns:tools="http://schemas.android.com/tools"
    android:layout_width="match_parent"
    android:layout_height="match_parent"
    tools:context=".resultActivity">

    <TextView
        android:id="@+id/textView12"
        android:layout_width="wrap_content"
        android:layout_height="wrap_content"
        android:text="聊天的详细信息"
        android:textSize="40dp"
        app:layout_constraintBottom_toBottomOf="parent"
        app:layout_constraintEnd_toEndOf="parent"
        app:layout_constraintStart_toStartOf="parent"
        app:layout_constraintTop_toTopOf="parent" />
</androidx.constraintlayout.widget.ConstraintLayout>
3.MainActivity代码
package com.example.mywork;

import androidx.appcompat.app.AppCompatActivity;
import androidx.fragment.app.Fragment;
import androidx.fragment.app.FragmentManager;
import androidx.fragment.app.FragmentTransaction;

import android.os.Bundle;
import android.view.View;
import android.widget.LinearLayout;

public class MainActivity extends AppCompatActivity implements View.OnClickListener {

    private Fragment fragment1,fragment2,fragment3,fragment4;
    private FragmentManager manager;
    private FragmentTransaction transaction;
    private LinearLayout linearLayout1,linearLayout2,linearLayout3,linearLayout4;

    @Override
    protected void onCreate(Bundle savedInstanceState) {
        super.onCreate(savedInstanceState);
        setContentView(R.layout.activity_main);

        linearLayout1=findViewById(R.id.linearLayout1);
        linearLayout2=findViewById(R.id.linearLayout2);
        linearLayout3=findViewById(R.id.linearLayout3);
        linearLayout4=findViewById(R.id.linearLayout4);

        fragment1=new Fragment1();
        fragment2=new Fragment2();
        fragment3=new Fragment3();
        fragment4=new Fragment4();

        manager=getSupportFragmentManager();

        initial();

        hidden();

        linearLayout1.setOnClickListener(this);
        linearLayout2.setOnClickListener(this);
        linearLayout3.setOnClickListener(this);
        linearLayout4.setOnClickListener(this);

    }

    private void initial() {
        FragmentTransaction transaction=manager.beginTransaction()
                .add(R.id.frameLayout,fragment1)
                .add(R.id.frameLayout,fragment2)
                .add(R.id.frameLayout,fragment3)
                .add(R.id.frameLayout,fragment4);
        transaction.commit();
    }

    private void select(int i) {

        hidden();
        switch (i){
            case 1:showfragment(fragment1);
                break;
            case 2:showfragment(fragment2);
                break;
            case 3:showfragment(fragment3);
                break;
            case 4:showfragment(fragment4);
                break;

        }
    }

    private void showfragment(Fragment fragment) {
        transaction.show(fragment);
    }

    private void hidden() {
        transaction=manager.beginTransaction()
                .hide(fragment1)
                .hide(fragment2)
                .hide(fragment3)
                .hide(fragment4);
        transaction.commit();
    }

    @Override
    public void onClick(View view) {
        switch (view.getId()) {
            case R.id.linearLayout1:
                select(1);
                break;
            case R.id.linearLayout2:
                select(2);
                break;
            case R.id.linearLayout3:
                select(3);
                break;
            case R.id.linearLayout4:
                select(4);
                break;
        }
    }
}
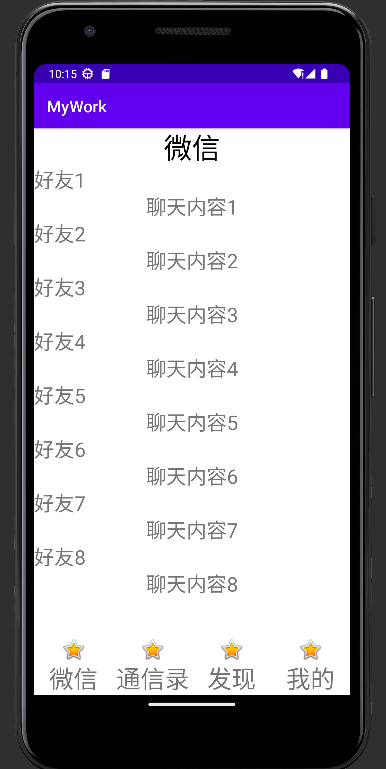
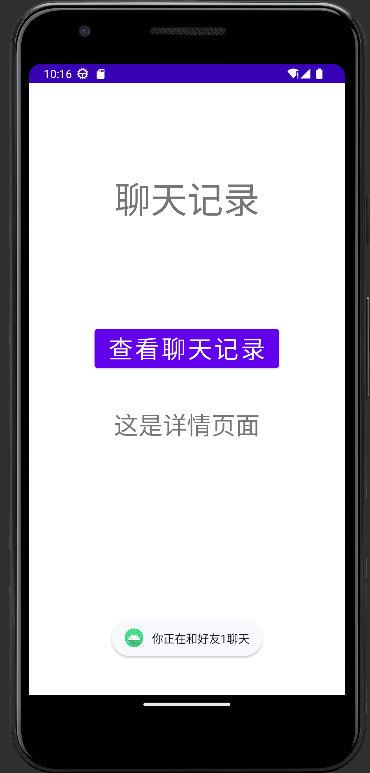
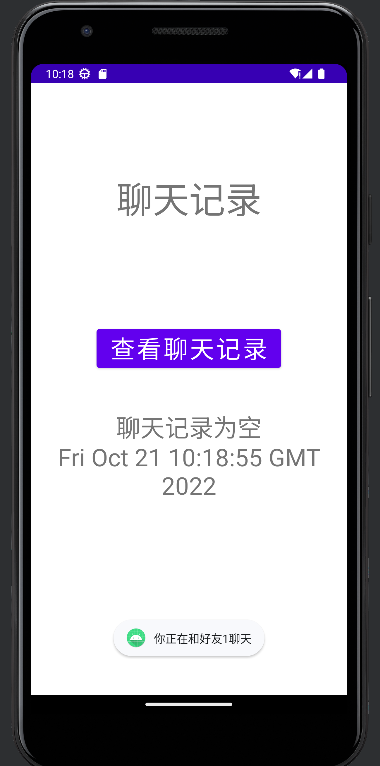
三.运行效果
源码仓库:https://gitee.com/cftmpxr/demo-of-pxr.git

 浙公网安备 33010602011771号