第二次实验
1. 实验任务1
ex1.asm的源代码:
|
1
2
3
4
5
6
7
8
9
10
11
12
13
14
15
16
17
18
19
|
;ex1.asmassume cs:codecode segmentmov ax, 0b810hmov ds, axmov byte ptr ds:[0], 1mov byte ptr ds:[1], 1mov byte ptr ds:[2], 2mov byte ptr ds:[3], 2mov byte ptr ds:[4], 3mov byte ptr ds:[5], 3mov byte ptr ds:[6], 4mov byte ptr ds:[7], 4mov ah, 4chint 21hcode endsend |
使用masm、link工具汇编、链接:
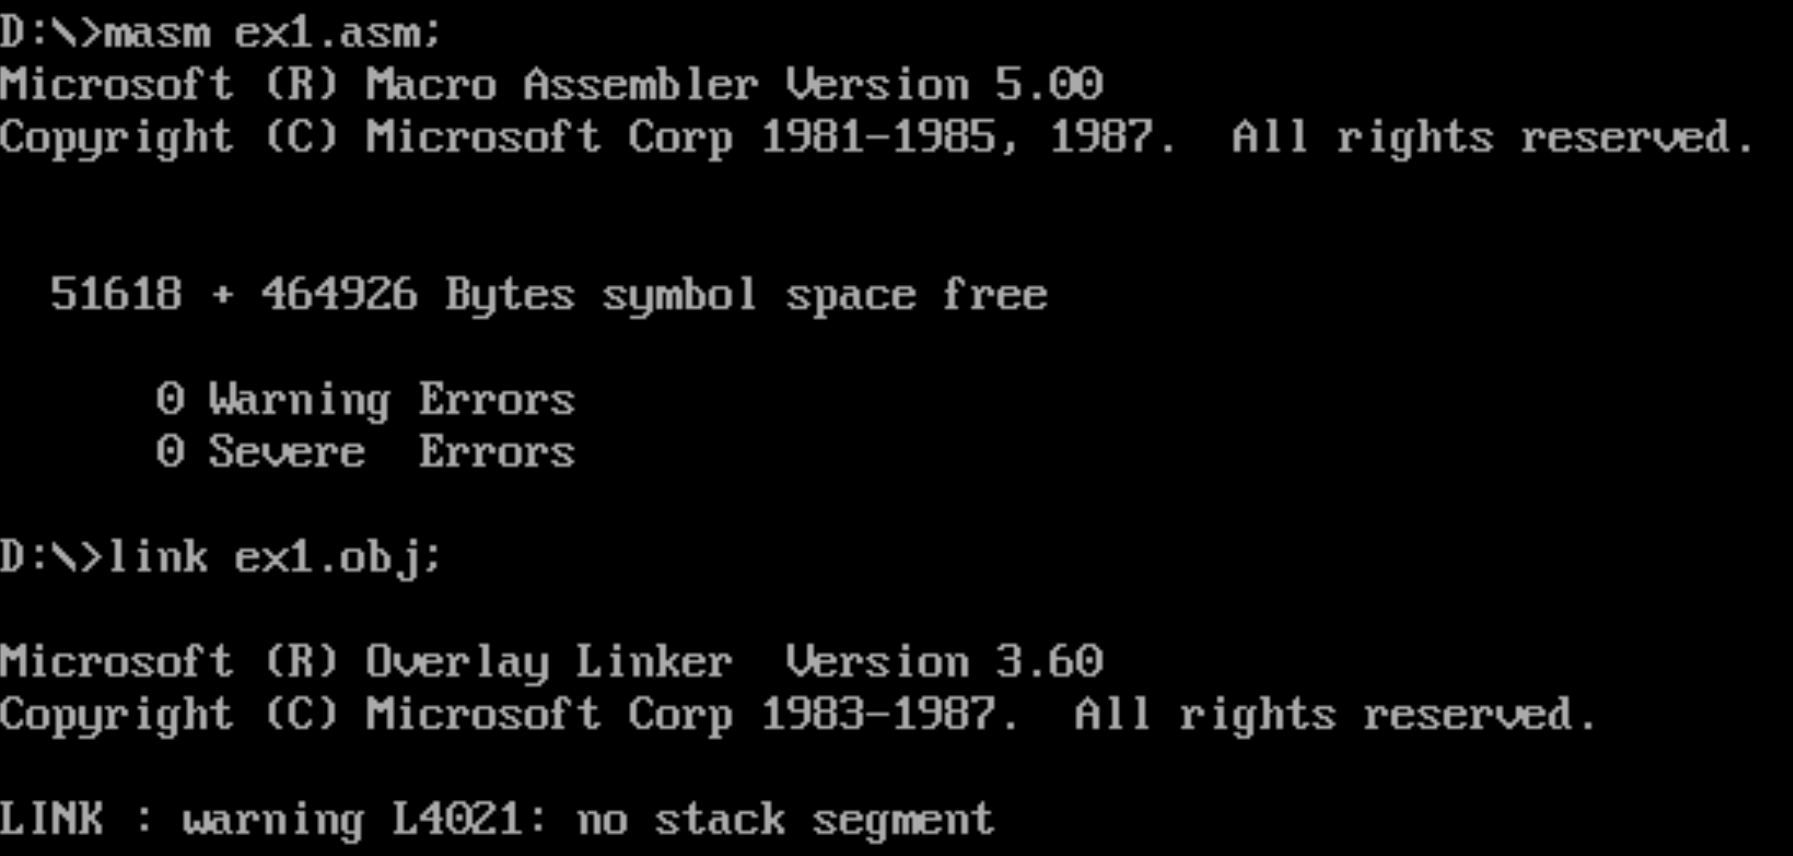
debug调试:
观察到cx=31,使用u命令精准反汇编至30;
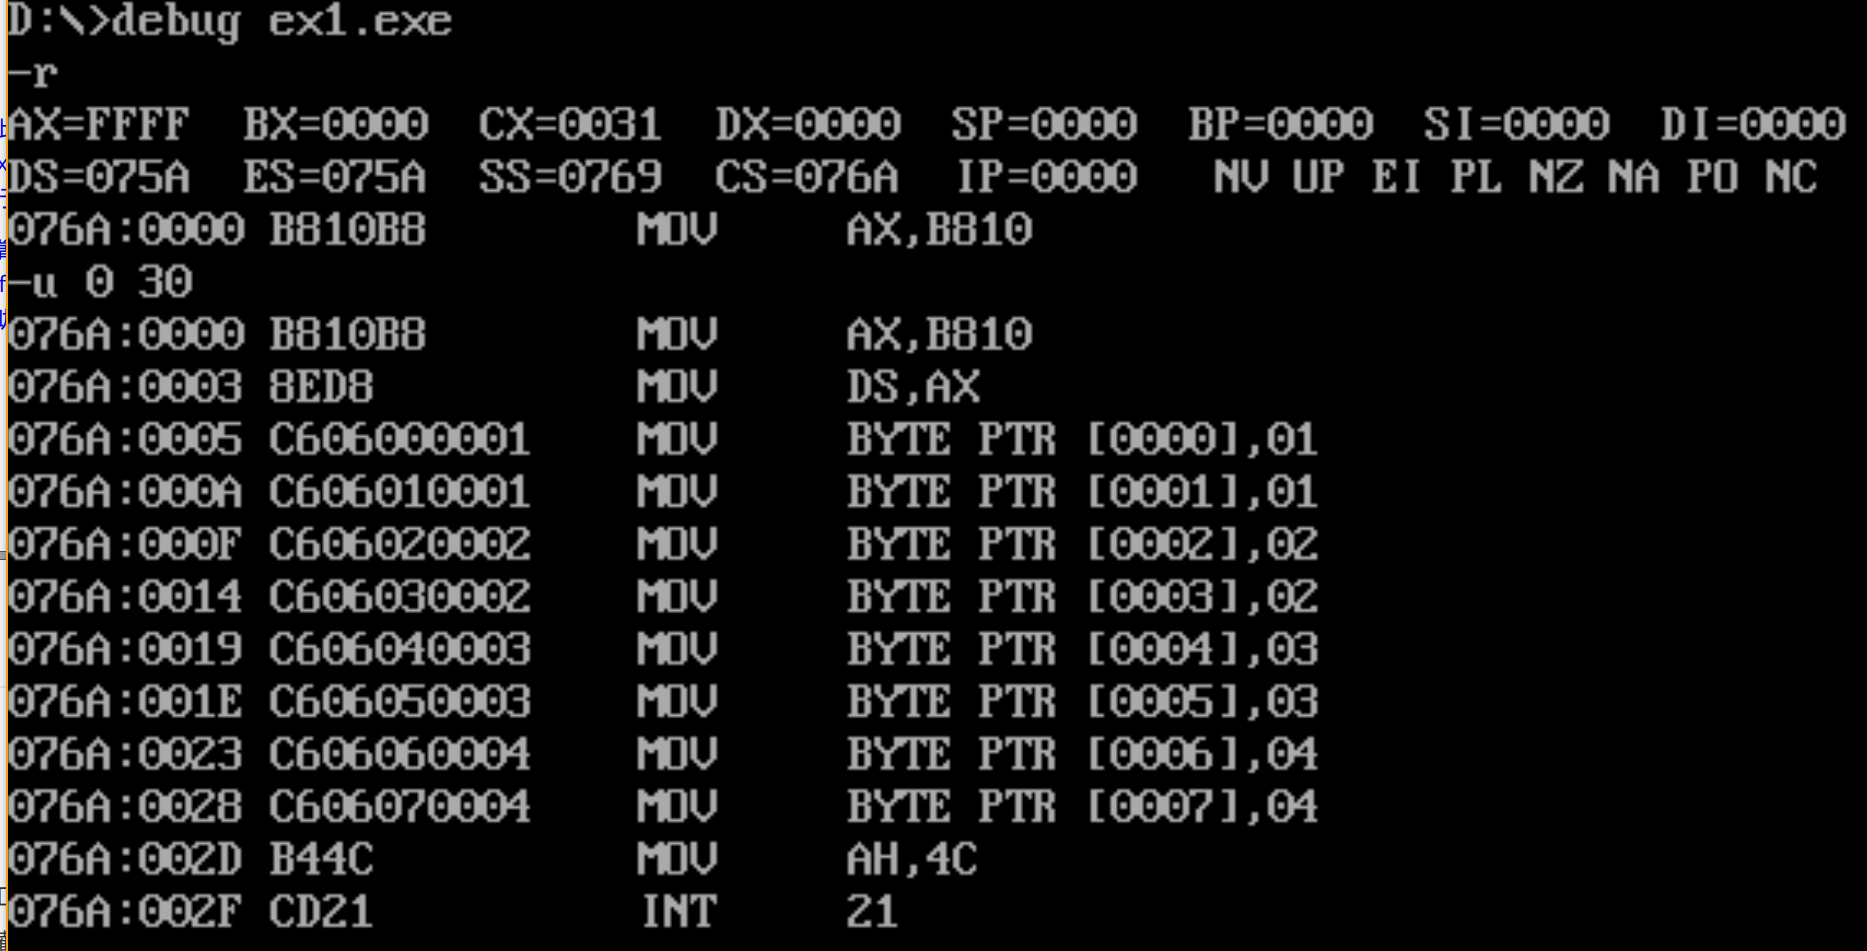
使用g命令执行至倒数第二行,此时命令行出现图像


2. 实验任务2
ex2.asm的源代码:
|
1
2
3
4
5
6
7
8
9
10
11
12
13
14
15
16
17
18
|
;ex2.asmassume cs:codecode segmentmov ax, 0b810hmov ds, axmov bx, 0mov ax, 101Hmov cx, 4s: mov [bx], axadd bx, 2add ax, 101Hloop smov ah, 4chint 21hcode endsend |
使用masm、link工具汇编、链接:
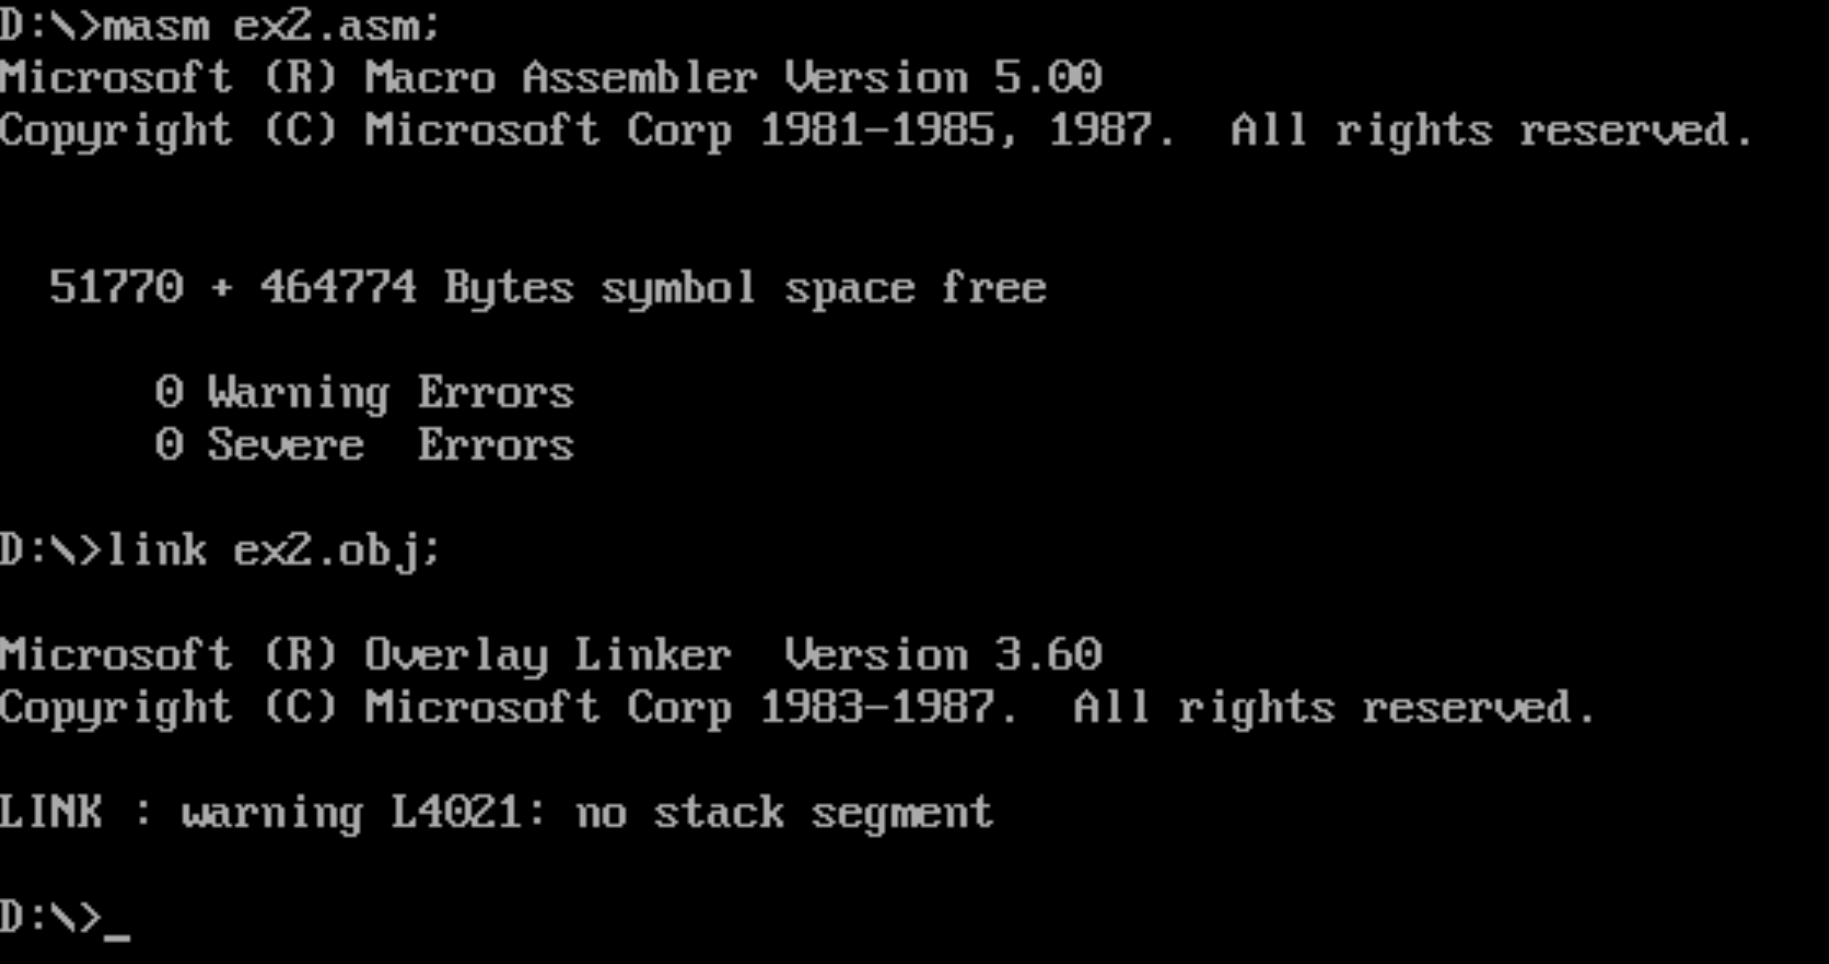
运行结果:

debug调试:
观察到cx=1c,使用u命令精准反汇编至1b;
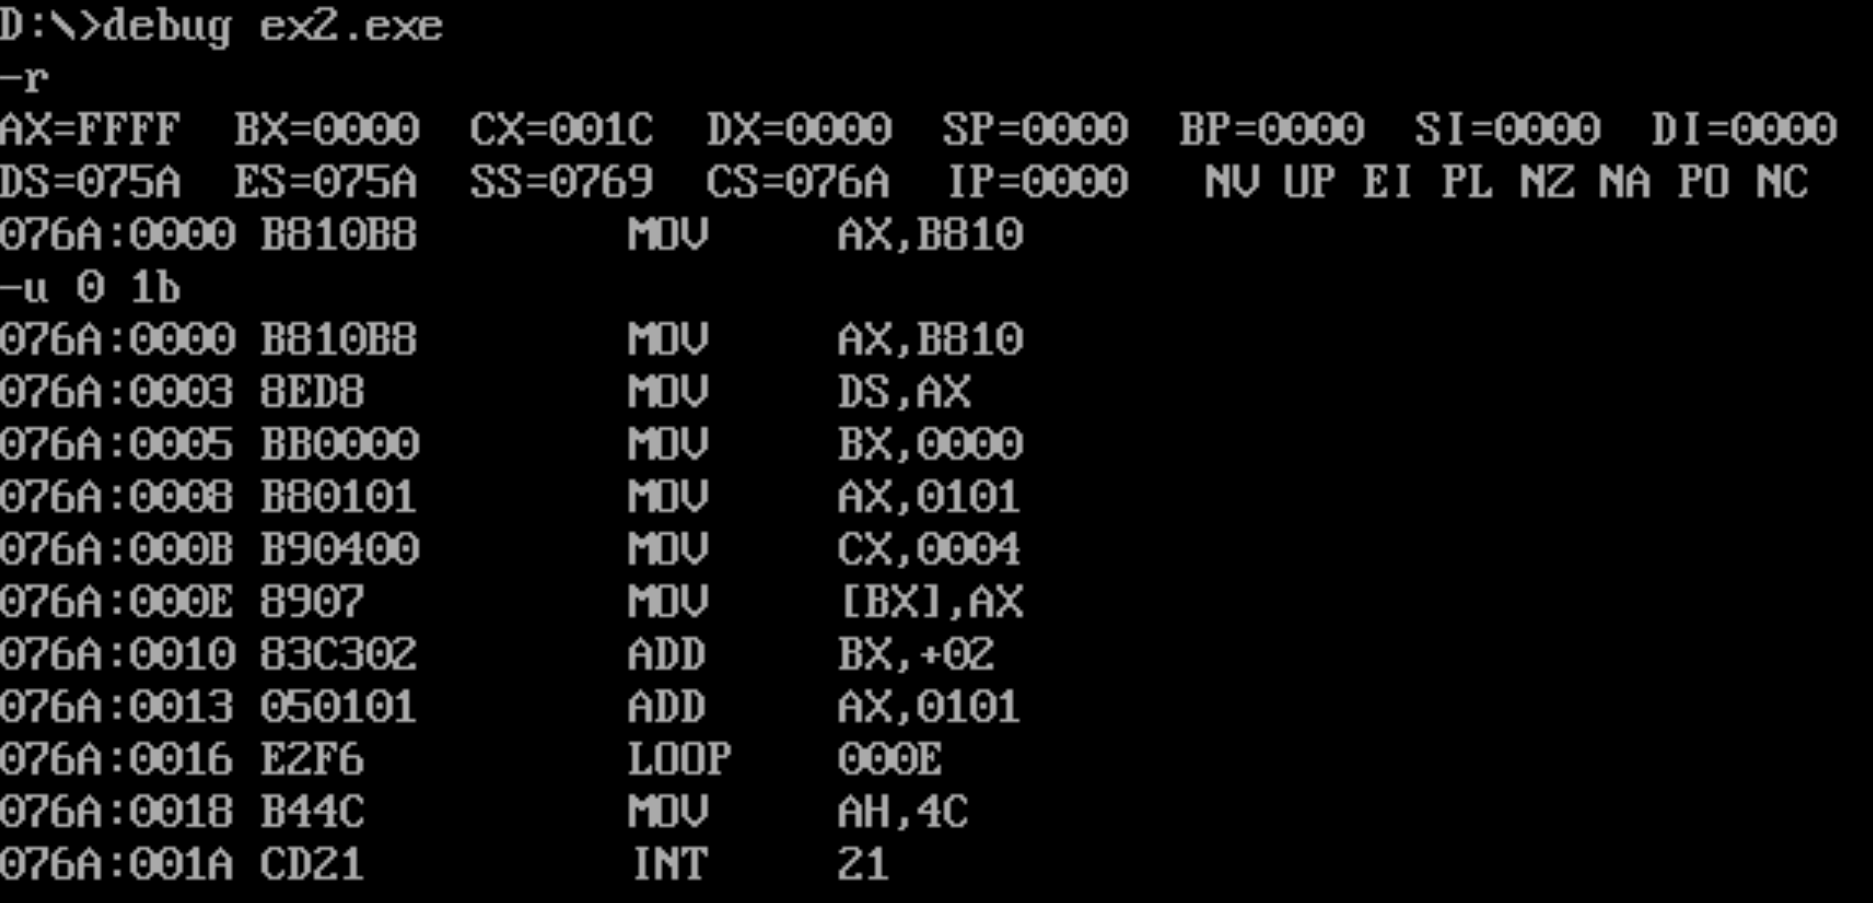
使用g命令执行至倒数第二行,此时命令行出现图像:

![]()
实验分析:
该程序的作用与ex1.exe相同,都是对显存的指定位置写入特定的内容,使得屏幕上显示四个颜色形状各异的图标。
在具体实现上,ex1.exe通过代码的重复来更改显存地址,而ex2.exe则利用了loop语句简化了这一过程。
3. 实验任务3
ex3.asm的源代码:
|
1
2
3
4
5
6
7
8
9
10
11
12
13
14
15
16
|
assume cs:codecode segmentmov ax,0b800hmov ds,axmov ax,0237hmov bx,07b8hmov cx,16s: mov ds:[bx],axadd bx,2hloop smov ax,4c00hint 21hcode endsend |
运行结果截图:
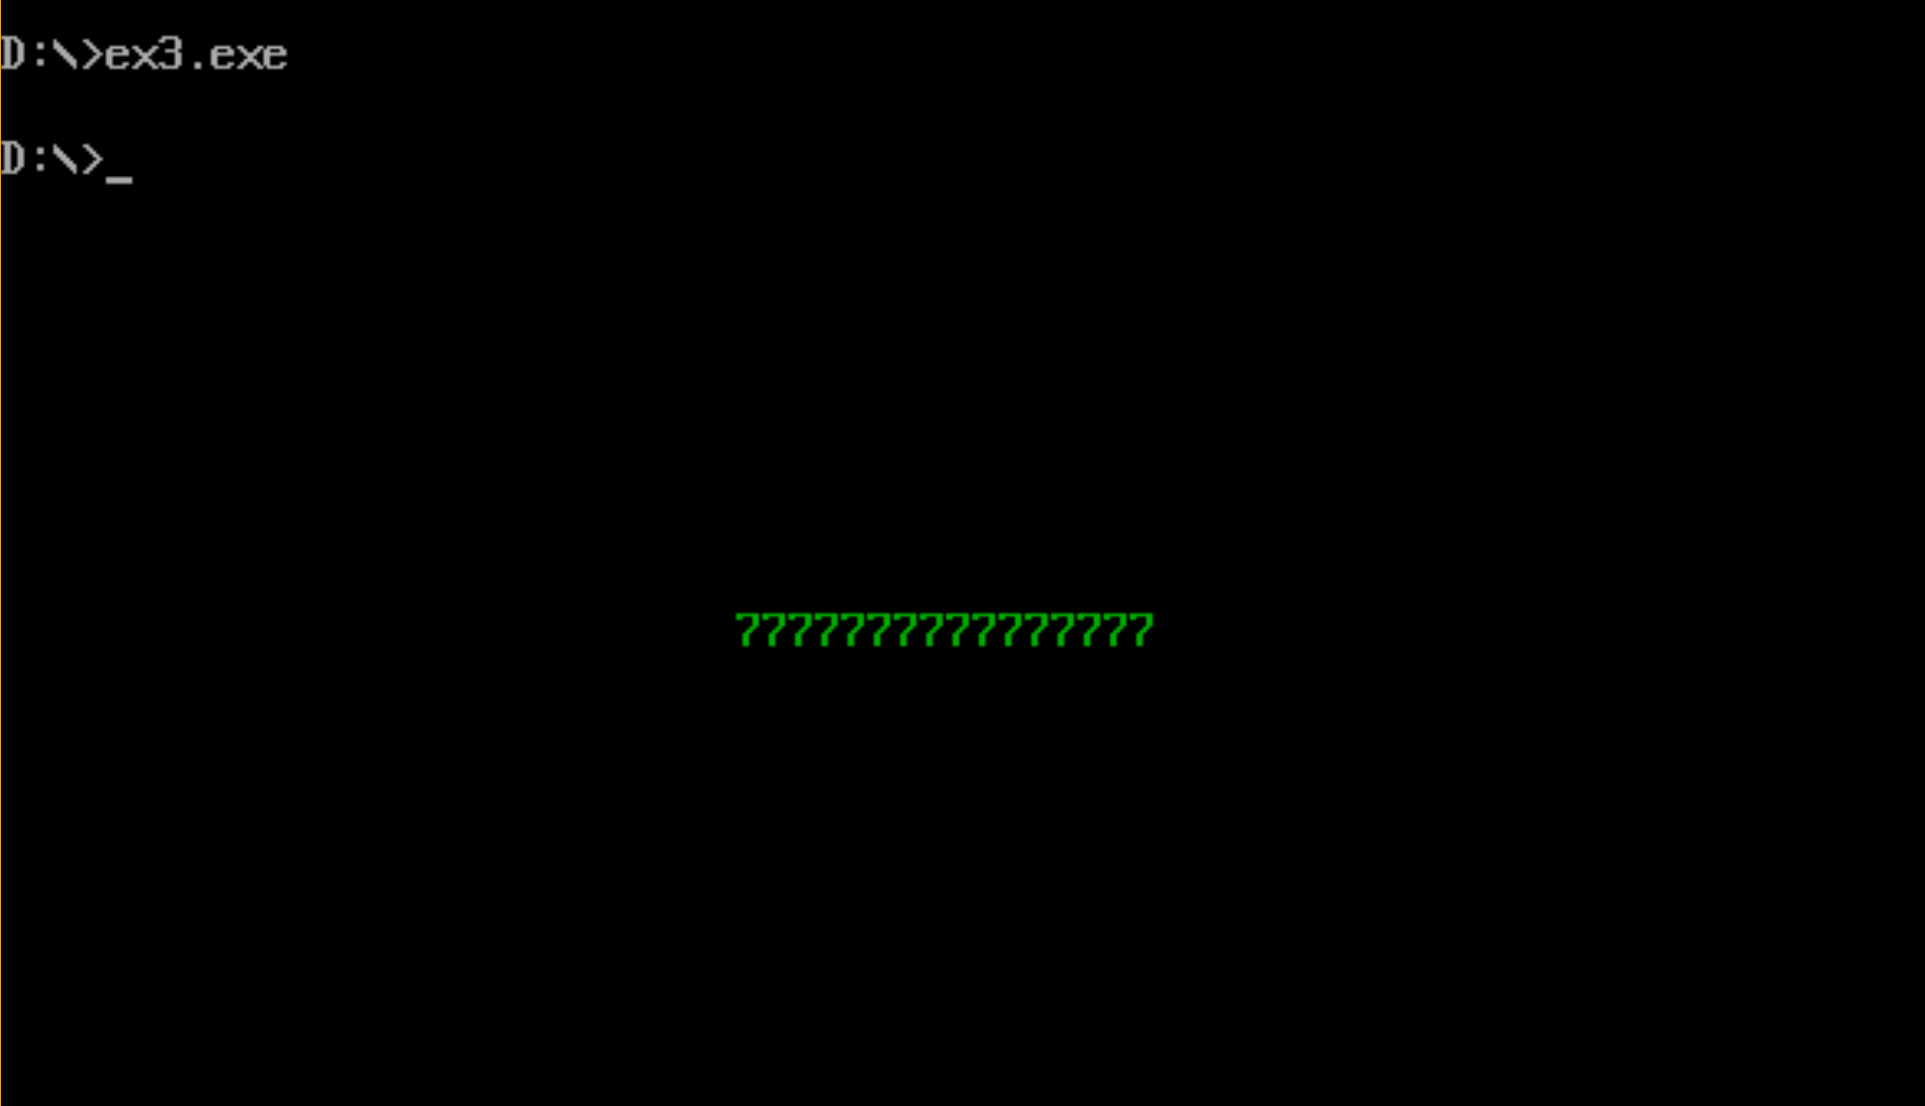
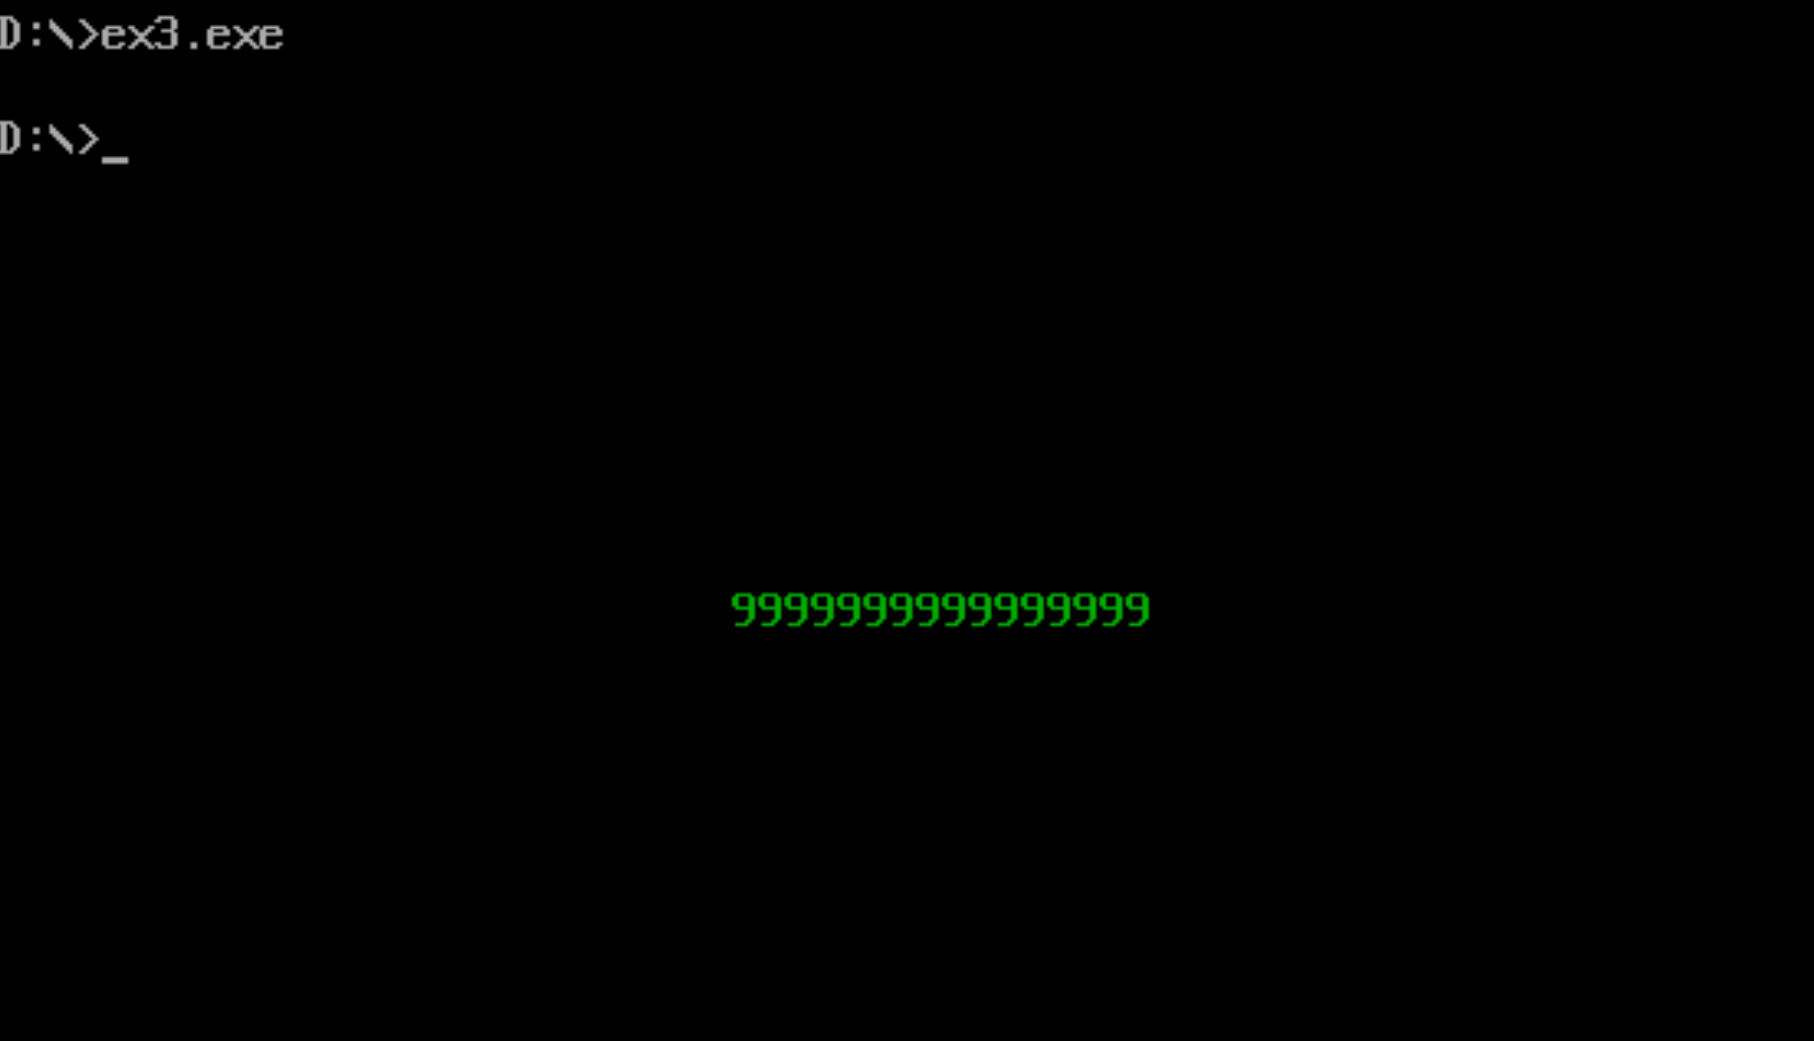
把填充的字数据,从0237H 改成0239H后,观察结果:
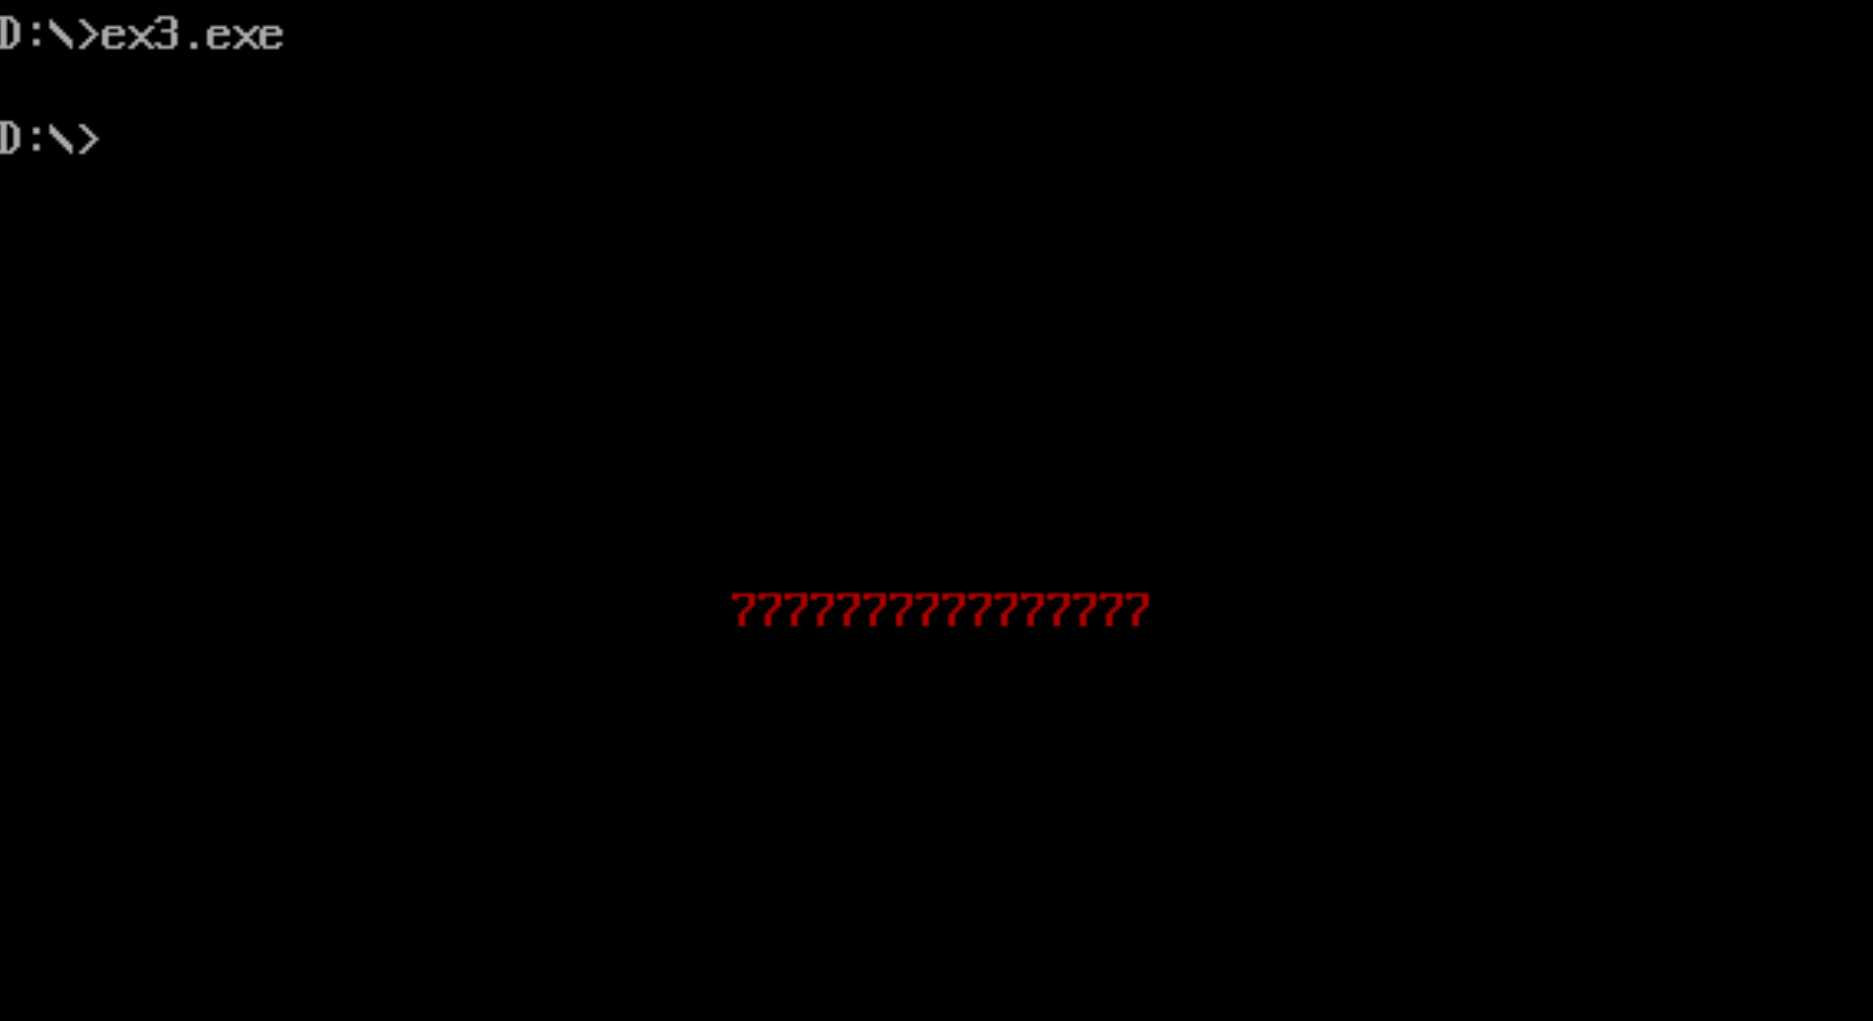
把填充的字数据,从0237H 改成0437H后,观察结果:
实验分析:
这个字数据中高位字节里存放的是图标的颜色,低位字节里存放的图标的内容。
4. 实验任务4
ex4.asm的源代码如下:
|
1
2
3
4
5
6
7
8
9
10
11
12
13
14
15
16
17
18
|
assume cs:codecode segmentmov ax,0mov ds,axmov ax,0200hmov bx,axmov ax,0mov cx,03fhs: mov ds:[bx],axadd ax,1add bx,1loop smov ax,4c00hint 21hcode endsend |
debug调试:
成功将0~63写入内存0:200~0:23f。

5. 实验任务5
ex5.asm的源代码如下:
|
1
2
3
4
5
6
7
8
9
10
11
12
13
14
15
16
17
18
|
assume cs:codecode segmentmov ax ,csmov ds,axmov ax,002hmov es,axmov bx,0mov cx,cxs: mov al,ds:[bx]mov es:[bx],alinc bxloop smov ax,4c00hint 21hcode endsend |
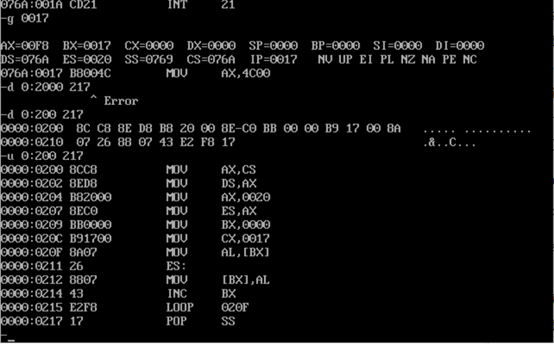
debug调试结果如下:
可以看见已经成功把程序本身复制至0:200内存单元处。
posted on 2020-11-06 10:20 centurion829 阅读(69) 评论(2) 收藏 举报


 浙公网安备 33010602011771号