Zabbix 5.0 LTS 安装
基本环境
操作系统:CentOS7.5
安装源(阿里):
rpm -Uvh https://mirrors.aliyun.com/zabbix/zabbix/5.0/rhel/7/x86_64/zabbix-release-5.0-1.el7.noarch.rpm
sed -i 's#http://repo.zabbix.com#https://mirrors.aliyun.com/zabbix#' /etc/yum.repos.d/zabbix.repo
yum clean all

安装  zabbix-server:
yum install zabbix-server-mysql -y启用 zabbix 前端源
yum install centos-release-scl -y
修改/etc/yum.repos.d/zabbix.repo,将[zabbix-frontend]下的 enabled 改为 1

安装前端
yum -y install zabbix-web-mysql-scl zabbix-nginx-conf-scl
安装数据库
yum install mariadb-server -y

初始化mariadb
mysql_secure_installation

root 用户进入 mysql,并建立 zabbix 数据库,注意数据库编码
create database zabbix character set utf8 collate utf8_bin;
grant all on zabbix.* to 'zabuser'@'192.168.1.%' identified by 'xxxx';
grant all on zabbix.* to 'zabuser'@'localhost' identified by 'xxxxx';
修改配置文件:/etc/zabbix/zabbix_server.conf
ListenIP=192.168.1.XX
DBPassword=
DBUser=
DBName=
配置PHP
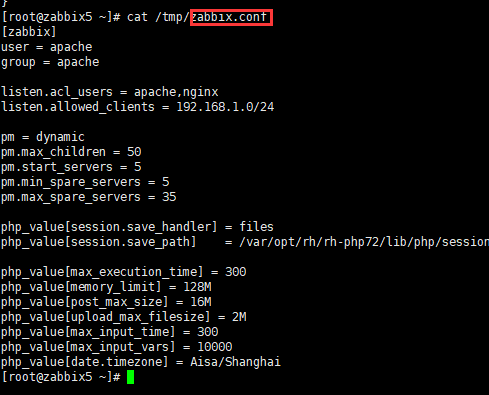
[root@zabbix5 ~]# vim /etc/opt/rh/rh-php72/php-fpm.d/www.conf
listen.acl_groups = nginx
user = nginx
group = nginx
listen = 192.168.1.xxx:900
;listen.allowed_clients = 127.0.0.1 #用分号注销,这样允许所有客户端访问
修改php目录下文件的属主,属组为nginx
chown -R nginx:nginx /var/opt/rh/rh-php72/lib/php/*
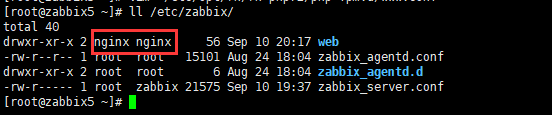
修改/etc/zabbix 下前端配置文件的属主,属组
删除 php中zabbix的配置文件,后期根据页面提示我们自己手动在php.ini配置
[root@zabbix5 ~]# rm -f /etc/opt/rh/rh-php72/php-fpm.d/zabbix.conf
配置nginx虚拟主机
[root@zabbix5 ~]# cat /etc/opt/rh/rh-nginx116/nginx/conf.d/zabbix.conf
server {
listen 80;
server_name 192.168.1.xx;
root /usr/share/zabbix;
index index.php;
location ~ [^/]\.php(/|$) {
fastcgi_pass 192.168.1.xxx:9000;
fastcgi_index index.php;
fastcgi_param DOCUMENT_ROOT /opt/web/zabbix;
fastcgi_param SCRIPT_FILENAME /opt/web/zabbix$fastcgi_script_name;
fastcgi_param PATH_TRANSLATED /opt/web/zabbix$fastcgi_script_name;
include fastcgi_params;
fastcgi_param QUERY_STRING $query_string;
fastcgi_param REQUEST_METHOD $request_method;
fastcgi_param CONTENT_TYPE $content_type;
fastcgi_param CONTENT_LENGTH $content_length;
fastcgi_intercept_errors on;
fastcgi_ignore_client_abort off;
fastcgi_connect_timeout 60;
fastcgi_send_timeout 180;
fastcgi_read_timeout 180;
fastcgi_buffer_size 128k;
fastcgi_buffers 4 256k;
fastcgi_busy_buffers_size 256k;
fastcgi_temp_file_write_size 256k;
}
}
因为原来nginx 80端口已被nginx用来监听。所以上面改成80端口后,访问zabbix安装界面跳转不了。
办法是修改下面默认配置
[root@zabbix5 ~]# vim /etc/opt/rh/rh-nginx116/nginx/nginx.conf
server {
listen 8080 default_server; 将80改为8080或都其它端口
}

启动zabbix , php,nginx 并设置开机自动启动
systemctl start zabbix-server zabbix-agent rh-nginx116-nginx rh-php72-php-fpm
systemctl enable zabbix-server zabbix-agent rh-nginx116-nginx rh-php72-php-fpm
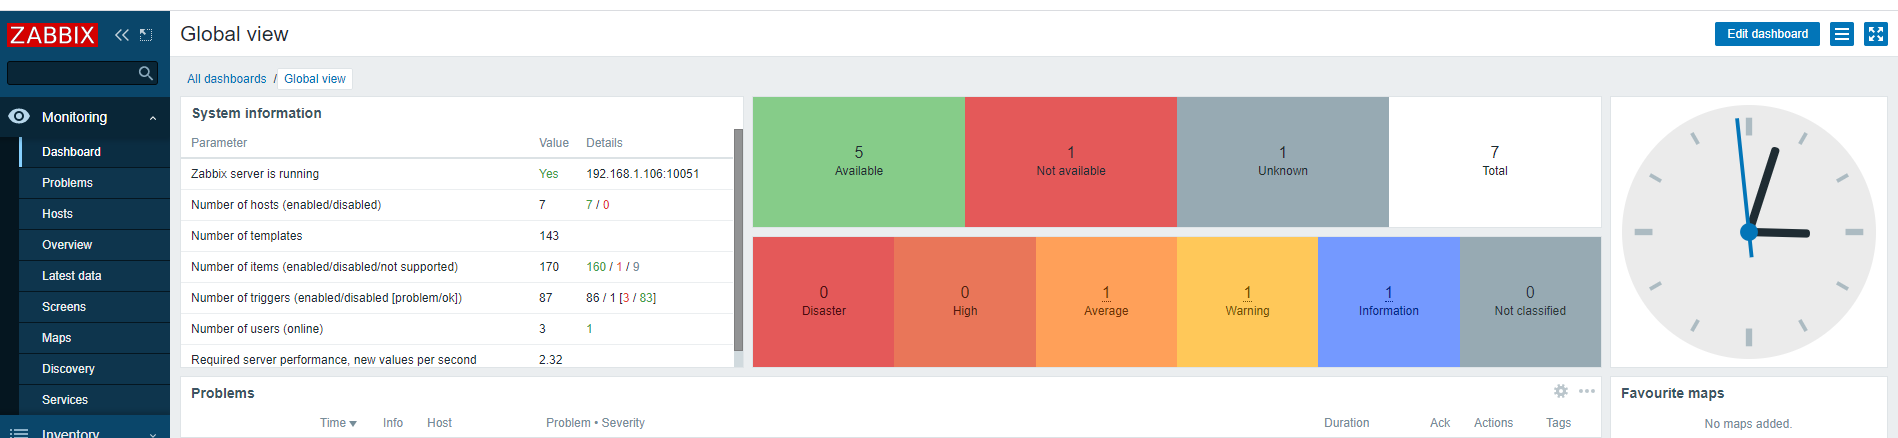
zabbix5.0主界面