BlendMask Pytorch复现
前言
待更!
Detectron2模型训练与部署
1. 准备数据集
1.1 下载公开数据集COCO
来到官网下载页面:https://cocodataset.org/#download
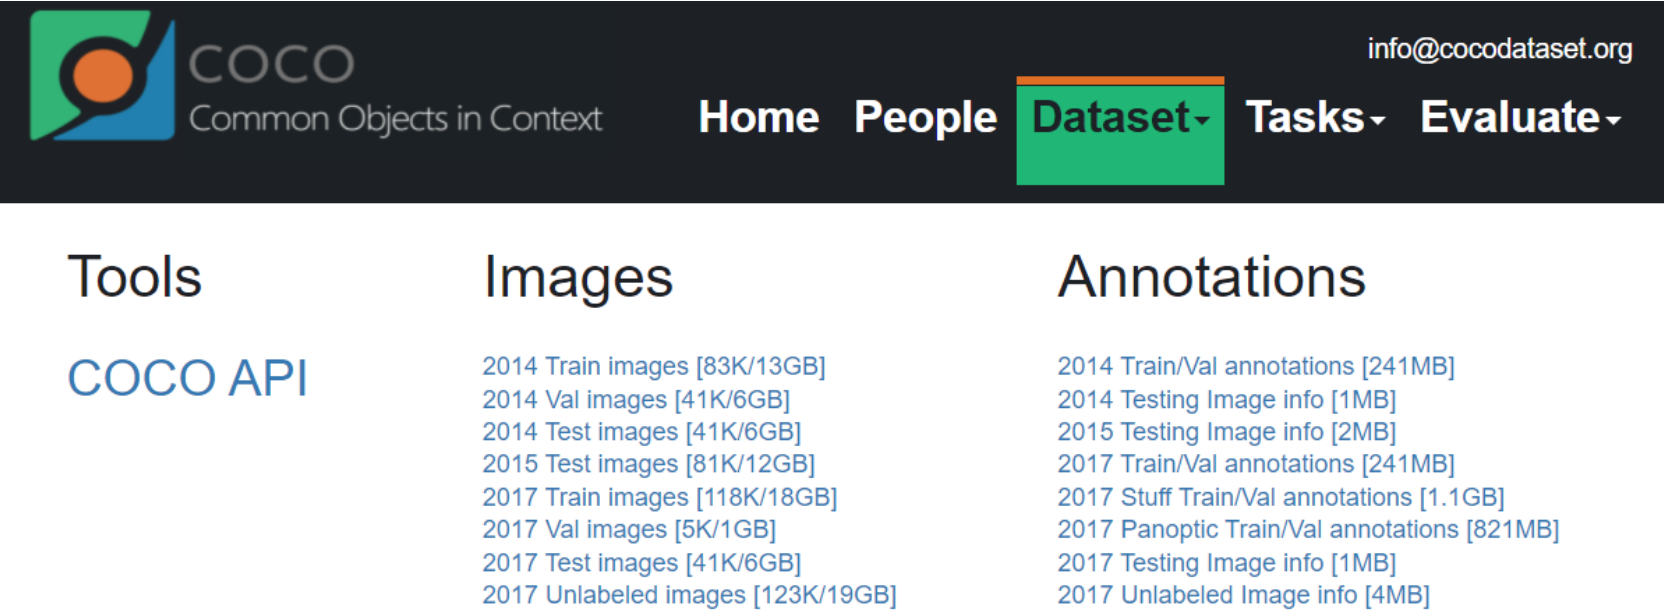
Images就是数据集,Annotations表示标注信息使用 JSON 格式存储( annotations ), COCO API用于访问和操作所有“标注”进行预处理。
我们一般是在Linux服务器上进行跑实验,可以直接通过wget+下载链接(现在有很多提供百度网盘下载的,但是没有vip速度会很慢):
wget http://images.cocodataset.org/zips/train2014.zip
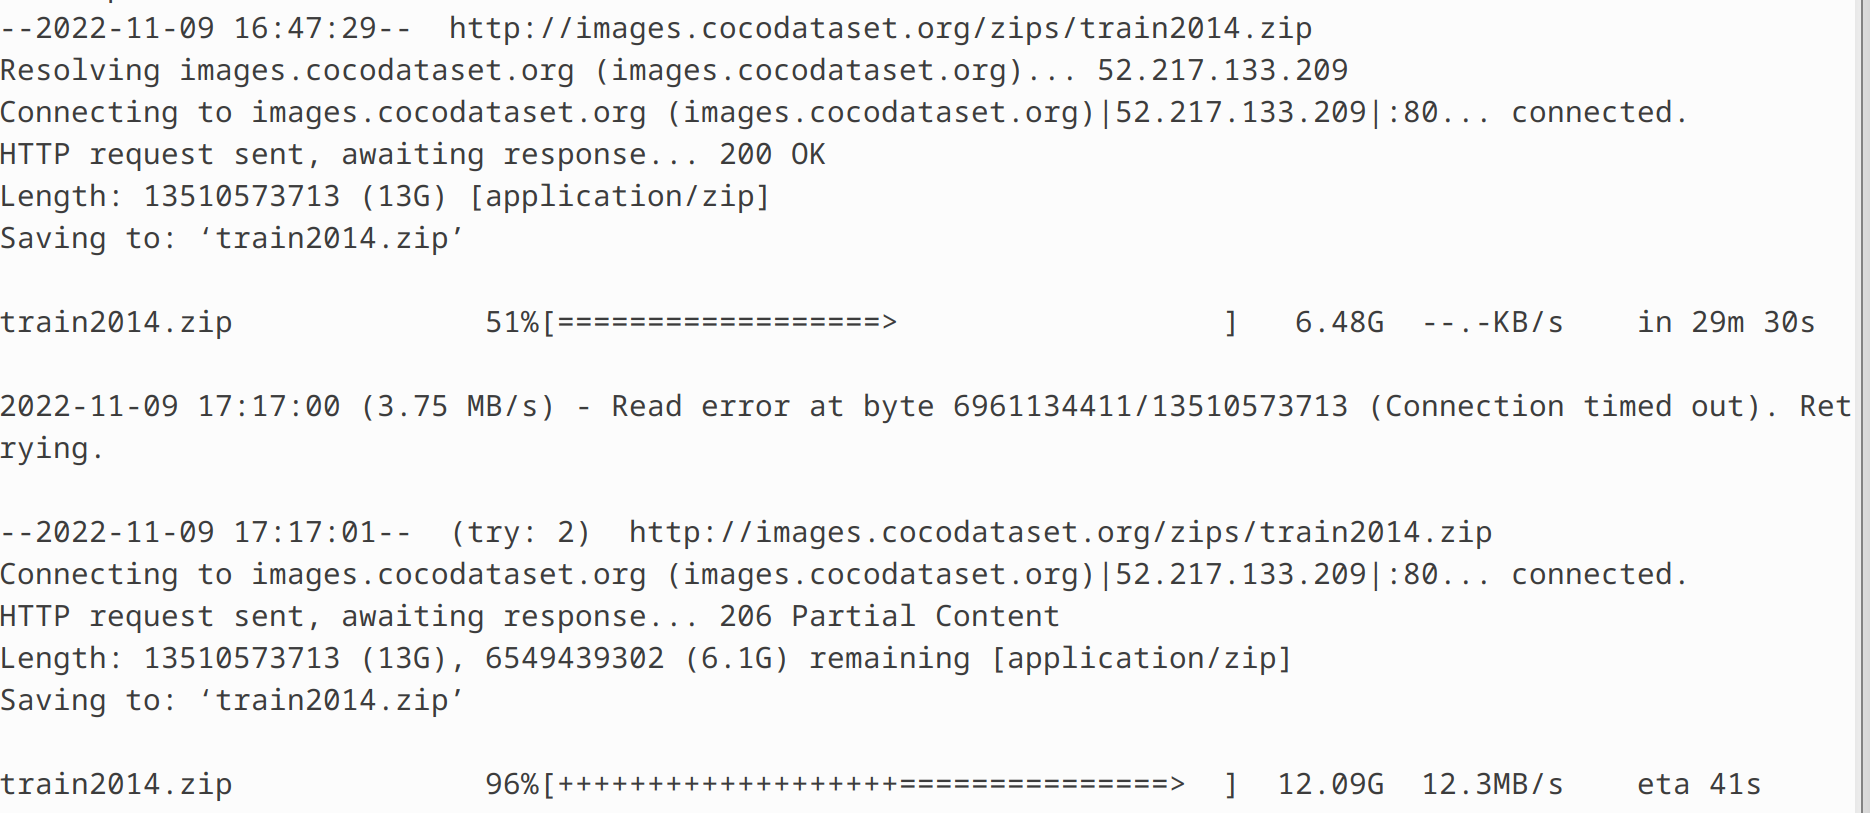
注:中途网络有点不稳定,后面也自行重连上了,下载速度还是挺快的!
同样的方法下载测试集和验证集,下面给出常见的下载链接(以2017为例):
| 数据集 | 下载链接 |
| 2017 Train images [118K/18GB] | http://images.cocodataset.org/zips/train2017.zip |
| 2017 Val images [5K/1GB] | http://images.cocodataset.org/zips/val2017.zip |
| 2017 Test images [41K/6GB] | http://images.cocodataset.org/zips/test2017.zip |
| 2017 Train/Val annotations [241MB] | http://images.cocodataset.org/annotations/annotations_trainval2017.zip |
1.2 自定义数据集
使用自己的数据,通常需要自己进行标注,标注的时候需要使用外部的标注软件。对于目标分割,语义分割来说,需要标注 mask,即生成一个polygon 多边形文件,使用的工具为 labelme。
此处省略安装过程。
labelme 工具标注数据后,会生成自己的 labelme json 文件,后期训练模型需要转化为 coco 数据的格式。使用 labelme2coco.py 将 labelme 的 json 文件转为 coco 自己的 json 文件,该代码需要修改图像文件的路径以及存放的路径(如果没有定义存放的路径会自动生成,并且将数据分成训练集和验证集)
2.配置训练环境
2.1配置和测试Detectron2
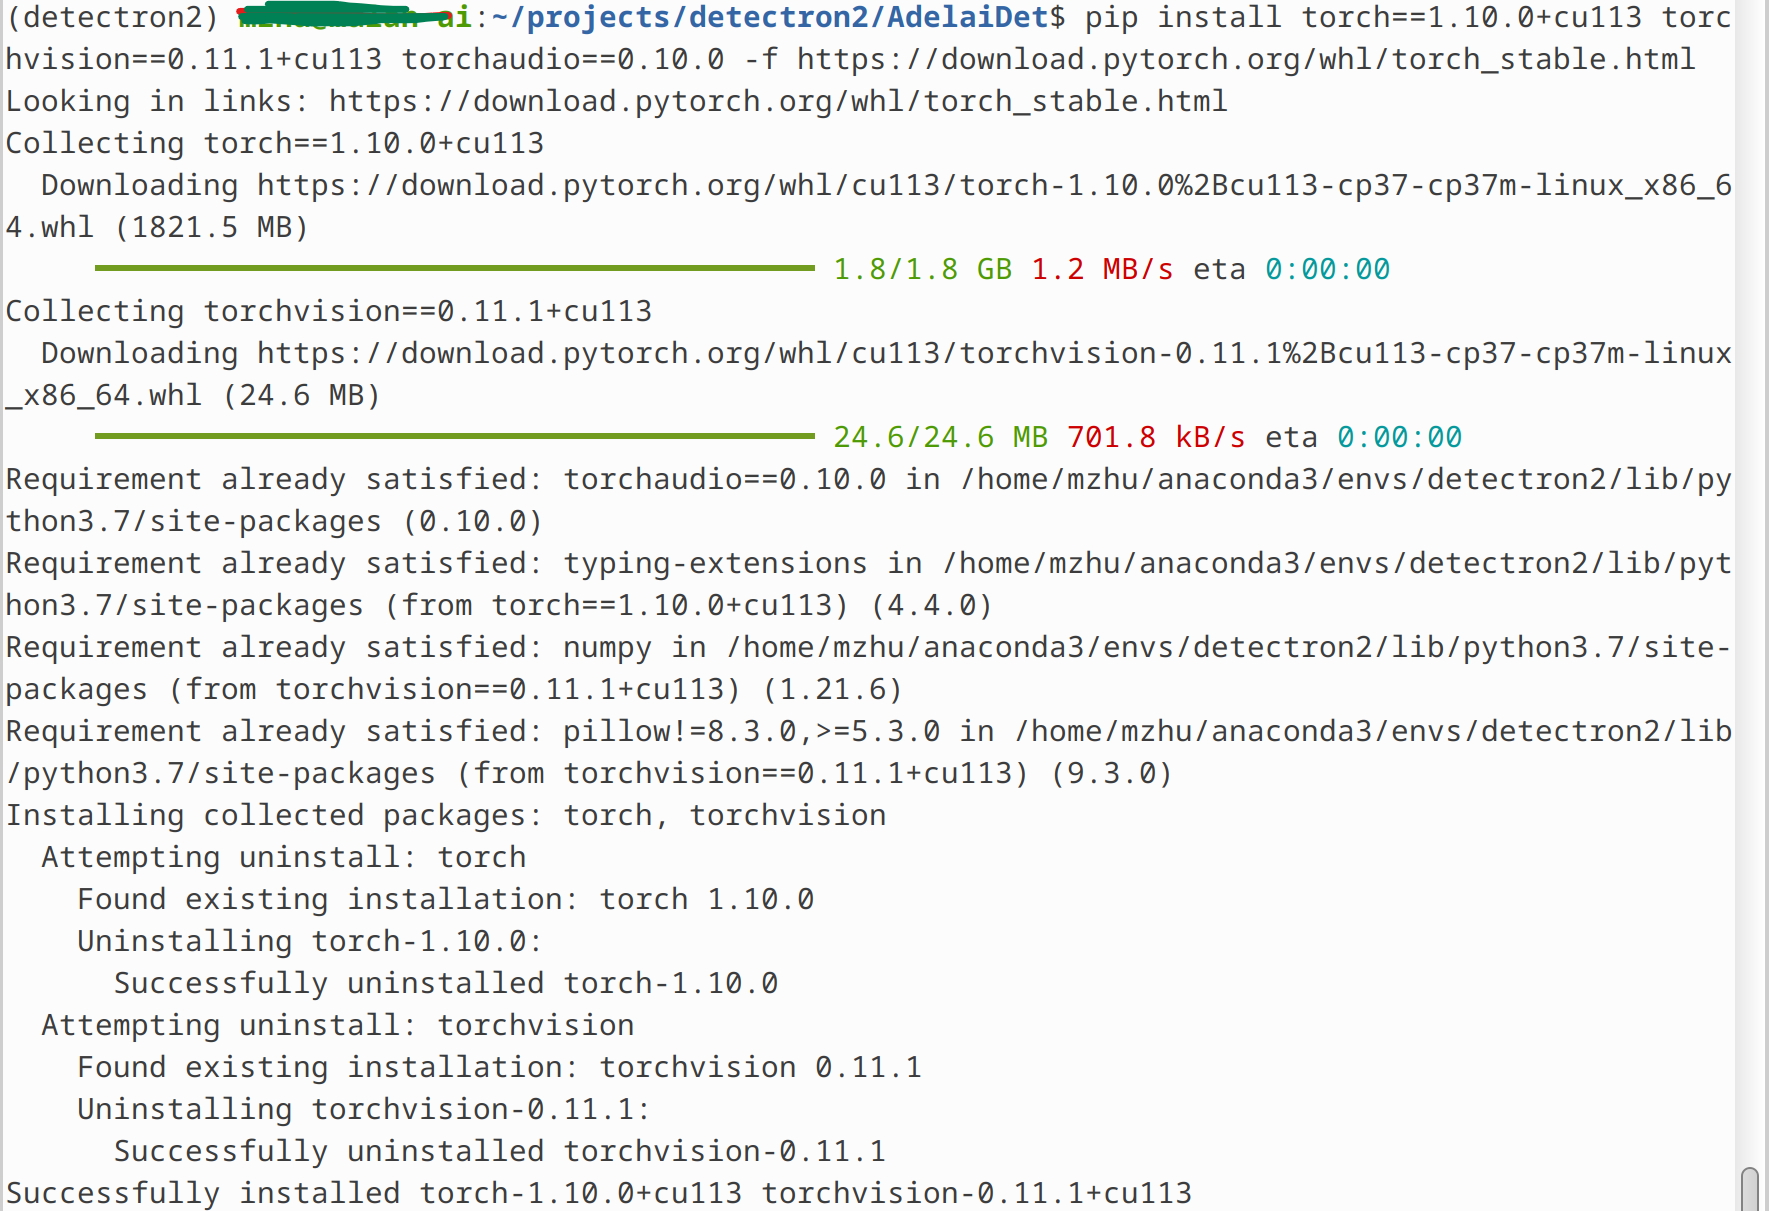
创建anaconda虚拟环境,安装python,detectron2和pytorch等必须的依赖项(注意版本选择):
#anaconda env
conda create --name=detectron2 python=3.7
conda activate detectron2
#opencv-python
pip install opencv-python==4.5.4.58 -i http://pypi.douban.com/simple/ --trusted-host pypi.douban.com
#Install Pre-Built Detectron2 (Linux only)
python -m pip install detectron2 -f https://dl.fbaipublicfiles.com/detectron2/wheels/cu113/torch1.10/index.html -i http://pypi.douban.com/simple/
#pytorch 1.10.0 for CUDA 11.3
conda install pytorch==1.10.0 torchvision==0.11.1 torchaudio==0.10.0 cudatoolkit=11.3 -c pytorch -c conda-forge
2.2 配置和测试AdelaiDet
AdelaiDet is an open source toolbox for multiple instance-level recognition tasks on top of Detectron2.
2.2.1 下载和编译AdelaiDet
执行下列指令去下载和编译AdelaiDet:
git clone https://github.com/aim-uofa/AdelaiDet.git
cd AdelaiDet
python setup.py build develop
但是在编译AdelaiDet时出现了如下RunTimeError:

通过trace log可知出错的代码位于:
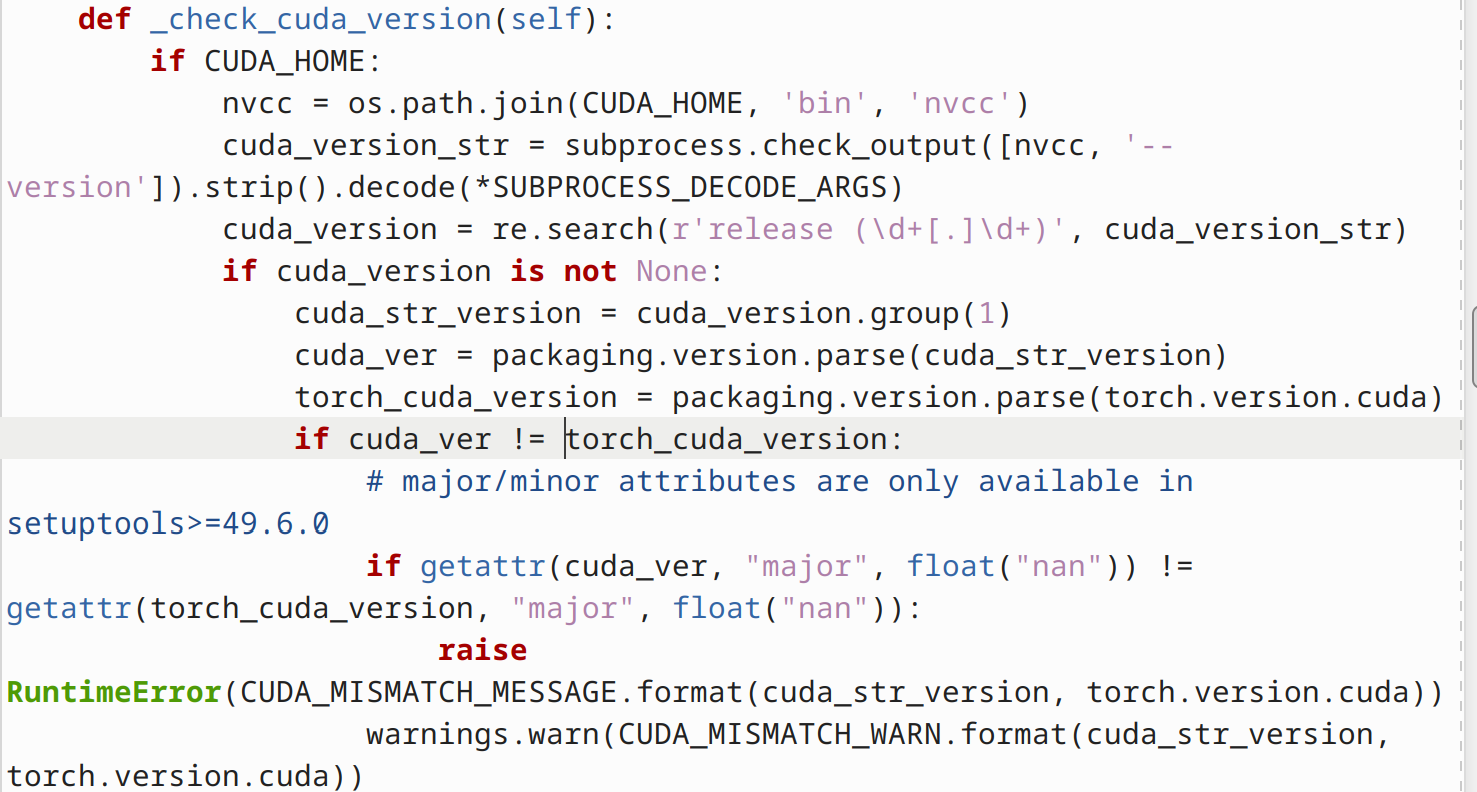
它比较的nvcc的CUDA Runtime API的版本与torch.version.cuda的版本是否一致!
解决方案:
查看当前使用nvcc:
which nvcc
查看已安装的nvcc的版本(/usr/local/路径下):
 username@mulan-ai:~$ cat /usr/local/
bin/       cuda/      cuda-11/   cuda-11.4/ doc/       etc/       games/     include/   lib/       man/       sbin/      share/     src/
修改当前用户下的环境变量:
- 修改
~/.bashrc文件:
vim ~/.bashrc
- 添加指定版本路径:
export PATH=/usr/local/cuda-11.4/bin:$PATH
- 刷新环境变量:
source ~/.bashrc
然后再次执行,错误消失,正常Build结束:

2.2.2 Inference with Pre-trained Models
- Pick a model and its config file, for example,
fcos_R_50_1x.yaml. - Download the model:
wget https://cloudstor.aarnet.edu.au/plus/s/glqFc13cCoEyHYy/download -O fcos_R_50_1x.pth
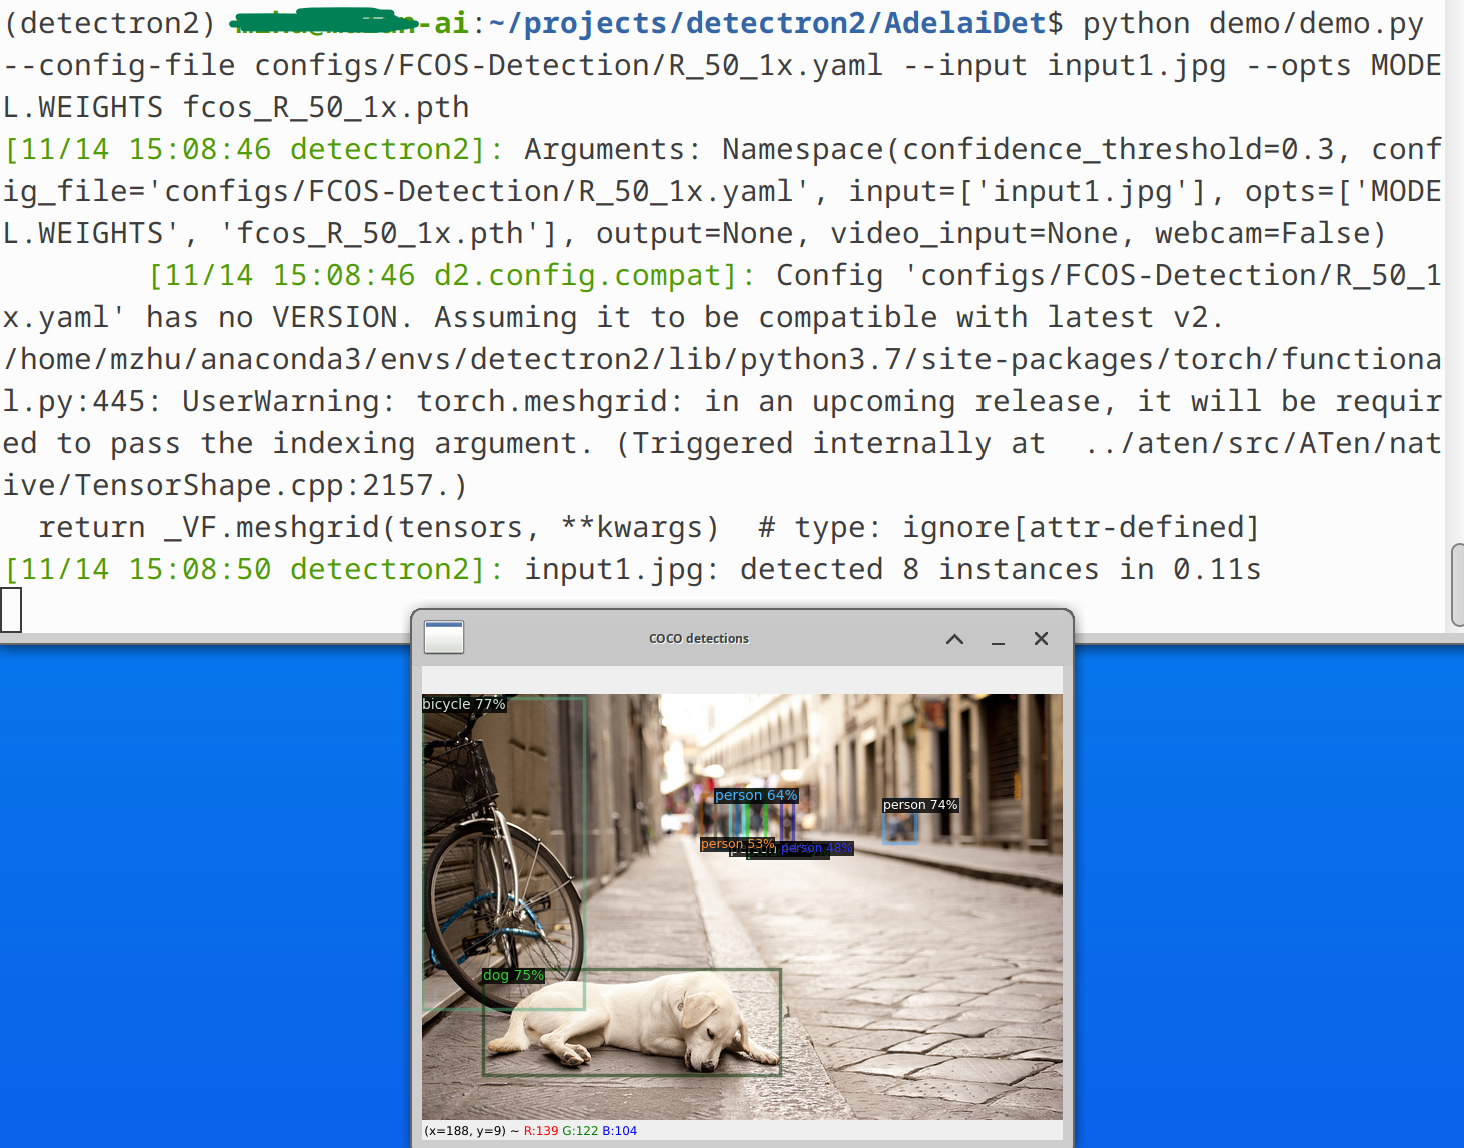
- Run the demo with
python demo/demo.py --config-file configs/FCOS-Detection/R_50_1x.yaml --input input1.jpg --opts MODEL.WEIGHTS fcos_R_50_1x.pth
Train Your Own Models
To train a model with "train_net.py", first setup the corresponding datasets following datasets/README.md(这个我们在本文第一部分已经知晓), then run:
OMP_NUM_THREADS=1 python tools/train_net.py --config-file configs/BlendMask/R_50_1x.yaml --num-gpus 2 OUTPUT_DIR training_dir/blendmask_R_50_1x
同样先下载预训练模型:
wget https://cloudstor.aarnet.edu.au/plus/s/glqFc13cCoEyHYy/download -O blendmask_R_50_1x.pth
注意:另外,如果不想在 coco.py 中修改文件路径的话,可以把现有的 coco数据集软连接到当前的datasets目录下,以节省项目的空间:
cd detectron2/datasets/ #detectron2和AdelaiDet同理
ln -s xxx/coco .   #根据个人情况修改路径

 浙公网安备 33010602011771号