Spring注解@Component、@Repository、@Service、@Controller区别
项目中的controller层使用@controller注解
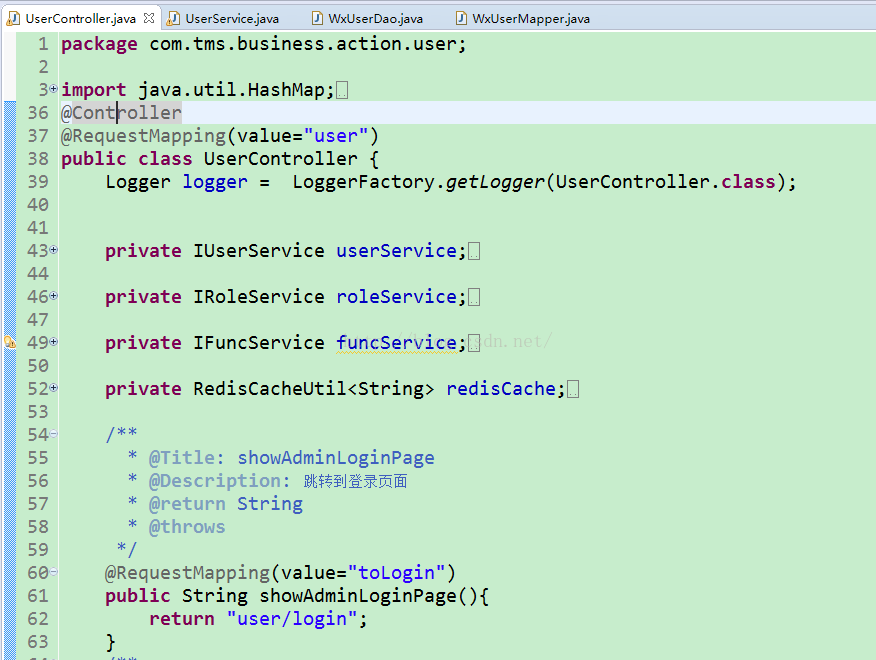
@Controller 用于标记在一个类上,使用它标记的类就是一个SpringMVC Controller 对象。分发处理器将会扫描使用了该注解的类的方法。通俗来说,被Controller标记的类就是一个控制器,这个类中的方法,就是相应的动作。
@RequestMapping是一个用来处理请求地址映射的注解,可用于类或方法上。用于类上,表示类中的所有响应请求的方法都是以该地址作为父路径。比如图一中,跳转到登录页面的路径就是localhost:8080/xxx-war/user/toLogin
service采用@service注解
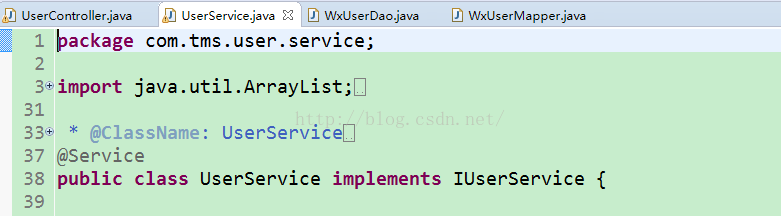
例:@Service("userService")注解是告诉Spring,当Spring要创建UserServiceImpl的的实例时,bean的名字必须叫做"userService",这样当Action需要使用UserServiceImpl的的实例时,就可以由Spring创建好的"userService",然后注入给Action。
dao层使用@repository注解
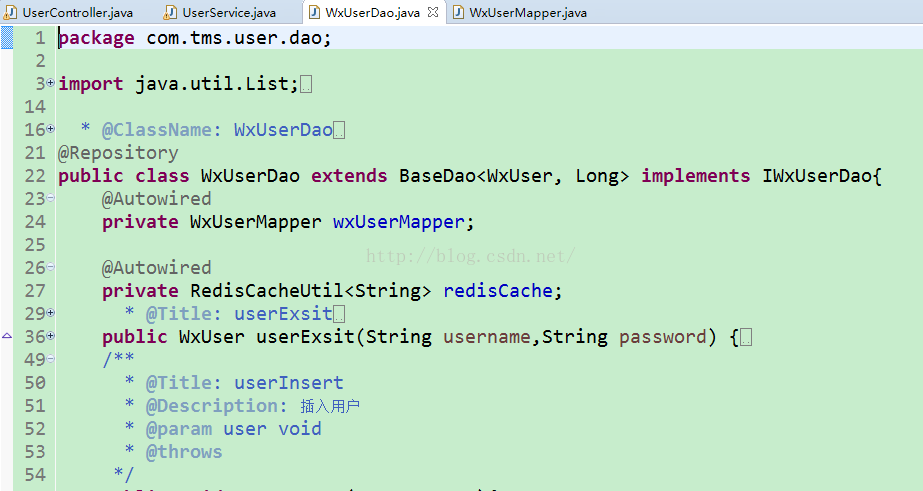
@Repository(value="userDao")注解是告诉Spring,让Spring创建一个名字叫“userDao”的UserDaoImpl实例。
当Service需要使用Spring创建的名字叫“userDao”的UserDaoImpl实例时,就可以使用@Resource(name = "userDao")注解告诉Spring,Spring把创建好的userDao注入给Service即可。
@Autowired可以对成员变量、方法和构造函数进行标注,来完成自动装配的工作,我们也要清楚,@Autowired是根据类型进行自动装配的。
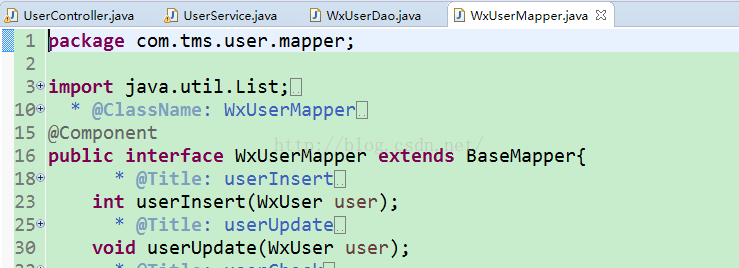
mapper层使用@Component注解
总结一下:
@Controller 用于标记在一个类上,使用它标记的类就是一个SpringMVC Controller 对象。分发处理器将会扫描使用了该注解的类的方法。通俗来说,被Controller标记的类就是一个控制器,这个类中的方法,就是相应的动作。
1、@controller 控制器(注入服务)
2、@service 服务(注入dao)
3、@repository dao(实现dao访问)
4、@component (把普通pojo实例化到spring容器中,相当于配置文件中的<bean id="" class=""/>)
Spring 2.5 中除了提供 @Component 注释外,还定义了几个拥有特殊语义的注释,它们分别是:@Repository、@Service 和 @Controller。
在目前的 Spring 版本中,这 3 个注释和 @Component 是等效的,但是从注释类的命名上,很容易看出这 3 个注释分别和持久层、业务层和控制层(Web 层)相对应。
虽然目前这3 个注释和 @Component 相比没有什么新意,但 Spring 将在以后的版本中为它们添加特殊的功能。
所以,如果 Web 应用程序采用了经典的三层分层结构的话,最好在持久层、业务层和控制层分别采用上述注解对分层中的类进行注释。
@Service用于标注业务层组件
@Controller用于标注控制层组件(如struts中的action)
@Repository用于标注数据访问组件,即DAO组件
@Component泛指组件,当组件不好归类的时候,我们可以使用这个注解进行标注。
@Service

public class VentorServiceImpl implements iVentorService {

}

@Repository

public class VentorDaoImpl implements iVentorDao {

}
在一个稍大的项目中,如果组件采用xml的bean定义来配置,显然会增加配置文件的体积,查找以及维护起来也不太方便。
Spring2.5为我们引入了组件自动扫描机制,他在类路径下寻找标注了上述注解的类,并把这些类纳入进spring容器中管理。
它的作用和在xml文件中使用bean节点配置组件时一样的。要使用自动扫描机制,我们需要打开以下配置信息:
代码
<?xml version="1.0" encoding="UTF-8" ?>

<beans xmlns="http://www.springframework.org/schema/beans"

xmlns:xsi="http://www.w3.org/2001/XMLSchema-instance"

xmlns:context="http://www.springframework.org/schema/context"

xsi:schemaLocation="http://www.springframework.org/schema/beans

http://www.springframework.org/schema/beans/spring-beans-2.5.xsd

http://www.springframework.org/schema/context

http://www.springframework.org/schema/context/spring-context-2.5.xsd">


<context:component-scan base-package=”com.eric.spring”>

</beans>
component-scan标签默认情况下自动扫描指定路径下的包(含所有子包)

将带有@Component、@Repository、@Service、@Controller标签的类自动注册到spring容器。

对标记了 Spring's @Required、@Autowired、JSR250's @PostConstruct、@PreDestroy、
@Resource、JAX-WS's @WebServiceRef、EJB3's @EJB、JPA's @PersistenceContext、
@PersistenceUnit等注解的类进行对应的操作使注解生效(包含了annotation-config标签的作用)。
getBean的默认名称是类名(头字母小写),如果想自定义,可以@Service(“aaaaa”)这样来指定。
这种bean默认是“singleton”的,如果想改变,可以使用@Scope(“prototype”)来改变。
可以使用以下方式指定初始化方法和销毁方法:
@PostConstruct

public void init() {

}

@PreDestroy

public void destory() {

}
注入方式:
把DAO实现类注入到action的service接口(注意不要是service的实现类)中,注入时不要new 这个注入的类,因为spring会自动注入,如果手动再new的话会出现错误,
然后属性加上@Autowired后不需要getter()和setter()方法,Spring也会自动注入。
在接口前面标上@Autowired注释使得接口可以被容器注入,如:
@Autowired

@Qualifier("chinese")

private Man man;
当接口存在两个实现类的时候必须使用@Qualifier指定注入哪个实现类,否则可以省略,只写@Autowired。

 浙公网安备 33010602011771号