物联网实验Arduino(1)
回顾


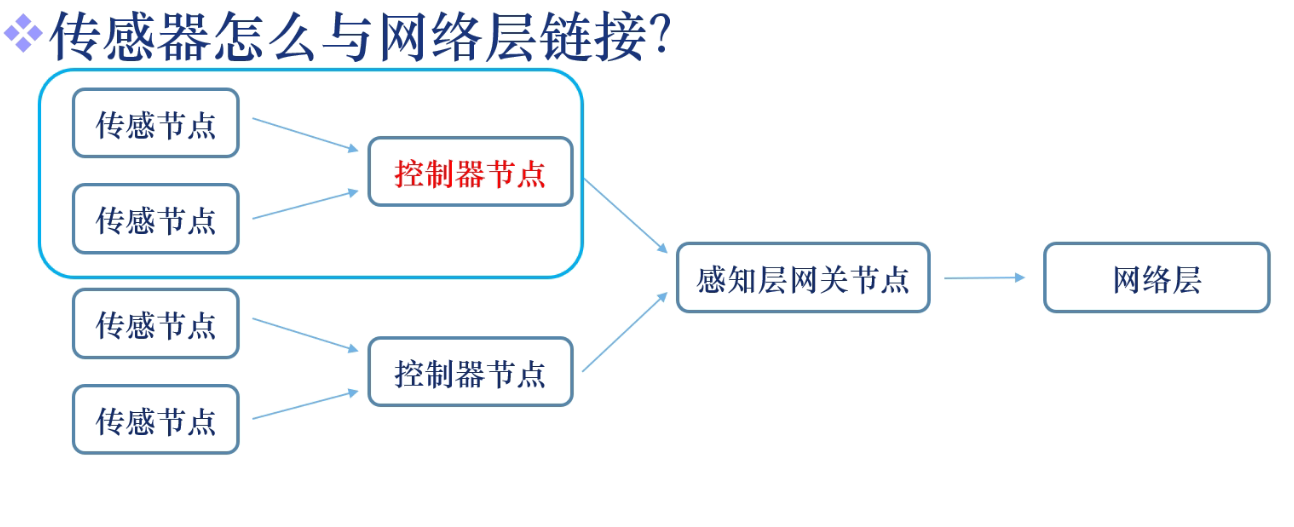
我们使用的平台:
Arduino
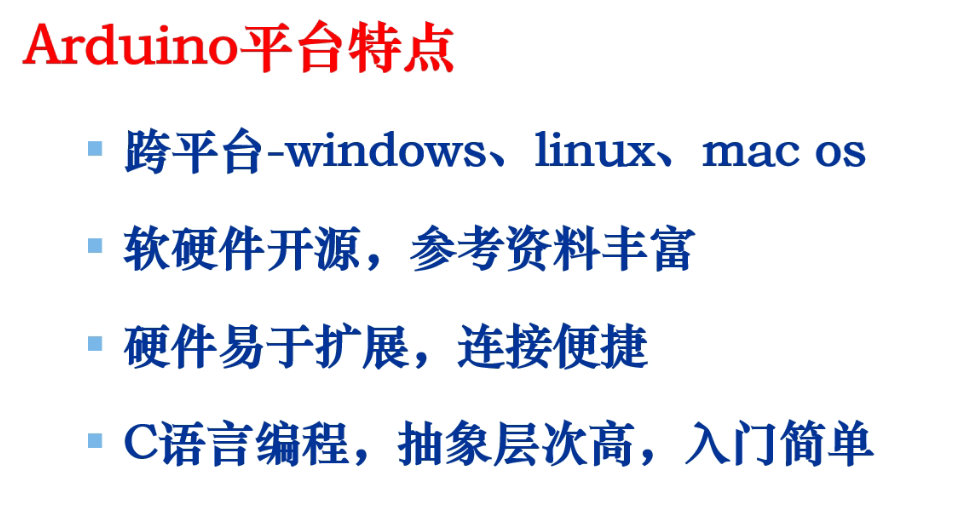


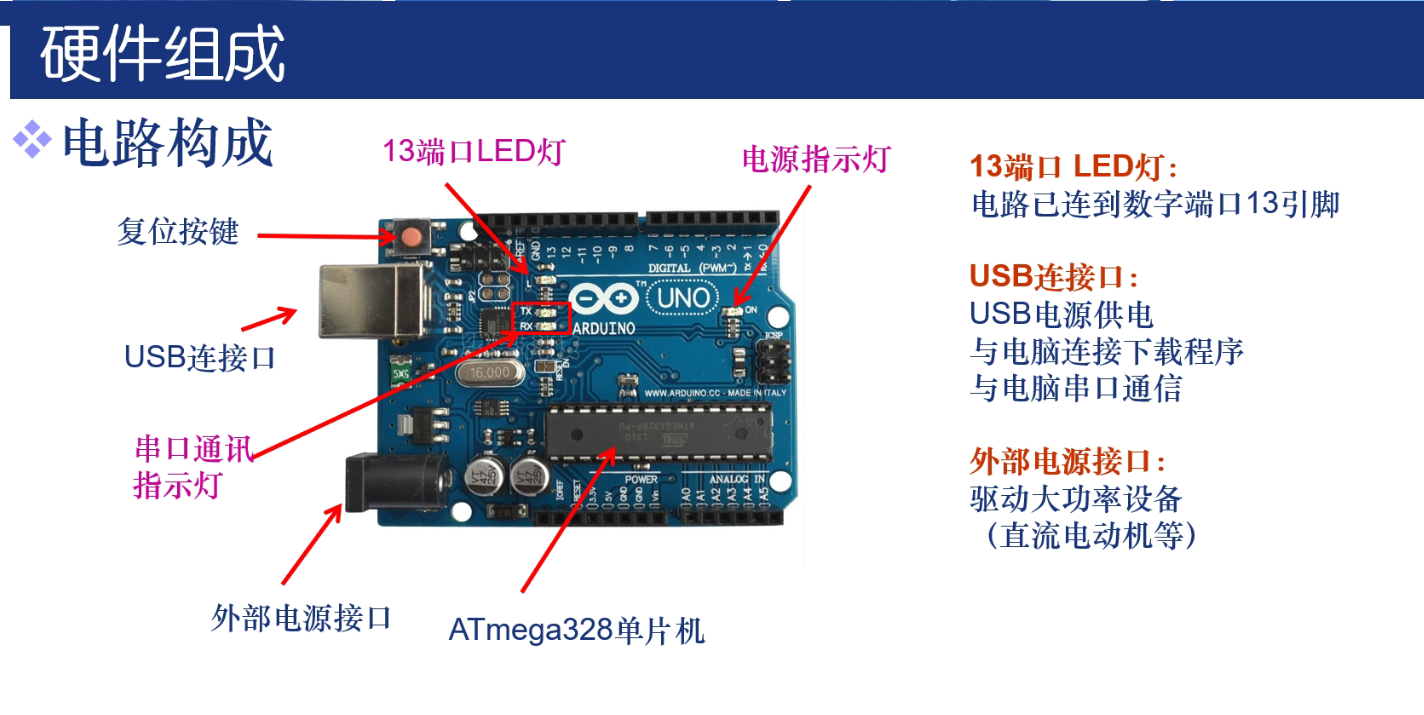


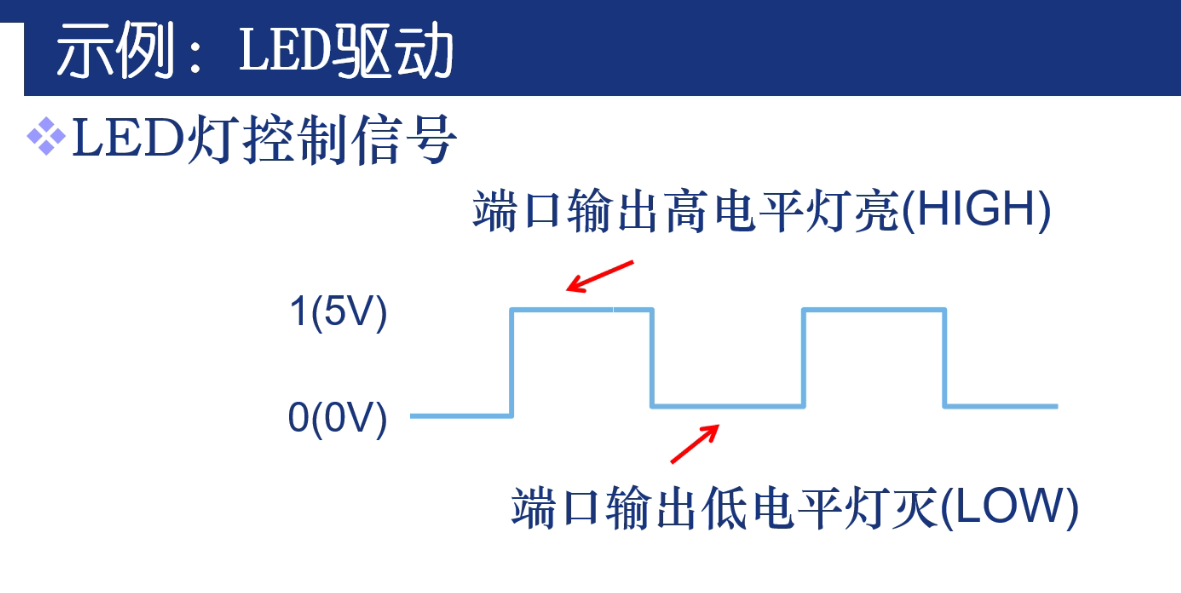


入门实验1
眨眼睛
/*
  Blink

  Turns an LED on for one second, then off for one second, repeatedly.

  Most Arduinos have an on-board LED you can control. On the UNO, MEGA and ZERO
  it is attached to digital pin 13, on MKR1000 on pin 6. LED_BUILTIN is set to
  the correct LED pin independent of which board is used.
  If you want to know what pin the on-board LED is connected to on your Arduino
  model, check the Technical Specs of your board at:
  https://www.arduino.cc/en/Main/Products

  modified 8 May 2014
  by Scott Fitzgerald
  modified 2 Sep 2016
  by Arturo Guadalupi
  modified 8 Sep 2016
  by Colby Newman

  This example code is in the public domain.

  http://www.arduino.cc/en/Tutorial/Blink
*/

// the setup function runs once when you press reset or power the board
void setup() {
  // initialize digital pin LED_BUILTIN as an output.
  pinMode(LED_BUILTIN, OUTPUT);
}

// the loop function runs over and over again forever
void loop() {
  digitalWrite(LED_BUILTIN, HIGH);   // turn the LED on (HIGH is the voltage level)
  delay(1000);                       // wait for a second
  digitalWrite(LED_BUILTIN, LOW);    // turn the LED off by making the voltage LOW
  delay(1000);                       // wait for a second
}
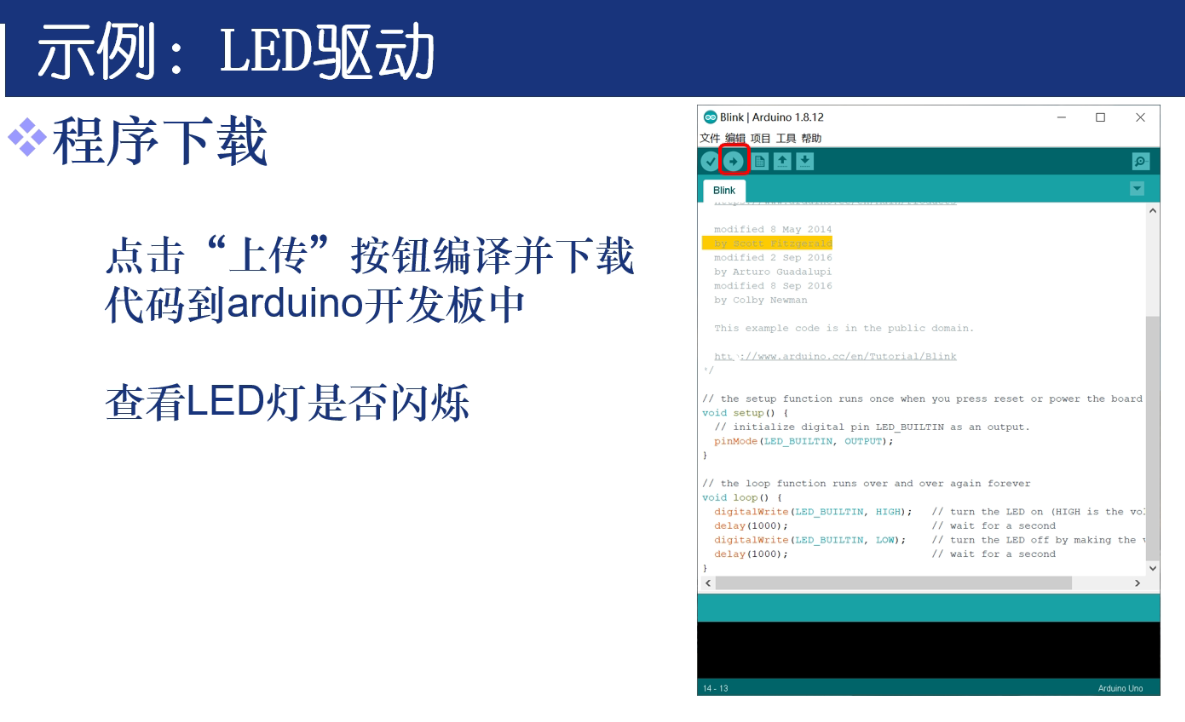
编译上传之后,可以见到开发板自带的LED交替闪亮
跑马灯
int led1=5;
int led2=6;
int led3=7;
int n;
void setup() {
  // put your setup code here, to run once:
  //设置各个引脚的初始状态
  for(n=5;n<=7;n++)
  {
    pinMode(n, OUTPUT);
  }
}

void loop() {
  // put your main code here, to run repeatedly:
  turn1();//顺序点亮,顺序熄灭
  clean();  //灭掉所有灯

  turn2();//3灯齐闪
  clean();//灭掉所有灯
}

void turn1()  //顺序点亮,顺序熄灭
{
  for(n=5;n<=7;n++)
{
    digitalWrite(n,HIGH);
    delay(300);
}
  for(n=8;n<=7;n++)
{
    digitalWrite(n,LOW);
    delay(300);
}

}

void turn2()//3灯齐闪3次
{
for(int x=0;x<=2;x++)
{
  for( n=5;n<=7;n++)
{
    digitalWrite(n,HIGH);
}

delay(300);
  for(n=5;n<=7;n++)
{
    digitalWrite(n,LOW);
}

delay(300);
}

}


void clean()
{
for(n=5;n<=7;n++)
{
    digitalWrite(n,LOW);
}
delay(300);
}
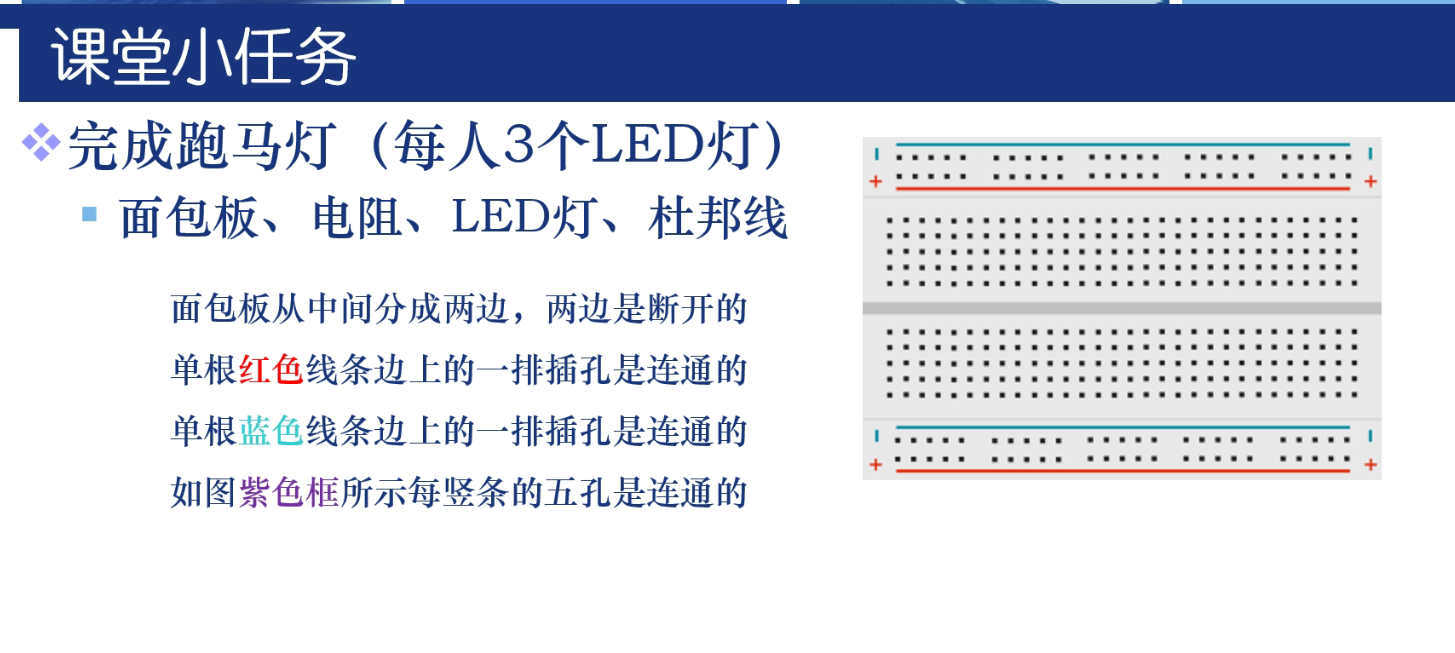
接线如下图

接5-7引脚


 浙公网安备 33010602011771号