- 踩坑:
- 将slim和models路径加入虚拟环境中;
![]()
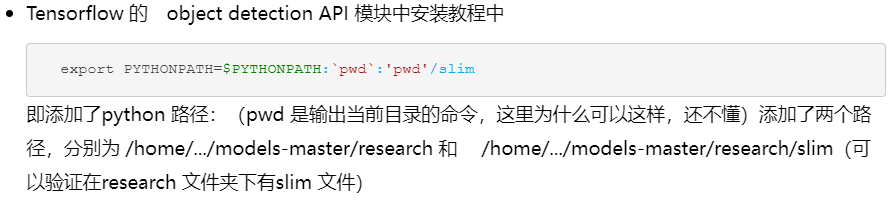
- 将slim和models路径加入系统路径中;(加入系统路径的时候,这个pwd)
![]()
- qit (持续更新)
- 具体安装流程:
- (很多问题)2.0版本 ;(继续更新)
- conda create -n tf_obj_det_api_v2 python=3.8
- (很丝滑)重新尝试tf1.0版本; 参考:https://blog.csdn.net/qq_43218533/article/details/120551037
- conda create -n tf_obj_det_api_v1 python=3.6
- conda install tensorflow==1.15.0
- conda install matplotlib pandas jupyter protobuf pillow cython lxml
- 下载tensorflow object detection api (对应tensorflow版本,下载v1.13)
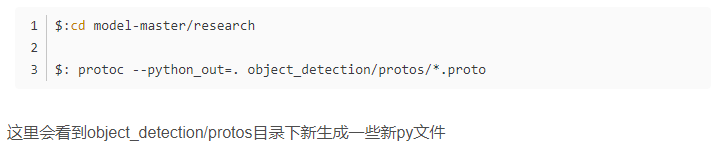
- 直接编译protocbuf (不用下载,也不用安装,因为安装tensorflow的时候,自动安装了protocbuf)
![]()
- 没装coco api
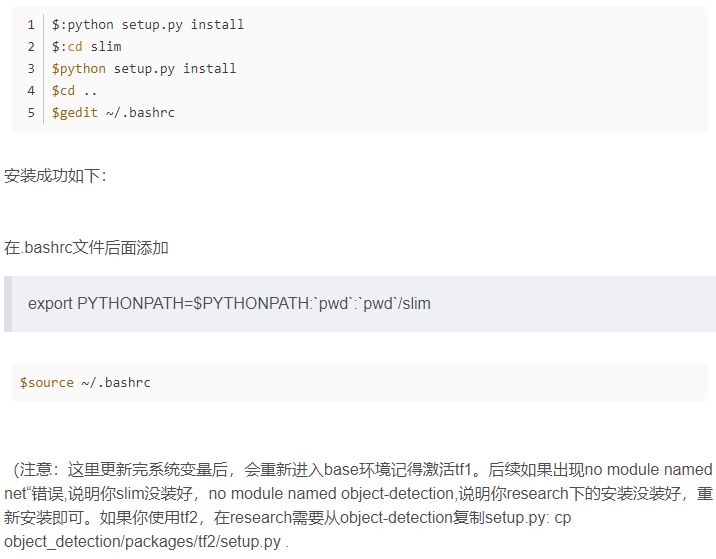
- 安装object detection和slim,配置环境变量;
![]()
- 验证;
![]()
![]()
- 安装cocoapi
![]()
posted @
2024-05-07 19:35
张幼安
阅读(
30)
评论()
收藏
举报


 浙公网安备 33010602011771号