LAMP部署Wordpress
注意:要将firewalld、SELINUX关闭
systemctl stop firewalld
systemctl disable firewalld
sed -ri '/^SELINUX=/cSELINUX=disabled' /etc/selinux/config setenforce 0
一、下载安装apache
yum -y install httpd
二、创建启动apache的用户并修改网站站点目录的属主和属组
groupadd www
useradd www -M -g www -s /sbin/nologin
chown www.www /var/www/html -R
三、启动apache并验证是否能访问
启动前修改apache配置文件
sed -ri '/^User/cUser www' /etc/httpd/conf/httpd.conf
sed -ri '/^Group/cGroup www' /etc/httpd/conf/httpd.conf
systemctl start httpd
systemctl enable httpd
启动apache后查看启动进程的用户是否为www用户
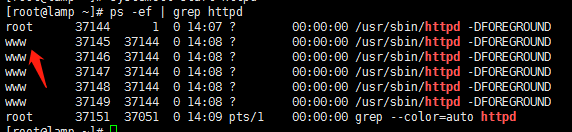
在浏览器输入你的主机IP,能看到Testing 123..字段说明apache安装成功
四、编辑php7.4yum源并下载安装php
由于系统的php源版本是5.4,后续的操作必须用高于7.0,所以需要自建“php”yum源
vim /etc/yum.repos.d/php74.repos
将下面的文本复制进去
[remi-php74]
name=Remi's PHP 7.4 RPM repository for Enterprise Linux7 -$basearch
#baseurl=http://rpms.remirepo.net/enterprise/7/php74/$basearch/
#mirrorlist=https://rpms.remirepo.net/enterprise/7/php74/httpsmirror
mirrorlist=http://cdn.remirepo.net/enterprise/7/php74/mirror
enabled=1
gpgcheck=0
gpgkey=file:///etc/pki/rpm-gpg/RPM-GPG-KEY-remi

[remi-php74-debuginfo]
name=Remi's PHP 7.4 RPM repository for Enterprise Linux 7 -$basearch - debuginfo
baseurl=http://rpms.remirepo.net/enterprise/7/debug-php74/$basearch/
enabled=0
gpgcheck=0
gpgkey=file:///etc/pki/rpm-gpg/RPM-GPG-KEY-remi

[remi-php74-test]
name=Remi's PHP 7.4 test RPM repository for Enterprise Linux 7 - $basearch
#baseurl=http://rpms.remirepo.net/enterprise/7/test74/$basearch/
#mirrorlist=https://rpms.remirepo.net/enterprise/7/test74/httpsmirror
mirrorlist=http://cdn.remirepo.net/enterprise/7/test74/mirror
enabled=0
gpgcheck=0
gpgkey=file:///etc/pki/rpm-gpg/RPM-GPG-KEY-remi

[remi-php74-test-debuginfo]
name=Remi's PHP 7.4 test RPM repository for Enterprise Linux 7 - $basearch - debuginfo
baseurl=http://rpms.remirepo.net/enterprise/7/debug-test74/$basearch/
enabled=0
gpgcheck=0
gpgkey=file:///etc/pki/rpm-gpg/RPM-GPG-KEY-remi
保存退出后安装php7.4
yum -y install php-mysql php php-fpm
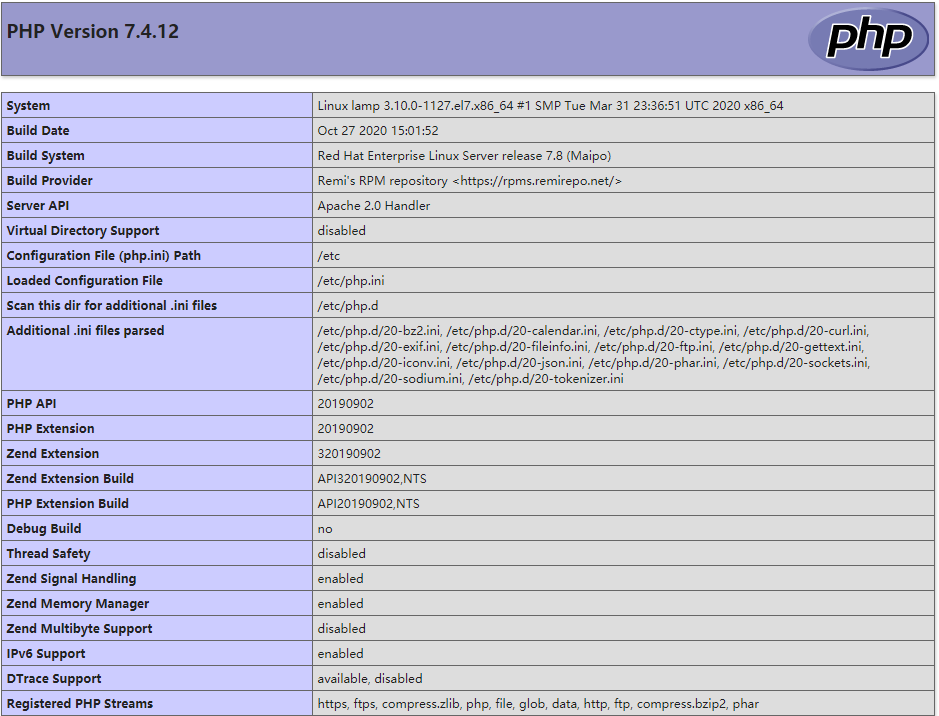
五、编写一个php测试网站
vim /var/www/html/index.php
<?
	php phpinfo();
?>
编辑完后保存退出,重新访问网页,若出现php的信息则表示成功
六、安装mariadb-server(mysql下载太慢,这里我用mariadb代替,两个都是一样的用法)
yum -y install mariadb-server
安装完成后,启动mariadb
systemctl start mariadb
systemctl enable mariadb
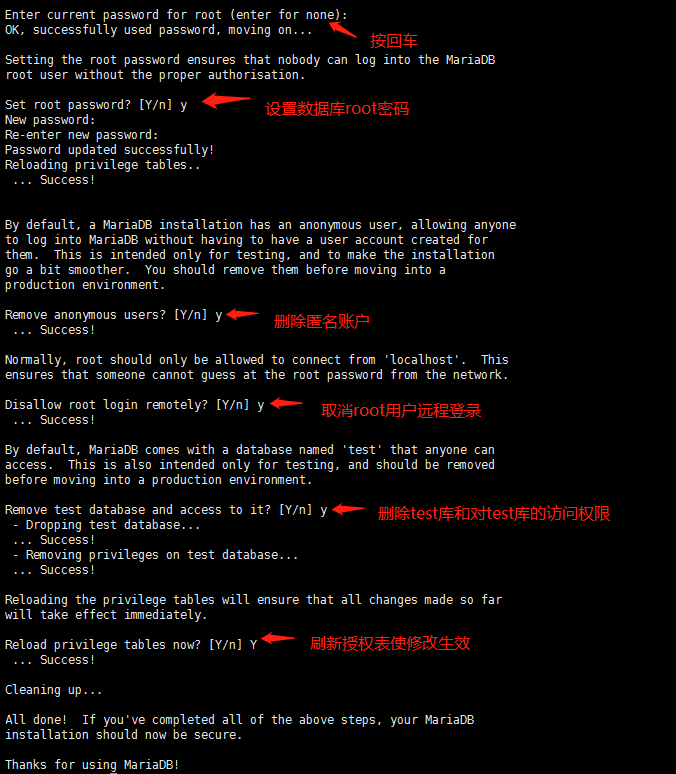
第一次启动需要初始化数据库
输入mysql_secure_installation回车后再次回车会出现一些选择
执行mysql -uroot -p 回车输入刚才设置的root密码
进入数据库后查看所有数据库
show databases;
然后创建一个wordpress数据库
create database wordpress;
并创建一个wordpress用户管理wordpress数据库
grant all privileges on wordpress.* to 'wordpress'@'localhost' identified by '密码';
设置完权限后刷新权限表使它立即生效
flush privileges;
注:上面的localhost的意思是这个数据库只限这个账号本地登录,不允许远程连接,改为"%"后就不限于本地连接
七、下载wordpress解压至站点目录,修改配置文件,使代码与数据库相关联
wget https://cn.wordpress.org/latest-zh_CN.tar.gz
tar -xvf wordpress-5.4.2-zh_CN.tar.gz -C /var/www/html/
cd /var/www/html/wordpress
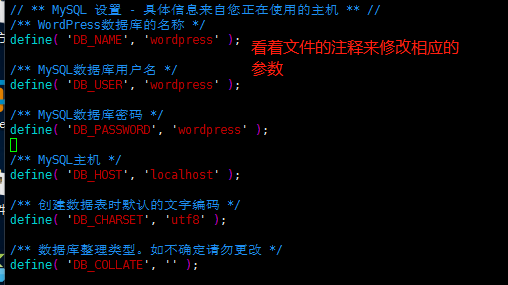
cp wp-config-sample.php wp-config.php
vim wp-config.php
八、创建一个wordpress的apache主机配置文件
cd /etc/httpd/conf.d/

vim wordpress.conf
<VirtualHost *:80>
	ServerName wordpress.test //这是在浏览器中需要访问的网址
	DocumentRoot /var/www/html/wordpress
</VirtualHost>

<Directory "/var/www/html/wordpress">
	Require all granted
</Directory>
保存退出后执行“httpd -t”检测语法有没有错误,出现Syntax OK则表示语法没有错误,然后就需要重新启动httpd服务
systemctl restart httpd
九、在自己本地电脑中做好解析
windows10的hosts文件在C:\Windows\System32\drivers\etc\hosts
右击编辑这个文件
你的主机ip wordpress.test
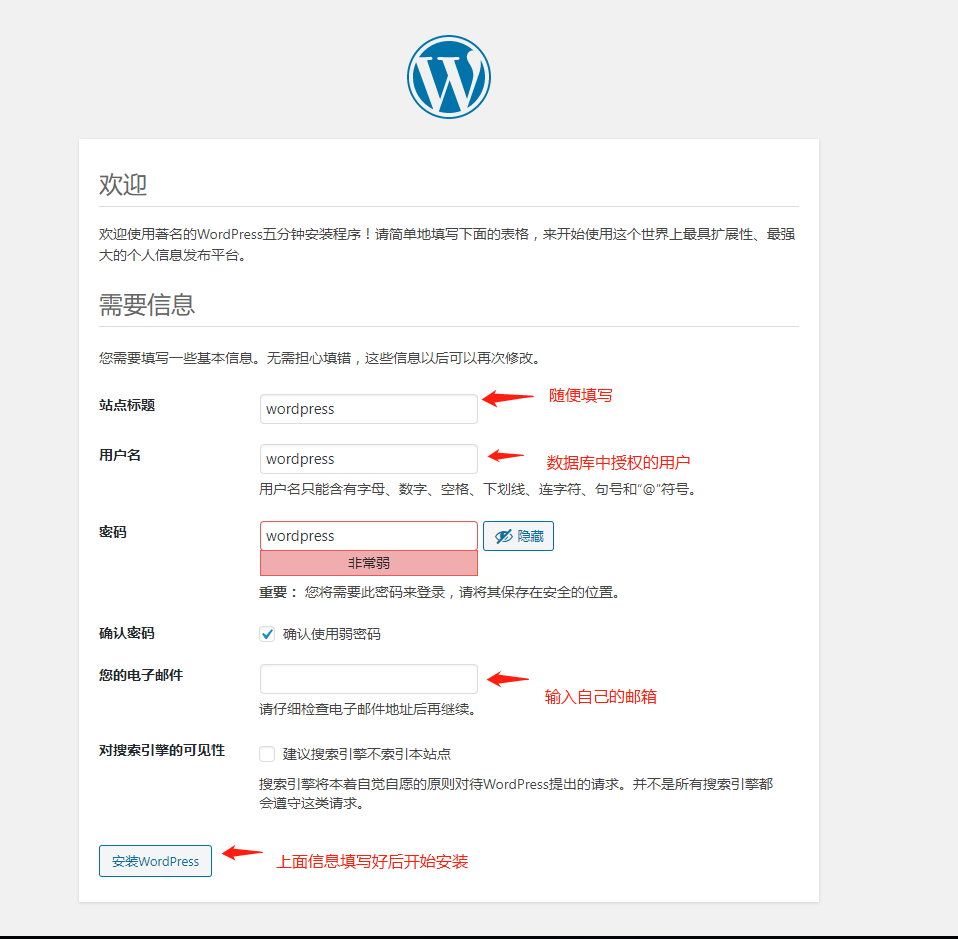
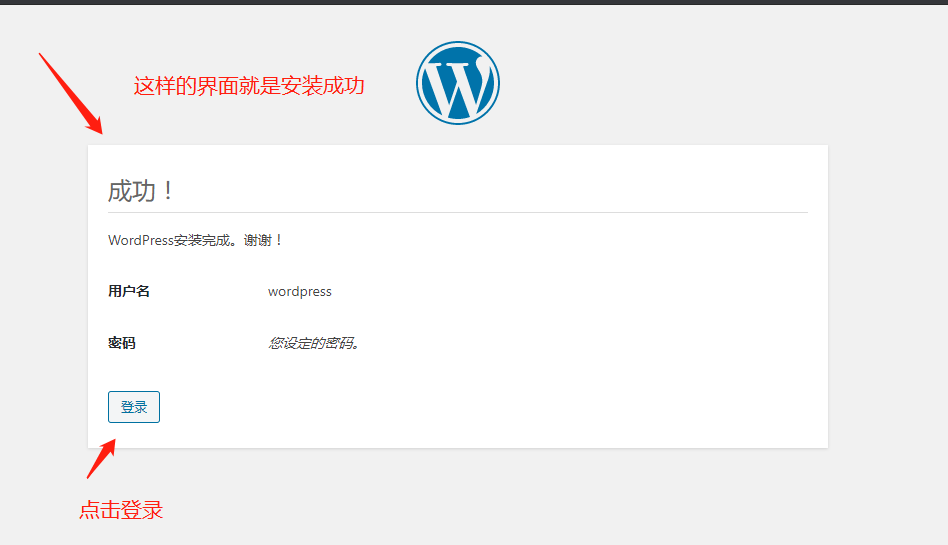
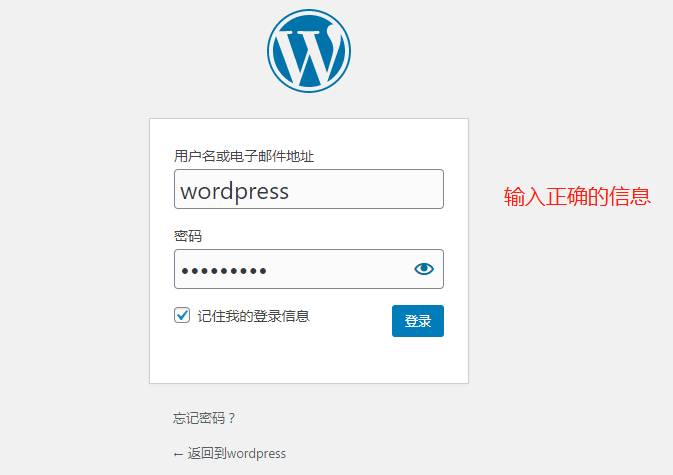
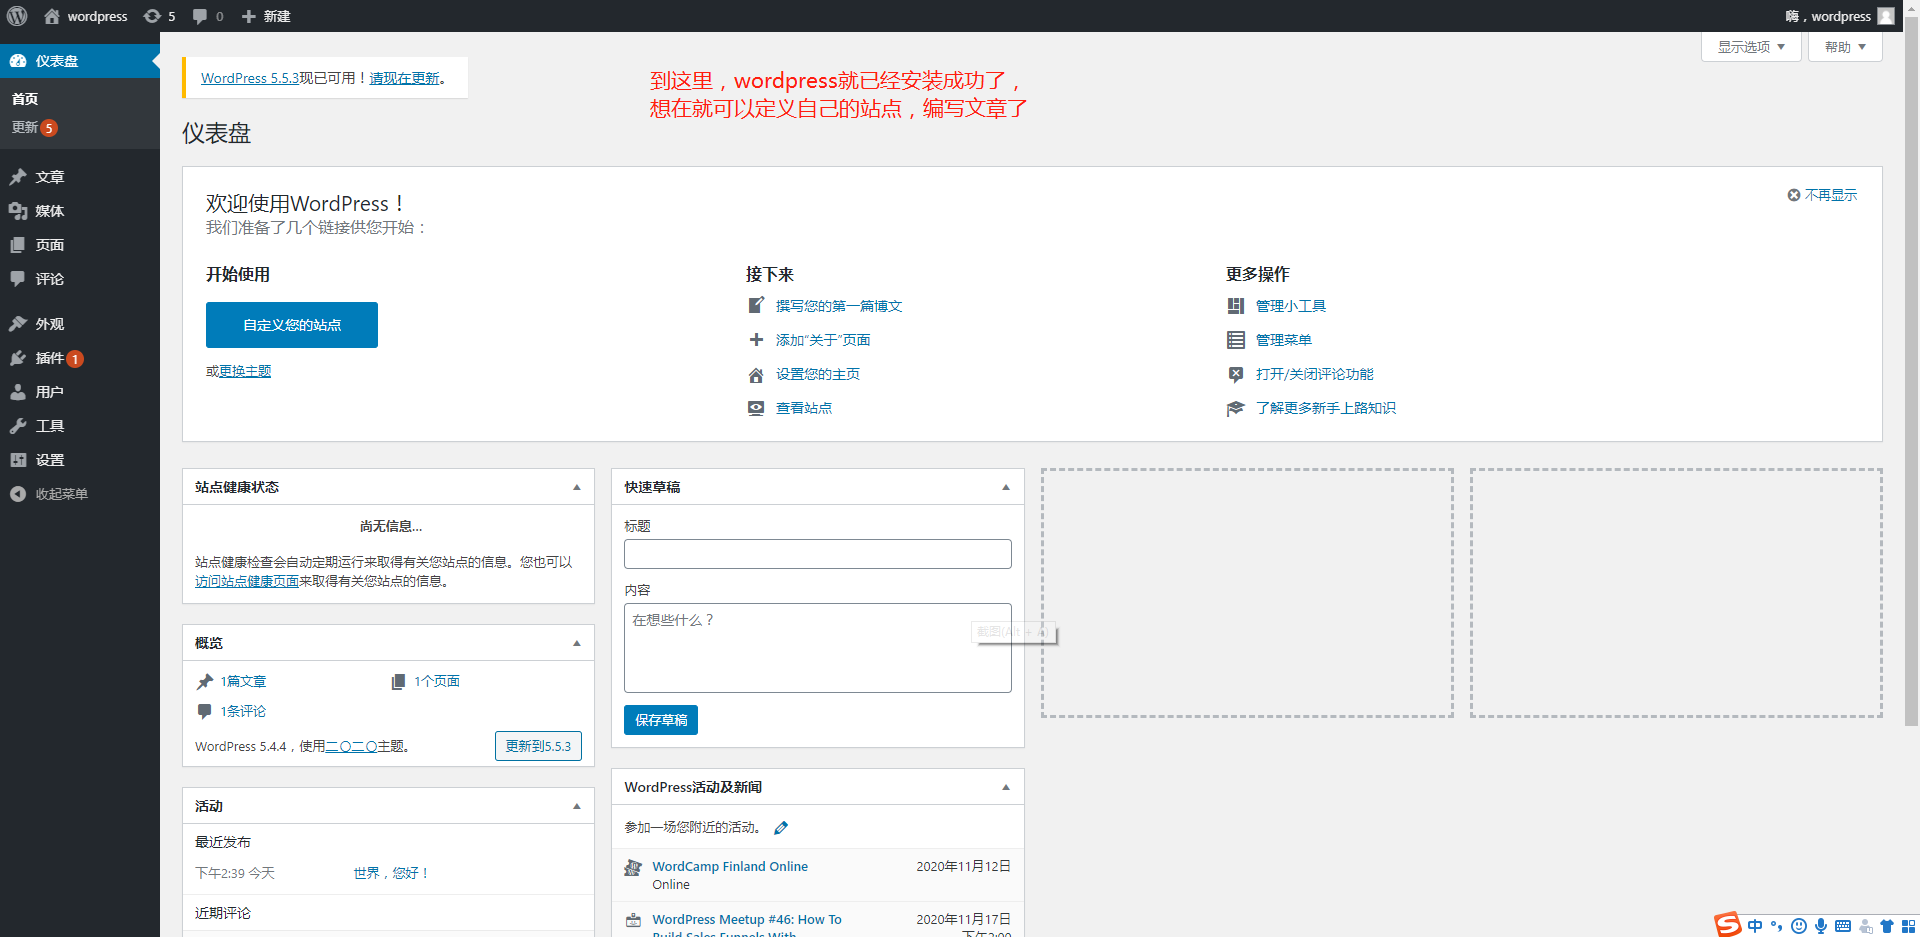
十、解析好网址后,在浏览器中输入你的访问网址就会进入wordpress安装页面

 浙公网安备 33010602011771号