Jenkins+Gitlab+Ansible自动化部署(三)
接Jenkins+Gitlab+Ansible自动化部署(一)https://www.cnblogs.com/zd520pyx1314/p/10210727.html 和(二)https://www.cnblogs.com/zd520pyx1314/p/10213549.html
Jenkins是一个开源持续集成工具,提供了软甲你开发的持续集成服务,支持主流软件配置管理,配合实现软件配置管理,持续集成功能。是主流的运维开发平台,兼容所有主流开发环境,插件市场可与海量业内主流开发工具实现集成,Job为配置单位与日志管理,使运维与开发人员能协同工作。丰富的权限管理划分不同Job不同角色;强大的负载均衡功能,保证我们项目的可靠性。
Jenkins的安装、配置与管理
添加Jenkins yum仓库
官网地址
https://pkg.jenkins.io/redhat-stable/
安装
[root@jenkins ~]# wget -O /etc/yum.repos.d/jenkins.repo https://pkg.jenkins.io/redhat-stable/jenkins.repo
[root@jenkins ~]# rpm --import https://pkg.jenkins.io/redhat-stable/jenkins.io.key
安装Java
[root@jenkins ~]# yum install -y java
[root@jenkins ~]# java -version
openjdk version "1.8.0_191"
OpenJDK Runtime Environment (build 1.8.0_191-b12)
OpenJDK 64-Bit Server VM (build 25.191-b12, mixed mode)
安装Jenkins
[root@jenkins ~]# yum list | grep 'jenkins'
jenkins.noarch
[root@jenkins ~]# yum install -y jenkins
创建Jenkins系统服务用户并配置
创建Jenkins系统服务用户
[root@jenkins ~]# useradd deploy
[root@jenkins ~]# cp /etc/sysconfig/jenkins{,.bak}
[root@jenkins ~]# vim /etc/sysconfig/jenkins
# 大约在29行,改为deploy用户
29 JENKINS_USER="deploy"
# 确定Jenkins端口号8080
56 JENKINS_PORT="8080"
更改目录权限
[root@jenkins ~]# chown -R deploy:deploy /var/lib/jenkins
[root@jenkins ~]# chown -R deploy:deploy /var/log/jenkins/
启动Jenkins
[root@jenkins ~]# systemctl start jenkins
[root@jenkins ~]# lsof -i:8080
# 这里发现端口没起来,查看日志发现
[root@jenkins ~]# cat /var/log/jenkins/jenkins.log
java.io.FileNotFoundException: /var/cache/jenkins/war/META-INF/MANIFEST.MF (Permission denied)
# 然后赋予deploy目录权限
[root@jenkins ~]# chown -R deploy:deploy /var/cache/jenkins/
[root@jenkins ~]# systemctl restart jenkins
[root@jenkins ~]# lsof -i:8080
COMMAND  PID   USER   FD   TYPE DEVICE SIZE/OFF NODE NAME
java    4086 deploy  163u  IPv6  49665      0t0  TCP *:webcache (LISTEN)
启动成功
登录jenkins web管理界面
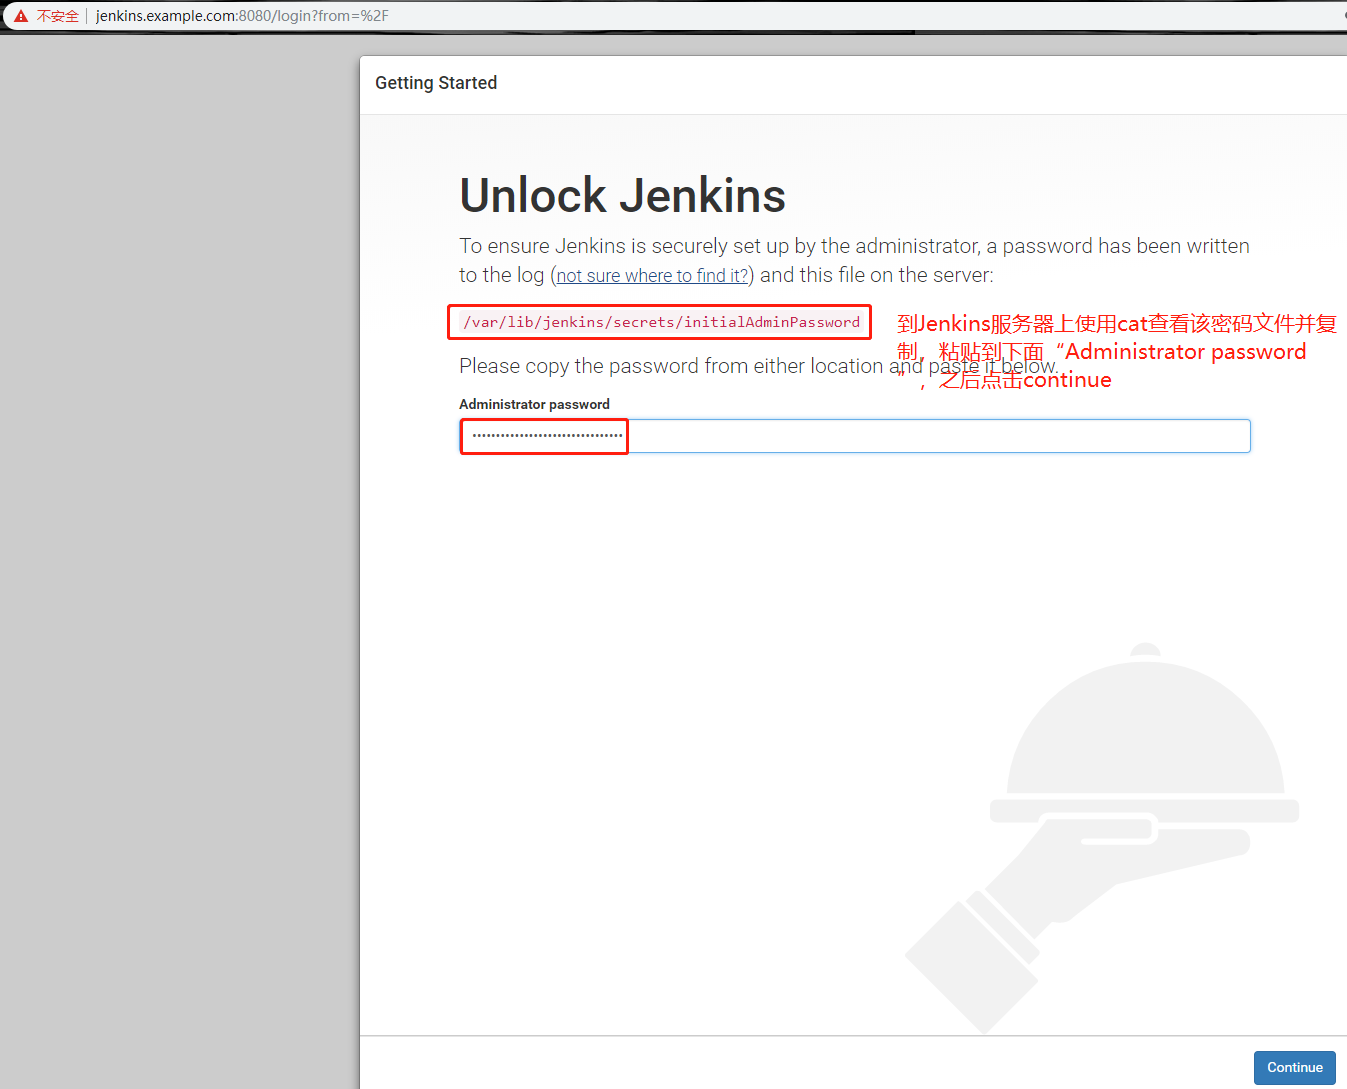
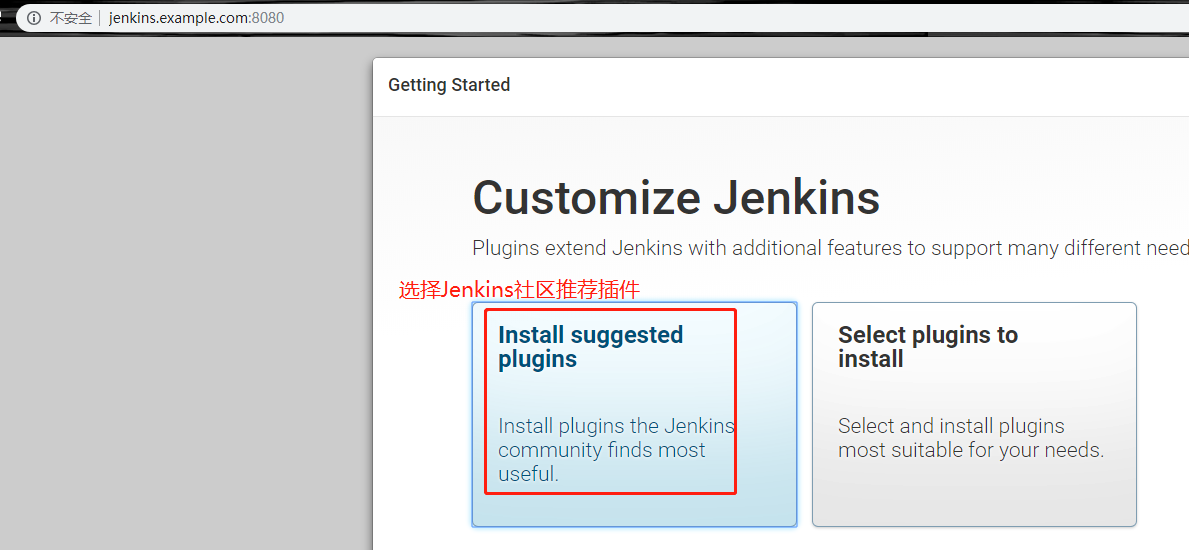
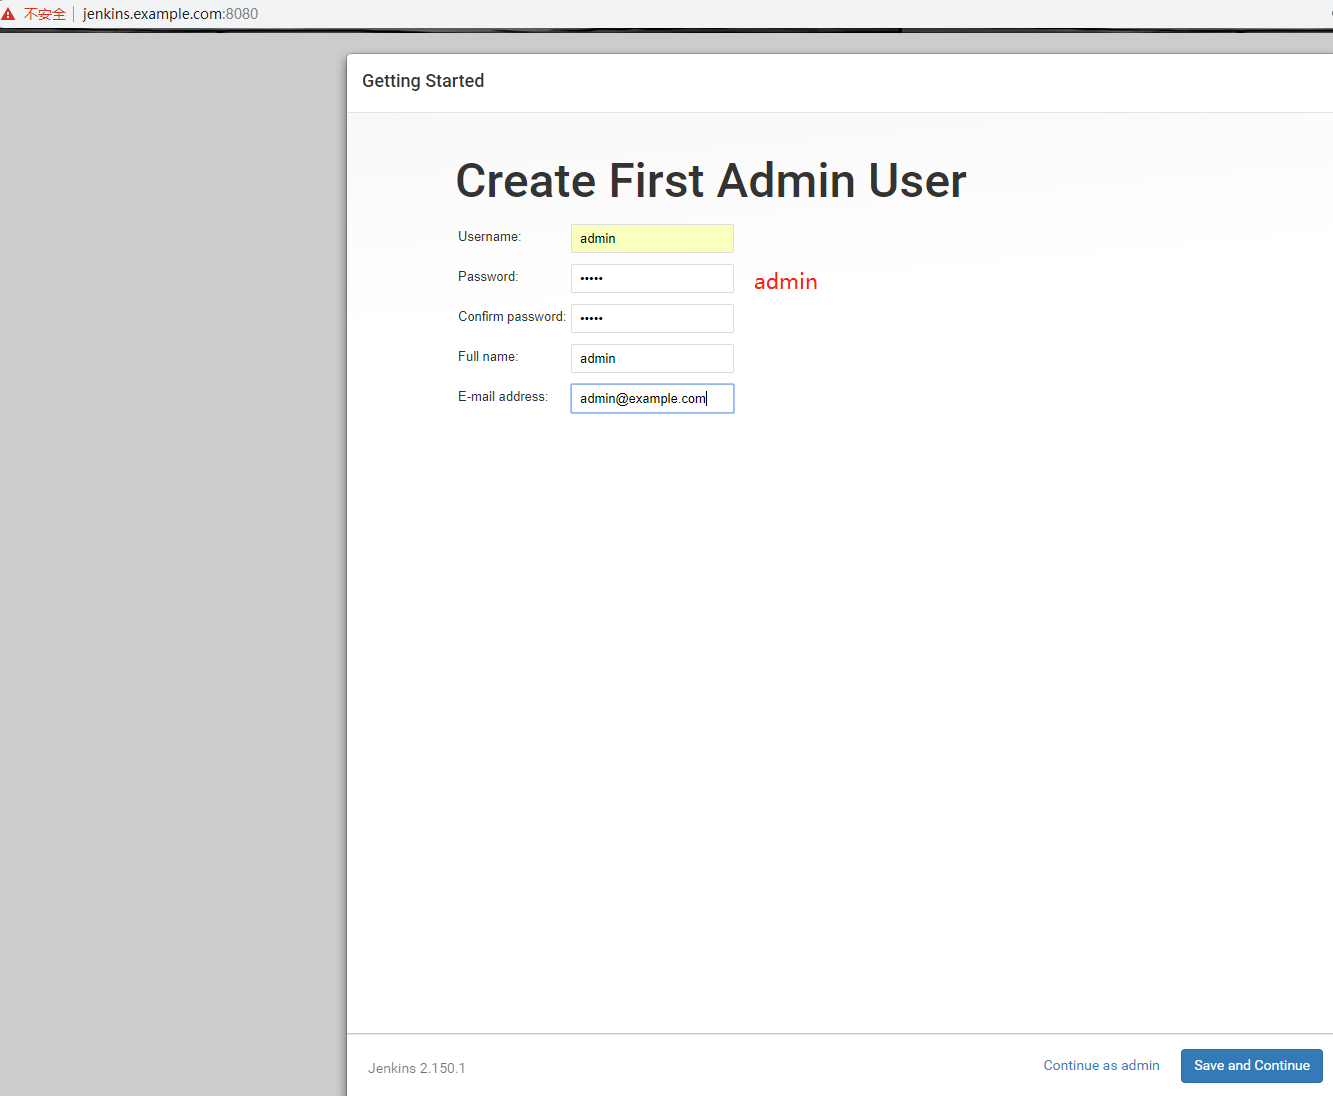

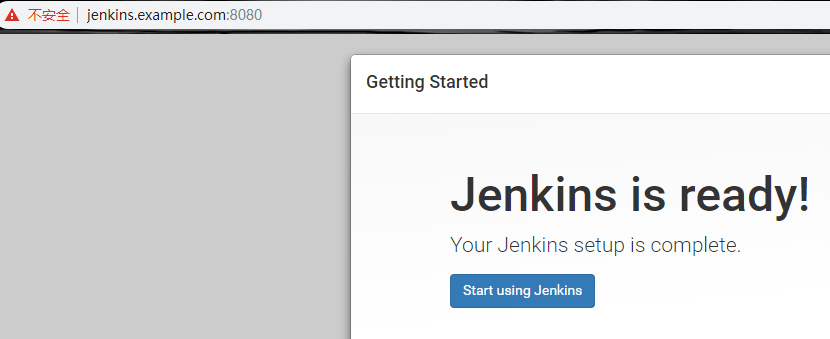
点击“Start using jenkins”
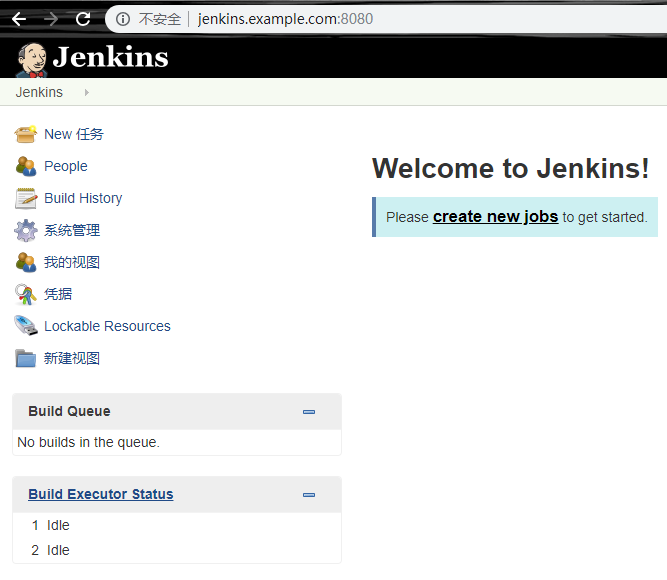
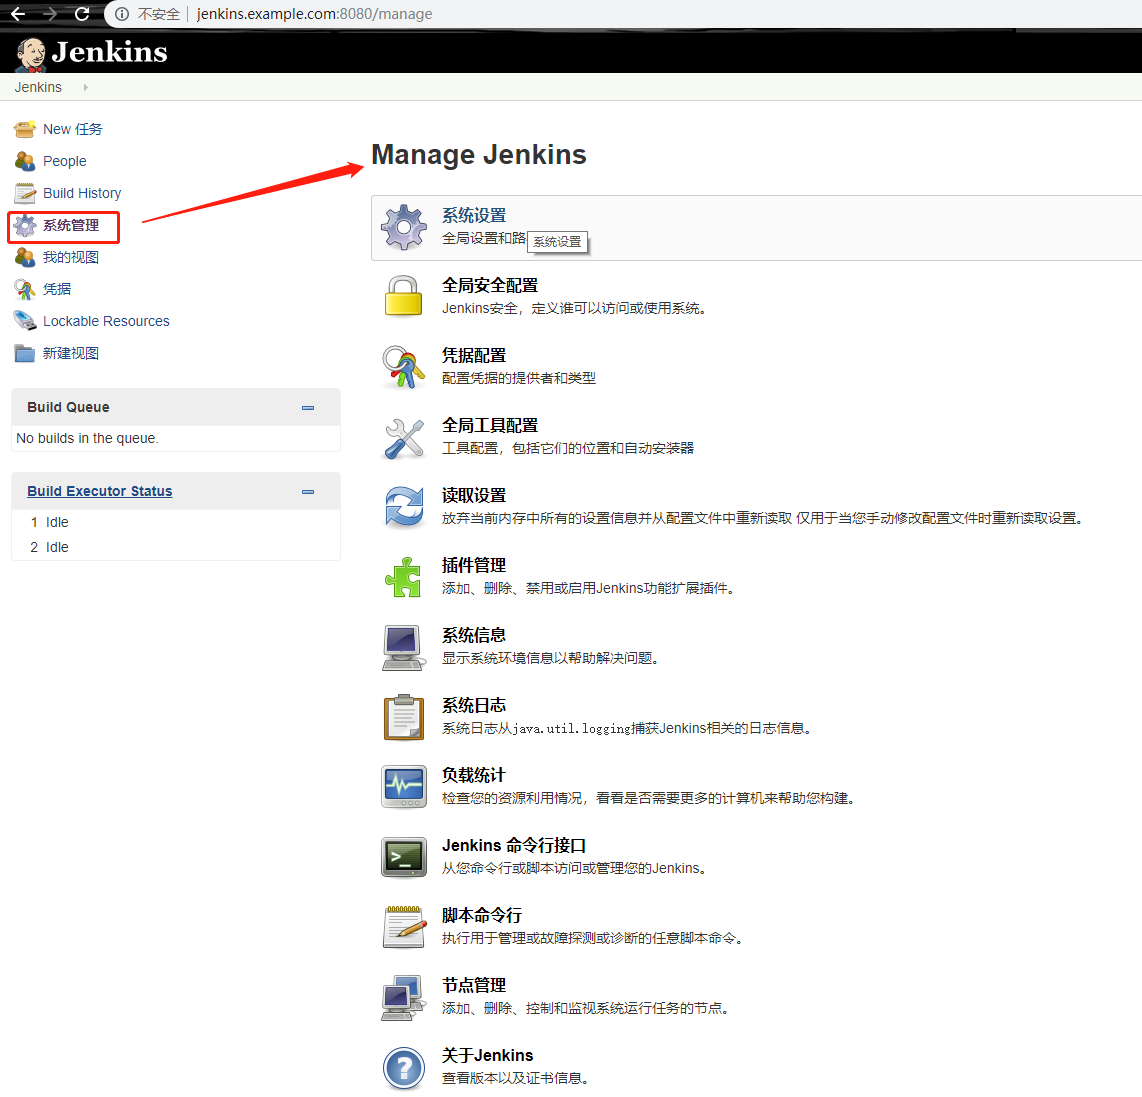
Jenkins Job构建
Freestyle Job与Pipeline Job区别:
Freestyle Job需要在页面添加模块配置项与参数完成配置;每个Job仅能实现一个开发功能;无法将配置代码化,不利于Job配置迁移与版本控制;逻辑相对简单,无需额外学习成本。
Pipeline Job匹配持续集成与持续交付的概念;所有模块、参数配置都可以体现为一个pipeline脚本;可定义多个stage构建一个管道工作集;所有配置代码化,方便Job配置迁移与版本控制;需要Pipeline脚本语法基础。
Jenkins Job构建之环境准备(添加Jenkins后台git client user与email)
1.配置Jenkins server本地GItlab DNS
[root@jenkins ~]# vim /etc/hosts
# 文件末尾添加如下一条记录
192.168.244.130 gitlab.example.com
2.安装git client,curl工具依赖
[root@jenkins ~]# yum install -y git curl
3. 关闭系统git http.sslVerify安全认证
[root@jenkins ~]# git config --system http.sslVerify false
[root@jenkins ~]# echo $?
0
4.添加Jenkins后台git client user与email
首先登录Jenkins web管理页面
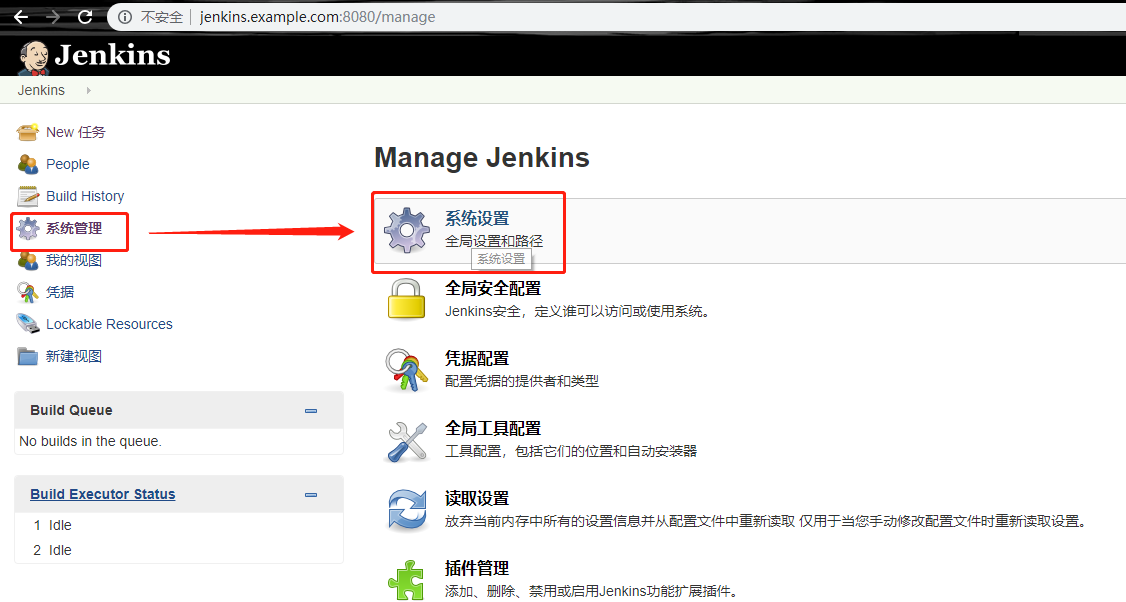
在Git plugin选项中填写以下信息,点击保存

接下来添加凭据,点击“凭据”

点击“全局凭据”

点击“添加凭据”
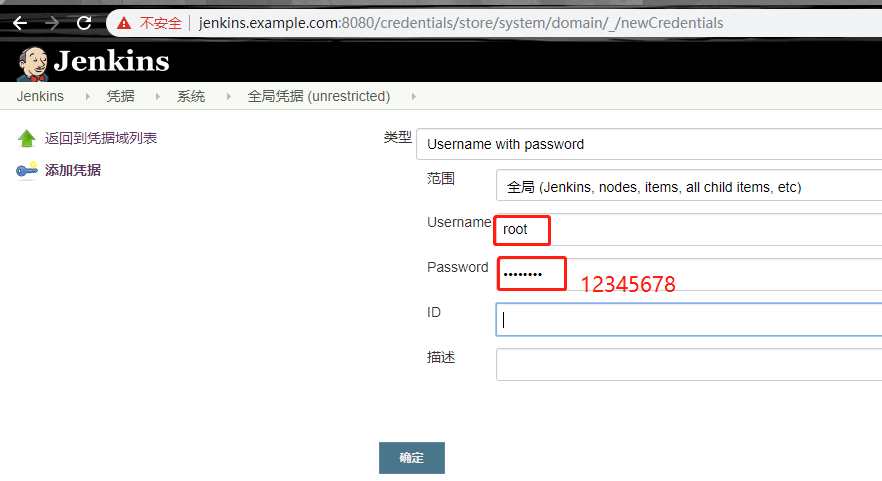
添加完成会提示如下图所示

接着添加一个Jenkins freestyle job
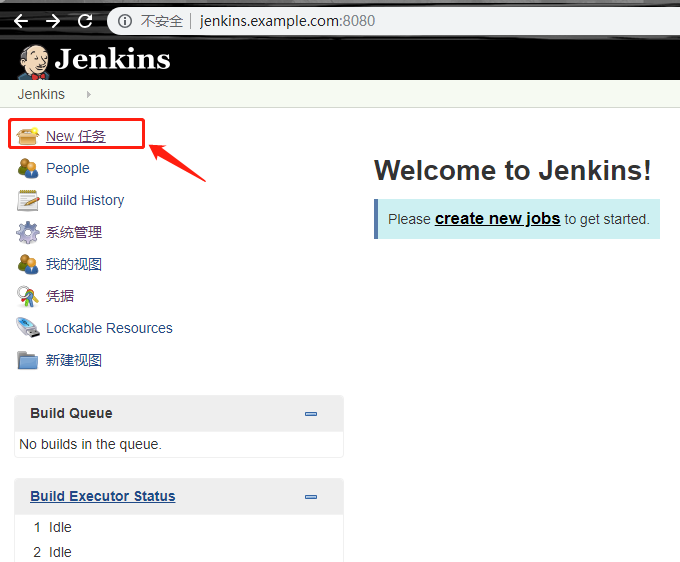
点击“New 任务”
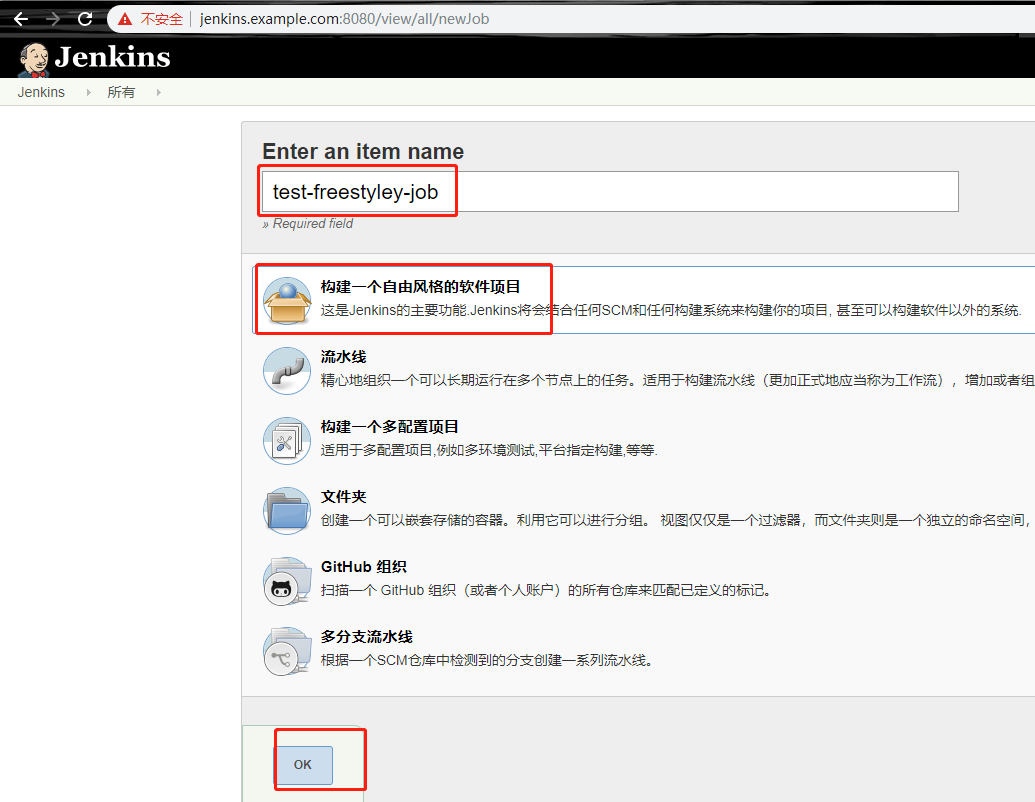
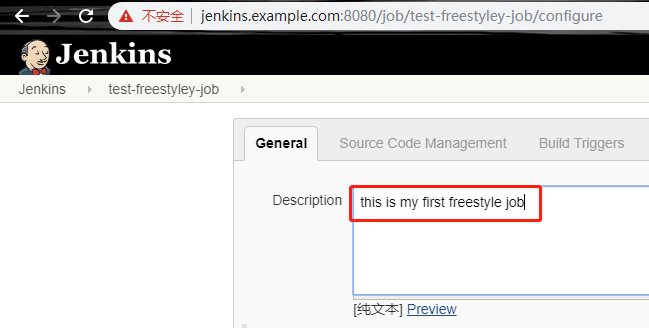
填写描述信息
添加参数
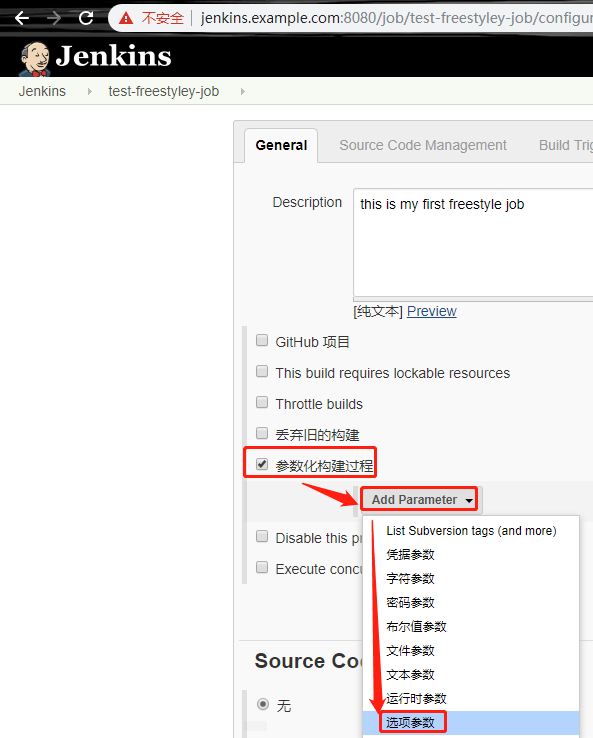
接着点击添加“文本参数”
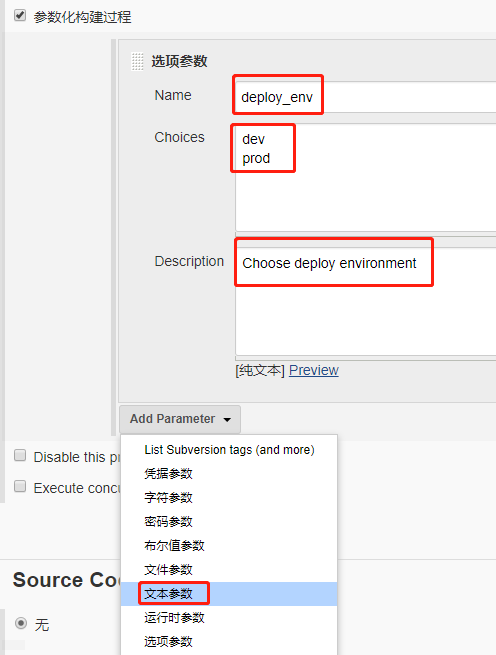
添加完成后点击“save”即可,接着回到Jenkins首页,点击刚才创建的“test-freestyle-job”黑色小三角,找到“configure”选项,开始添加git源码管理

使用root登录gitlab,复制test-repo仓库地址
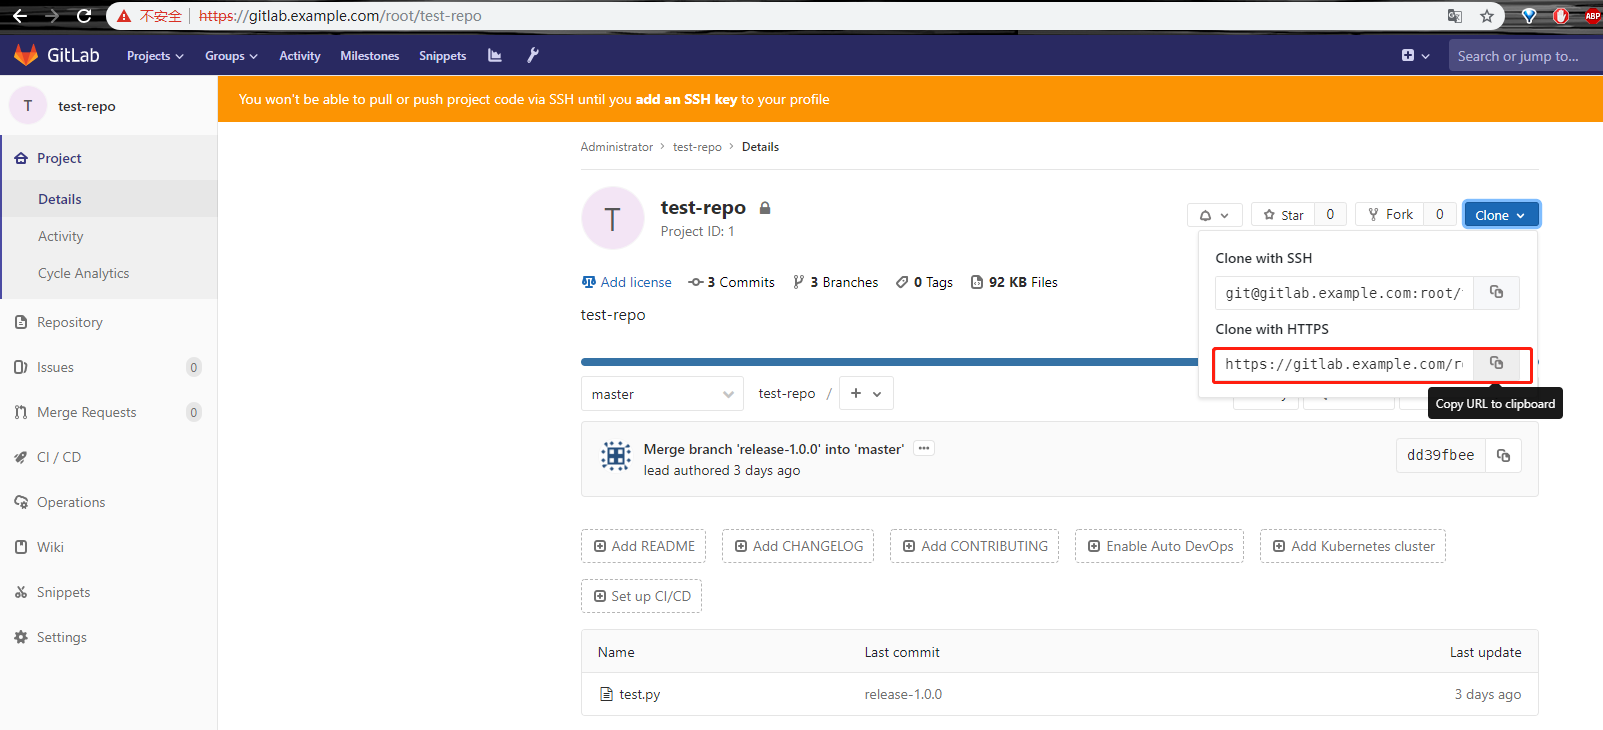
粘贴至下面
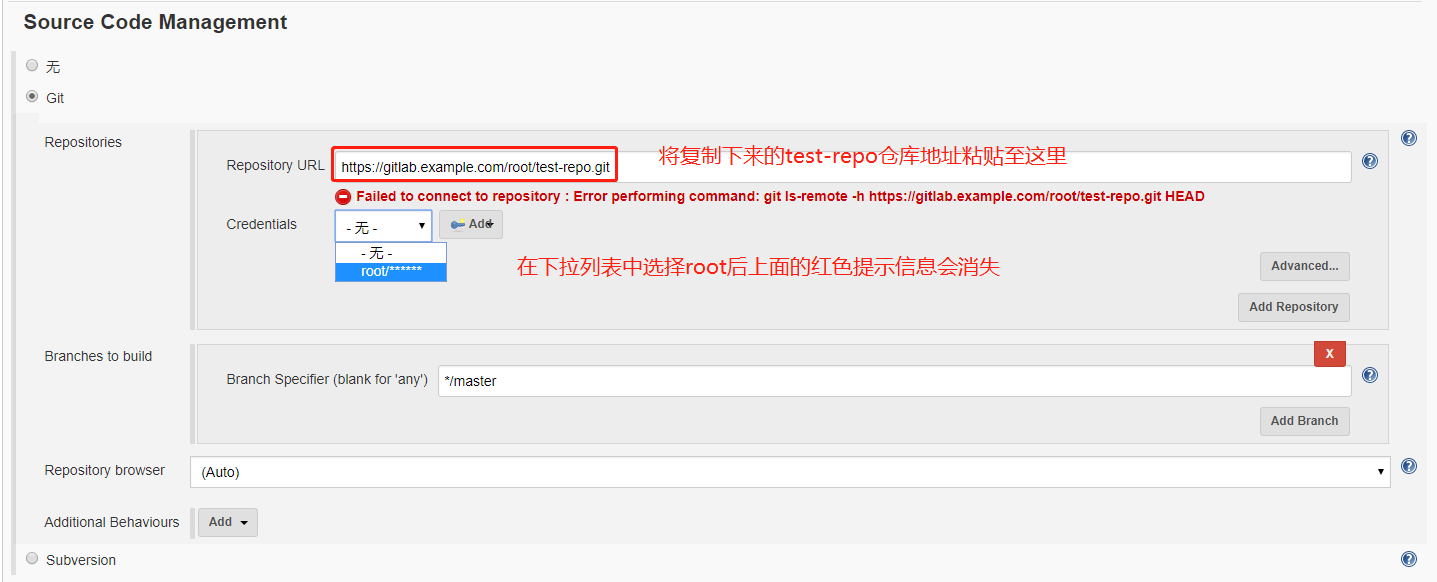
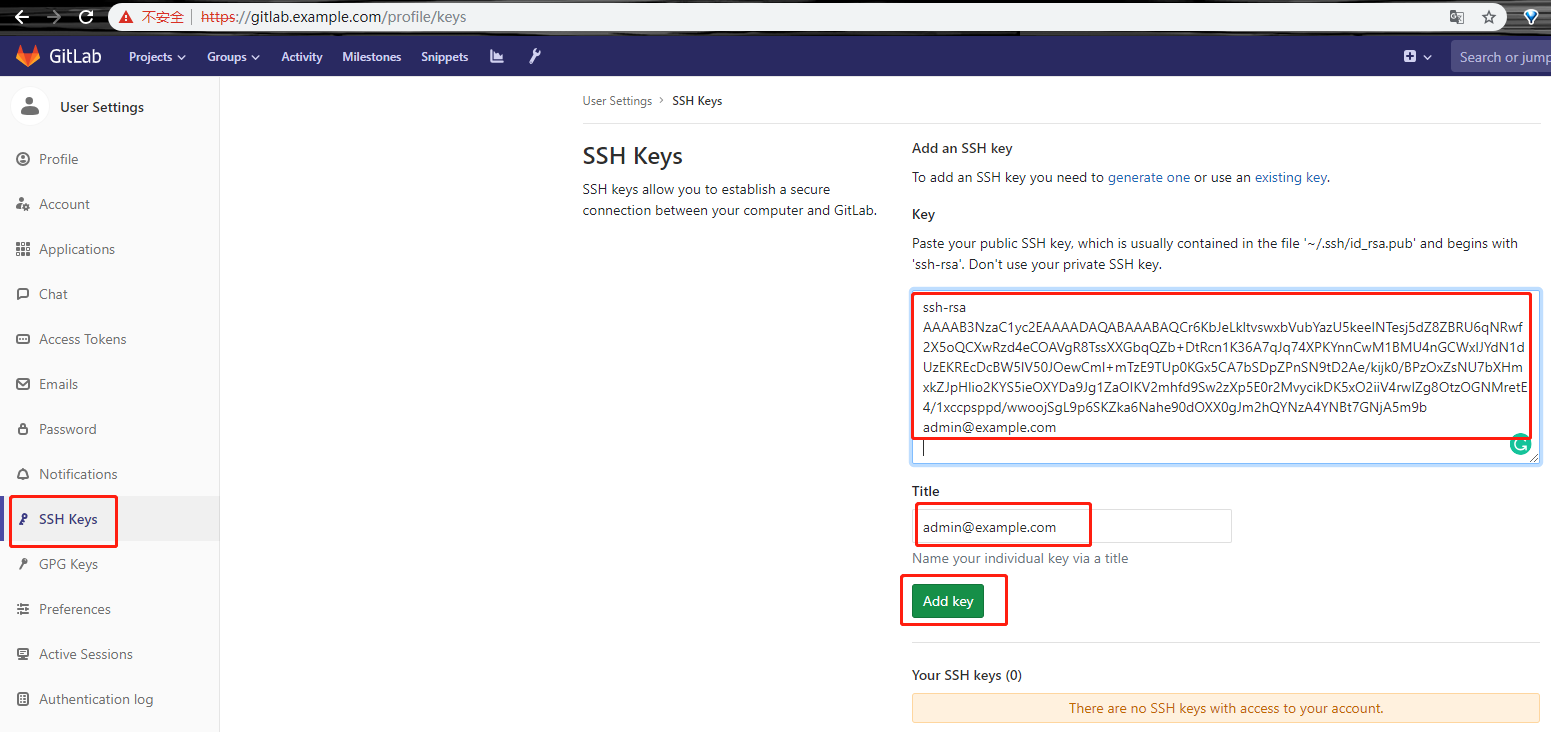
接着进行“build 配置”
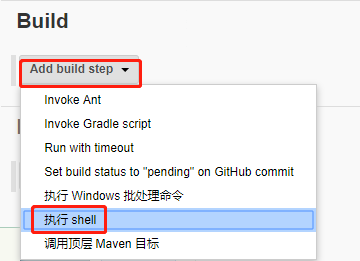
在以下框内粘贴
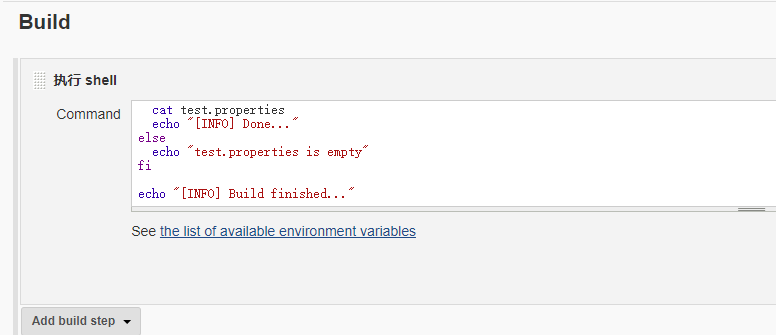
#!/bin/sh

export PATH="/bin:/sbin:/usr/bin:/usr/sbin:/usr/local/bin:/usr/local/sbin"

# Print env variable
echo "[INFO] Print env variable"
echo "Current deployment envrionment is $deploy_env" >> test.properties
echo "THe build is $version" >> test.properties
echo "[INFO] Done..."

# Check test properties
echo "[INFO] Check test properties"
if [ -s test.properties ]
then
  cat test.properties
  echo "[INFO] Done..."
else
  echo "test.properties is empty"
fi

echo "[INFO] Build finished..."
接下来点击“Build with Parameters”
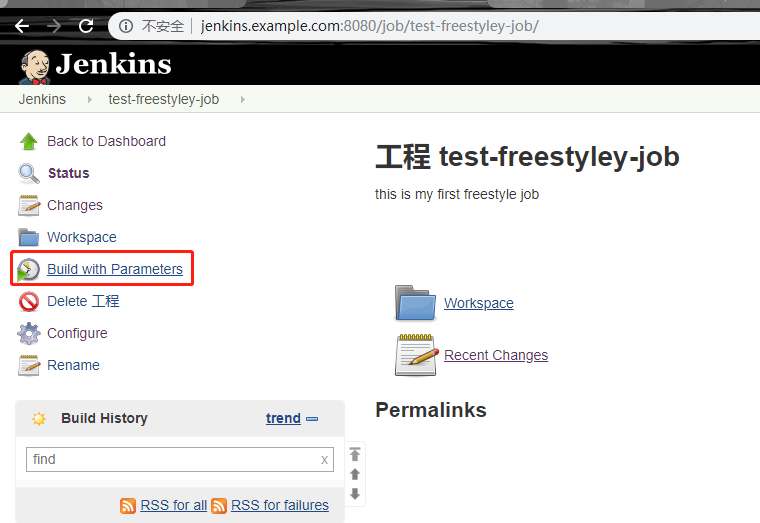
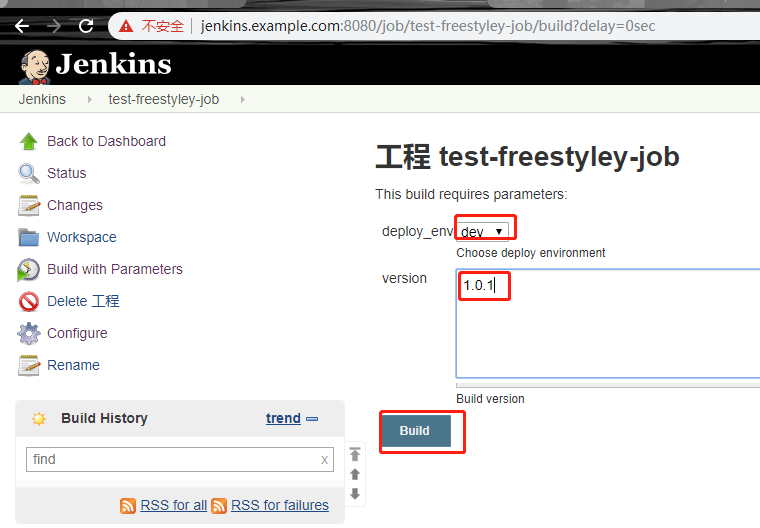
提示失败,点击红色失败按钮,查看日志并解决

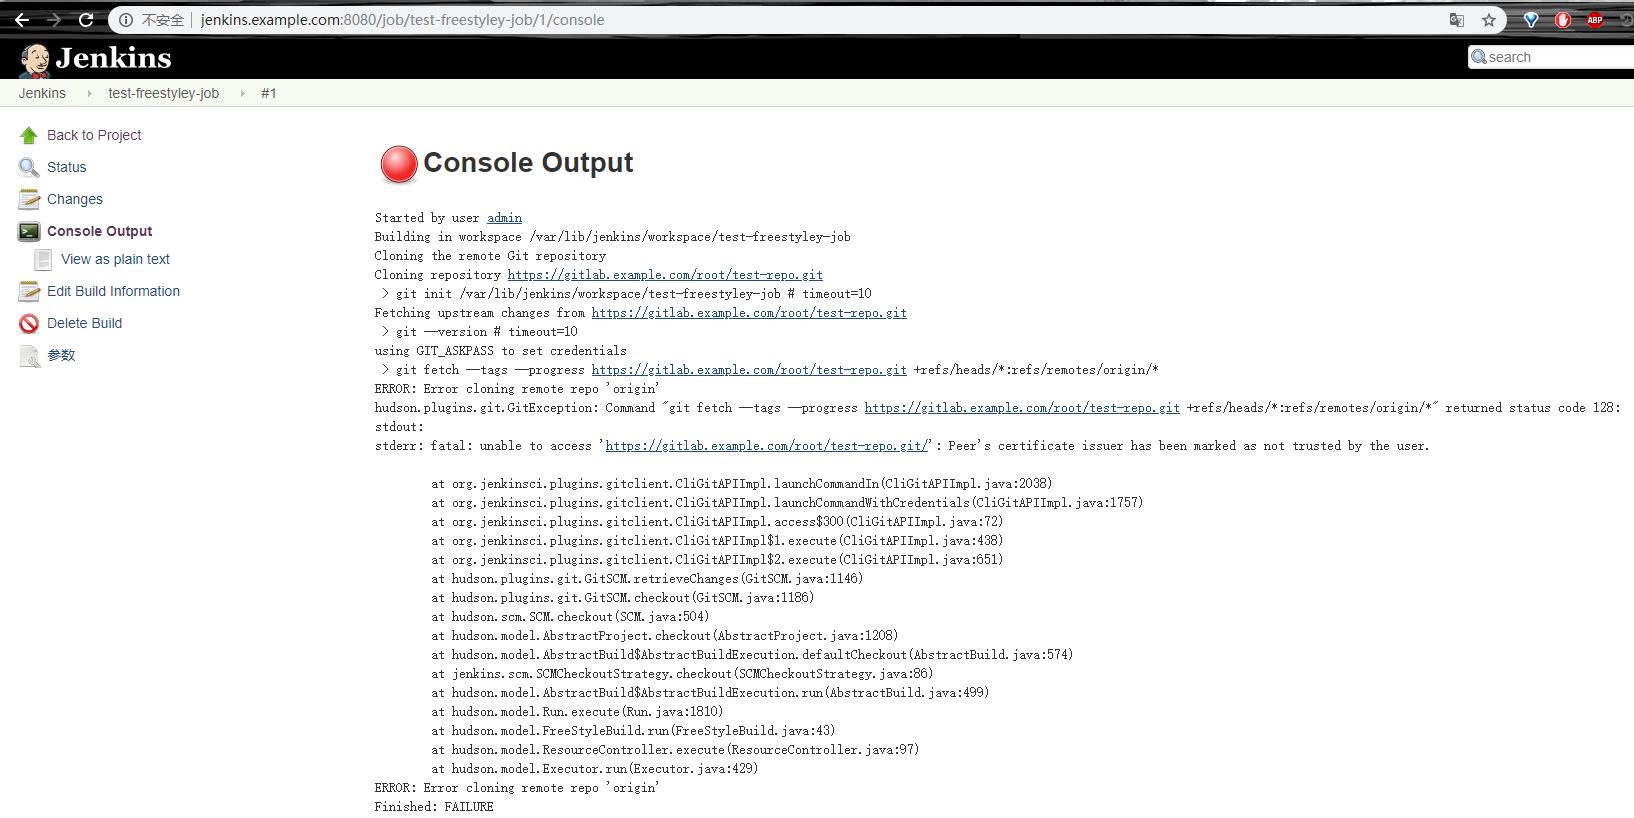
可以看出还是之前的git有点问题,回到test-freestyle-job配置项,查看并确认
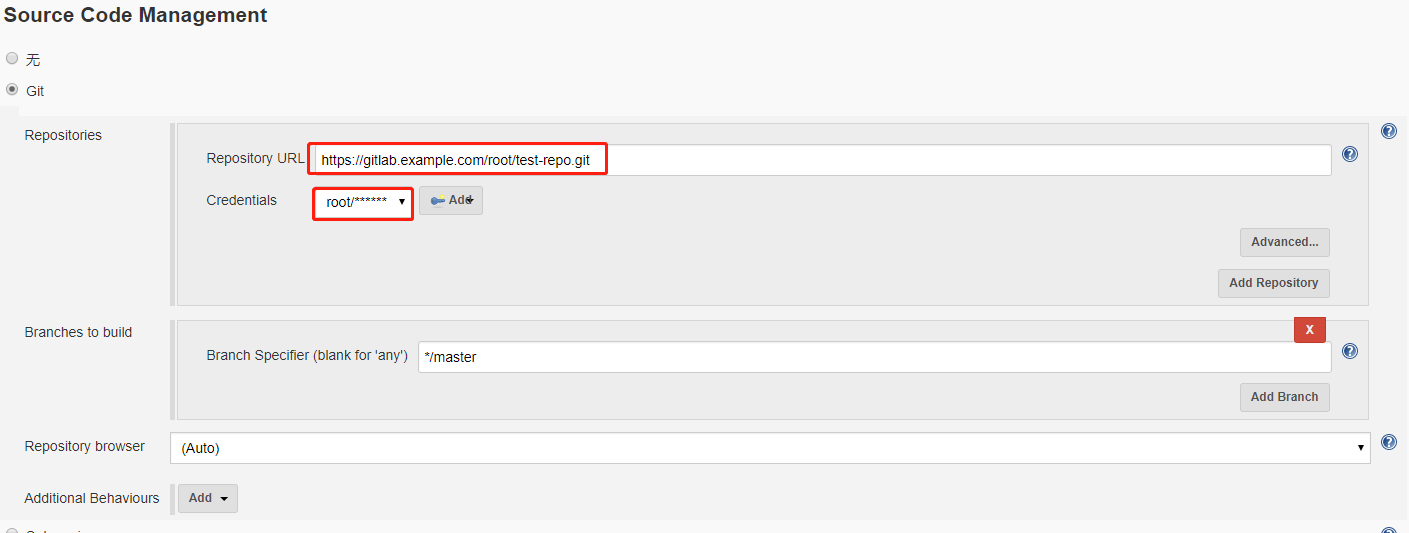
然后重新构建
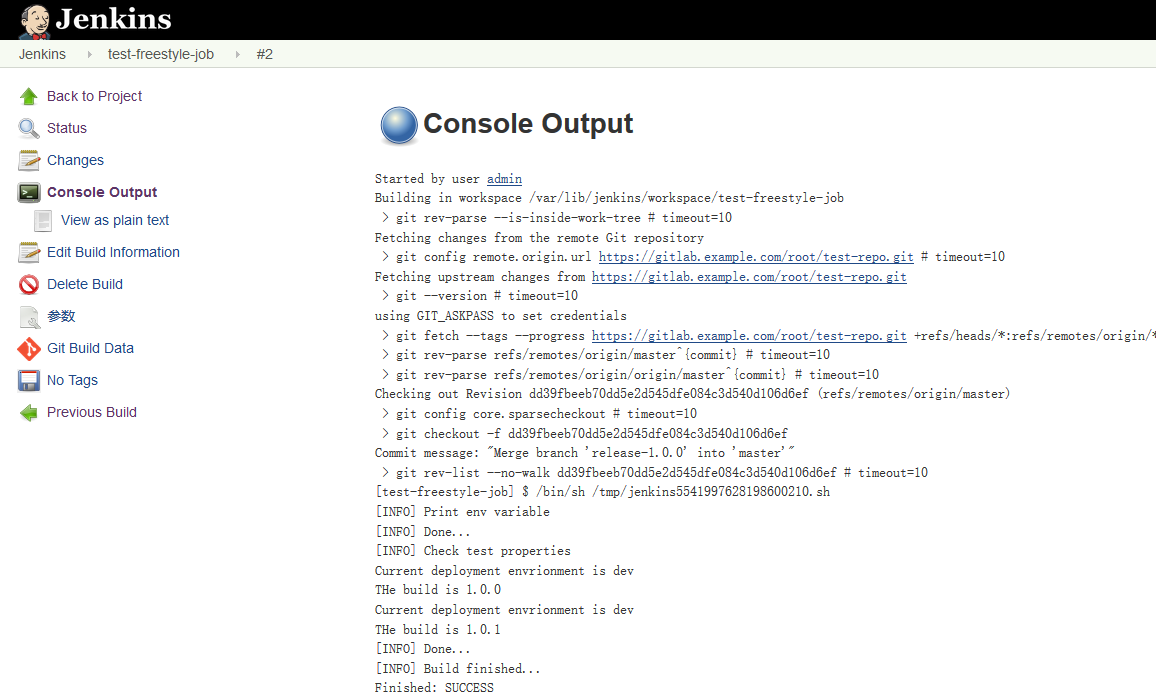
可以看到已经成功构建。
接下来演示Jenkins Pipeline Job构建过程
Pipeline基础架构
1.所有代码包裹在pipeline{}层内
2.stages{}层用来包含该pipeline所有stage子层
3.stage{}层用来包含具体我们需要编写任务的steps{}子层
4.steps{}用来添加我们具体需要调用的模块语句
agent区域
- agent定义pipeline在哪里运行,可以使用any,none,或具体的Jenkins node主机名等;例如:假定我们要特指在node1上执行,可以写成:agent{node1 {label 'node1'}}。
environment区域
- “变量名称=变量值”定义我们的环境变量;
- 可以定义全局环境变量,应用所有stage任务
- 可以定义stage环境变量,应用单独的stage任务
script区域(可选)
- 在steps内定义script{};
- groovy脚本语言;
- 用来进行脚本逻辑运算;
常用steps区域
- echo:打印输出
- sh:调用Linux系统shell命令
- git url:调用git模块进行git相关操作
开始构建Jenkins Pipeline Job
首先登录到Jenkins web 管理页
点击“New 任务”
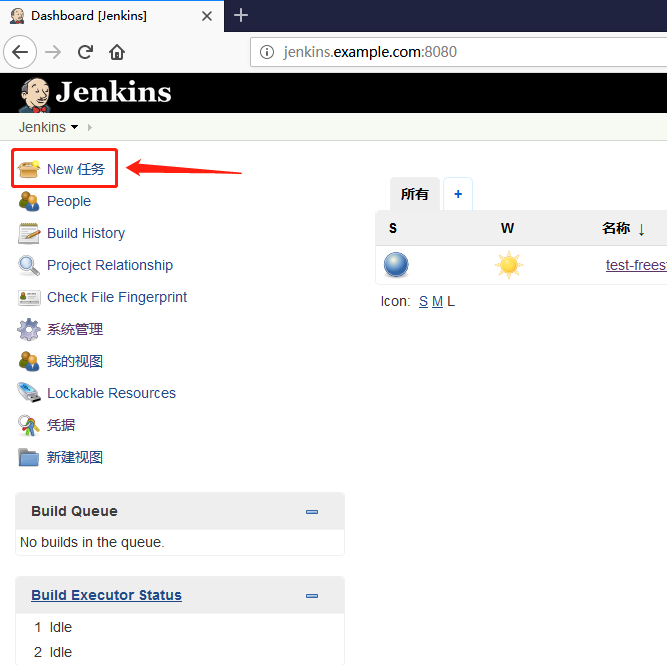

添加描述信息

添加pipeline script
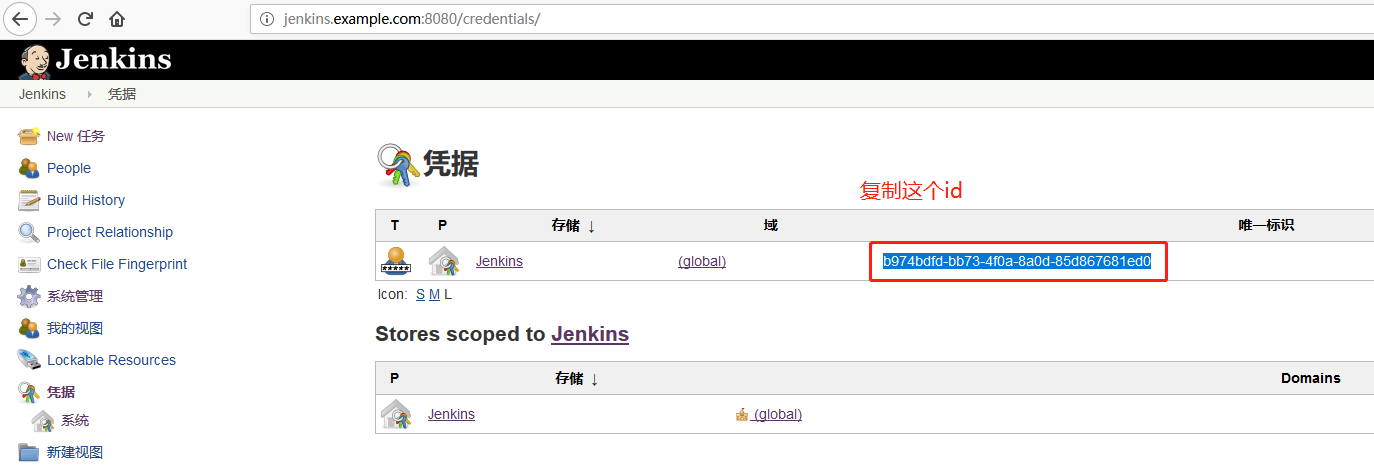
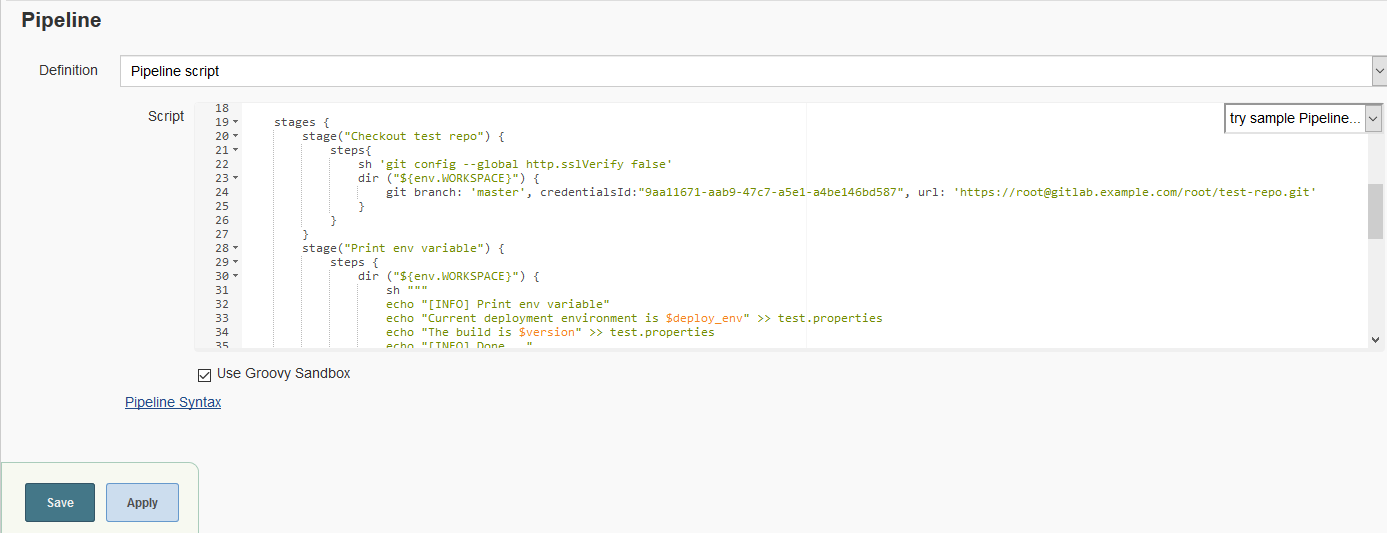
pipeline script脚本内容(用上述复制下来的ID粘贴至credentialsId后)
#!groovy

pipeline {
    agent {node {label 'master'}}

    environment {
        PATH="/bin:/sbin:/usr/bin:/usr/sbin:/usr/local/bin"
    }

    parameters {
        choice(
            choices: 'dev\nprod',
            description: 'choose deploy environment',
            name: 'deploy_env'
            )
        string (name: 'version', defaultValue: '1.0.0', description: 'build version')
    }

    stages {
        stage("Checkout test repo") {
            steps{
                sh 'git config --global http.sslVerify false'
                dir ("${env.WORKSPACE}") {
                    git branch: 'master', credentialsId:"b974bdfd-bb73-4f0a-8a0d-85d867681ed0", url: 'https://root@gitlab.example.com/root/test-repo.git'
                }
            }
        }
        stage("Print env variable") {
            steps {
                dir ("${env.WORKSPACE}") {
                    sh """
                    echo "[INFO] Print env variable"
                    echo "Current deployment environment is $deploy_env" >> test.properties
                    echo "The build is $version" >> test.properties
                    echo "[INFO] Done..."
                    """
                }
            }
        }
        stage("Check test properties") {
            steps{
                dir ("${env.WORKSPACE}") {
                    sh """
                    echo "[INFO] Check test properties"
                    if [ -s test.properties ]
                    then
                        cat test.properties
                        echo "[INFO] Done..."
                    else
                        echo "test.properties is empty"
                    fi
                    """

                    echo "[INFO] Build finished..."
                }
            }
        }
    }
}
“保存”之后,点击“立即构建”
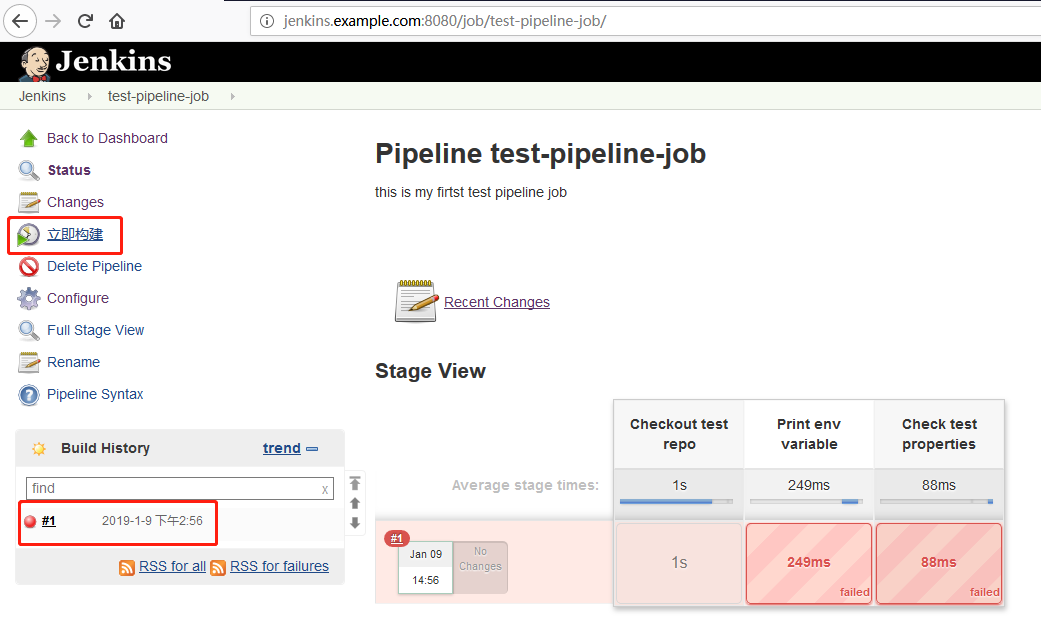
报错,点击查看报错信息

根据错误提示:没有找到对应参数的变量,是因为首次构建pipeline job时,参数没有被引用到当前pipeline job当中,返回test-pipeline-job主界面,此时的“立即构建”按钮会变为“Build with Parameters”,点击“Build with Parameters”

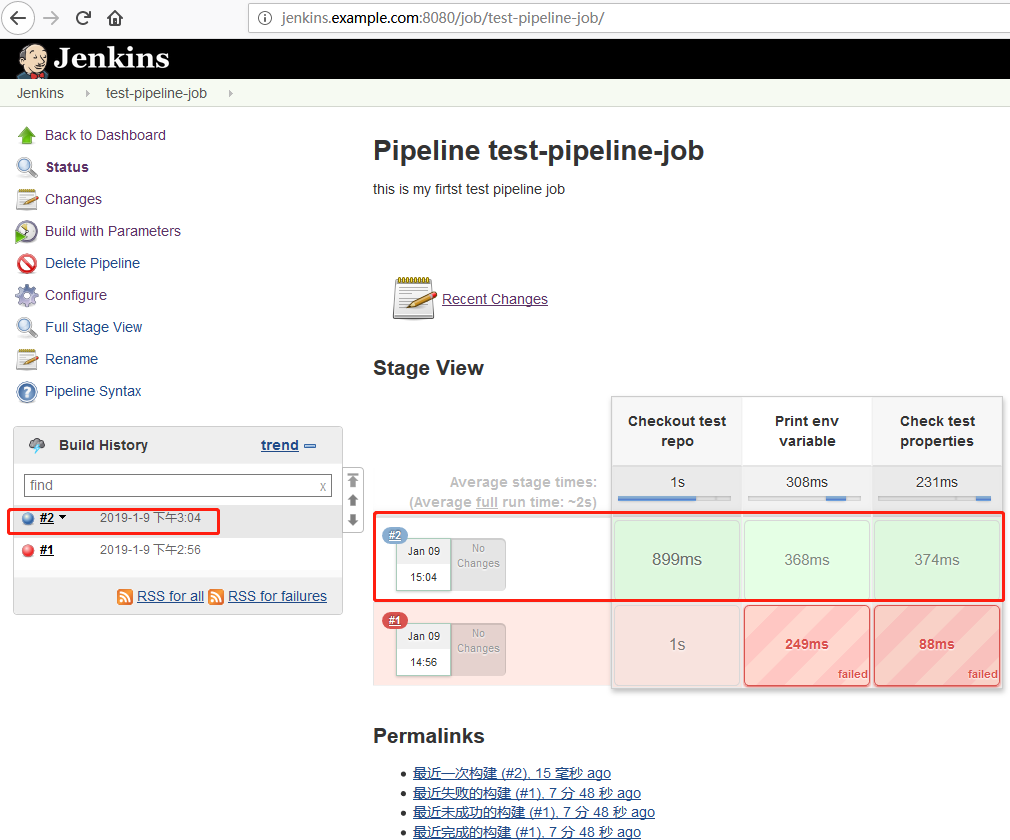
可以看到第二次构建是成功的,点击#2前的蓝色圆球查看输出信息
Started by user admin
Running in Durability level: MAX_SURVIVABILITY
[Pipeline] node
Running on Jenkins in /var/lib/jenkins/workspace/test-pipeline-job
[Pipeline] {
[Pipeline] withEnv
[Pipeline] {
[Pipeline] stage
[Pipeline] { (Checkout test repo)
[Pipeline] sh
+ git config --global http.sslVerify false
[Pipeline] dir
Running in /var/lib/jenkins/workspace/test-pipeline-job
[Pipeline] {
[Pipeline] git
 > git rev-parse --is-inside-work-tree # timeout=10
Fetching changes from the remote Git repository
 > git config remote.origin.url https://root@gitlab.example.com/root/test-repo.git # timeout=10
Fetching upstream changes from https://root@gitlab.example.com/root/test-repo.git
 > git --version # timeout=10
using GIT_ASKPASS to set credentials
 > git fetch --tags --progress https://root@gitlab.example.com/root/test-repo.git +refs/heads/*:refs/remotes/origin/*
 > git rev-parse refs/remotes/origin/master^{commit} # timeout=10
 > git rev-parse refs/remotes/origin/origin/master^{commit} # timeout=10
Checking out Revision dd39fbeeb70dd5e2d545dfe084c3d540d106d6ef (refs/remotes/origin/master)
 > git config core.sparsecheckout # timeout=10
 > git checkout -f dd39fbeeb70dd5e2d545dfe084c3d540d106d6ef
 > git branch -a -v --no-abbrev # timeout=10
 > git branch -D master # timeout=10
 > git checkout -b master dd39fbeeb70dd5e2d545dfe084c3d540d106d6ef
Commit message: "Merge branch 'release-1.0.0' into 'master'"
 > git rev-list --no-walk dd39fbeeb70dd5e2d545dfe084c3d540d106d6ef # timeout=10
[Pipeline] }
[Pipeline] // dir
[Pipeline] }
[Pipeline] // stage
[Pipeline] stage
[Pipeline] { (Print env variable)
[Pipeline] dir
Running in /var/lib/jenkins/workspace/test-pipeline-job
[Pipeline] {
[Pipeline] sh
+ echo '[INFO] Print env variable'
[INFO] Print env variable
+ echo 'Current deployment environment is dev'
+ echo 'The build is 1.0.0'
+ echo '[INFO] Done...'
[INFO] Done...
[Pipeline] }
[Pipeline] // dir
[Pipeline] }
[Pipeline] // stage
[Pipeline] stage
[Pipeline] { (Check test properties)
[Pipeline] dir
Running in /var/lib/jenkins/workspace/test-pipeline-job
[Pipeline] {
[Pipeline] sh
+ echo '[INFO] Check test properties'
[INFO] Check test properties
+ '[' -s test.properties ']'
+ cat test.properties
Current deployment environment is dev
The build is 1.0.0
+ echo '[INFO] Done...'
[INFO] Done...
[Pipeline] echo
[INFO] Build finished...
[Pipeline] }
[Pipeline] // dir
[Pipeline] }
[Pipeline] // stage
[Pipeline] }
[Pipeline] // withEnv
[Pipeline] }
[Pipeline] // node
[Pipeline] End of Pipeline
Finished: SUCCESS
可以看到输出状态为“SUCCESS”,证明构建成功。


