mybatis plus 相关配置总结
mybatis-plus:
  ## mapper文件位置
  mapper-locations: classpath*:/mapper/**/*.xml
  ## 别名包设置,在mapper.xml中可直接用类名
  type-aliases-package: com.xx.xx.entity
  global-config:
    db-config:
      ## 生成ID方式: AUTO 数据库自增  INPUT 自己输入  ASSIGN_UUID 默认生成器
      id-type: auto
      ## 逻辑删除字段
      logic-delete-field: deleted
      ## 逻辑删除已删除值
      logic-delete-value: 1
      ## 逻辑删除未删除值
      logic-not-delete-value: 0
  configuration:
    ## 自动驼峰命名规则映射
    map-underscore-to-camel-case: true
    log-impl: org.apache.ibatis.logging.stdout.StdOutImpl
1 type-aliases-package: 配了此项,在mapper.xml文件的resultMap的type或者parameterType使用自定义的pojo时,可以只写一个实体名 (而不用写全限定名)

2 @MapperScan(basePackages="com.ostrich.*.repository")
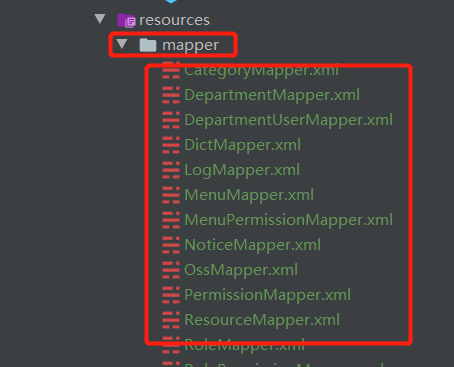
配置文件中的:mapper-locations:classpath*:/mapper/**/*.xml
PS: location的这种写法,首先mapper代表去找mapper文件夹,中间的两个*,代表匹配mapper文件夹下的所有子文件夹(如果有的话),最后的*.xml代表匹配所有的xml
在springBoot整合mybatis时,这两个配置缺一不可:@MapperScan是扫描mapper接口的也就是dao类;mapper-locations是扫描mapper.xml的
PS: springBoot整合mybatis时,需要配置mybatis的包扫描路径,或@Mapper注解
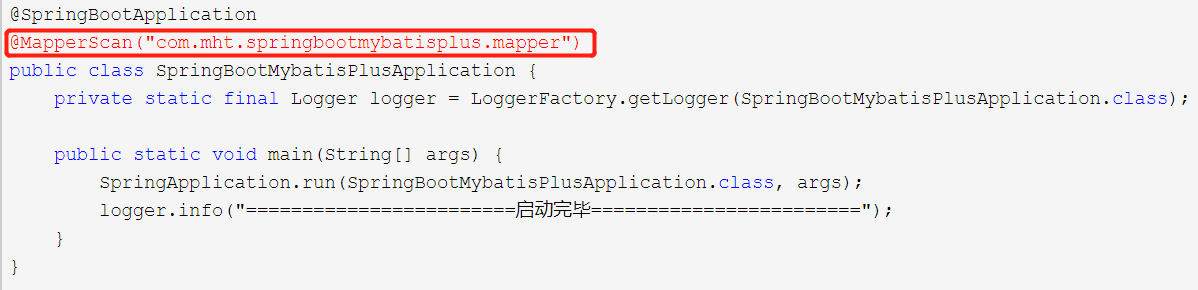
方式1:直接怼
@MapperScan(basePackages ={"com.xx.xx.dao"})
或者:

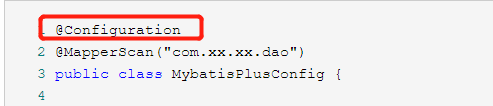
方式2:写一个mybatis的配置类 MybatisPlusConfig + @Configuration + @MapperScan
 1 @Configuration
 2 @MapperScan("com.xx.xx.dao")
 3 public class MybatisPlusConfig {
 4
 5     /**
 6      * 分页插件
 7      *
 8      * @return
 9      */
10     @Bean
11     public PaginationInterceptor paginationInterceptor() {
12         PaginationInterceptor paginationInterceptor = new PaginationInterceptor();
13         // 设置请求的页面大于最大页后操作, true调回到首页,false 继续请求  默认false
14         // paginationInterceptor.setOverflow(false);
15         // 设置最大单页限制数量,默认 500 条,-1 不受限制
16         // paginationInterceptor.setLimit(500);
17         // 开启 count 的 join 优化,只针对部分 left join
18         paginationInterceptor.setCountSqlParser(new JsqlParserCountOptimize(true));
19         return paginationInterceptor;
20     }
21 }
以上两种方式,效果是一样的,但是推荐第二种,因为更专业,留下一个干干净净的启动类,不香么?
1 @SpringBootApplication
2 public class XXXApplication {
3
4     public static void main(String[] args) {
5         SpringApplication.run(XXXApplication.class, args);
6     }
7
8 }
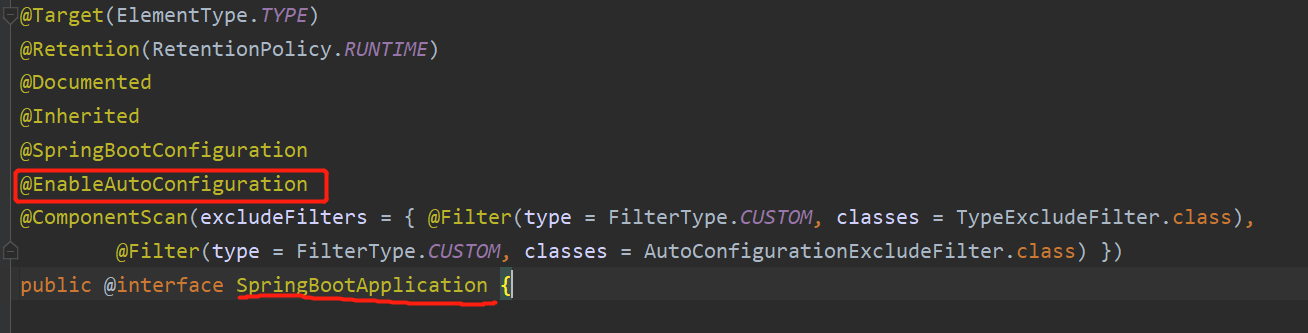
上面有一个@Configuration注解,会被springBoot工程在启动时扫描到。
因为springBoot启动类上的注解@SpringBootApplication是一个三合一的注解,点进去看@SpringBootApplication: