博客搭建,修改基本信息,建立个人风格
本文首发于博客冰山一树Sankey,去博客浏览效果更好。
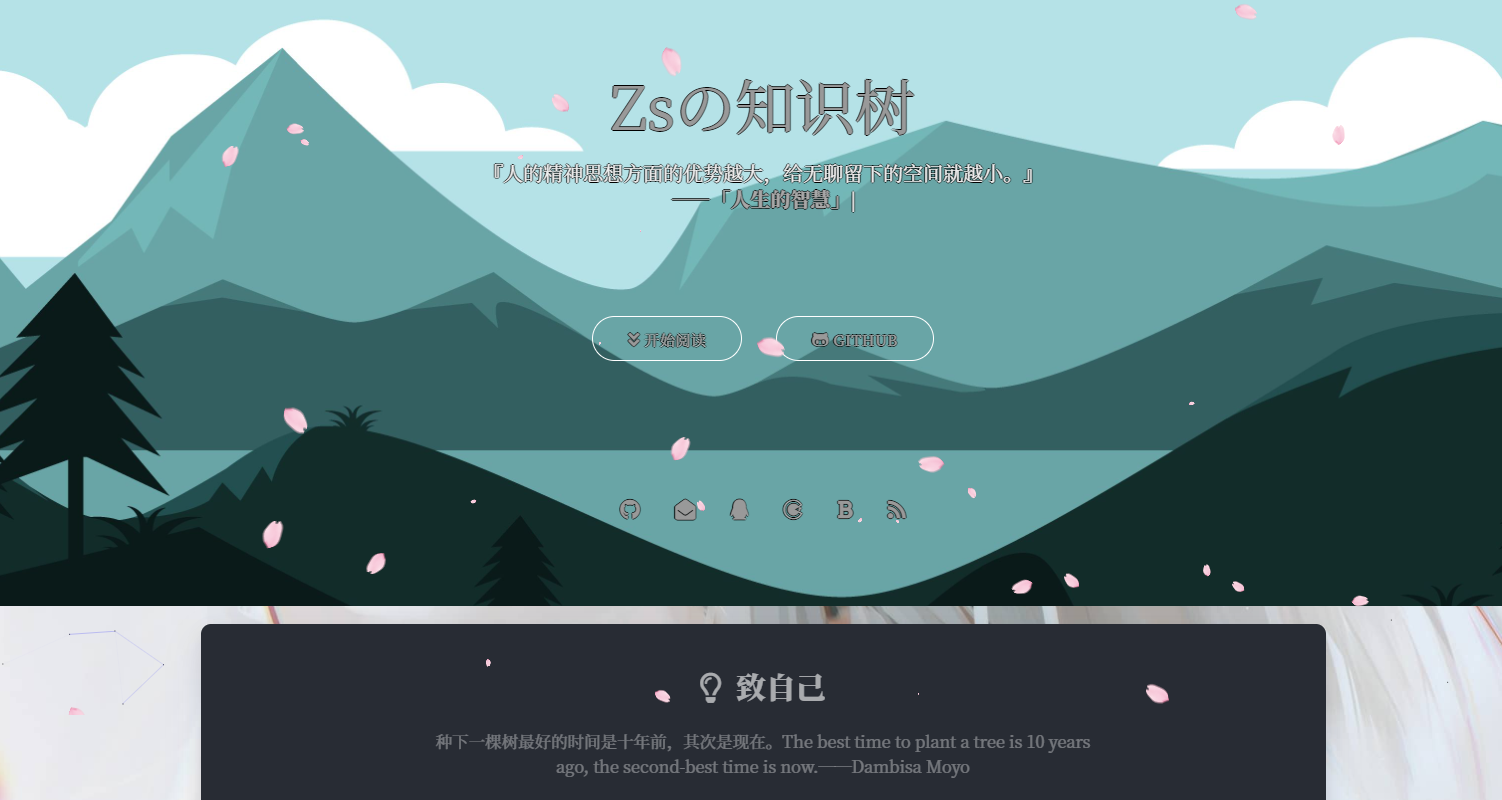
本博客基于Lucky大佬的博客进行优化,改成属于自己的风格,再此感谢大佬的开源,让自己节约大部分调试,以及寻找资料的时间与精力。
Luck大佬博客:LuckySec (luckyzmj.cn)
指导开源博客文章:LuckyBlog开源搭建教程 | LuckySec (luckyzmj.cn)
1. 设计图标和logo
每个网站都有相对于的图标彰显特色与理念,我也想设计出自己的图标,无奈自己不会设计,只能去那些logo网站看看找找灵感
第一个:
LOGO设计神器 - logo在线设计生成器,免费在线生成公司logo设计! (logosc.cn)

step1 : 输入logo名称

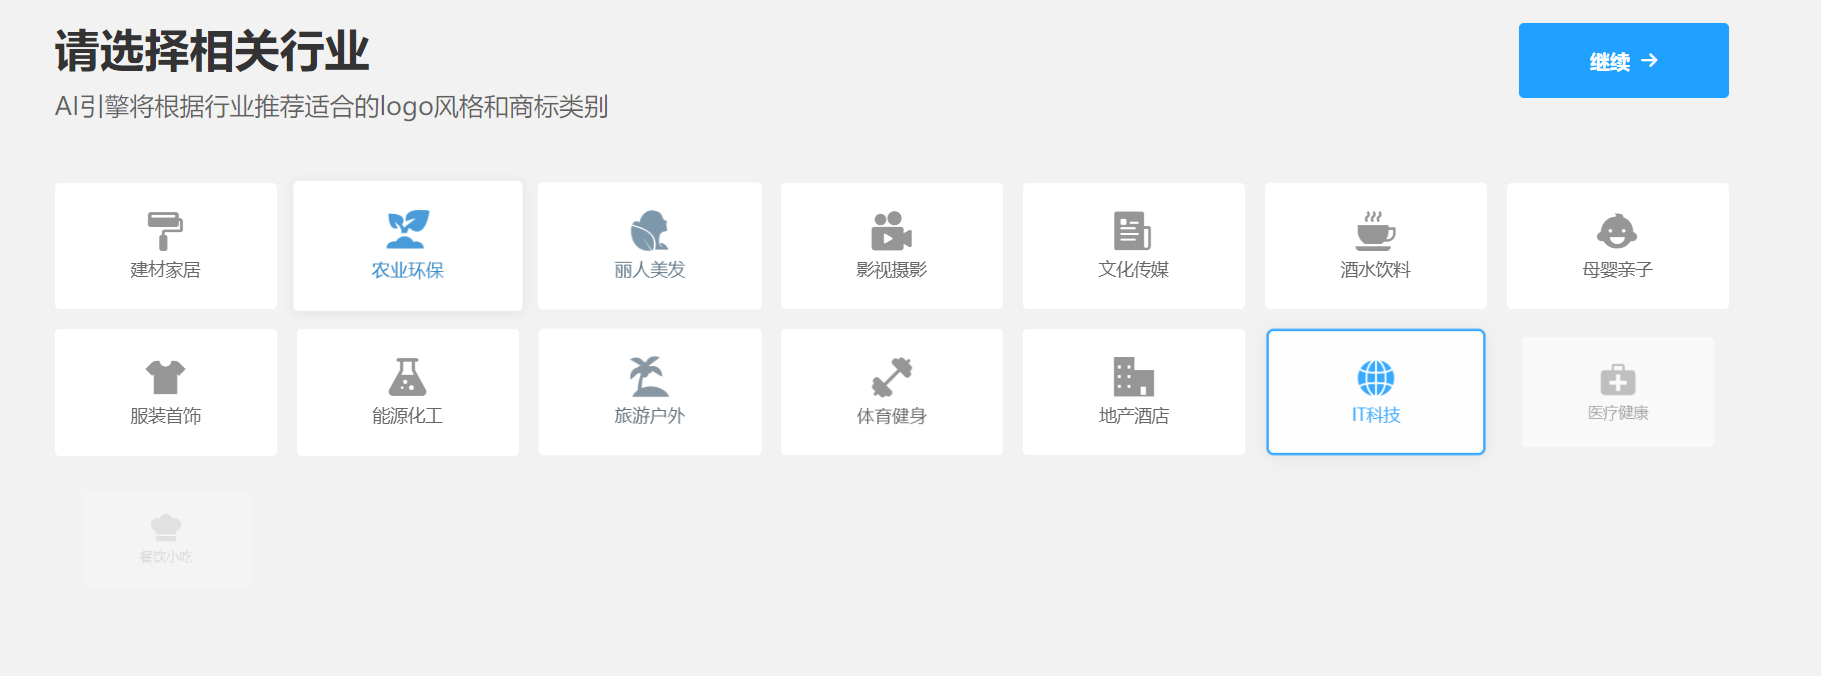
step2:选择行业
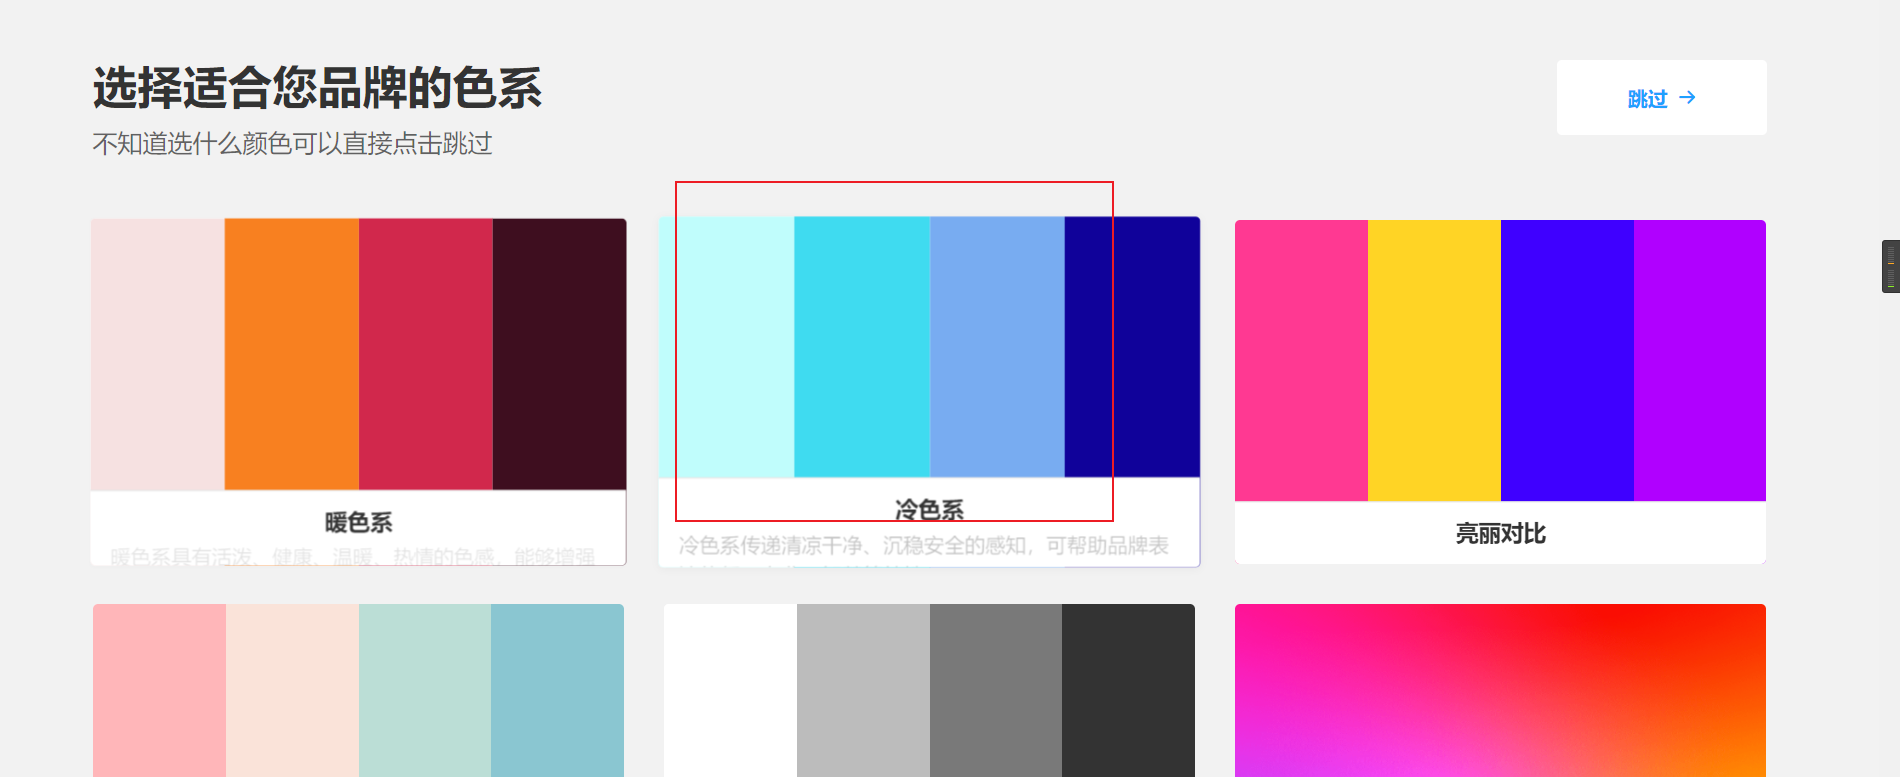
step3:选择色系,我这里我选择冷色系
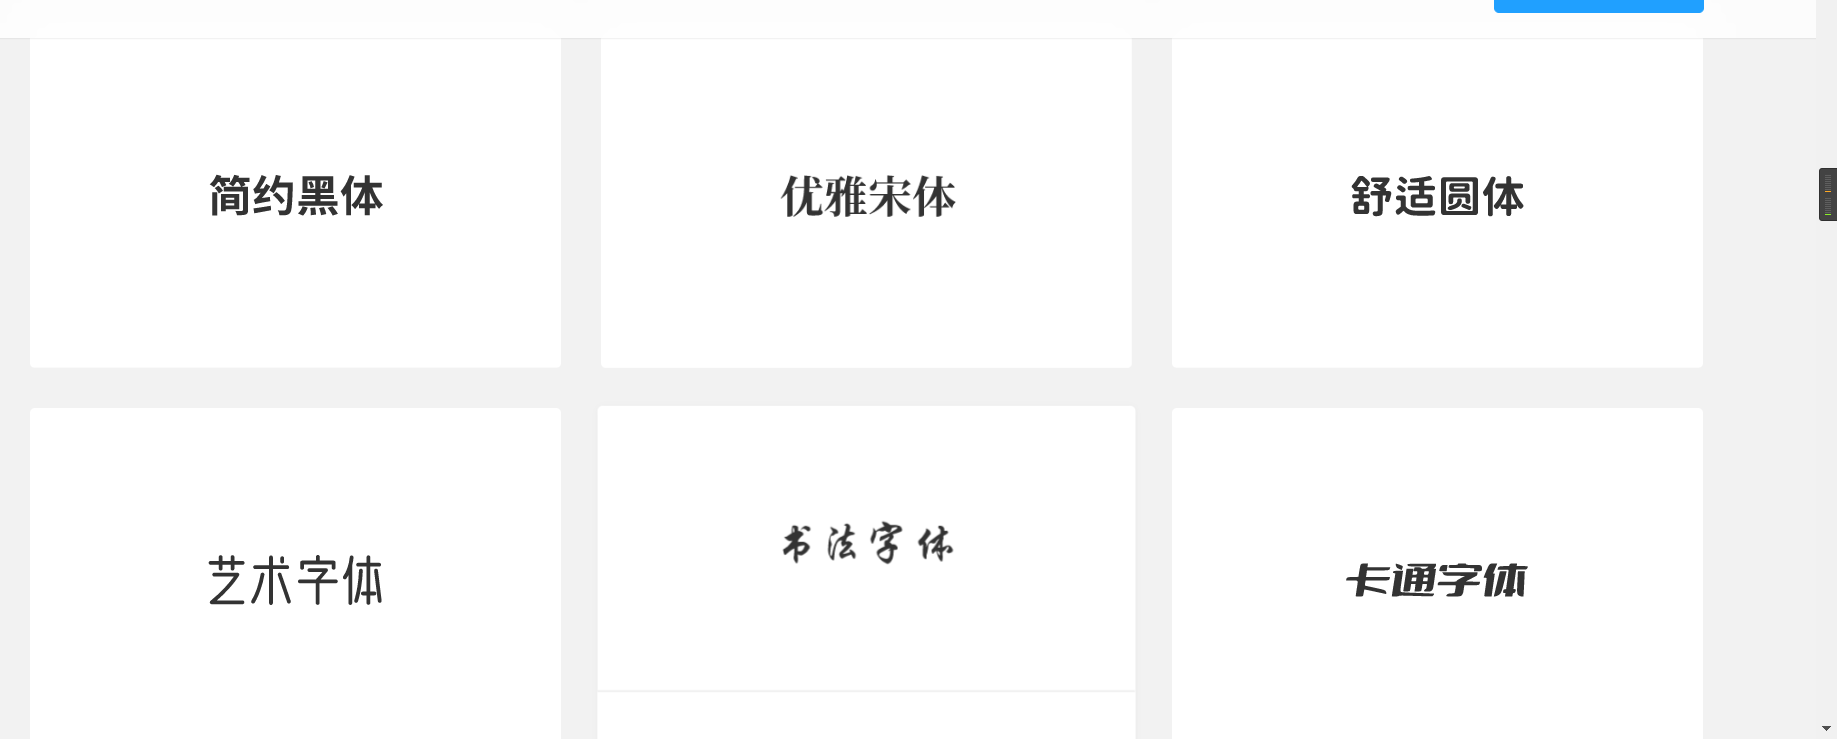
step4:选择字体
点击生成logo就可以看到很多logo了
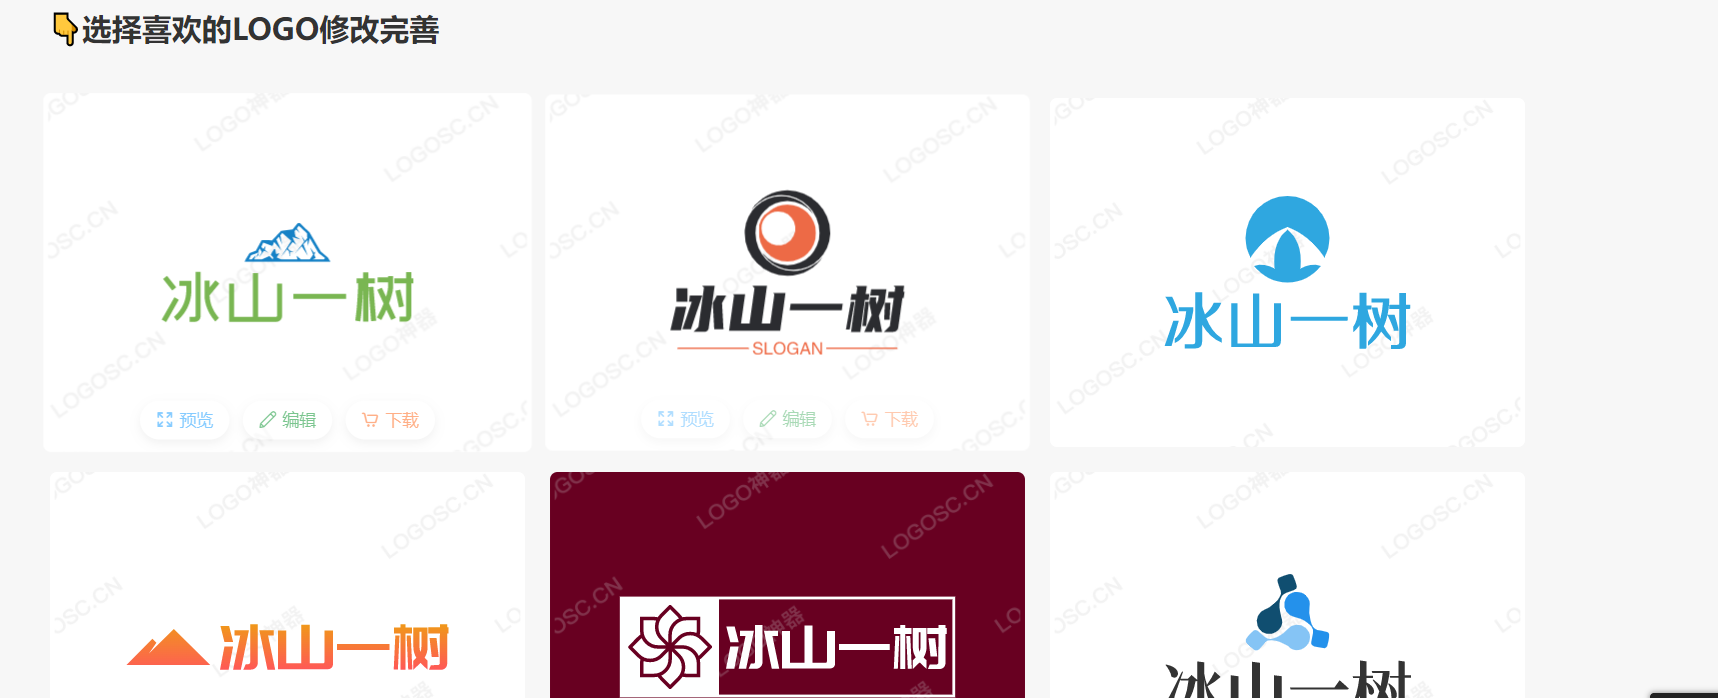
挑选所需要的logo
我挑了大半天都没有找到想要的。
我就用另外一个网站在进行设计
点击下载,然后在做一些优化,比如去背景,调整大小,logo就做好了。
去背景网站消除图片中的背景 – remove.bg
最后将自己做的logo替换原来的logo,
2. 修改部署平台
编辑根目录下的配置文件MyBlog/_config.yml,找到如下内容并修改
deploy:
- type: git
  repo: git@github.com:bingshanyishu/bingshanyishu.github.io.git
  branch: master
3. 修改网站信息
编辑根目录下的配置文件MyBlog/_config.yml,找到如下内容并修改为自己的信息
# Site
title: 冰山一树Sankey
subtitle: 'Zsの博客'
description: '向下以触冰山,向上以触云层,而中以桑基为流,所见即所得!'
keywords: '可视化 前端 数据分析 电气'
author: Sankey
language: zh-CN
timezone: ''

# URL
## If your site is put in a subdirectory, set url as 'http://example.com/child' and root as '/child/'
url: https://bingshanyishu.github.io/
root: /
# permalink: :year/:month/:day/:title/
permalink: posts/:abbrlink.html  # p 是自定义的前缀
abbrlink:
    alg: crc32   #算法: crc16(default) and crc32
    rep: hex     #进制: dec(default) and hex
permalink_defaults:
pretty_urls:
  trailing_index: true # Set to false to remove trailing 'index.html' from permalinks
  trailing_html: true # Set to false to remove trailing '.html' from permalinks
4. 修改博客头像
编辑主题目录下的配置文件MyBlog/themes/hexo-theme-matery/_config.yml,找到如下内容并修改,也可直接替换主题文件下的source中的favicon.png和medias中的logo.png
# Configure website favicon and LOGO
# 将以下改为自己的头像链接即可
favicon: https://s1.ax1x.com/2020/05/17/YR20js.jpg
logo: https://s1.ax1x.com/2020/05/17/YRWsYT.png

#如果是替换主题文件中内容·:
# 配置网站favicon和网站LOGO
favicon: /favicon.png
logo: /medias/logo.png
5. 修改留言板简介
演示效果如下:
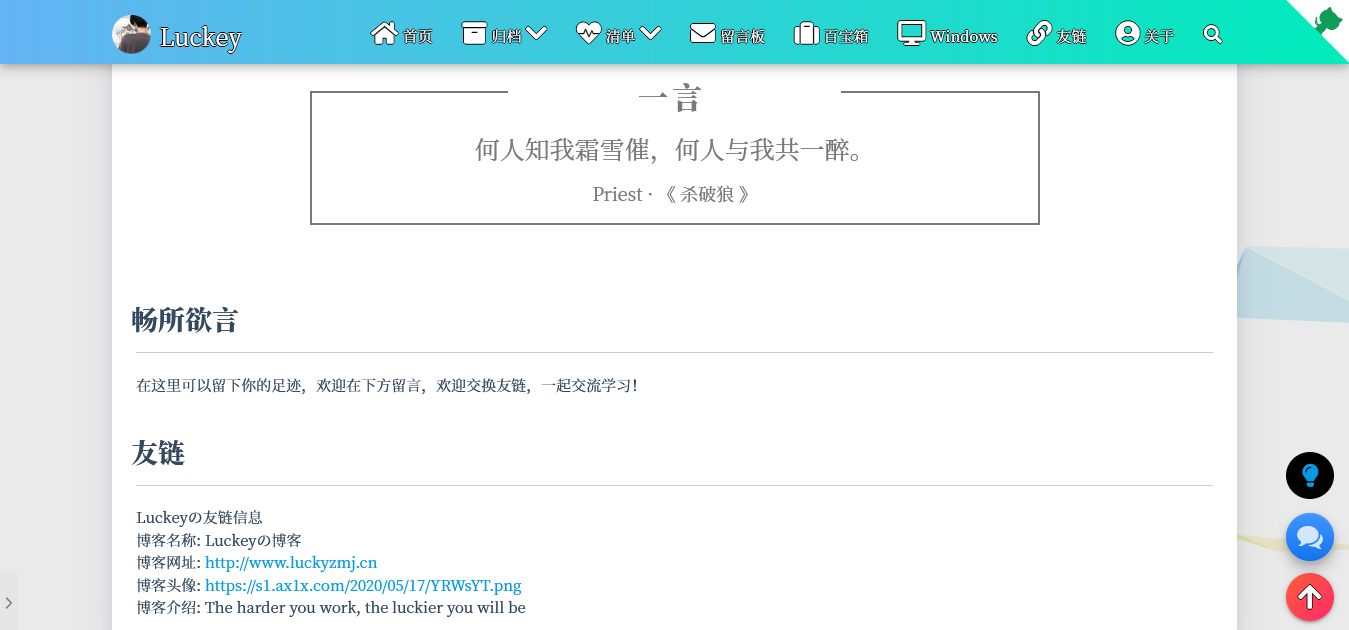
编辑 /MyBlog/contact/index.md,修改为如下信息
---
title: contact
date: 2019-10-25 00:00:00
type: "contact"
layout: "contact"
---

## 畅所欲言
---
在这里可以留下你的足迹,欢迎在下方留言,欢迎交换友链,一起交流学习!

## 友链
---
Zsの友链信息
博客名称: 冰山一树Sankey
博客网址: https://bingshanyishu.github.io
博客介绍: 向下以触冰山,向上以触云层,而中以桑基为流,所见即所得!
6. 修改音乐列表
想要修改自己喜欢的音乐之前,需要先获取音乐列表的id。
登录网易云音乐网页版,找到自己喜欢的歌单,上面的ID对应修改
server:
- netease——>网易云音乐
- tencent——>QQ音乐
- kugou——>酷狗音乐
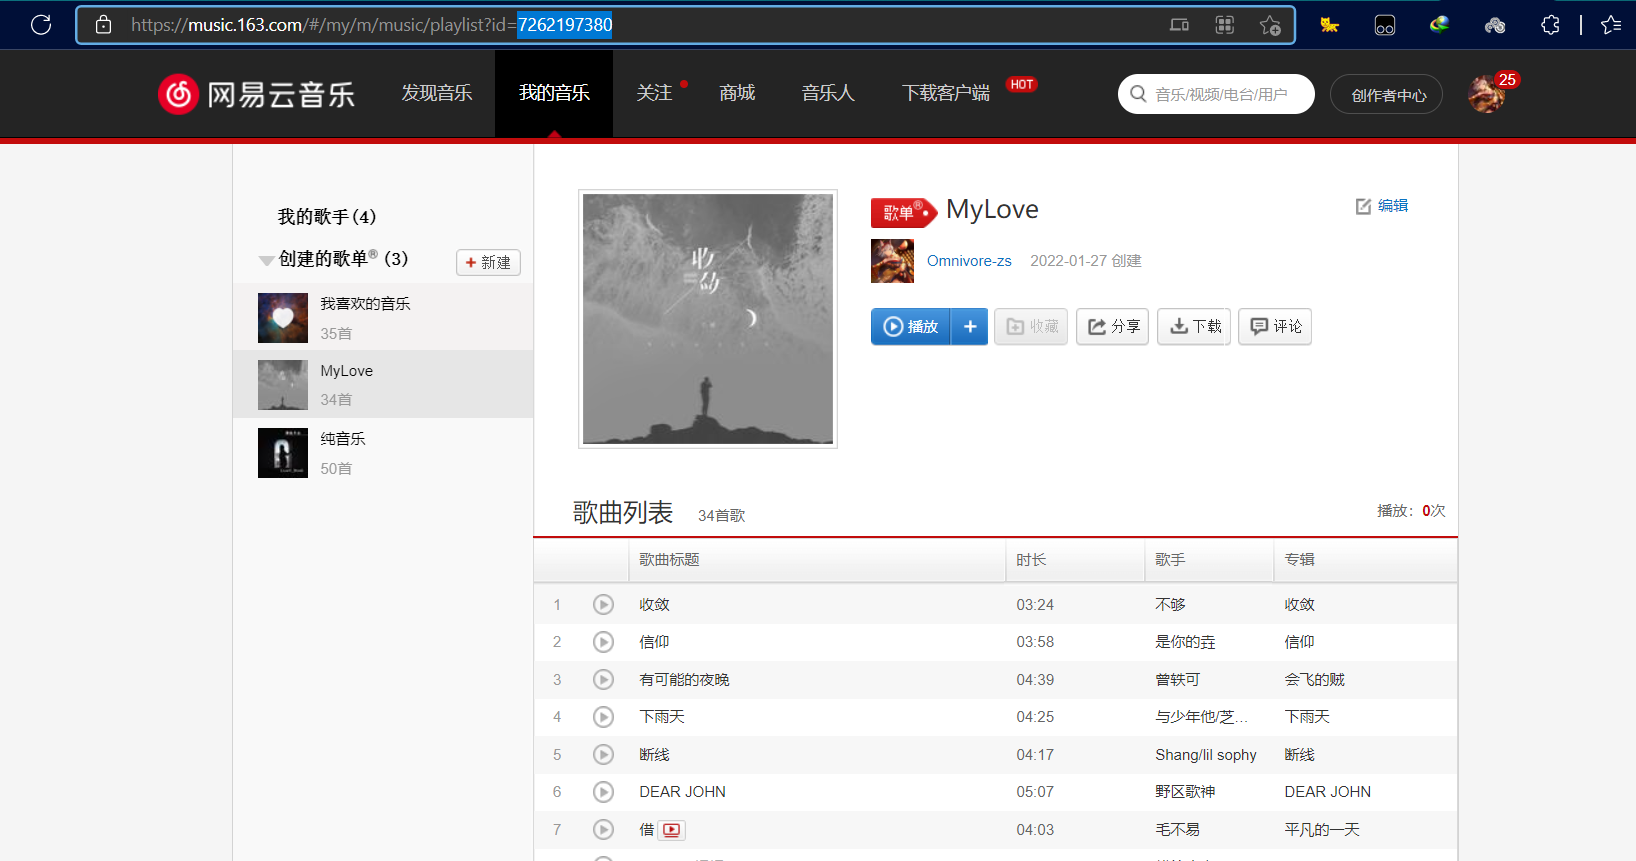
编辑主题目录下的配置文件MyBlog/themes/hexo-theme-matery/_config.yml,找到如下内容并修改
# Whether to display the musics.
# 是否在首页显示音乐.
music:
  enable: true
  title: #非吸底模式有效
    enable: true
    show: 听听音乐
  autoHide: true    # hide automaticaly
  server: netease   #require	music platform: netease, tencent, kugou, xiami, baidu
  type: playlist    #require song, playlist, album, search, artist
  id: 7262197380     #require	song id / playlist id / album id / search keyword
  fixed: true       # 开启吸底模式
  autoplay: false   # 是否自动播放
  theme: '#42b983'
  loop: 'all'       # 音频循环播放, 可选值: 'all', 'one', 'none'
  order: 'random'   # 音频循环顺序, 可选值: 'list', 'random'
  preload: 'auto'   # 预加载,可选值: 'none', 'metadata', 'auto'
  volume: 0.7       # 默认音量,请注意播放器会记忆用户设置,用户手动设置音量后默认音量即失效
  listFolded: true  # 列表默认折叠
  hideLrc: true     # 隐藏歌词

# Whether to display the musics.
# 单独的音乐页面.
musics:
  enable: true
  title:          #非吸底模式有效
    enable: true
    show: 听听音乐
  server: netease   #require music platform: netease, tencent, kugou, xiami, baidu
  type: playlist    #require song, playlist, album, search, artist
  id: 7262197380    #require song id / playlist id / album id / search keyword
  fixed: false      # 开启吸底模式
  autoplay: true   # 是否自动播放
  theme: '#42b983'
  loop: 'all'       # 音频循环播放, 可选值: 'all', 'one', 'none'
  order: 'random'   # 音频循环顺序, 可选值: 'list', 'random'
  preload: 'auto'   # 预加载,可选值: 'none', 'metadata', 'auto'
  volume: 0.7       # 默认音量,请注意播放器会记忆用户设置,用户手动设置音量后默认音量即失效
  listFolded: false  # 列表默认折叠
  listMaxHeight: "525px" #列表最大高度
7. 绑定 Valine 评论
可参考Valine:一款基于Leancloud的无后端评论系统 - 简书 (jianshu.com)
先注册leancloud账号,官网
valine官网快速开始 | Valine 一款快速、简洁且高效的无后端评论系统。,进去点击注册可进入leancount官网
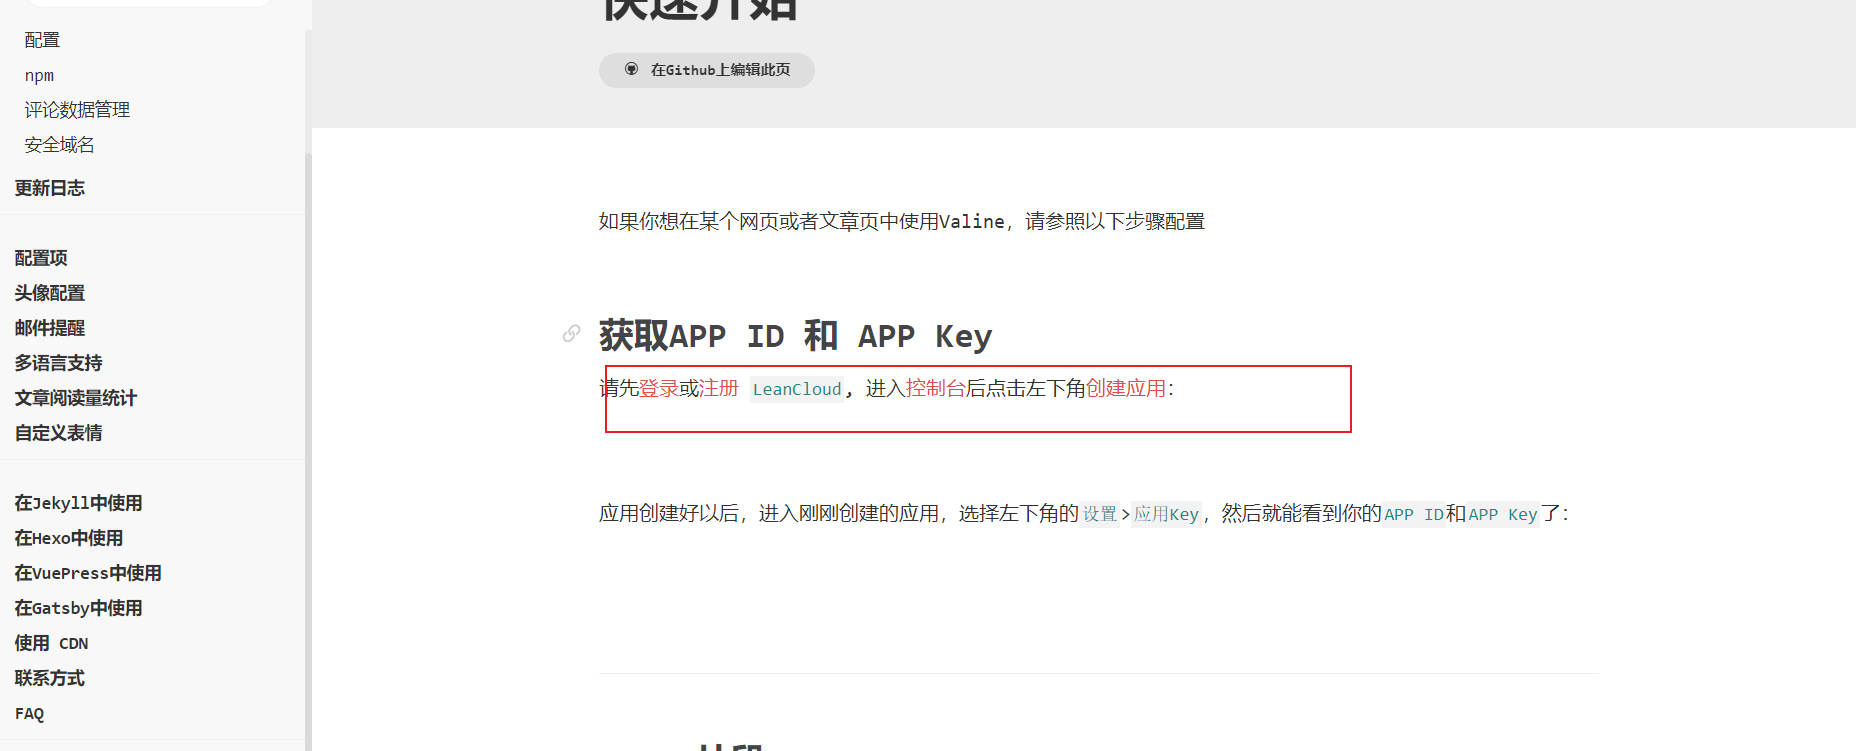
注册
实名认证加验证邮箱

然后回到leancloud主页,应用名称随便,选择开发板即可
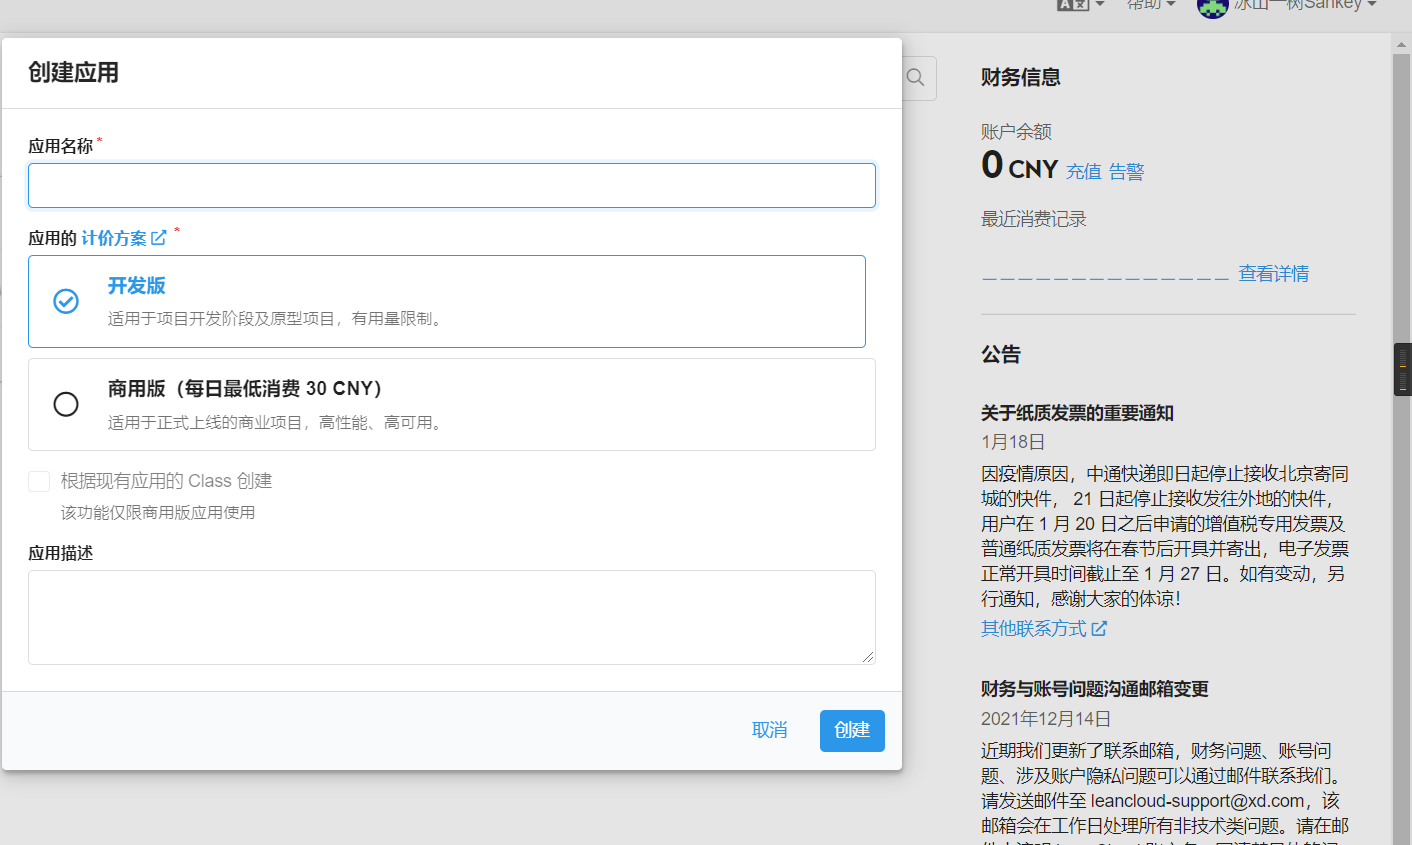
然后点击应用,设置,应用凭证,即可看到自己的AppID和AppKey
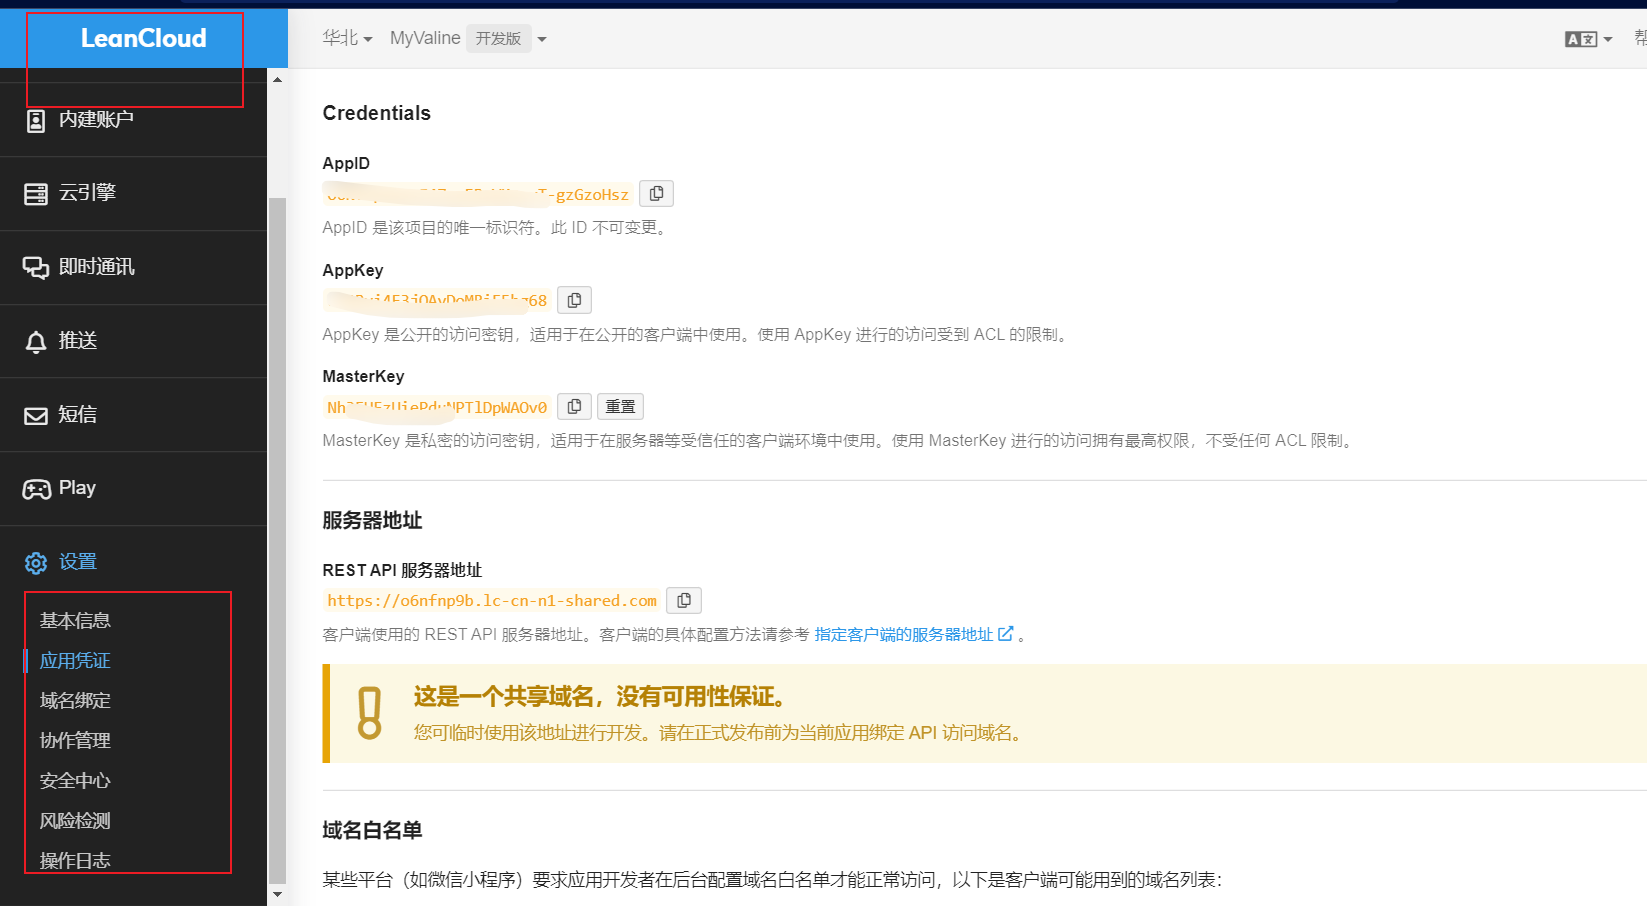
编辑主题目录下的配置文件MyBlog/themes/hexo-theme-matery/_config.yml,找到如下内容并修改
# Valine 评论模块的配置,默认为不激活,如要使用,就请激活该配置项,并设置 appId 和 appKey.
valine:
  enable: true
  appId: Ucrxxxxxxxxxxxxxxxx-xxxxsz  # 自行注册valine获取
  appKey: zPsLxxxxxxxxxxxxxxerLmd    # 自行注册valine获取
  notify: true
  verify: true
  visitor: true
  avatar: 'monsterid' # Gravatar style : mm/identicon/monsterid/wavatar/retro/hide
  pageSize: 10
  placeholder: '留下你的足迹..' # Comment Box placeholder
  background: /medias/comment_bg.png
  count: true
  enableQQ: 16463223  # 改为自己的QQ号
  recordIP: true
  requiredFields:
    - nick
    - mail
  guest_info:
    - nick
    - mail
    - link
  master:
    - 46606772953bed0812789d6dc955614e  # md5加密后的博主邮箱
  metaPlaceholder:  # 输入框的背景文字
    nick: 昵称/QQ号(必填)
    mail: 邮箱(必填)
    link: 网址(https://)
  lang: zh-CN
  tagMeta: # The String Array of Words to show Flag.[Just Only xCss Style mode]
    - 博主
    - 小伙伴
    - 访客
  friends: # The MD5 String Array of friends Email to show friends Flag.[Just Only xCss Style mode]
    - cb3e577ff029d6073400d5557effd41f
    -
之后设计MD5加密邮箱,百度随便搜搜MD5加密就有

放在上面中
master:
    - 46606772953bed0812789d6dc955614e  # md5加密后的博主邮箱
8. 绑定 DaoVoice 在线聊天
首先在DaoVoice官网上注册一个账号。
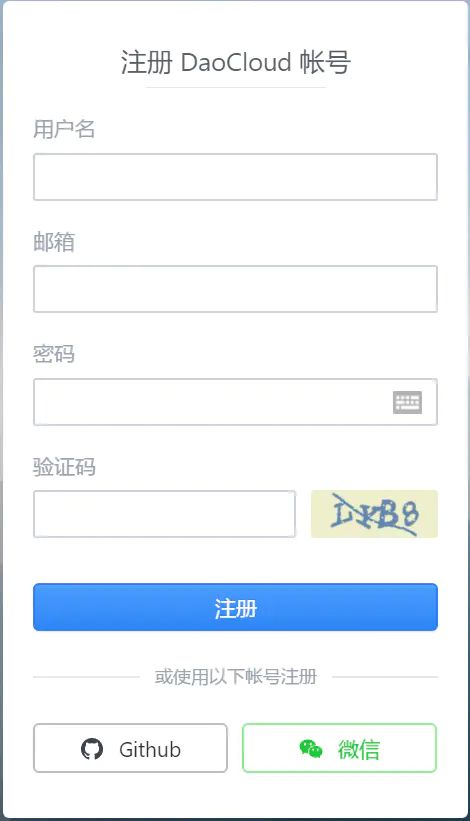
注册成功后,第一次登录,会弹出一个窗口,填完相关信息后。点击应用设置,点击安装到网站,然后就可以找到我们需要的appid了。
编辑主题目录下的配置文件MyBlog/themes/hexo-theme-matery/_config.yml,找到如下内容并修改
daovoice:
  enable: true
  app_id: 4xxxxxxxe   #DaoVoice中的app_id
小tips:点击应用设置,聊天设置可自行设计图标显示样式
 ,
,
9. 快捷导航页面个性化
编辑文件MyBlog/source/tools/index.html,以下简单标记出几处,还有其他涉及到博客信息的内容都需要改为你自己的博客信息即可。

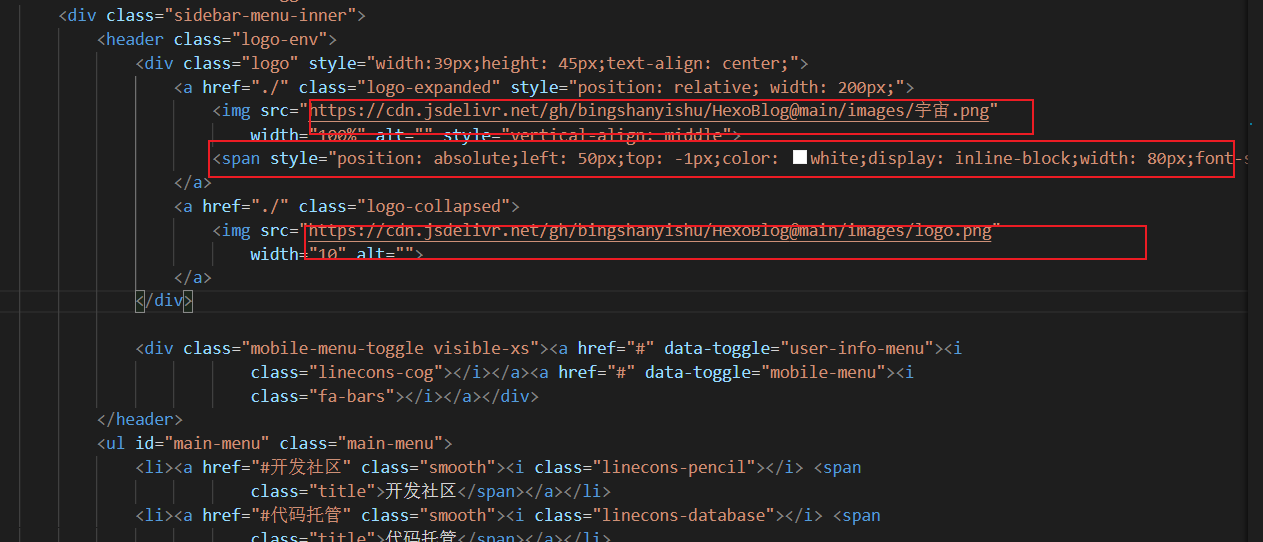
10. 添加友情链接
编辑文件MyBlog/suorce/_data/friends.json,按如下格式添加友情
[
    {
        "avatar": "https://s1.ax1x.com/2020/05/17/YRWsYT.png",
        "name": "Luckey",
        "introduction": "越努力,越幸运",
        "url": "http://www.luckyzmj.cn",
        "title": "访问主页"
    },{
      "avatar": "https://sunhwee.com/hwsun.jpg",
      "name": "洪卫の博客",
      "introduction": "UESTC CVer",
      "url": "http://sunhwee.com",
      "title": "访问主页"
    }
]
11. 添加相册
比如你的图片上传图床后,链接地址如下
https://cdn.jsdelivr.net/gh/bingshanyishu/HexoBlog@main/imagesBlog/galleries/璀璨星空/01.jpg
https://cdn.jsdelivr.net/gh/bingshanyishu/HexoBlog@main/imagesBlog/galleries/璀璨星空/02.jpg
https://cdn.jsdelivr.net/gh/bingshanyishu/HexoBlog@main/imagesBlog/galleries/动漫风景/01.jpg
https://cdn.jsdelivr.net/gh/bingshanyishu/HexoBlog@main/imagesBlog/galleries/动漫风景/02.jpg
...
首先提取出图片链接公共的部分,作为图床地址
https://cdn.jsdelivr.net/gh/bingshanyishu/HexoBlog@main/imagesBlog/galleries/
然后再提取图片地址中不同的部分,作为图片地址
璀璨星空/01.jpg
璀璨星空/02.jpg
动漫风景/01.jpg
动漫风景/03.jpg
...
具体怎么分割根据你自己图床的链接格式而定,以上为我的github图床格式为例。
将相册图床的地址改为你自己的图床地址,需要更改两处文件
# 例如我的图床地址为:
https://cdn.jsdelivr.net/gh/bingshanyishu/HexoBlog@main/imagesBlog/galleries/
themes/hexo-theme-matery/layout/galleries.ejs
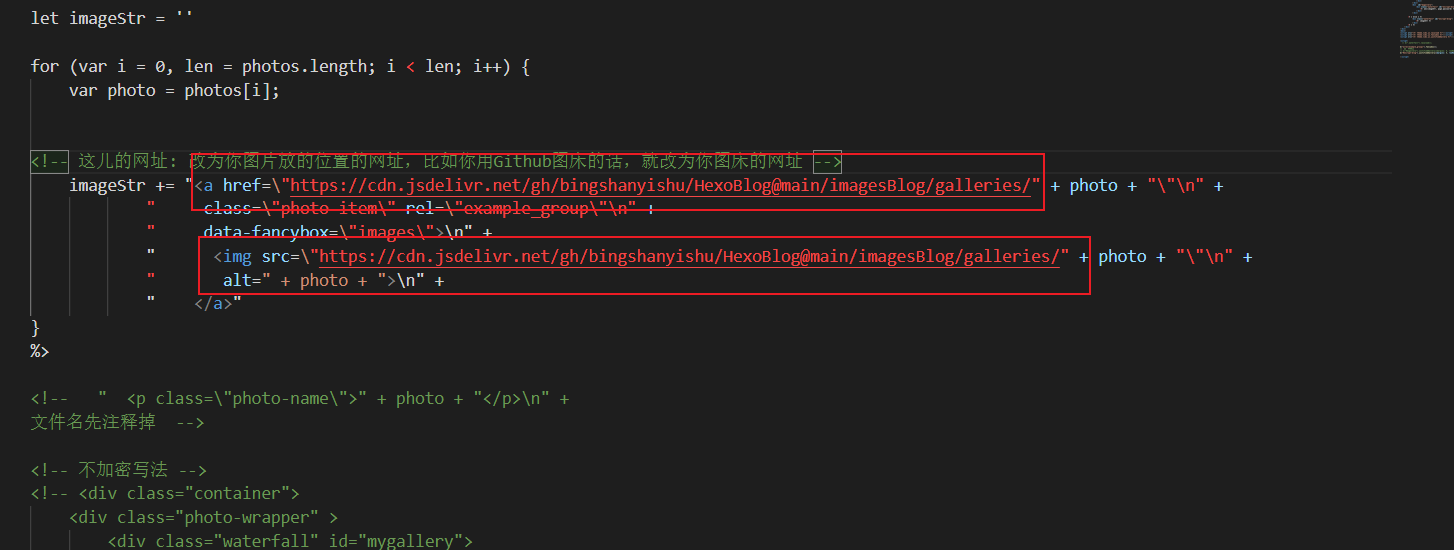
themes/hexo-theme-matery/layout/gallerie.ejs

为每个相册添加链接地址,在根目录/source/List/galleries/下新建 相册名称 文件夹,并在该文件夹下新建 index.md,添加
---
title: 相册
layout: "galleries"
---
最后,在根目录/source/_data/galleries.json中添加图片链接,格式如下,
[
  {
    "name": "璀璨星空",
    "cover": "璀璨星空/01.jpg",
    "description": "璀璨星空",
    "photos": [
      "璀璨星空/01.jpg",
      "璀璨星空/02.jpg",
      "璀璨星空/03.jpg",
      "璀璨星空/04.jpg",
      "璀璨星空/05.jpg",
      "璀璨星空/06.jpg",
      "璀璨星空/07.jpg",
      "璀璨星空/08.jpg",
      "璀璨星空/09.jpg",
      "璀璨星空/10.jpg",
      "璀璨星空/11.jpg",
      "璀璨星空/12.jpg",
      "璀璨星空/13.jpg",
      "璀璨星空/14.jpg",
      "璀璨星空/15.jpg",
      "璀璨星空/16.jpg"
    ]
  },
  {
    "name": "动漫风景",
    "cover": "动漫风景/01.jpg",
    "description": "动漫风景",
    "photos": [
      "动漫风景/01.jpg",
      "动漫风景/02.jpg",
      "动漫风景/03.jpg",
      "动漫风景/04.jpg",
      "动漫风景/05.jpg",
      "动漫风景/06.jpg",
      "动漫风景/07.jpg",
      "动漫风景/08.jpg",
      "动漫风景/09.jpg",
      "动漫风景/10.jpg",
      "动漫风景/11.jpg",
      "动漫风景/12.jpg",
      "动漫风景/13.jpg",
      "动漫风景/14.jpg",
      "动漫风景/15.jpg",
      "动漫风景/16.jpg"
    ]
  }
]
12. 站点统计功能
站点统计的数据来源于百度统计,当你的网站被百度收录后就会在百度统计中出现数据,具体效果如下:
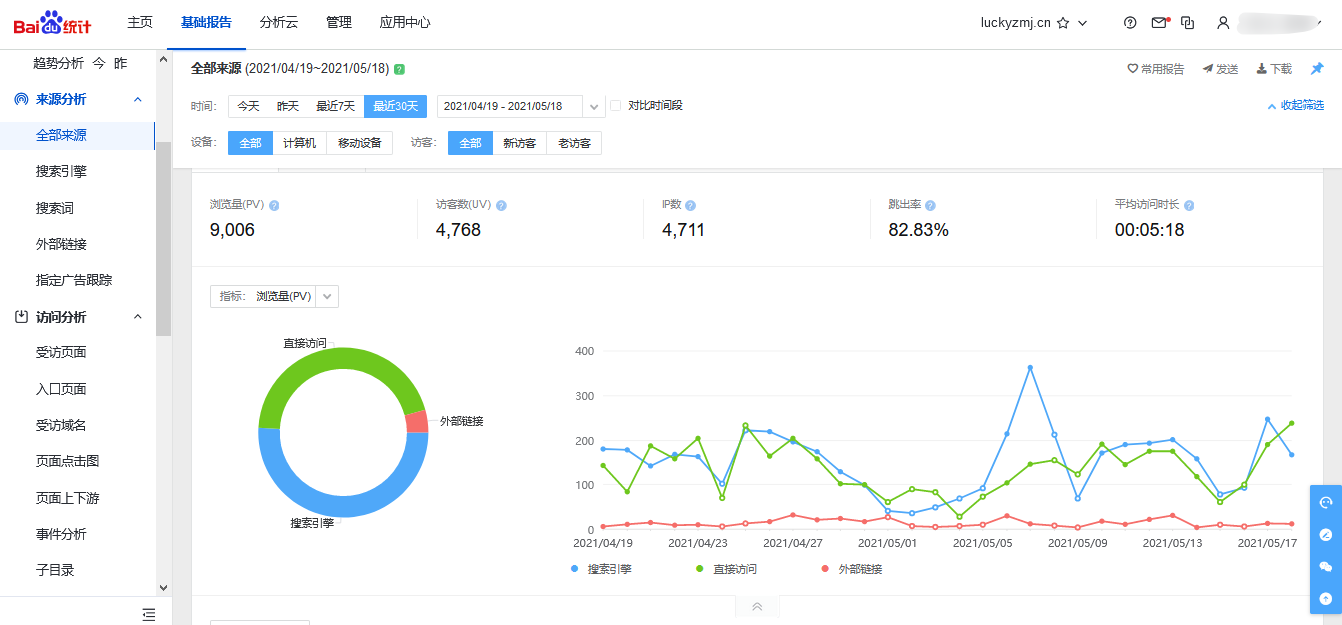
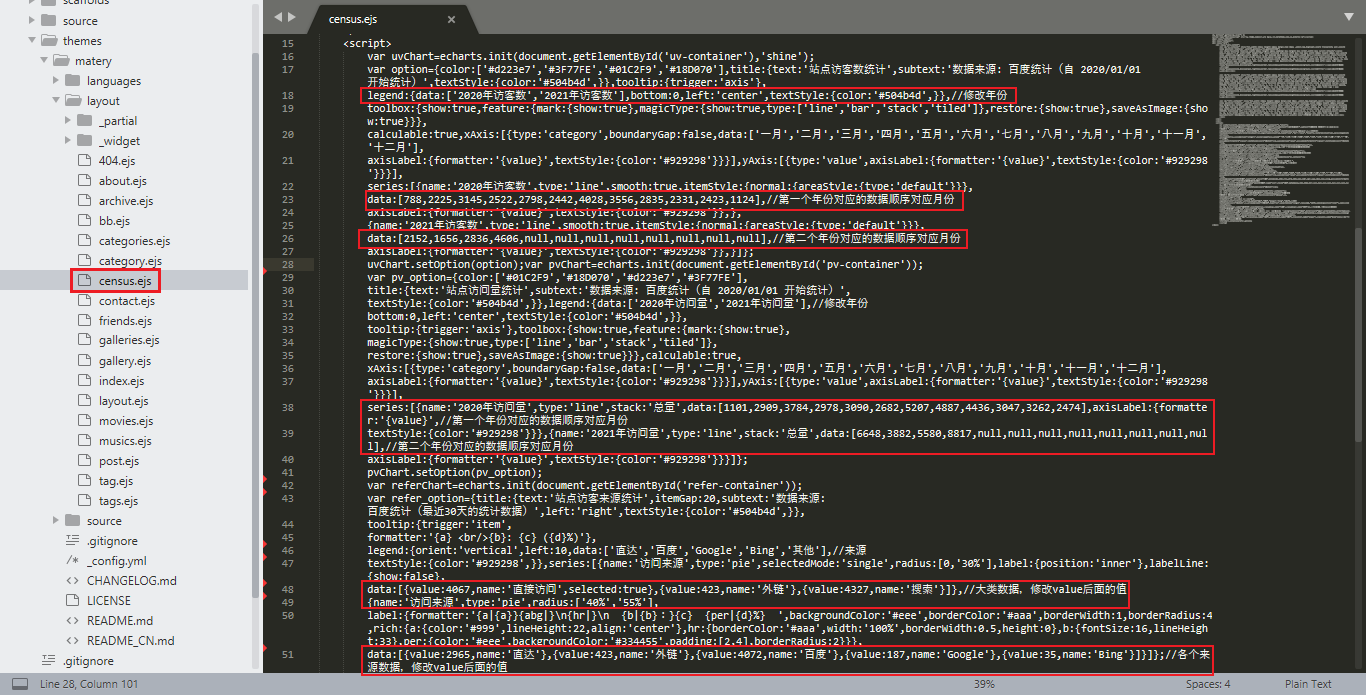
由于博客的统计页面数据不能直接从百度站点中调用,因此需要自行从百度站点中将相应数据填入博客站点统计页面的源代码文件中,个人建议每隔一个月手动更新一次数据。
打开MyBlog\themes\hexo-theme-matery\layout\census.ejs文件,将百度统计中的数据填入源代码中,修改代码如下:
13. 仿Windows个性化
仿Windows页面是采用YLUI实现的,YLUI提供了社区版本供大家学习使用,具体效果如下:
这里我选择关闭了
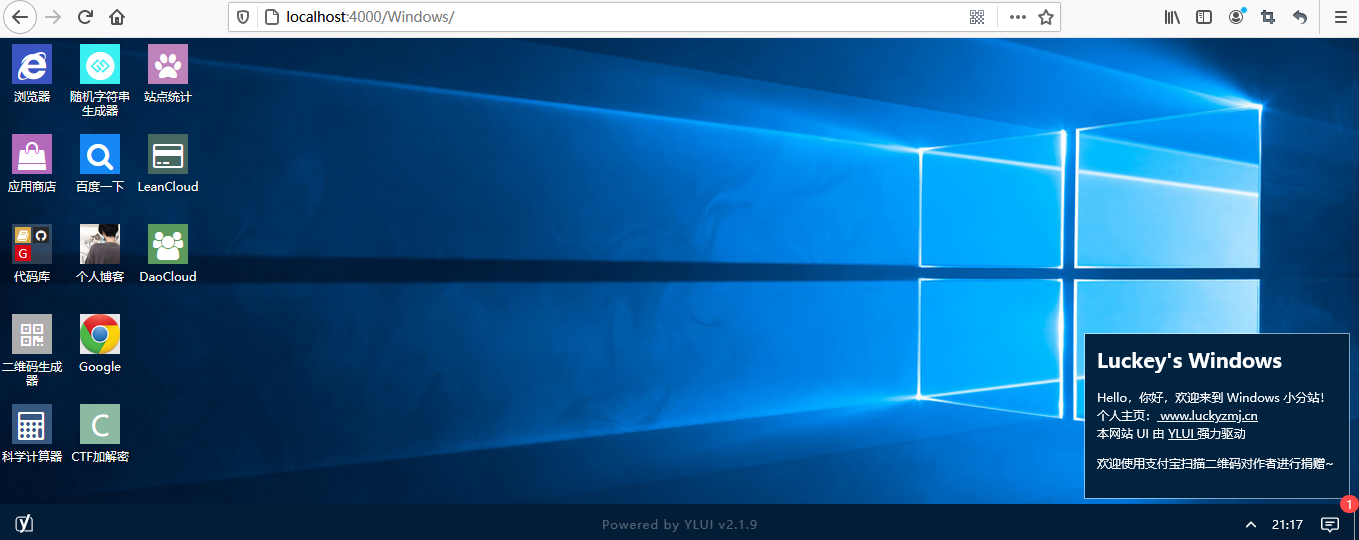
大家可以查看YLUI官方的开发文档进行开发,有不懂的可以加官方的QQ群:191372634 进行讨论。
14. 博客特色背景图
无文章特色背景图: 打开主题配置文件MyBlog\themes\hexo-theme-matery\_config.yml,修改替换如下代码即可:
# The post featured images that needs to be displayed when there is no image.
# 无文章特色图片时需要显示的文章特色图片.
featureImages:
- https://cdn.jsdelivr.net/gh/bingshanyishu/HexoBlog@main/imagesBlog/posts/1.jpg
- https://cdn.jsdelivr.net/gh/bingshanyishu/HexoBlog@main/imagesBlog/posts/2.jpg
- https://cdn.jsdelivr.net/gh/bingshanyishu/HexoBlog@main/imagesBlog/posts/3.jpg
- https://cdn.jsdelivr.net/gh/bingshanyishu/HexoBlog@main/imagesBlog/posts/4.jpg
- https://cdn.jsdelivr.net/gh/bingshanyishu/HexoBlog@main/imagesBlog/posts/5.jpg
- https://cdn.jsdelivr.net/gh/bingshanyishu/HexoBlog@main/imagesBlog/posts/6.jpg
- https://cdn.jsdelivr.net/gh/bingshanyishu/HexoBlog@main/imagesBlog/posts/7.jpg
- https://cdn.jsdelivr.net/gh/bingshanyishu/HexoBlog@main/imagesBlog/posts/8.jpg
- https://cdn.jsdelivr.net/gh/bingshanyishu/HexoBlog@main/imagesBlog/posts/9.jpg
- https://cdn.jsdelivr.net/gh/bingshanyishu/HexoBlog@main/imagesBlog/posts/10.jpg
- https://cdn.jsdelivr.net/gh/bingshanyishu/HexoBlog@main/imagesBlog/posts/11.jpg
- https://cdn.jsdelivr.net/gh/bingshanyishu/HexoBlog@main/imagesBlog/posts/12.jpg
- https://cdn.jsdelivr.net/gh/bingshanyishu/HexoBlog@main/imagesBlog/posts/13.jpg
- https://cdn.jsdelivr.net/gh/bingshanyishu/HexoBlog@main/imagesBlog/posts/14.jpg
- https://cdn.jsdelivr.net/gh/bingshanyishu/HexoBlog@main/imagesBlog/posts/15.jpg
- https://cdn.jsdelivr.net/gh/bingshanyishu/HexoBlog@main/imagesBlog/posts/16.jpg
- https://cdn.jsdelivr.net/gh/bingshanyishu/HexoBlog@main/imagesBlog/posts/17.jpg
- https://cdn.jsdelivr.net/gh/bingshanyishu/HexoBlog@main/imagesBlog/posts/18.jpg
- https://cdn.jsdelivr.net/gh/bingshanyishu/HexoBlog@main/imagesBlog/posts/19.jpg
- https://cdn.jsdelivr.net/gh/bingshanyishu/HexoBlog@main/imagesBlog/posts/20.jpg
- https://cdn.jsdelivr.net/gh/bingshanyishu/HexoBlog@main/imagesBlog/posts/21.jpg
- https://cdn.jsdelivr.net/gh/bingshanyishu/HexoBlog@main/imagesBlog/posts/22.jpg
- https://cdn.jsdelivr.net/gh/bingshanyishu/HexoBlog@main/imagesBlog/posts/23.jpg
- https://cdn.jsdelivr.net/gh/bingshanyishu/HexoBlog@main/imagesBlog/posts/24.jpg
- https://cdn.jsdelivr.net/gh/bingshanyishu/HexoBlog@main/imagesBlog/posts/25.jpg
- https://cdn.jsdelivr.net/gh/bingshanyishu/HexoBlog@main/imagesBlog/posts/26.jpg
- https://cdn.jsdelivr.net/gh/bingshanyishu/HexoBlog@main/imagesBlog/posts/27.jpg
- https://cdn.jsdelivr.net/gh/bingshanyishu/HexoBlog@main/imagesBlog/posts/28.jpg
- https://cdn.jsdelivr.net/gh/bingshanyishu/HexoBlog@main/imagesBlog/posts/29.jpg
- https://cdn.jsdelivr.net/gh/bingshanyishu/HexoBlog@main/imagesBlog/posts/30.jpg
- https://cdn.jsdelivr.net/gh/bingshanyishu/HexoBlog@main/imagesBlog/posts/31.jpg
- https://cdn.jsdelivr.net/gh/bingshanyishu/HexoBlog@main/imagesBlog/posts/32.jpg
- https://cdn.jsdelivr.net/gh/bingshanyishu/HexoBlog@main/imagesBlog/posts/33.jpg
- https://cdn.jsdelivr.net/gh/bingshanyishu/HexoBlog@main/imagesBlog/posts/34.jpg
- https://cdn.jsdelivr.net/gh/bingshanyishu/HexoBlog@main/imagesBlog/posts/35.jpg
- https://cdn.jsdelivr.net/gh/bingshanyishu/HexoBlog@main/imagesBlog/posts/36.jpg
- https://cdn.jsdelivr.net/gh/bingshanyishu/HexoBlog@main/imagesBlog/posts/37.jpg
- https://cdn.jsdelivr.net/gh/bingshanyishu/HexoBlog@main/imagesBlog/posts/38.jpg
- https://cdn.jsdelivr.net/gh/bingshanyishu/HexoBlog@main/imagesBlog/posts/39.jpg
- https://cdn.jsdelivr.net/gh/bingshanyishu/HexoBlog@main/imagesBlog/posts/40.jpg
- https://cdn.jsdelivr.net/gh/bingshanyishu/HexoBlog@main/imagesBlog/posts/41.jpg
- https://cdn.jsdelivr.net/gh/bingshanyishu/HexoBlog@main/imagesBlog/posts/42.jpg
- https://cdn.jsdelivr.net/gh/bingshanyishu/HexoBlog@main/imagesBlog/posts/43.jpg
- https://cdn.jsdelivr.net/gh/bingshanyishu/HexoBlog@main/imagesBlog/posts/44.jpg
- https://cdn.jsdelivr.net/gh/bingshanyishu/HexoBlog@main/imagesBlog/posts/45.jpg
- https://cdn.jsdelivr.net/gh/bingshanyishu/HexoBlog@main/imagesBlog/posts/46.jpg
15. 新增社交链接
由于默认的链接没有b站,CSDN等,这里添加自定义
在主题的 _config.yml 文件中,默认支持 QQ、GitHub 和邮箱的配置,可以在主题文件的 /layout/_partial/social-link.ejs 文件中,新增、修改你需要的社交链接地址
将下面需要添加的链接代码放到该文件的最后面,如果每个可放在rss之前
- 添加csdn链接
<% if (theme.socialLink.csdn) { %>
    <a href="https://www.csdn.net/<%= theme.socialLink.csdn %>" class="tooltipped" target="_blank" data-tooltip="访问我的CSDN主页" data-position="top" data-delay="50">
        <i class="fa fa-codiepie"></i>
    </a>
<% } %>
- 添加b站链接
<% if (theme.socialLink.bilibili) { %>
    <a href="<%= theme.socialLink.bilibili %>" class="tooltipped" target="_blank" data-tooltip="访问我的bilibili主页" data-position="top" data-delay="50">
        <i class="fab fa-codiepie"></i>
    </a>
<% } %>
社交图标可去这个网站中查找:图标库 – Font Awesome 中文网,但是没有csdn和b站链接,可找相似的来替代。
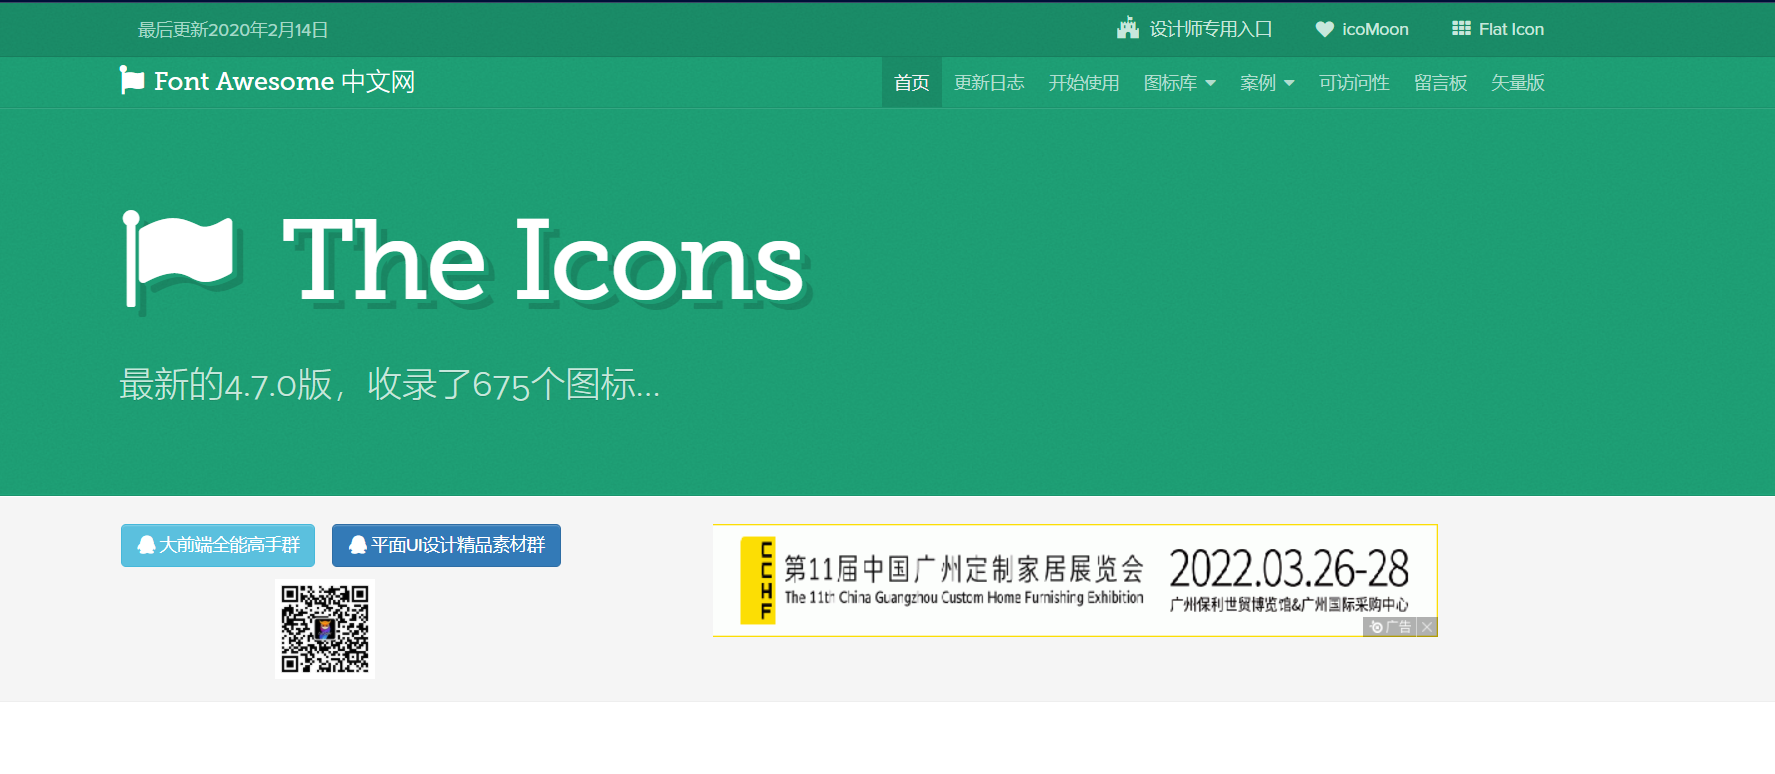
但注意:使用
font awesome图标版本也需要对应,不然无法显示。这里版本为5.11.0
然后在_config.yml中的socialLink: 加对应即可,awesome图标可去这些博客了解
Font Awesome5.x 页面引入的几种方式和应用,及与4.x的变化
Font Awesome,一套绝佳的图标字体库和CSS框架 (dashgame.com)
socialLink:
  csdn: https://blog.csdn.net/m0_59464010?spm=1000.2115.3001.5343  //改成自己的
  bilibili: https://bilibili.com/484432829?from=search&seid=1051383716784056202		//改成自己的
16.勿渲染自定义页面
hexo在生成页面后会自动渲染所有的html页面,但是有时候有一些自定义页面采用自己渲染的代码,如果再加上hexo的渲染,会引起混乱。为此我们可以定义让hexo不要渲染我们自己的页面。
font matter方法
将代码直接写到index.md中,然后再Front matter 中添加 layout: false
title: tools
date: 2020-04-28 00:00:00
type: "tools"
layout: false
---
skip render方法
在博客根目录下的 _config.yml,找到 skip_render
# 指定目录跳过hexo渲染
skip_render:
  - 'tools/*'
  - 'tools/**'
注:tools/* 表示在目录 source/fireworks 下的文件全部跳过渲染,tools/** 表示在博客根目录 source/tools/ 文件夹下的文件全部跳过渲染(例如页面的 js、css 在另一个文件夹中)
例:webstack
webstack是一个纯静态的网址导航网站,内容均由viggo收集并整理。项目基于bootstrap前端框架开发。
Github:https://github.com/WebStackPage/WebStackPage.github.io
在博客根目录 source/下新建tools,然后新建index.html,将webstack网页源码全选复制粘贴到里面。
然后打开博客根目录下配置文件_config.yml,找到skip_render,做如下修改:
skip_render:
  - 'tools/*'
  - 'tools/**'

