【Nginx 12】入门--安装教程(详细)
本文链接:https://blog.csdn.net/Activity_Time/article/details/88908325
一、Nginx简介
Nginx是一个web服务器,可以访问静态资源,也可以用来做负载均衡及反向代理使用,接下来说一下安装过程。
二、下载Nginx相关组件
1. 安装编译工具
开始前,请确认gcc g++开发类库是否装好,默认已经安装。
-
# ububtu平台编译环境可以使用以下指令
-
apt-get install build-essential
-
apt-get install libtool
-
# centos平台编译环境使用如下指令
-
-
# 安装make:
-
yum -y install gcc automake autoconf libtool make
-
-
# 安装g++:
-
yum install gcc gcc-c++
2. 依赖的组件
-方法1:yum安装(推荐)
需要安装 PCRE库,zlib库,openssl 相关组件。使用yum安装即可:(以下命令还带有ssl、zlib等依赖的安装)
yum -y install zlib zlib-devel openssl openssl--devel pcre pcre-devel-方法2:手动下载源码包并编译安装
进入用户目录
cd /usr/local/src下载源码包
-
wget http://www.openssl.org/source/openssl-fips-2.0.10.tar.gz
-
# 安装...
-
wget http://zlib.net/zlib-1.2.11.tar.gz
-
# 安装...
-
wget ftp://ftp.csx.cam.ac.uk/pub/software/programming/pcre/pcre-8.40.tar.gz
-
# 安装...
源码编译安装三部曲(每个源码包都要来一次)
-
#先进入某个源码包中
-
cd pcre-8.40
-
# cd openssl-fips-2.0.10
-
# cd zlib-1.2.11
-
-
# 然后分别执行以下三条命令
-
./configure
-
make
-
make install
-
-
# 也可以直接执行三条命令
-
./configure && make && make install
注:如果是手动安装建议就在/usr/local/src下操作和安装,第一次我修改了安装位置,发现系统检测不到依赖库,由于刚刚接触linux,还不够熟悉,具体原因我也不清楚;建议直接yum安装,一条命令就搞定了。
编译安装nginx需要pcre等包,未安装组件就直接安装nginx会有类似如下提示:
-
./configure: error: the HTTP rewrite module requires the PCRE library.
-
You can either disable the module by using --without-http_rewrite_module
-
option, or install the PCRE library into the system, or build the PCRE library
-
statically from the source with nginx by using --with-pcre=<path> option.
三、 下载安装nginx
同上组件下载(在/usr/local/src) 和安装,默认 Nginx 会安装到 /usr/local/nginx 目录下
-
cd /usr/local/src
-
wget http://nginx.org/download/nginx-1.10.2.tar.gz
-
tar zxvf nginx-1.10.2.tar.gz
-
# 省略安装内容...
-
cd nginx-1.10.2
-
./configure && make && make install
-
# 省略安装内容...
模块安装 :https://blog.csdn.net/Activity_Time/article/details/95767390
四、运行nginx
1. nginx的基本操作:
-
# 启动
-
/usr/local/nginx/sbin/nginx
-
# 停止/重启
-
/usr/local/nginx/sbin/nginx -s stop(quit、reload)
-
# 命令帮助
-
/usr/local/nginx/sbin/nginx -h
-
# 验证配置文件
-
/usr/local/nginx/sbin/nginx -t
-
# 配置文件
-
vim /usr/local/nginx/conf/nginx.conf
2. 开放端口
-方法一:直接关闭防火墙
-
# 关闭防火墙
-
service iptables stop
-
# 关闭开机自启动防火墙
-
chkconfig iptables off
-
chkconfig --list|grep ipt
-
-
#查看防火墙状态
-
chkconfig iptables --list
-方法二:将开启的端口加入防火墙白名单中
-
# 编辑防火墙白名单
-
vim /etc/sysconfig/iptables
-
# 增加下面一行代码
-
-A INPUT -p tcp -m state -- state NEW -m tcp --dport 80 -j ACCEPT
-
-
# 保存退出,重启防火墙
-
service iptables restart
3. 访问测试
(1)查看进程 ps -ef|grep nginx

(2)ping ip地址
(3)telnet ip地址 端口号
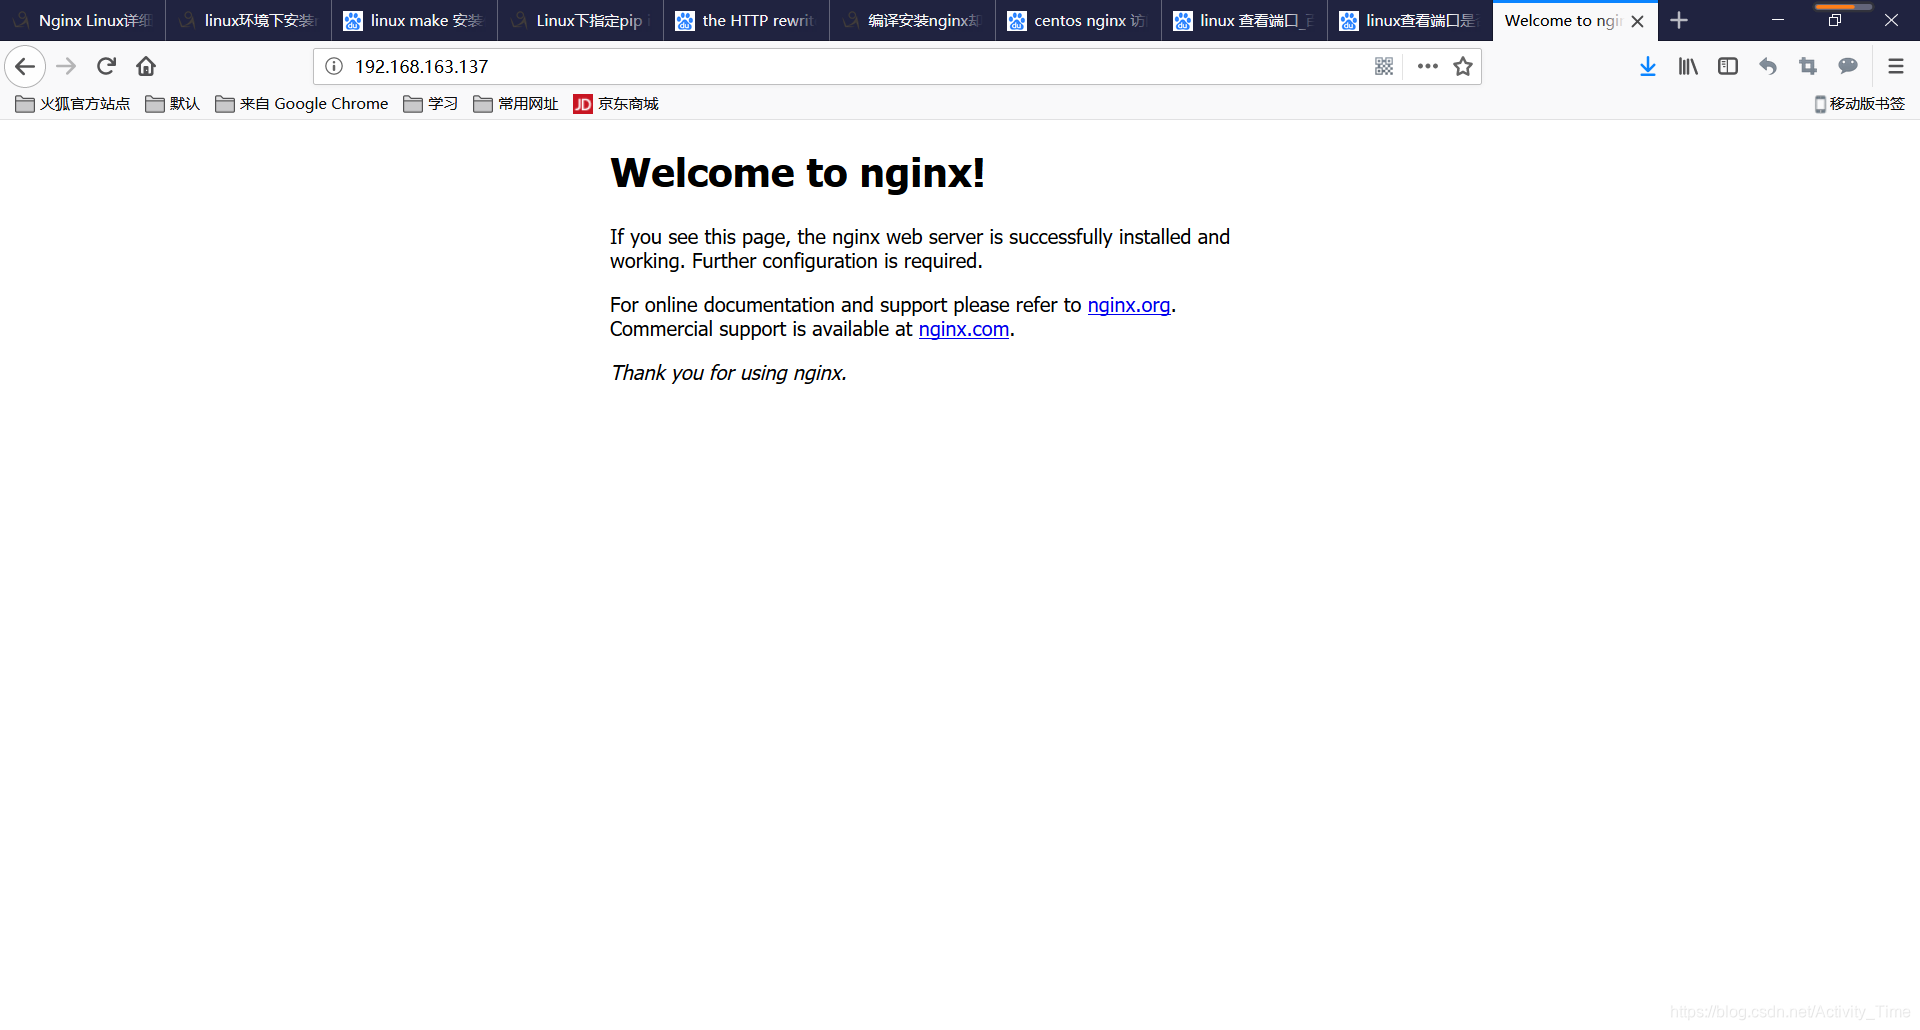
(4)或者直接打开浏览器访问【ip地址:端口号】

注:一般来说访问不到的主要原因是防火墙未关闭,端口未放行,我在测试的时候使用的VMware,出现了访问不到的情况,表现是能ping通,但是在windows上访问不到,用telnet测试发现80端口拒绝访问,防火墙已关闭,最后发现是克隆的centos虚拟机的主机名冲突...
----------------------------------------------------------------------
参考文章:
Linux下指定pip install和make install安装路径
编译安装nginx却requires the PCRE library
Centos中iptables和firewall防火墙开启、关闭、查看状态、基本设置等


 浙公网安备 33010602011771号