创建网关项目(Spring Cloud Gateway)
创建网关项目
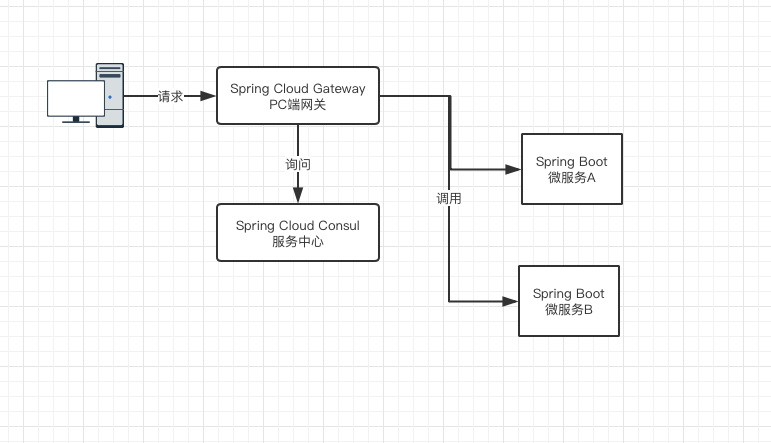
加入网关后微服务的架构图

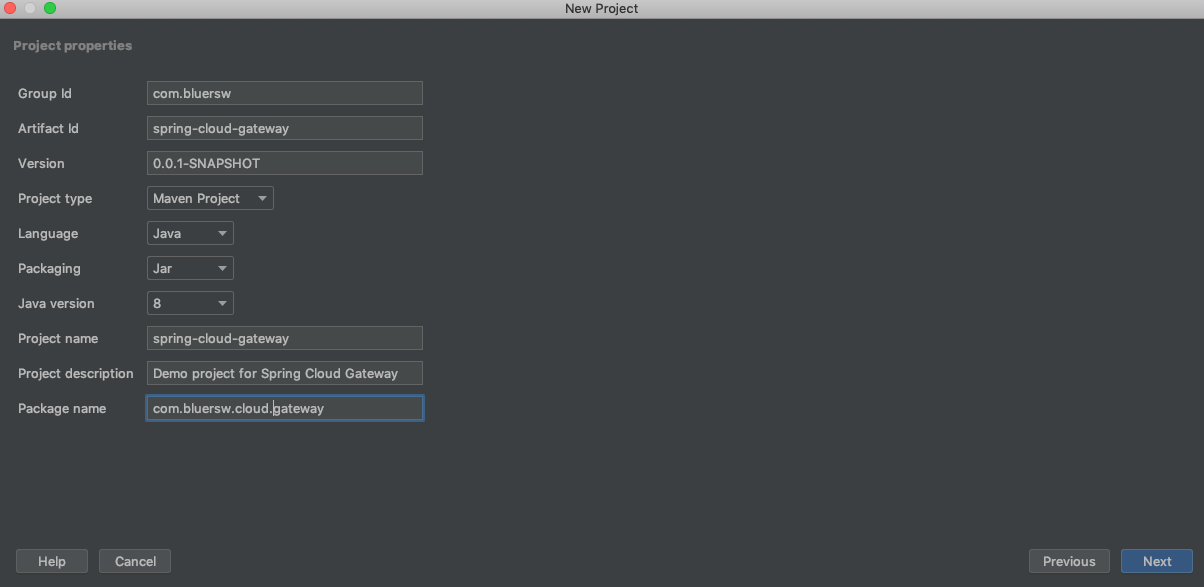
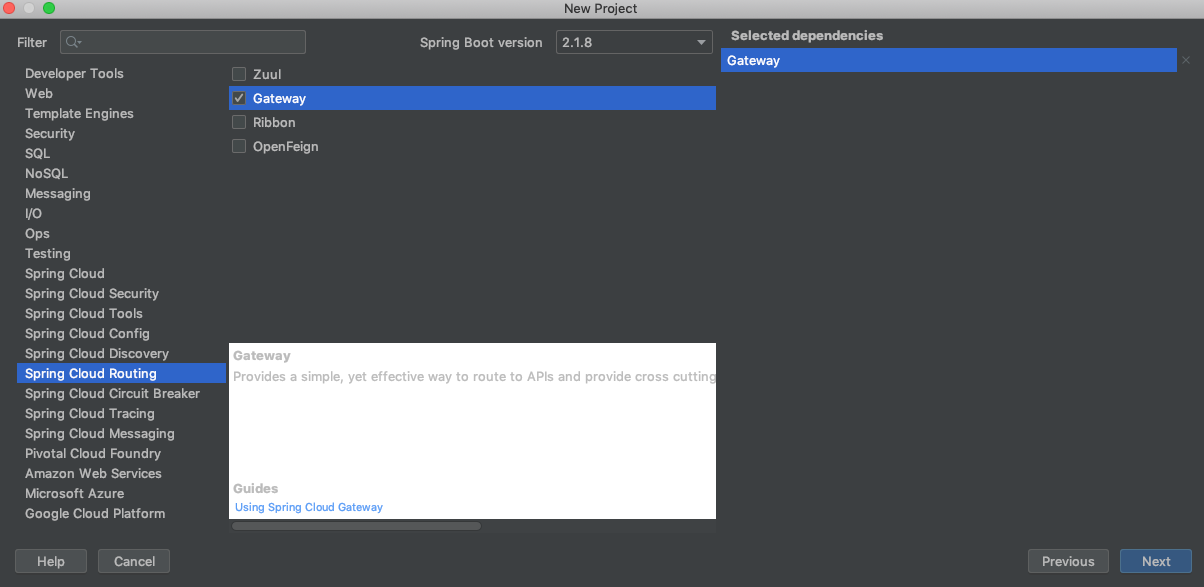
创建项目


POM文件
        <properties>
		<java.version>1.8</java.version>
		<spring-cloud.version>Greenwich.SR3</spring-cloud.version>
	</properties>

	<dependencies>
		<dependency>
			<groupId>org.springframework.cloud</groupId>
			<artifactId>spring-cloud-starter-gateway</artifactId>
		</dependency>

		<dependency>
			<groupId>org.springframework.boot</groupId>
			<artifactId>spring-boot-starter-test</artifactId>
			<scope>test</scope>
		</dependency>
	</dependencies>

	<dependencyManagement>
		<dependencies>
			<dependency>
				<groupId>org.springframework.cloud</groupId>
				<artifactId>spring-cloud-dependencies</artifactId>
				<version>${spring-cloud.version}</version>
				<type>pom</type>
				<scope>import</scope>
			</dependency>
		</dependencies>
	</dependencyManagement>
修改配置文件
将项目目录下的/src/main/resources/application.properties文件重命名为application.yml,properties配置格式和yml配置格式是等效的,而yml配置格式能更好的被配置中心使用,所以我们使用yml配置格式。
测试网关项目
application.yml配置文件内容修改如下:
server:
 port: 9000
spring:
  cloud:
   gateway:
      routes:
        - id: first_route
          uri: https://github.com/sunweisheng
          predicates:
            - Path=/test
- port:网关服务端口
- routes:路由集合
- id:路由的唯一标示
- uri:路由目标地址
- predicates:路由条件,如果为true则路由到uri
predicates(还有filters)的种类很多请参考Spring Cloud Gateway官网
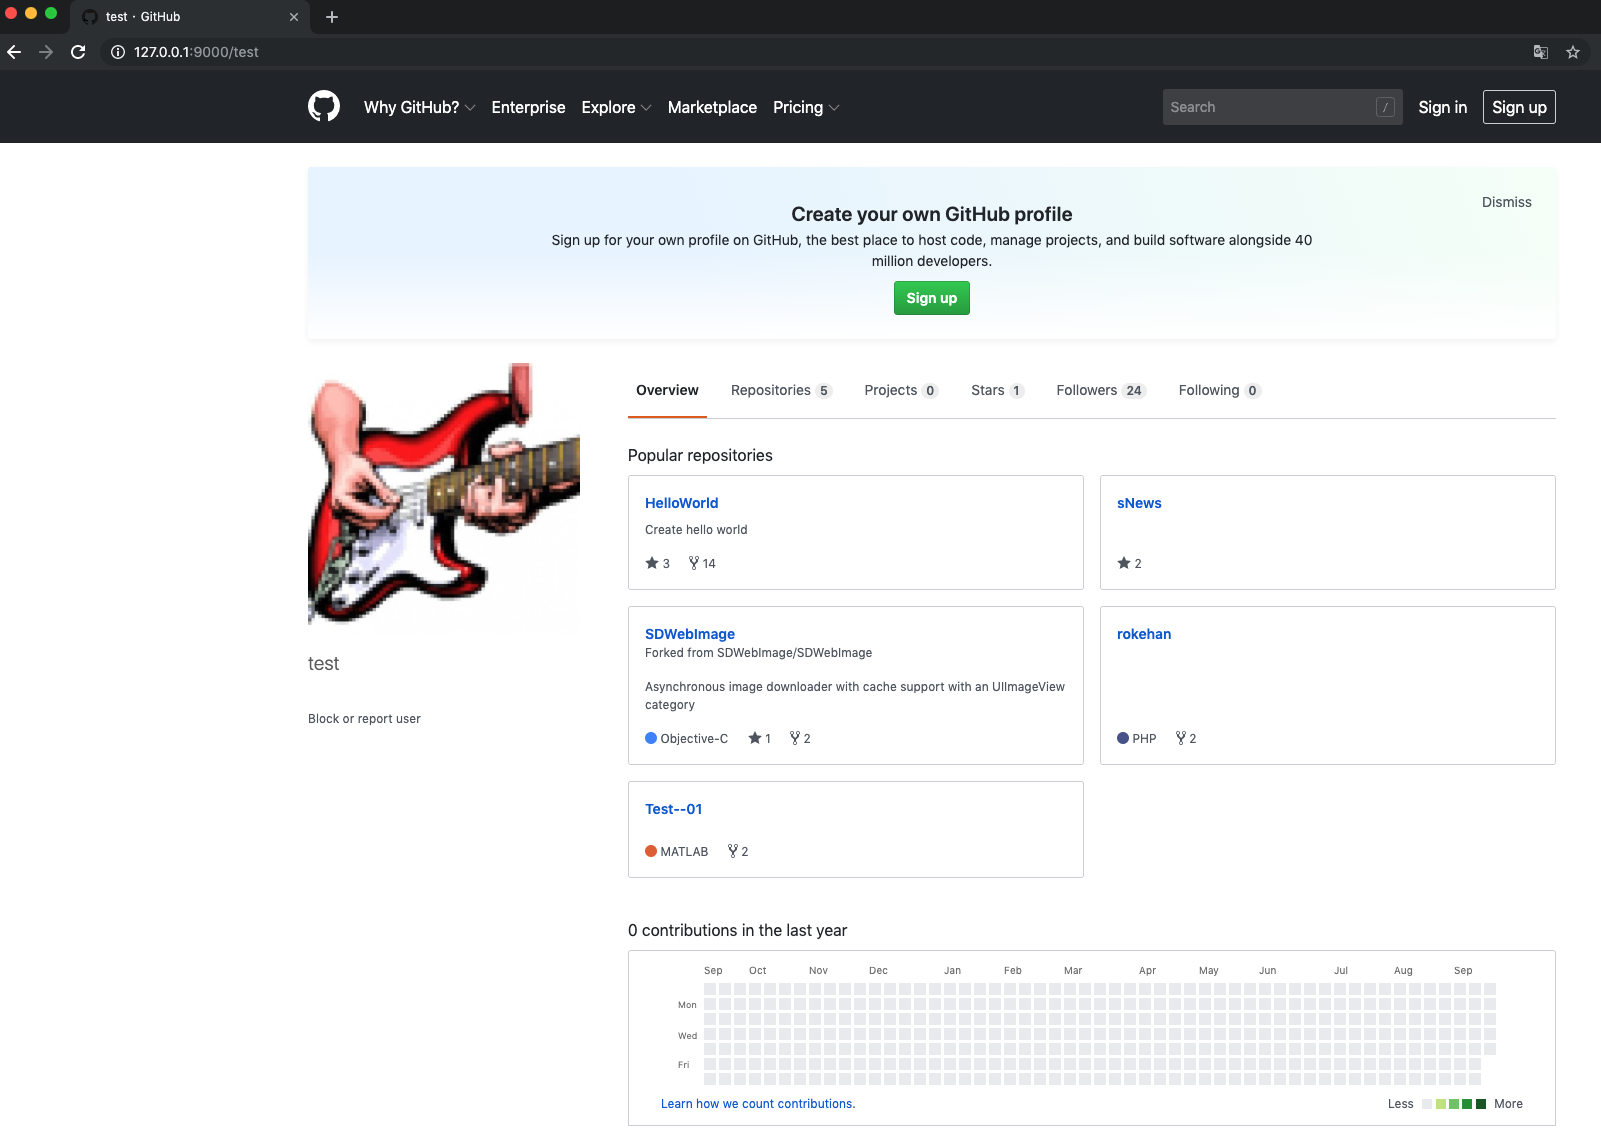
启动项目测试
访问127.0.0.1:9000/test

源码
Github仓库:https://github.com/sunweisheng/spring-cloud-example
www.bluersw.com


 浙公网安备 33010602011771号