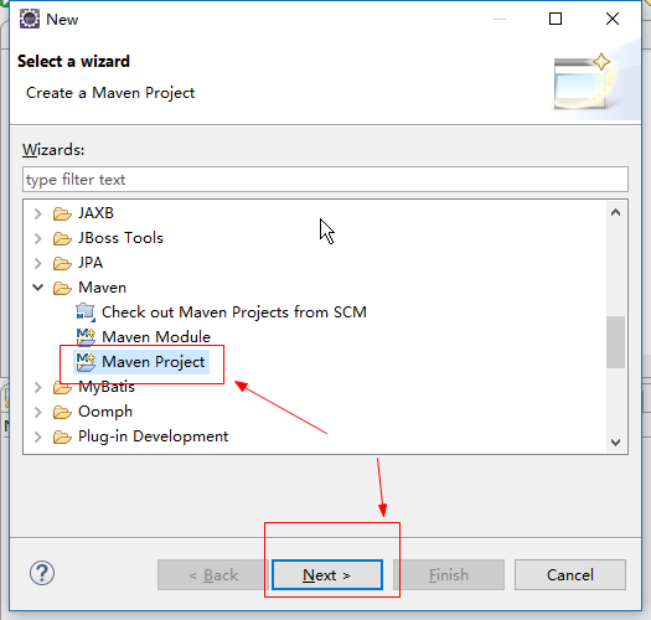
1.新建一个maven项目
|
|
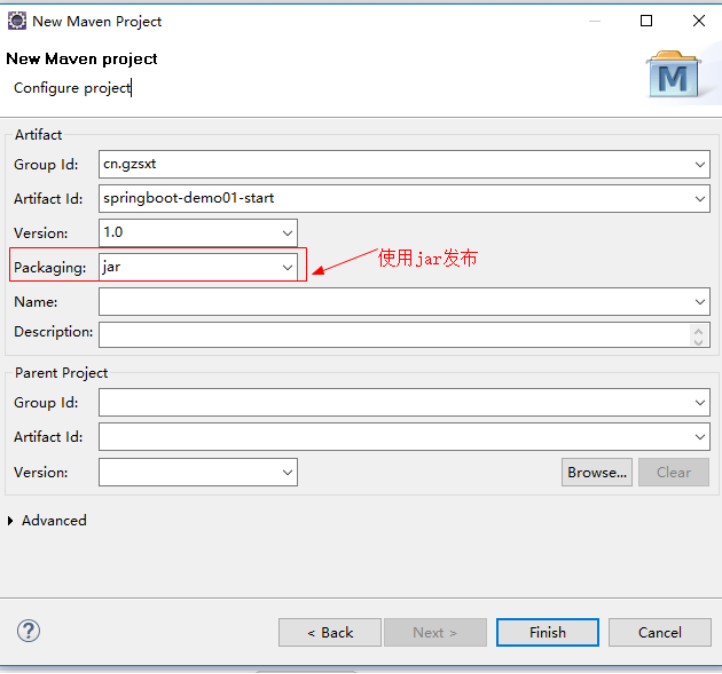
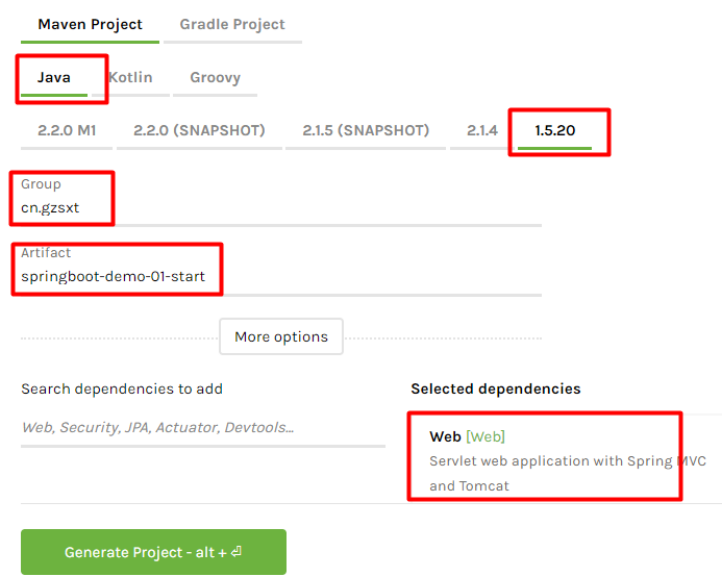
2.填写创建项目的信息,注意使用jar的方式创建项目就可以
|
|

--编写项目信息
|
|
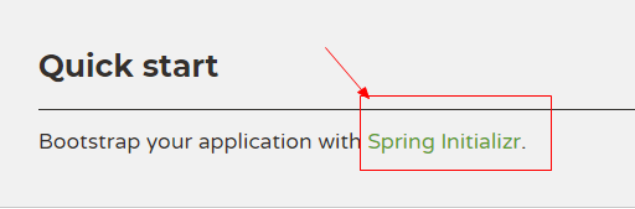
3.到spring boot官方复制pom的依赖到pom.xml文件
网站地址为:http://projects.spring.io/spring-boot/
|
|
--选择参数
|
|
pom.xml文件内容如下:
|
<project xmlns="http://maven.apache.org/POM/4.0.0" xmlns:xsi="http://www.w3.org/2001/XMLSchema-instance" xsi:schemaLocation="http://maven.apache.org/POM/4.0.0 http://maven.apache.org/xsd/maven-4.0.0.xsd"> <modelVersion>4.0.0</modelVersion> <groupId>cn.gzsxt</groupId> <artifactId>spring-boot-demo-01</artifactId> <version>1.0</version> <parent> <groupId>org.springframework.boot</groupId> <artifactId>spring-boot-starter-parent</artifactId> <version>1.5.4.RELEASE</version> </parent> <dependencies> <dependency> <groupId>org.springframework.boot</groupId> <artifactId>spring-boot-starter-web</artifactId> </dependency> </dependencies> </project> |
注意:如果复制spring boot依赖到pom.xml报以下错误
|
|
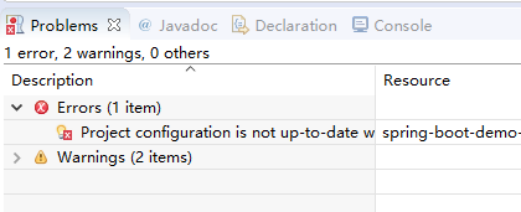
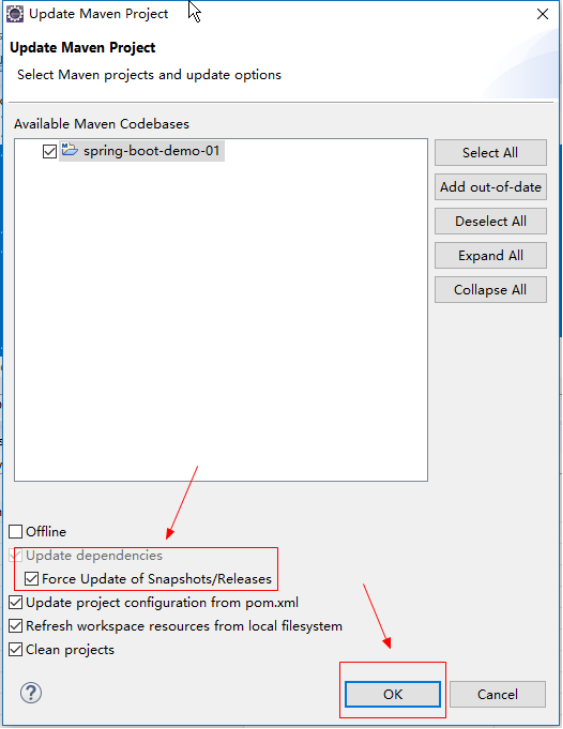
更新一下项目即可.如下图
|
|
4.编写一个简单的Java类
|
package hello; import org.springframework.boot.*; import org.springframework.boot.autoconfigure.*; import org.springframework.stereotype.*; import org.springframework.web.bind.annotation.*;
//声明@Controller存储类型注解,表示SampleController类启动是,对象会加载到Spring容器 @Controller //声明@EnableAutoConfiguration,表示程序使用Springboot默认的配置 @EnableAutoConfiguration public class SampleController { /** * 表示如果访问路径/,返回字符串Hello World! */ @RequestMapping("/") @ResponseBody String home() { return "Hello World!"; } public static void main(String[] args) throws Exception { //启动Spring Boot程序 SpringApplication.run(SampleController.class, args);
} } |
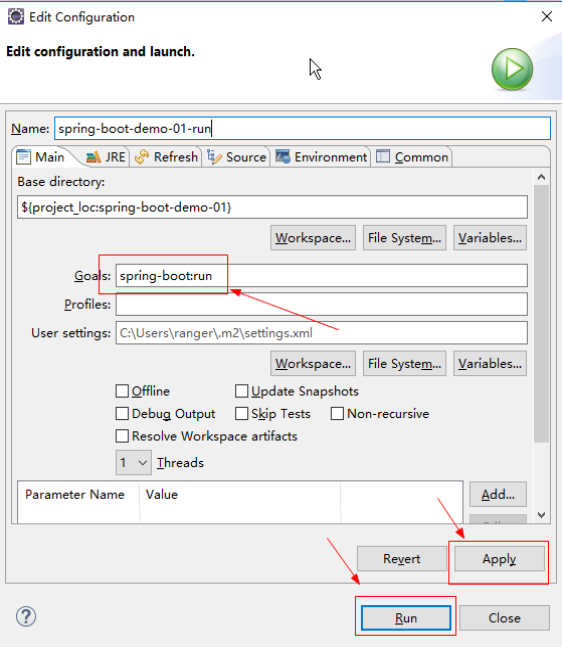
5.启动Spring Boot程序
|
|
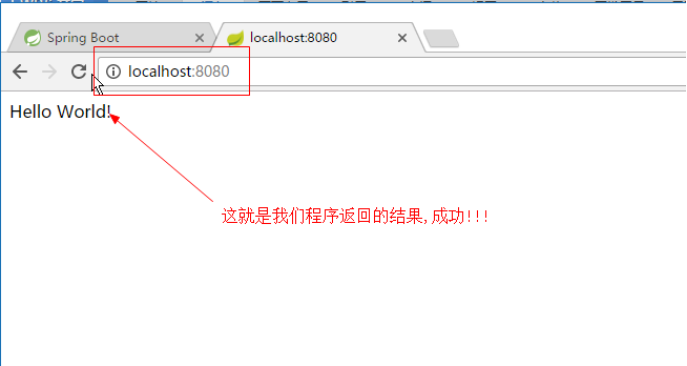
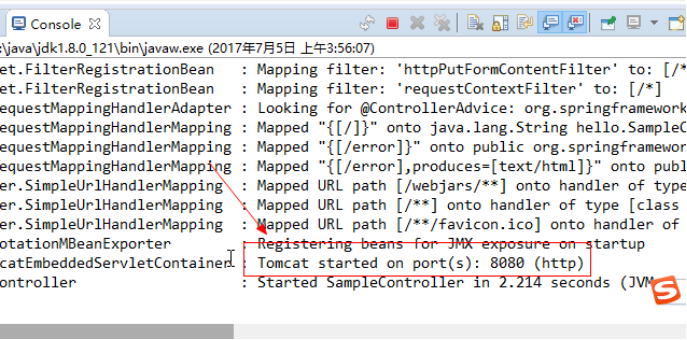
6.启动成功,控制台提示我们使用8080端口访问
|
|
7.使用浏览器访问8080端口
|
|