超级详细的Hadoop分布式搭建,详细步骤及相关截图示例!!!
一.检查虚拟机
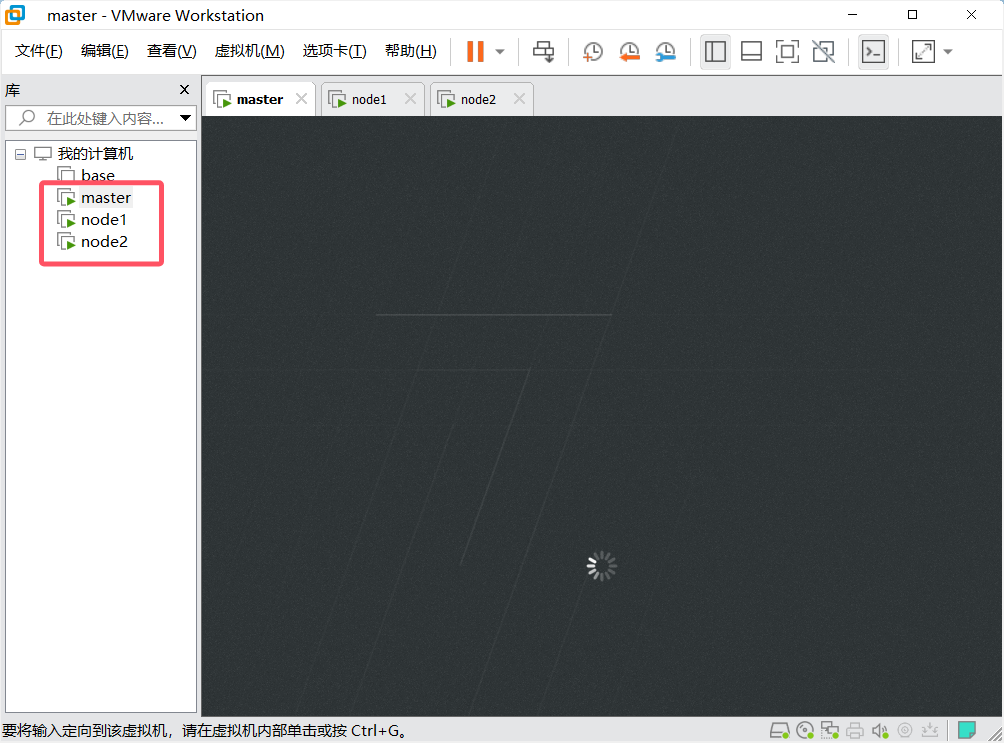
1.检查虚拟机是正常否启动
首先,自己要先搭建完成三台虚拟机
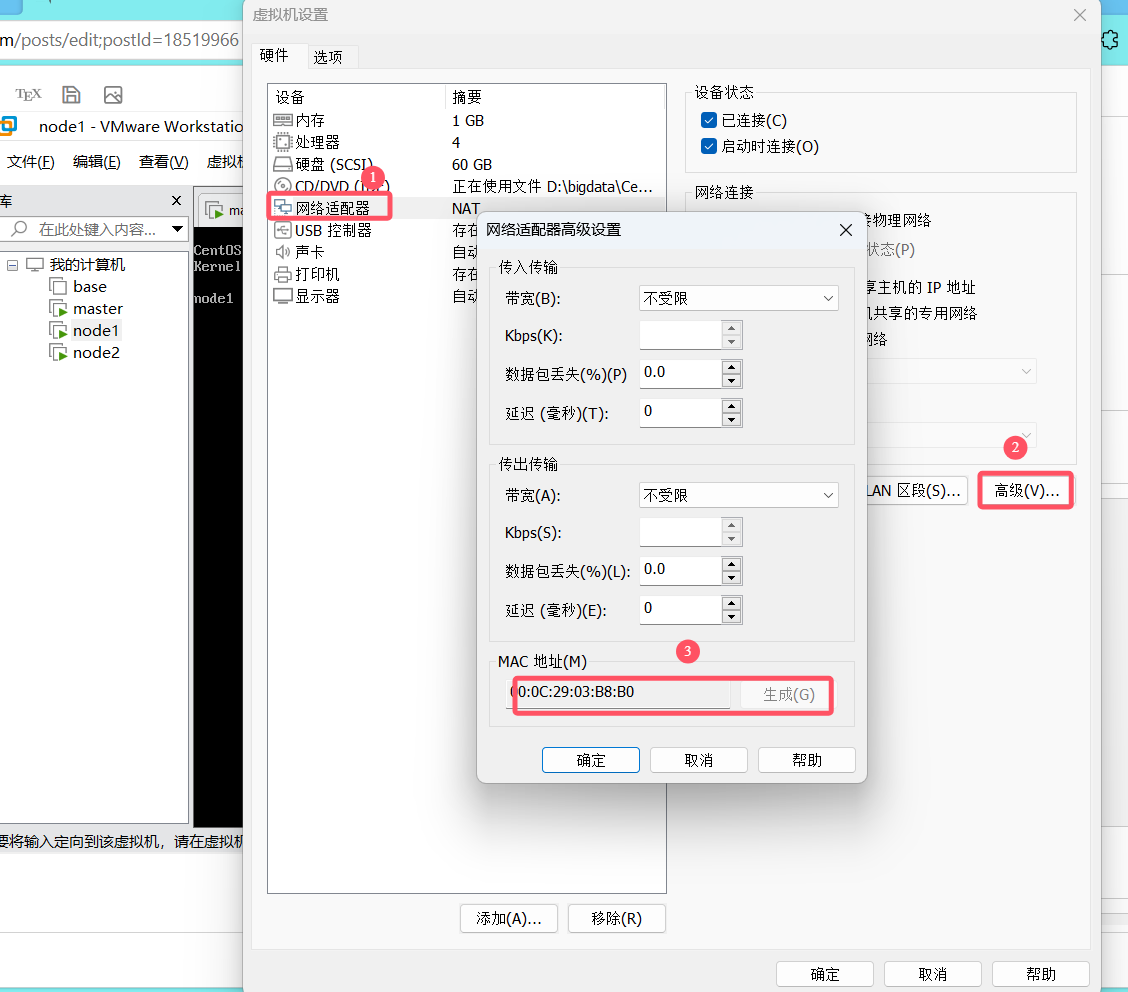
2.MAC地址
在设置里检查三台虚拟机的MAC地址是否不同,如果相同,需要刷新以下
二.搭建前环境准备
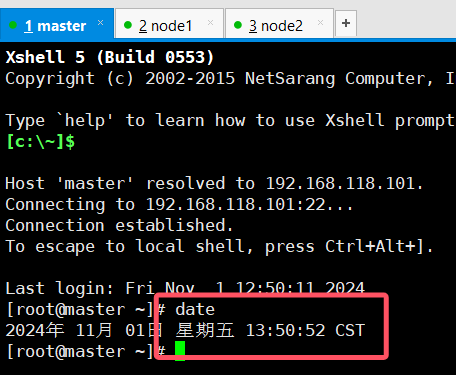
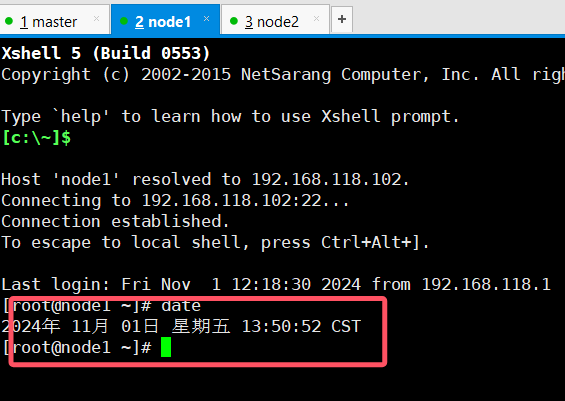
1.时间同步
检查三台虚拟机的时间是否都是同步的
2.关闭防火墙
systemctl stop firewalld.service #停止firewall
systemctl disable firewalld.service #禁止firewall开机启动
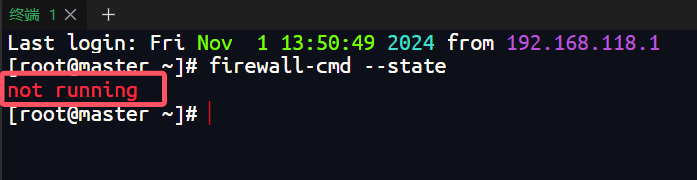
查看防火墙状态
firewall-cmd --state
systemctl status firewalld.service
启动防火墙(不要启动防火墙)
systemctl start firewalld.service
关闭后查看防火墙状态
3.配置静态IP并禁用NetworkManger
配置静态IP
命令
vim /etc/sysconfig/network-scripts/ifcfg-ens33

TYPE="Ethernet"
PROXY_METHOD="none"
BROWSER_ONLY="no"
BOOTPROTO="static"   ---改这个 改成static,保存并退出(wq)
DEFROUTE="yes"
IPV4_FAILURE_FATAL="no"
IPV6INIT="yes"
IPV6_AUTOCONF="yes"
IPV6_DEFROUTE="yes"
IPV6_FAILURE_FATAL="no"
IPV6_ADDR_GEN_MODE="stable-privacy"
NAME="ens33"
UUID="46bc9724-c761-4058-8cd7-97a675b41294"
DEVICE="ens33"
ONBOOT="yes"
IPADDR="192.168.220.100"
PREFIX="24"
GATEWAY="192.168.220.2"
DNS1="114.114.114.114"
IPV6_PRIVACY="no"
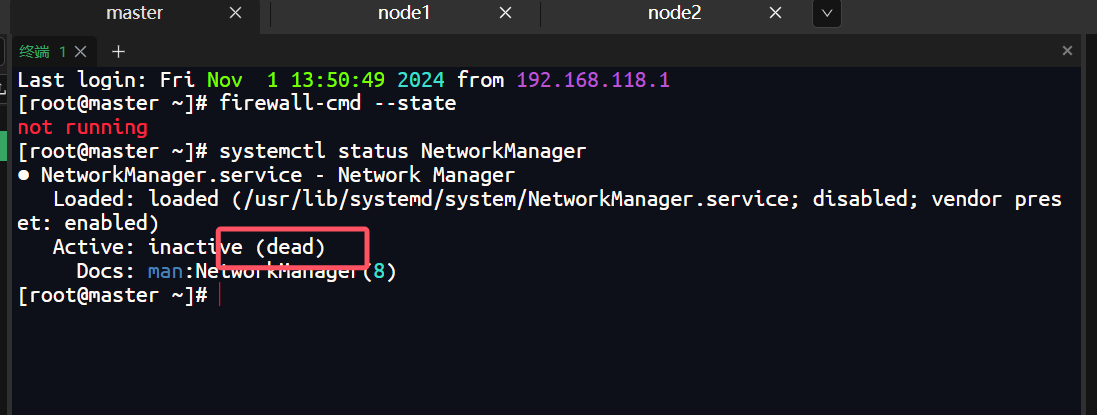
禁用NetworkManger
systemctl status NetworkManager #查看NetworkManager状态
systemctl stop NetworkManager   #停止NetworkManager
NetworkManagersystemctl disable NetworkManager #禁止NetworkManager开机启动
禁用后状态
配置完成后需要重启服务
service network restart
4.配置免密(之前配置好了就不需要配置)
每台都要配置,不配置免密,在分发文件的时候需要输入密码
# 1、生成密钥
ssh-keygen -t rsa
# 2、配置免密登录
ssh-copy-id master
ssh-copy-id node1
ssh-copy-id node2
# 3、测试免密登录
ssh node1
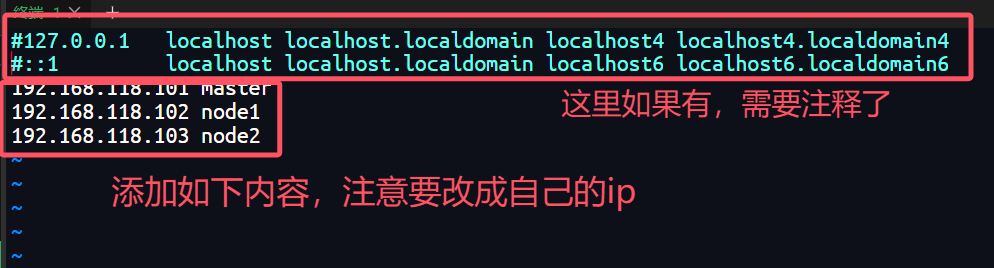
5.修改hosts映射文件
每一台都要同样配置
vim /etc/hosts
6.卸载linux系统自带的jdk
根据每个人的镜像不同,系统自带jdk就会不同,但是都要删掉(每一台都要操作)
#查看自带jdk:
rpm -qa |grep jdk
#卸载:
rpm -e 自带jdk名称 --nodeps
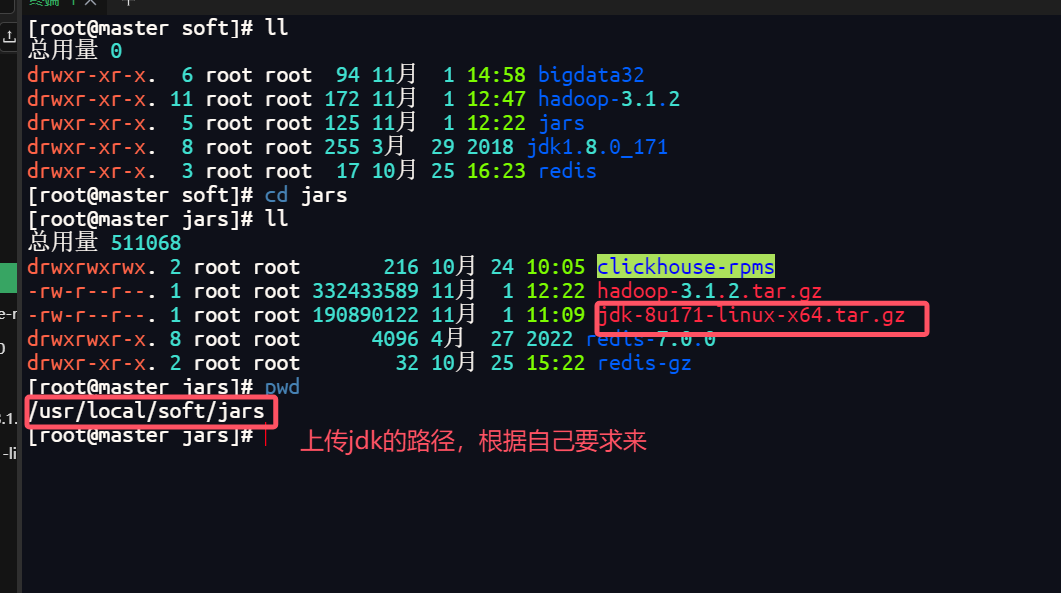
7.下载jdk
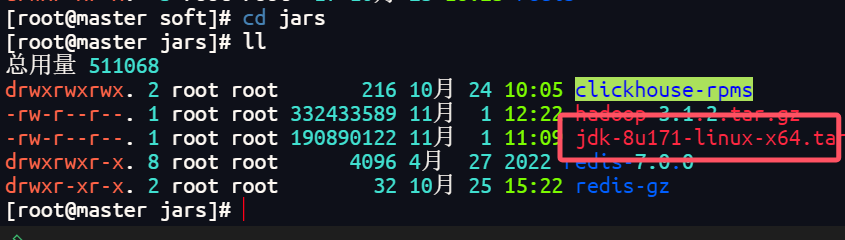
上传jdk到linux系统中
解压到上级目录中
tar -zxvf jdk-8u171-linux-x64.tar.gz -C ../
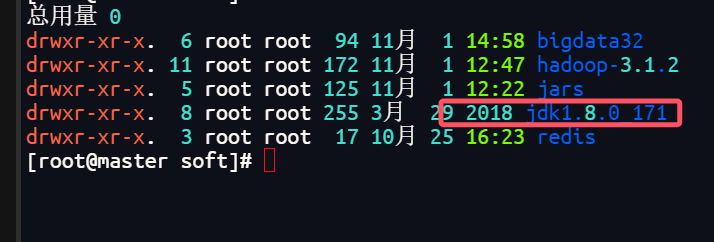
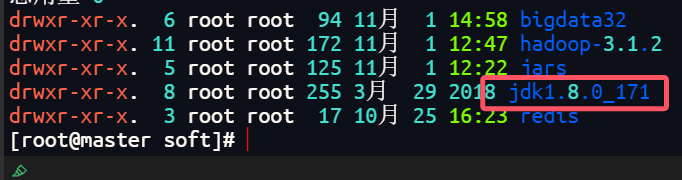
上传成功后,在上级目录soft中就可以找到jdk
配置jdk环境变量
1) 打开环境变量的文件
vim /etc/profile

# 添加以下内容
2)
# System wide environment and startup programs, for login setup
# Functions and aliases go in /etc/bashrc
export JAVA_HOME=/usr/local/soft/jdk1.8.0_171
export PATH=.:$PATH:$JAVA_HOME/bin

# It's NOT a good idea to change this file unless you know what you
# are doing. It's much better to create a custom.sh shell script in
# /etc/profile.d/ to make custom changes to your environment, as this
# will prevent the need for merging in future updates.

3) 让shell脚本生效
source /etc/profile
查看jdk是否安装成功
java -version

三.开始安装Hadop(这里以3.1.2版本为例)
1.上传Hadoop到jars目录下
在华为云镜像站中下载.tar.gz后缀的hadoop
链接:https://mirrors.huaweicloud.com/apache/hadoop/common/hadoop-3.1.2/

2.解压到上级目录
tar -zxvf hadoop-3.1.2.tar.gz -C ../
3.配置环境变量
vim /etc/profile

### 增加配置
**这里的路径要根据自己的安装路径来**
export HADOOP_HOME=/usr/local/soft/hadoop-3.1.2
export PATH=$PATH:$HADOOP_HOME/sbin:$HADOOP_HOME/bin

### 使环境变量剩下
source /etc/profile

4. 修改配置文件
# 进入hadoop配置文件所在位置,修改hadoop配置文件
cd /usr/local/soft/hadoop-3.1.2/etc/hadoop
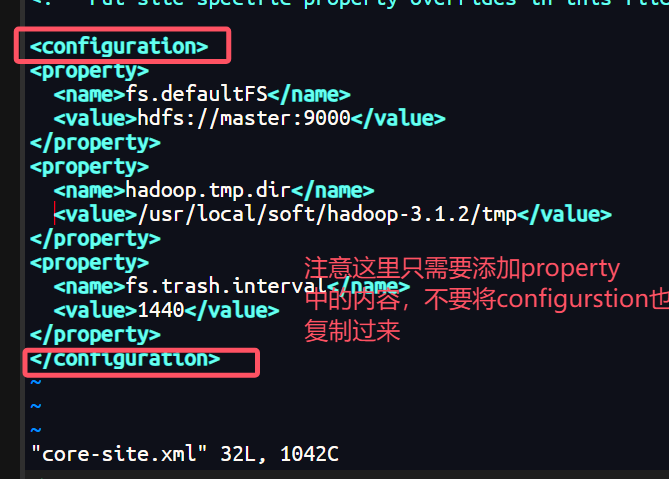
1.修改core-site.xml配置文件,在configuration中间增加配置
vim core-site.xml
# 增加配置
<configuration>
<property>
  <name>fs.defaultFS</name>
  <value>hdfs://master:9000</value>
</property>
<property>
  <name>hadoop.tmp.dir</name>
  <value>/usr/local/soft/hadoop-3.1.2/tmp</value>
</property>
<property>
  <name>fs.trash.interval</name>
  <value>1440</value>
</property>
</configuration>
2.修改hdfs-site.xml配置文件,在configuration中间增加配置
vim hdfs-site.xml
# 增加配置
<configuration>
<property>
  <name>dfs.replication</name>
  <value>1</value>
</property>
<property>
  <name>dfs.permissions</name>
  <value>false</value>
</property>
</configuration>
3.修改yarn-site.xml配置文件,在configuration中间增加配置
vim yarn-site.xml
# 增加配置
<property>
  <name>yarn.resourcemanager.hostname</name>
  <value>master</value>
</property>
<property>
  <name>yarn.nodemanager.aux-services</name>
  <value>mapreduce_shuffle</value>
</property>
<property>
  <name>yarn.log-aggregation-enable</name>
  <value>true</value>
</property>
mapreduce.framework.name:用于执行MapReduce作业的运行时框架。
mapreduce.jobhistory.address:Hadoop自带了一个历史服务器,可以通过历史服务器查看已经运行完的Mapreduce作业记录,比如用了多少个Map、用了多少个Reduce、作业提交时间、作业启动时间、作业完成时间等信息。默认情况下,Hadoop历史服务器是没有启动的,我们可以通过*mr-jobhistory-daemon.sh start historyserver命令来启动Hadoop历史服务器。我们可以通过Hadoop jar的命令来实现我们的程序jar包的运行,关于运行的日志,我们一般都需要通过启动一个服务来进行查看,就是我们的JobHistoryServer,我们可以启动一个进程,专门用于查看我们的任务提交的日志。mapreduce.jobhistory.address和mapreduce.jobhistory.webapp.address默认的值分别是0.0.0.0:10020和0.0.0.0:19888
4.修改mapred-site.xml
vim mapred-site.xml

	<property>
    	<name>mapreduce.framework.name</name>
    	<value>yarn</value>
    </property>

    <property>
    	<name>mapreduce.jobhistory.address</name>
    	<value>master:10020</value>
    </property>

    <property>
    	<name>mapreduce.jobhistory.webapp.address</name>
    	<value>master:19888</value>
	</property>
5.修改hadoop-env.sh配置文件
vim hadoop-env.sh
# 增加配置
export JAVA_HOME=/Library/Java/JavaVirtualMachines/jdk1.8.0_202.jdk/Contents/Home
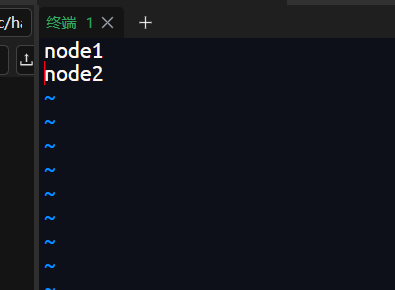
6.修改hadoop-env.sh配置文件
文件里应该会有localhost,将他删了再添加
vim workers
# 增加配置
node1
node2
注意:以下两个方法只要选择一种即可因为这里我们使用的版本是3.1.2,所以更推荐方法二
方法1:在Hadoop安装目录下找到sbin文件夹,修改里面的四个文件(方法1)
1、对于start-dfs.sh和stop-dfs.sh文件,添加下列参数:
#!/usr/bin/env bash
HDFS_DATANODE_USER=root
HADOOP_SECURE_DN_USER=hdfs
HDFS_NAMENODE_USER=root
HDFS_SECONDARYNAMENODE_USER=root
2、对于start-yarn.sh和stop-yarn.sh文件,添加下列参数:
#!/usr/bin/env bash
YARN_RESOURCEMANAGER_USER=root
HADOOP_SECURE_DN_USER=yarn
YARN_NODEMANAGER_USER=root
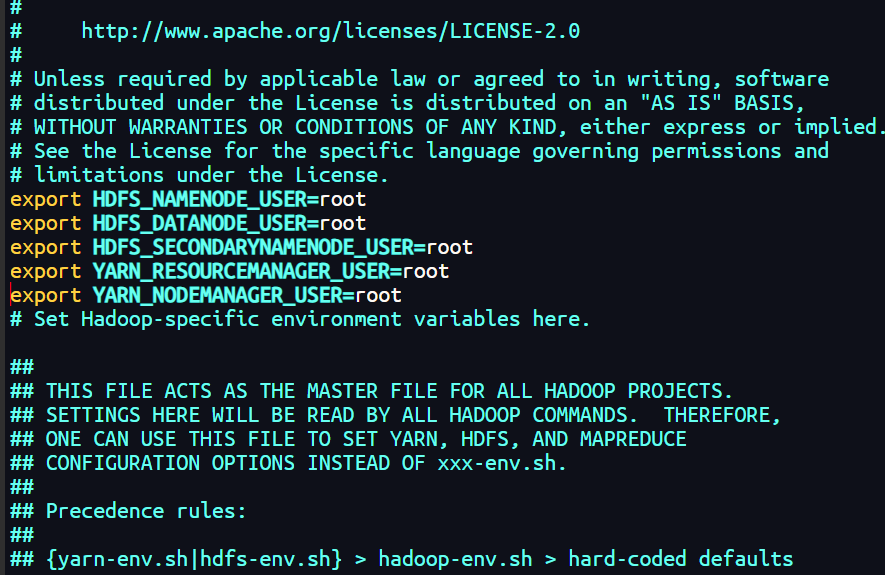
方法2:修改hadoop-env.sh的文件(推荐3以上使用)
export HDFS_NAMENODE_USER=root
export HDFS_DATANODE_USER=root
export HDFS_SECONDARYNAMENODE_USER=root
export YARN_RESOURCEMANAGER_USER=root
export YARN_NODEMANAGER_USER=root
将master中配好的hadoop文件夹分发到node1和node2节点中
分发过程不报错即可
scp -r hadoop-3.1.2 node1:`pwd`
scp -r hadoop-3.1.2 node2:`pwd`
4.初始化并启动hdfs
因为这里是主从架构,所以只需要再master上运行
# 初始化,只有第一次启动的时候需要初始化,以后直接启动即可
hdfs namenode -format
5.启动hadoop
# 启动hadoop
start-all.sh
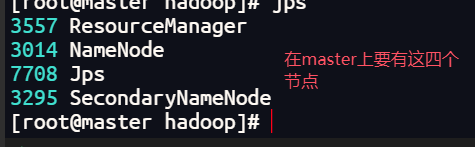
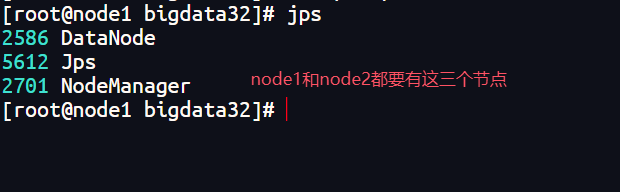
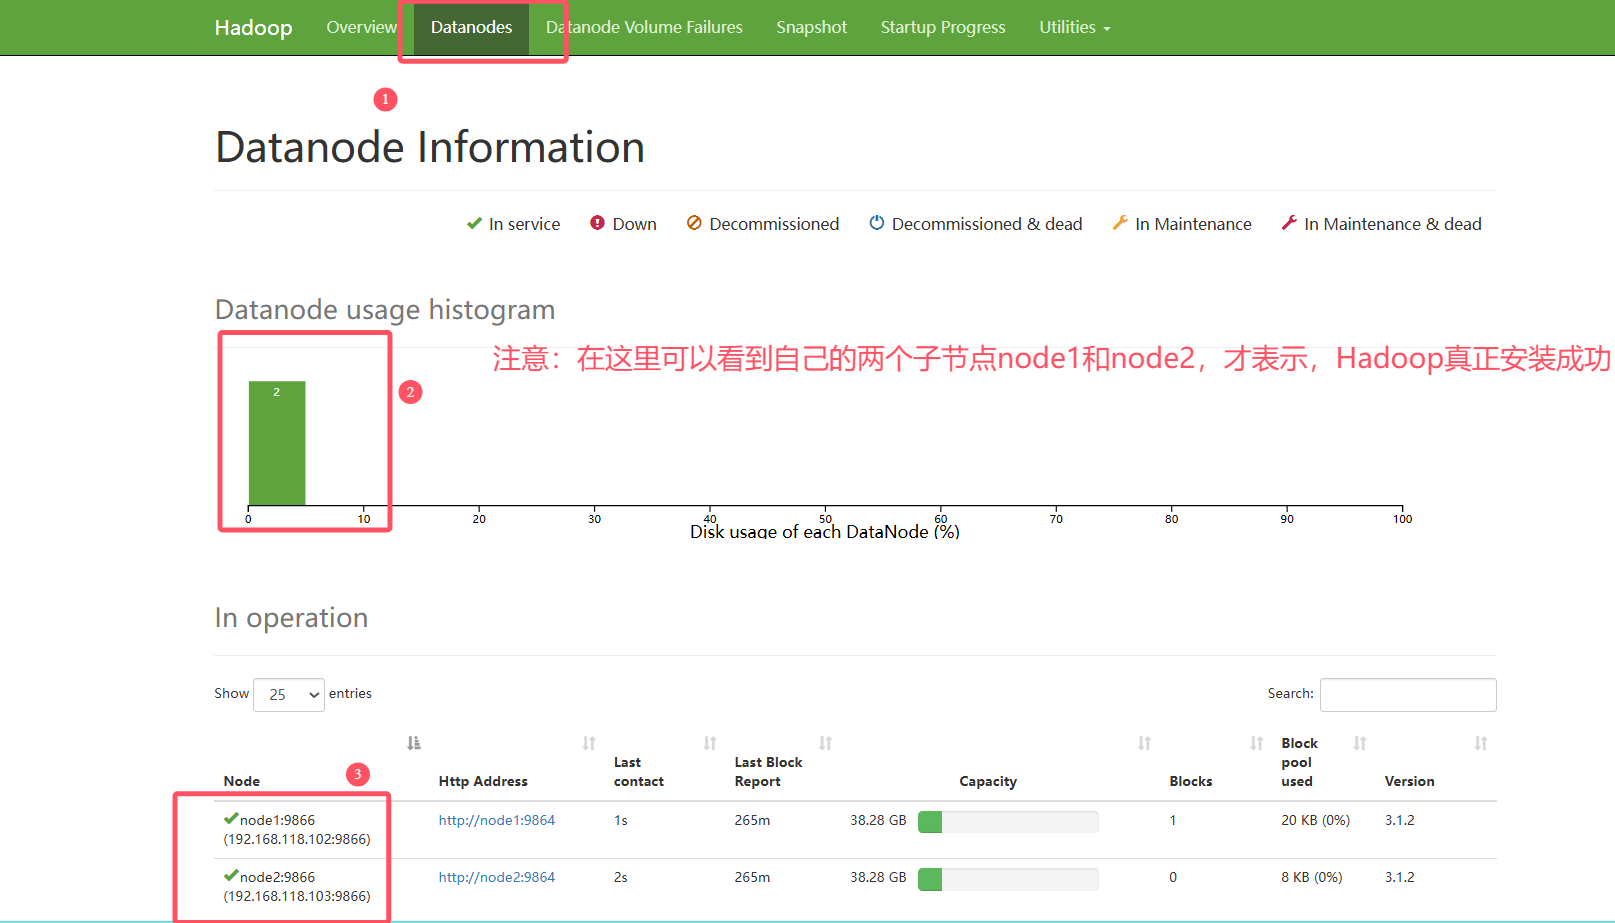
启动后查看三台虚拟机上的节点是否正确
jps #查看节点
http://192.168.118.101:9870 通常指的是Hadoop集群中NameNode的Web管理界面的地址。用户可以通过这个地址访问NameNode的Web UI,进行集群管理和监控。
# hdfs web ui
http://192.168.118.101:9870 #注意使用英文输入法,ip地址改为自己的才可以连接上
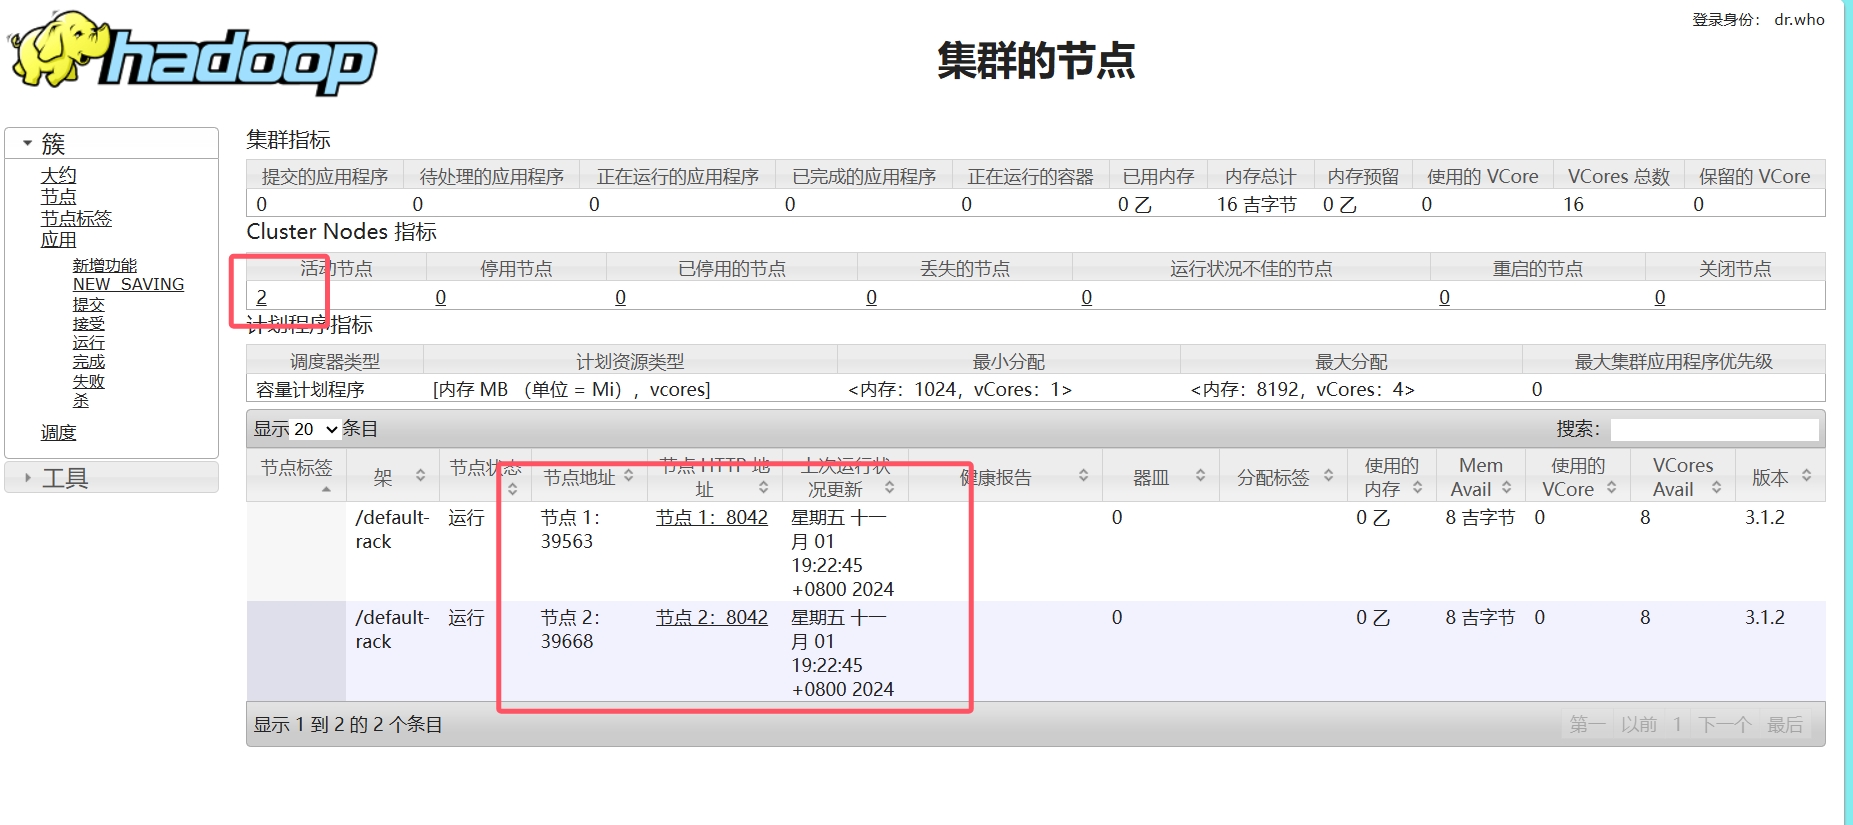
http://192.168.118.101:8088 指的是Hadoop集群中ResourceManager的Web管理界面的地址。用户可以通过这个地址访问ResourceManager的Web UI,进行集群资源管理和作业监控。
# yarn web ui
http://192.168.118.101:8088
停掉hadoop集群
# 停止hadoop
# stop-all.sh
5.排查问题
#  进入日志所在目录
cd /usr/local/soft/hadoop-3.1.1/logs

# 1、namenode启动失败
cat hadoop-root-namenode-master.log

# 2、resourcemanager启动失败
cat hadoop-root-resourcemanager-master.log

# 3、datanode启动失败
cat hadoop-root-datanode-master.log
解决节点丢失问题(节点缺失):格式化集群(暴力方式)
1. 关闭集群
stop-all.sh
2. 删除每个节点的hadoop根目录下的tmp目录
rm -rf tmp/
3. 重新格式化 在hadoop的bin目录下执行
hdfs namenode -format
4. 重新启动
start-all.sh
若节点还是不对,需要检查自己的配置文件是否正确
6.HDFS常用命令
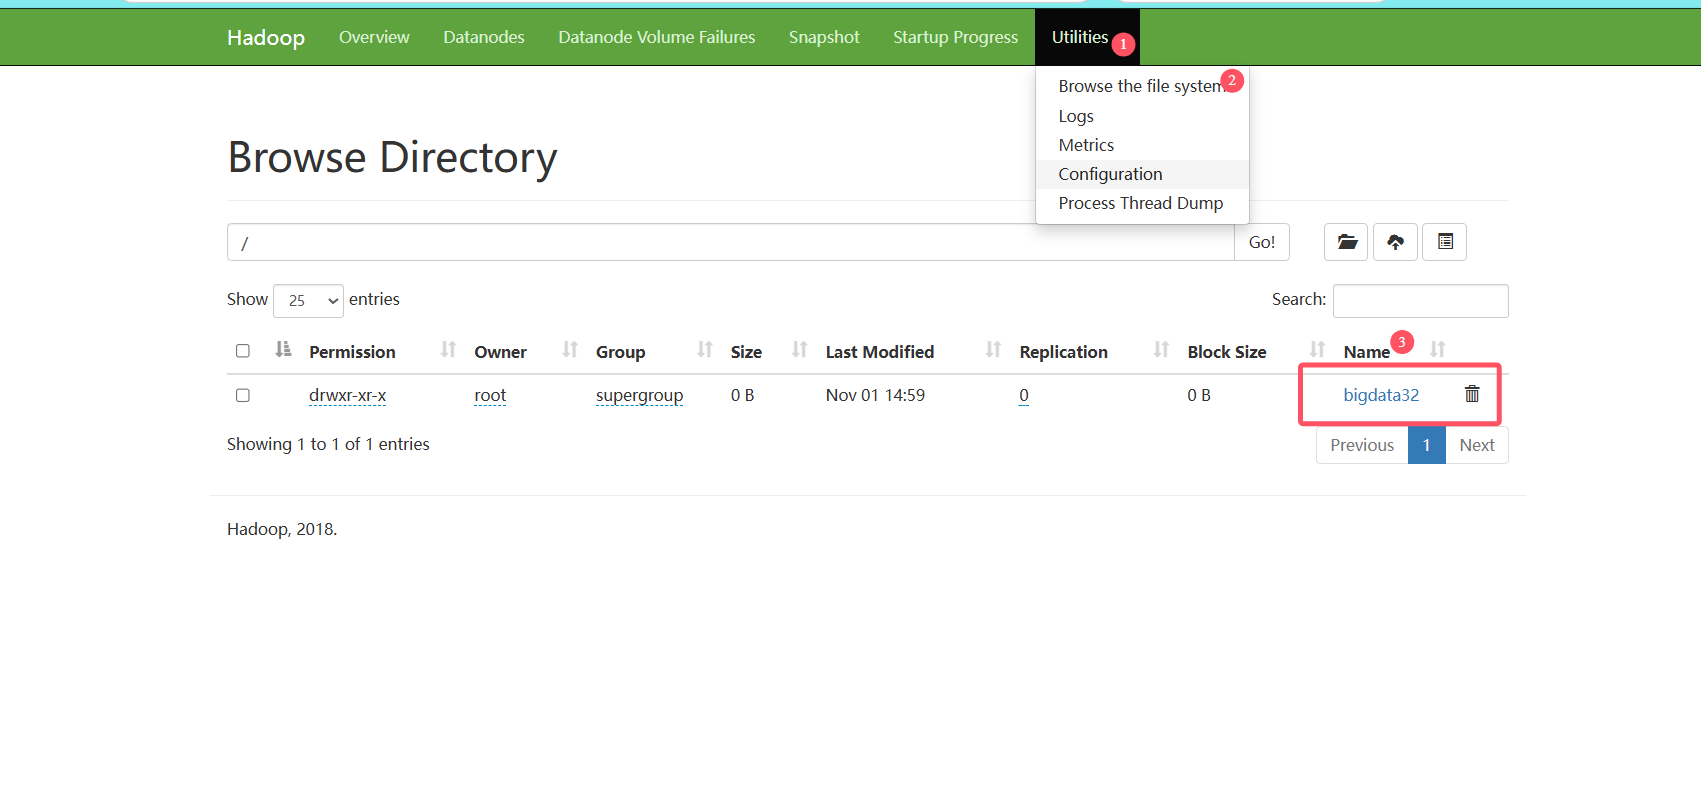
创建文件夹
Usage: hadoop fs -mkdir [-p] <paths>

Takes path uri’s as argument and creates directories.

Options:

The -p option behavior is much like Unix mkdir -p, creating parent directories along the path.
Example:

hadoop fs -mkdir /user/hadoop/dir1 /user/hadoop/dir2
hadoop fs -mkdir hdfs://nn1.example.com/user/hadoop/dir hdfs://nn2.example.com/user/hadoop/dir
Exit Code:

Returns 0 on success and -1 on error.
将Linux中的文件上传到HDFS文件系统中
Usage: hadoop fs -put [-f] [-p] [-l] [-d] [ - | <localsrc1> .. ]. <dst>

Copy single src, or multiple srcs from local file system to the destination file system. Also reads input from stdin and writes to destination file system if the source is set to “-”

Copying fails if the file already exists, unless the -f flag is given.

Options:

-p : Preserves access and modification times, ownership and the permissions. (assuming the permissions can be propagated across filesystems)
-f : Overwrites the destination if it already exists.
-l : Allow DataNode to lazily persist the file to disk, Forces a replication factor of 1. This flag will result in reduced durability. Use with care.
-d : Skip creation of temporary file with the suffix ._COPYING_.
Examples:

hadoop fs -put localfile /user/hadoop/hadoopfile
hadoop fs -put -f localfile1 localfile2 /user/hadoop/hadoopdir
hadoop fs -put -d localfile hdfs://nn.example.com/hadoop/hadoopfile
hadoop fs -put - hdfs://nn.example.com/hadoop/hadoopfile Reads the input from stdin.
Exit Code:

Returns 0 on success and -1 on error.
查看文件内容
Usage: hadoop fs -cat [-ignoreCrc] URI [URI ...]

Copies source paths to stdout.

Options

The -ignoreCrc option disables checkshum verification.
Example:

hadoop fs -cat hdfs://nn1.example.com/file1 hdfs://nn2.example.com/file2
hadoop fs -cat file:///file3 /user/hadoop/file4
Exit Code:

Returns 0 on success and -1 on error.
复制文件到HDFS其他目录下
Usage: hadoop fs -cp [-f] [-p | -p[topax]] URI [URI ...] <dest>

Copy files from source to destination. This command allows multiple sources as well in which case the destination must be a directory.

‘raw.*’ namespace extended attributes are preserved if (1) the source and destination filesystems support them (HDFS only), and (2) all source and destination pathnames are in the /.reserved/raw hierarchy. Determination of whether raw.* namespace xattrs are preserved is independent of the -p (preserve) flag.

Options:

The -f option will overwrite the destination if it already exists.
The -p option will preserve file attributes [topx] (timestamps, ownership, permission, ACL, XAttr). If -p is specified with no arg, then preserves timestamps, ownership, permission. If -pa is specified, then preserves permission also because ACL is a super-set of permission. Determination of whether raw namespace extended attributes are preserved is independent of the -p flag.
Example:

hadoop fs -cp /user/hadoop/file1 /user/hadoop/file2
hadoop fs -cp /user/hadoop/file1 /user/hadoop/file2 /user/hadoop/dir
Exit Code:

Returns 0 on success and -1 on error.
将HDFS的文件移动到HDFS其他目录下
Usage: hadoop fs -mv URI [URI ...] <dest>

Moves files from source to destination. This command allows multiple sources as well in which case the destination needs to be a directory. Moving files across file systems is not permitted.

Example:

hadoop fs -mv /user/hadoop/file1 /user/hadoop/file2
hadoop fs -mv hdfs://nn.example.com/file1 hdfs://nn.example.com/file2 hdfs://nn.example.com/file3 hdfs://nn.example.com/dir1
Exit Code:

Returns 0 on success and -1 on error.
hadoop fs -rm -r -f /bigdata29/aaa
将HDFS文件下载到Linux中
Usage: hadoop fs -get [-ignorecrc] [-crc] [-p] [-f] <src> <localdst>

Copy files to the local file system. Files that fail the CRC check may be copied with the -ignorecrc option. Files and CRCs may be copied using the -crc option.

Example:

hadoop fs -get /user/hadoop/file localfile
hadoop fs -get hdfs://nn.example.com/user/hadoop/file localfile
Exit Code:

Returns 0 on success and -1 on error.

Options:

-p : Preserves access and modification times, ownership and the permissions. (assuming the permissions can be propagated across filesystems)
-f : Overwrites the destination if it already exists.
-ignorecrc : Skip CRC checks on the file(s) downloaded.
-crc: write CRC checksums for the files downloaded.
hadoop fs -put xxx
hadoop fs -cat xxx
hadoop fs -get xxx
hadoop fs -rm -r -f xxx
hadoop fs -cp xx
hadoop fs -mv
hdfs dfs -put xxx
hdfs dfs -cat xxx
hdfs dfs -get xxx
hdfs dfs -rm -r -f xxx
hdfs dfs -cp xx
hdfs dfs -mv
在这里也可以看到文件

 浙公网安备 33010602011771号