部署EFK Stack收集K8s日志
一、下载efk相关安装文件
1.1、下载对应的EFK yaml配置文件
1 2 3 | [root@k8s-master01 k8s]# cd efk-7.10.2/[root@k8s-master01 efk-7.10.2]# lscreate-logging-namespace.yaml es-service.yaml es-statefulset.yaml filebeat fluentd-es-configmap.yaml fluentd-es-ds.yaml kafka kibana-deployment.yaml kibana-service.yaml |
1.2、创建EFK所需要的Namespace
1 2 3 4 | [root@k8s-master01 efk-7.10.2]# kubectl create -f create-logging-namespace.yamlnamespace/logging created[root@k8s-master01 efk-7.10.2]# kubectl get nslogging Active 3sc |
1.3、创建ES的service
1 2 3 4 5 | [root@k8s-master01 efk-7.10.2]# kubectl create -f es-service.yamlservice/elasticsearch-logging created[root@k8s-master01 efk-7.10.2]# kubectl get svc -n loggingNAME TYPE CLUSTER-IP EXTERNAL-IP PORT(S) AGEelasticsearch-logging ClusterIP None <none> 9200/TCP,9300/TCP 37sc |
二、创建ES集群
只要创建ServiceAccount、ClusterRole、ClusterRoleBinding、statefulset相应的容器
1 2 3 4 5 6 7 8 9 10 11 12 13 14 15 16 17 18 19 20 21 | [root@k8s-master01 efk-7.10.2]# kubectl create -f es-statefulset.yamlserviceaccount/elasticsearch-logging createdclusterrole.rbac.authorization.k8s.io/elasticsearch-logging createdclusterrolebinding.rbac.authorization.k8s.io/elasticsearch-logging createdstatefulset.apps/elasticsearch-logging created[root@k8s-master01 efk-7.10.2]# kubectl get statefulset -n loggingNAME READY AGEelasticsearch-logging 0/1 75s[root@k8s-master01 efk-7.10.2]# kubectl get pod -n loggingNAME READY STATUS RESTARTS AGEelasticsearch-logging-0 0/1 PodInitializing 0 83s[root@k8s-master01 efk-7.10.2]# kubectl get ClusterRoleBinding -n logging | grep elaselasticsearch-logging ClusterRole/elasticsearch-logging 4m54s[root@k8s-master01 efk-7.10.2]# kubectl get ClusterRole-n logging | grep elaserror: the server doesn't have a resource type "ClusterRole-n"[root@k8s-master01 efk-7.10.2]# kubectl get ClusterRole -n logging | grep elaselasticsearch-logging 2022-05-23T03:35:19Z[root@k8s-master01 efk-7.10.2]# kubectl get sa -n loggingNAME SECRETS AGEdefault 1 13melasticsearch-logging 1 5m32s |

三、创建Kibana
1 2 3 | root@k8s-master01 efk-7.10.2]# kubectl create -f kibana-deployment.yaml -f kibana-service.yamldeployment.apps/kibana-logging createdservice/kibana-logging created |

四、部署Fluentd daemonSet 容器
4.1、部署ServiceAccount、ClusterRole、ClusterRoleBinding
1 2 3 4 5 | [root@k8s-master01 efk-7.10.2]# kubectl create -f fluentd-es-ds.yamlserviceaccount/fluentd-es createdclusterrole.rbac.authorization.k8s.io/fluentd-es createdclusterrolebinding.rbac.authorization.k8s.io/fluentd-es createddaemonset.apps/fluentd-es-v3.1.1 createdb |
4.2、部署Fluentd依赖的configmap
1 | [root@k8s-master01 efk-7.10.2]# kubectl create -f fluentd-es-configmap.yaml |
Ps:这里需要注意根据自己实际情况确定是否收集所有node节点日志,如果是,可以将其fluentd-es-ds.yaml配置文件中的nodeSelector注释
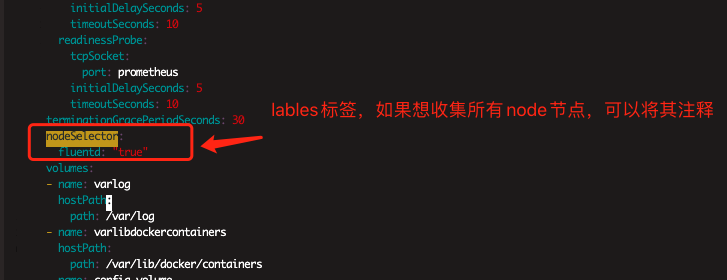
这里为了验证.仅给k8s-node01 打上标签,只收集该节点日志
1 | #kubectl label node k8s-node01 fluentd=true |

可以发现EFK环境都已经正常运行

五、Nginx代理
这里可以选择性配置,如果你不想配置域名,可直接通过节点IP+30700直接访问即可
本人在这里给出nginx代理配置,可供参考
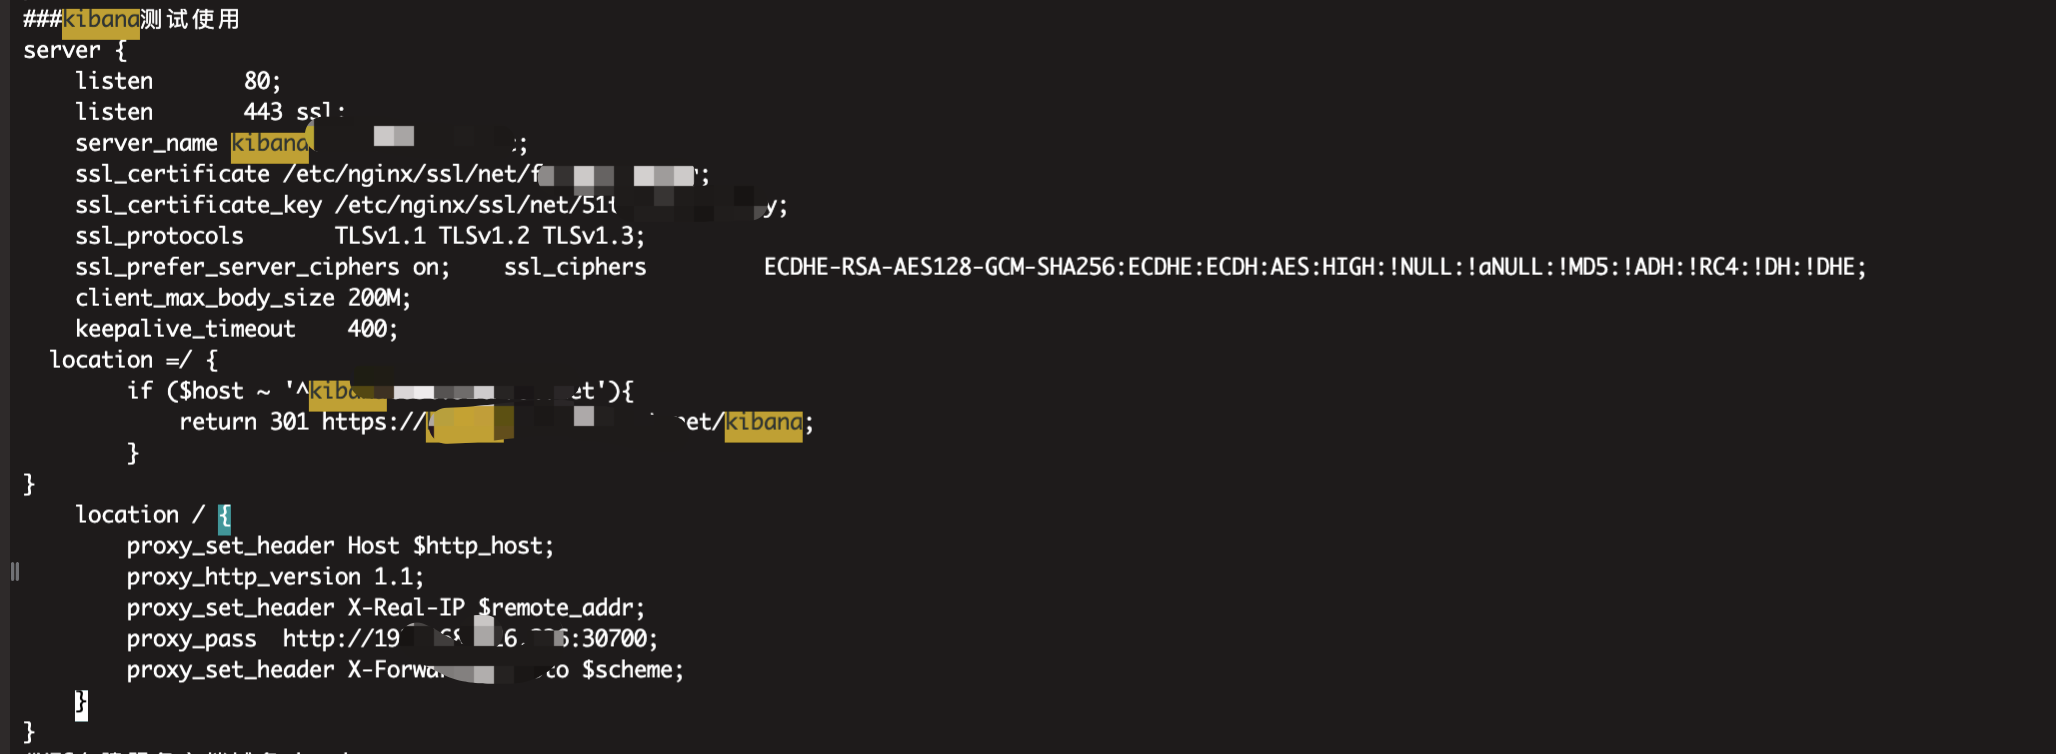
验证访问代理域名
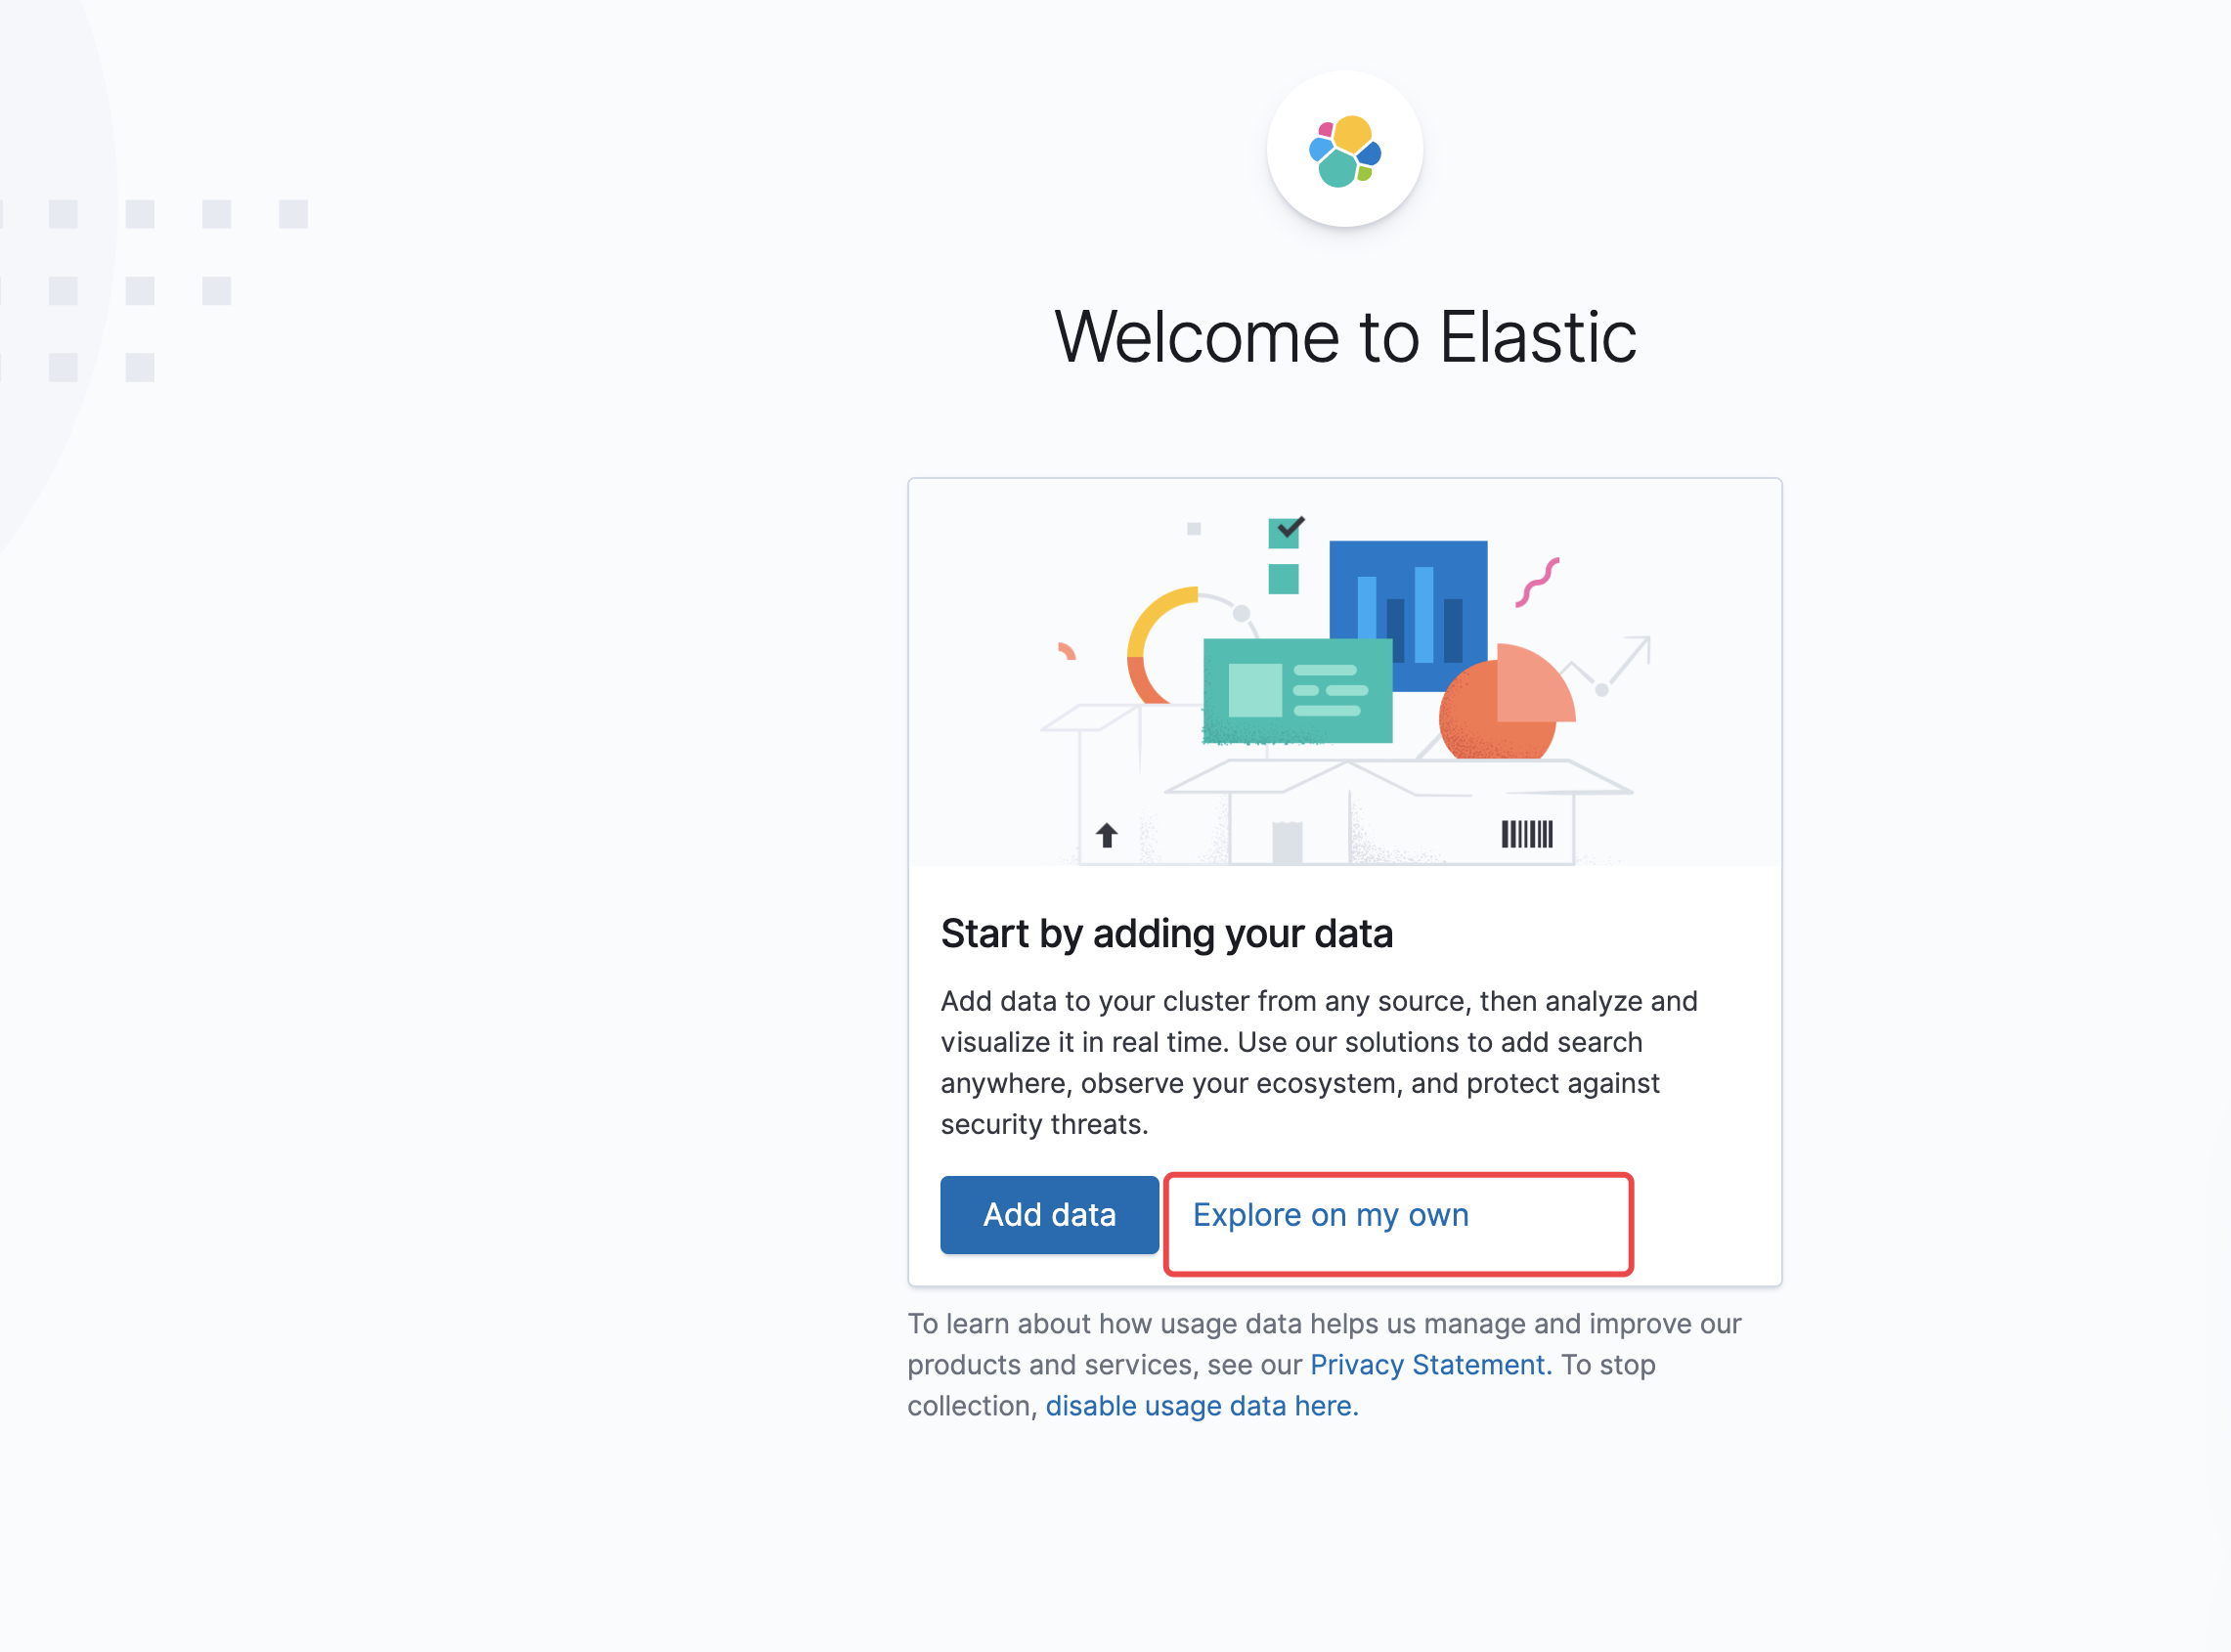
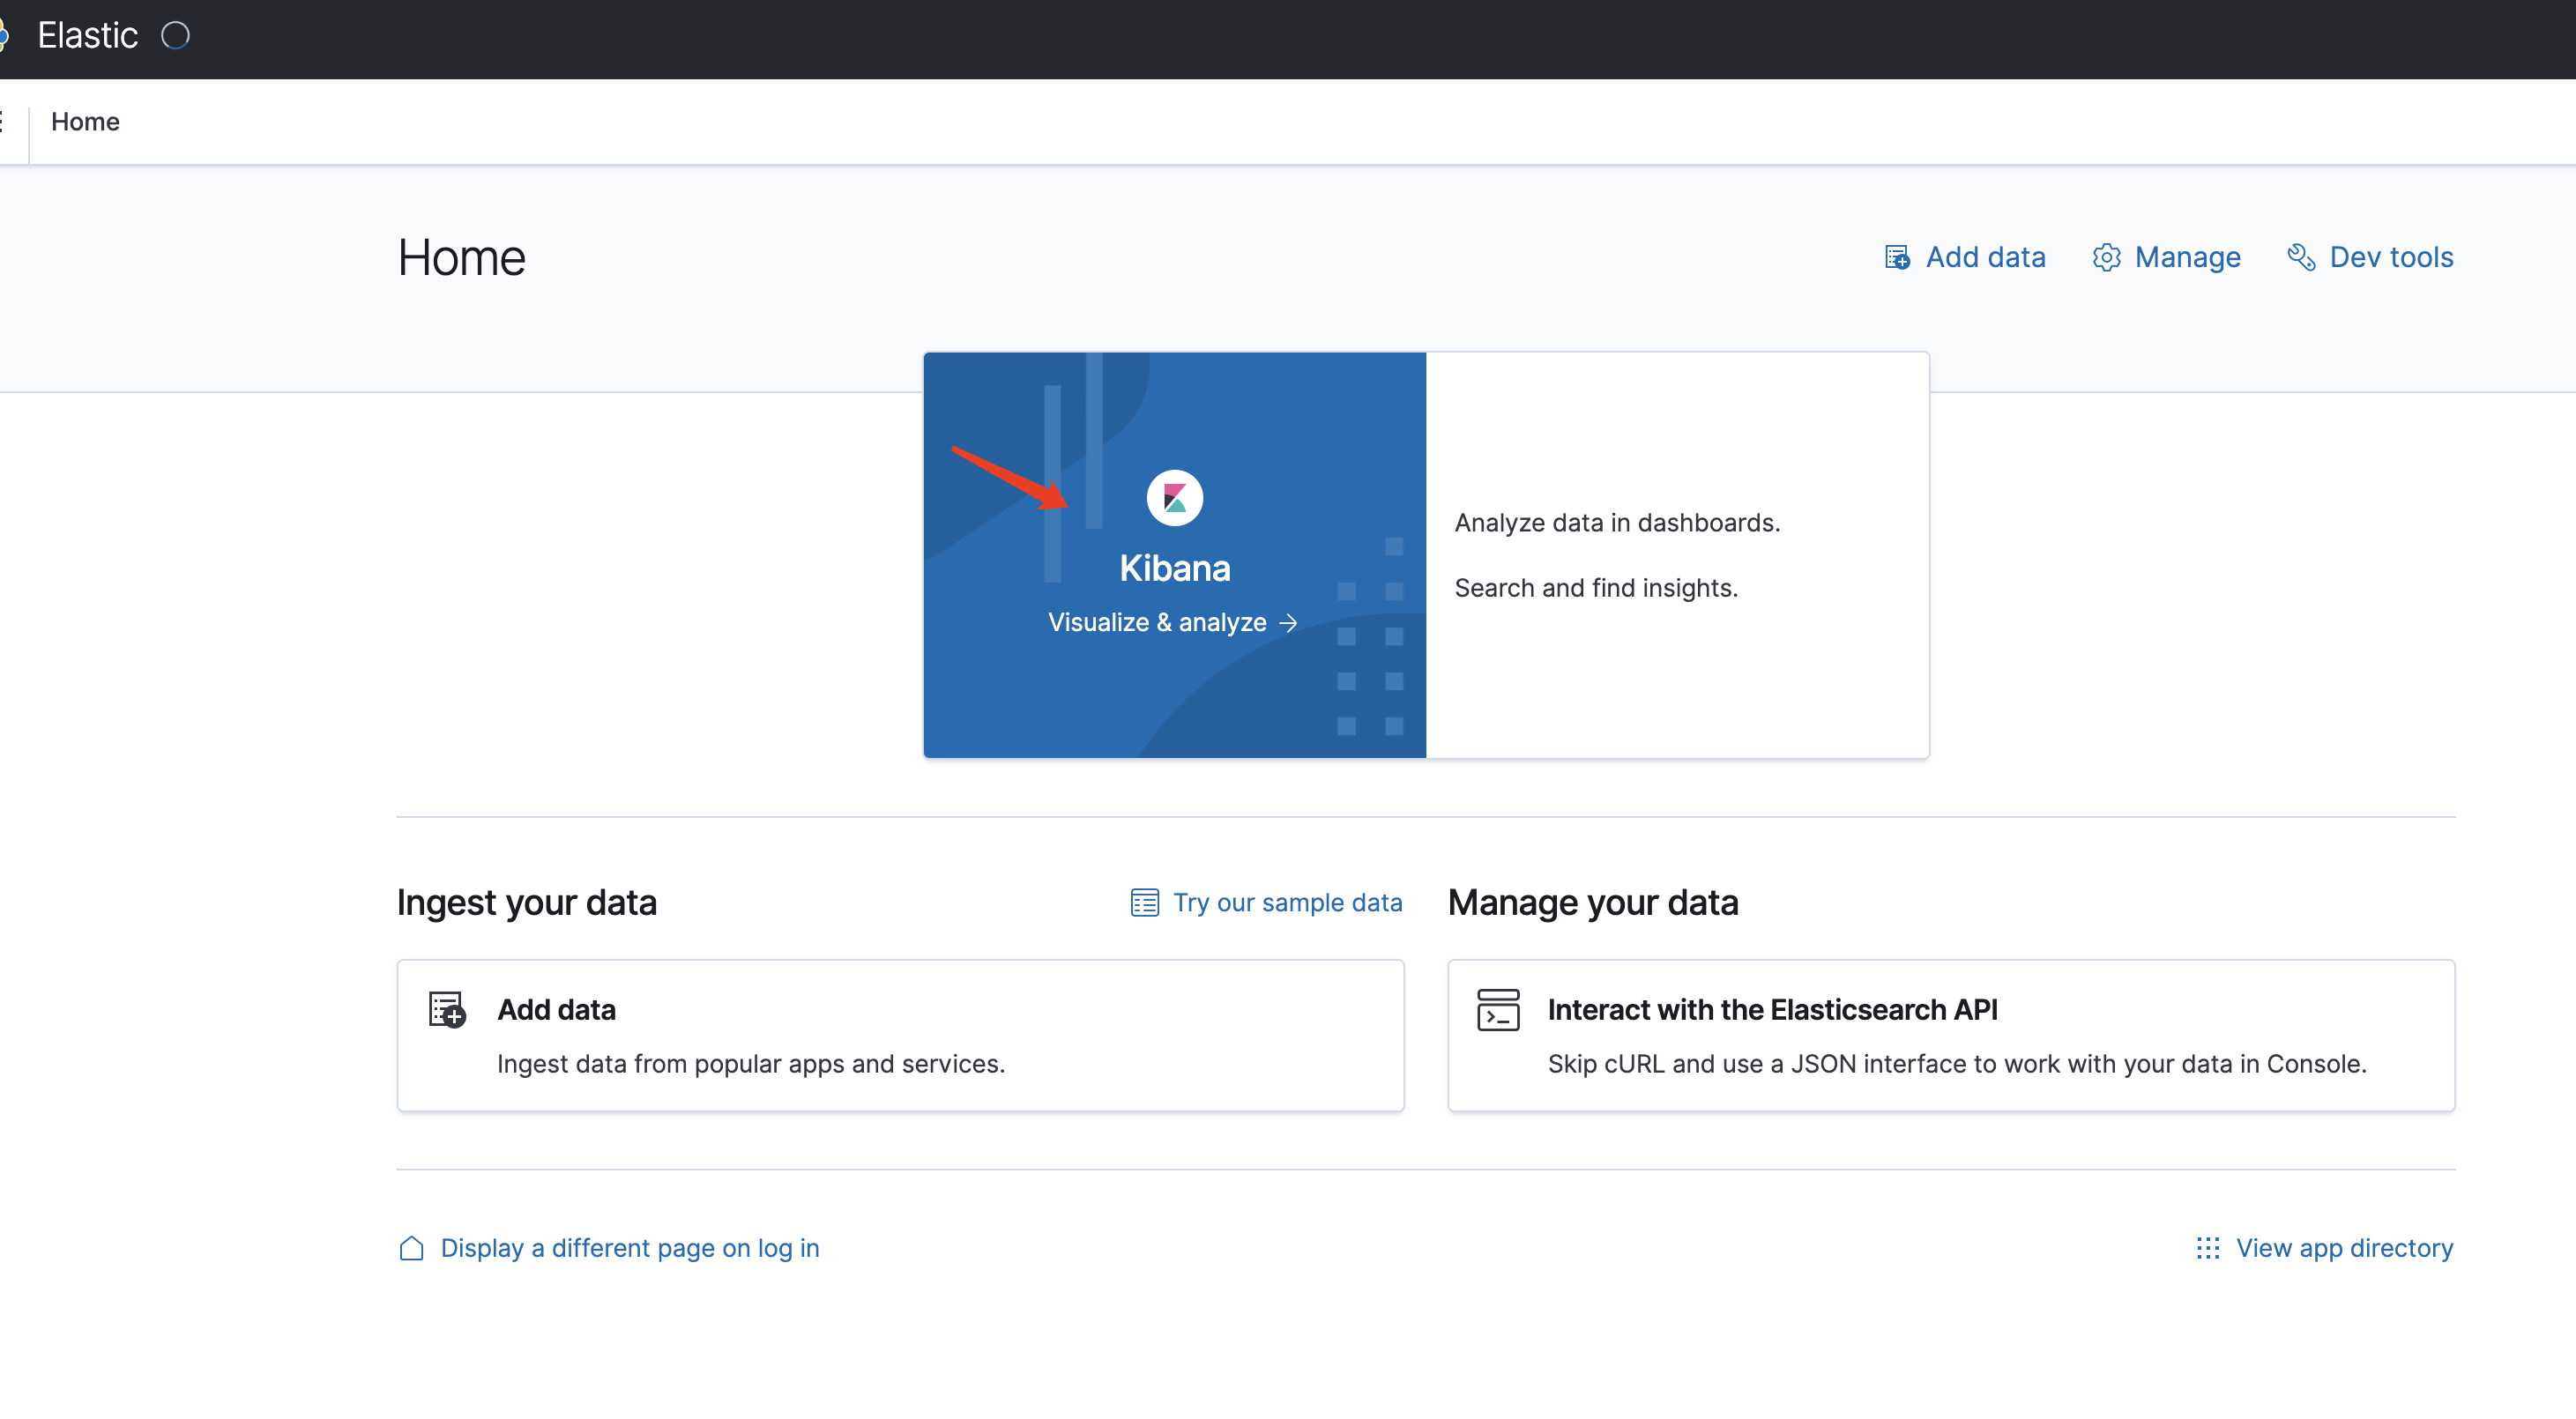
添加数据
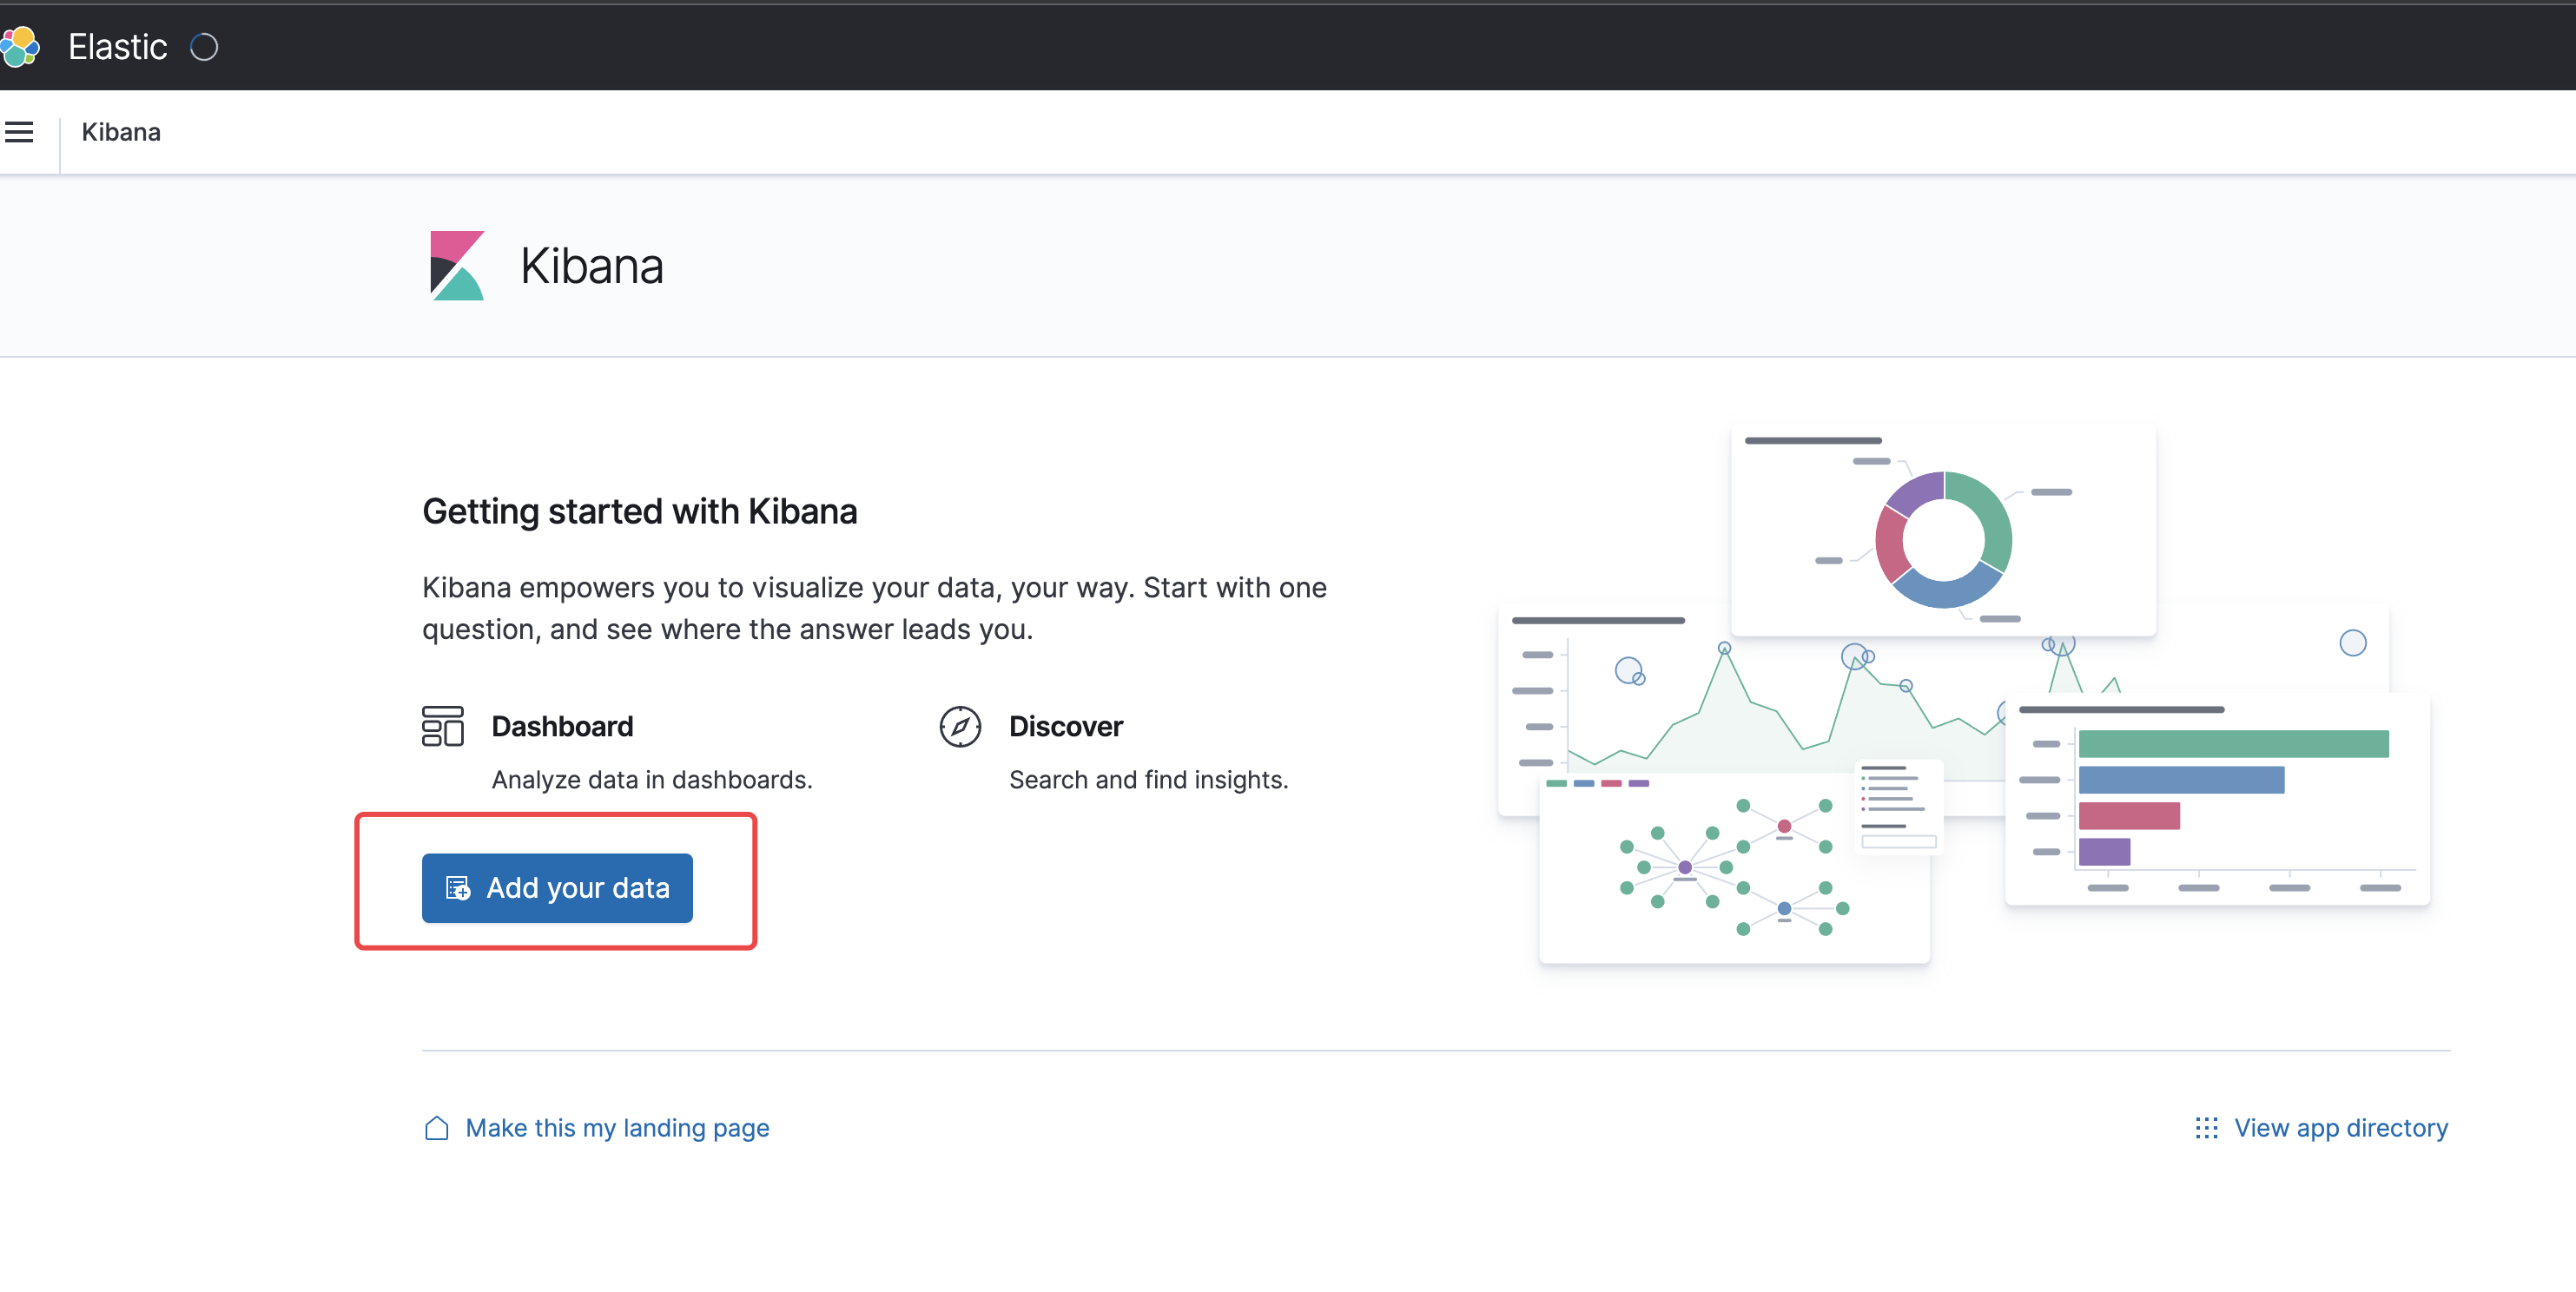
创建索引
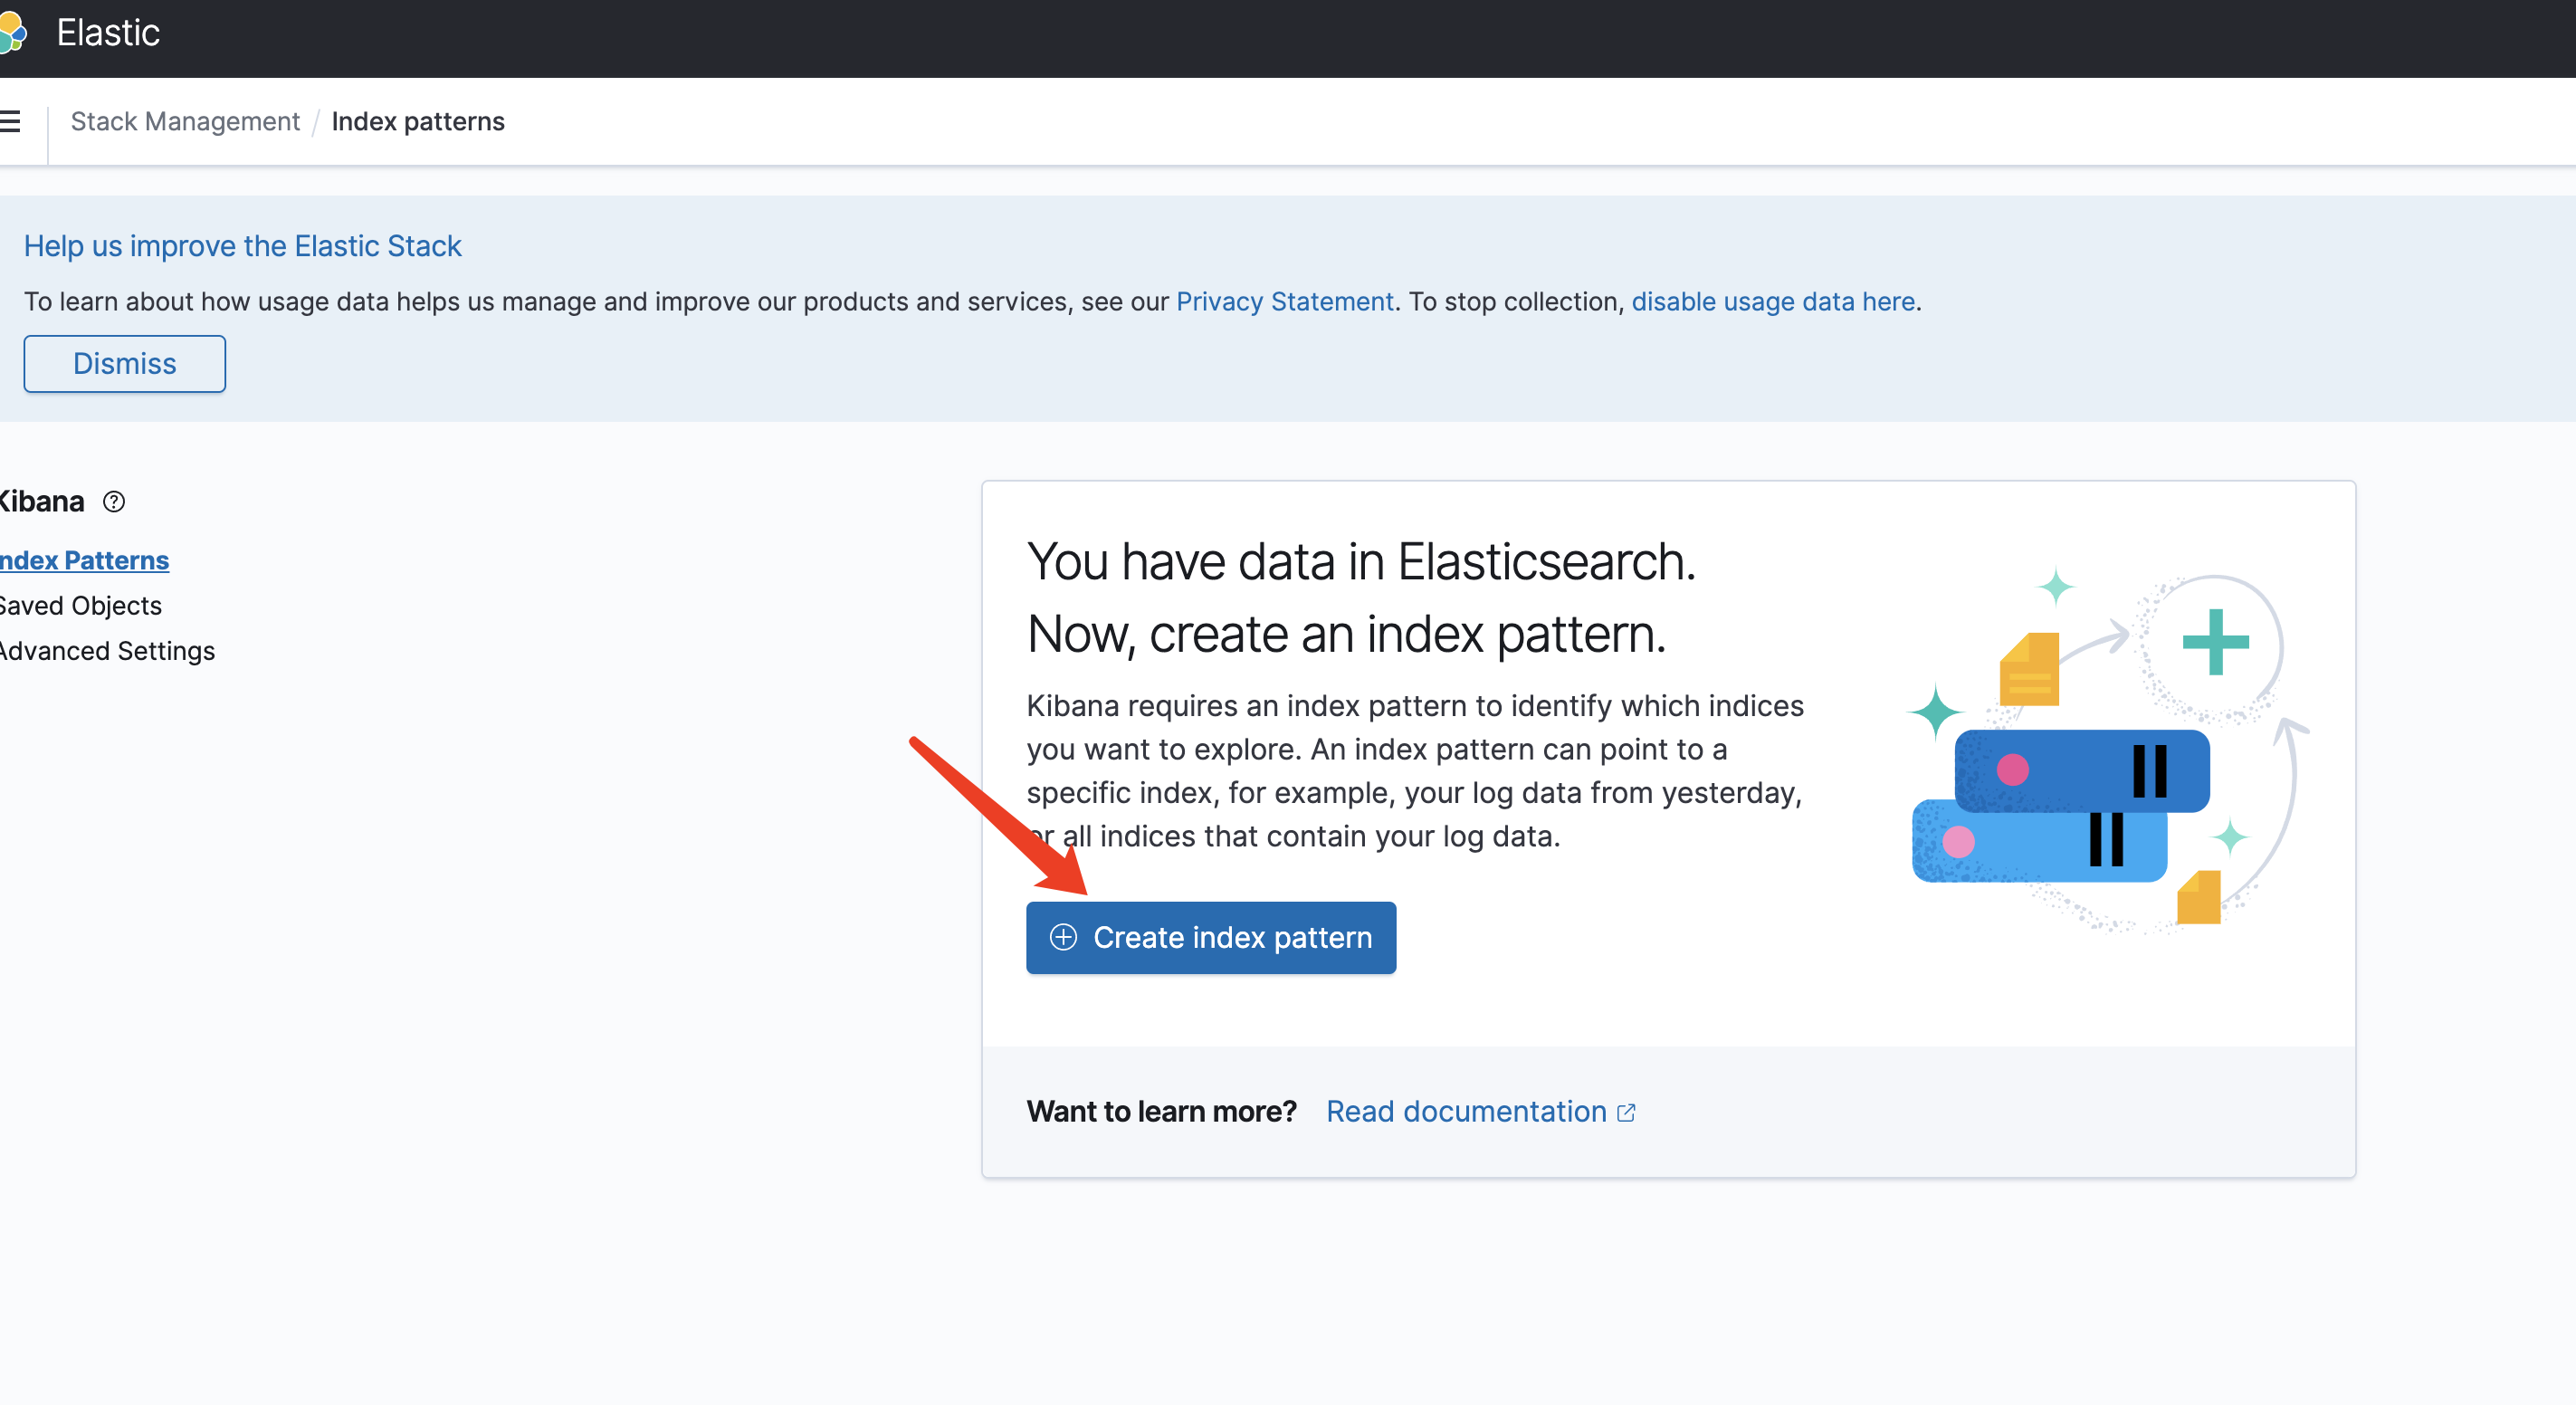
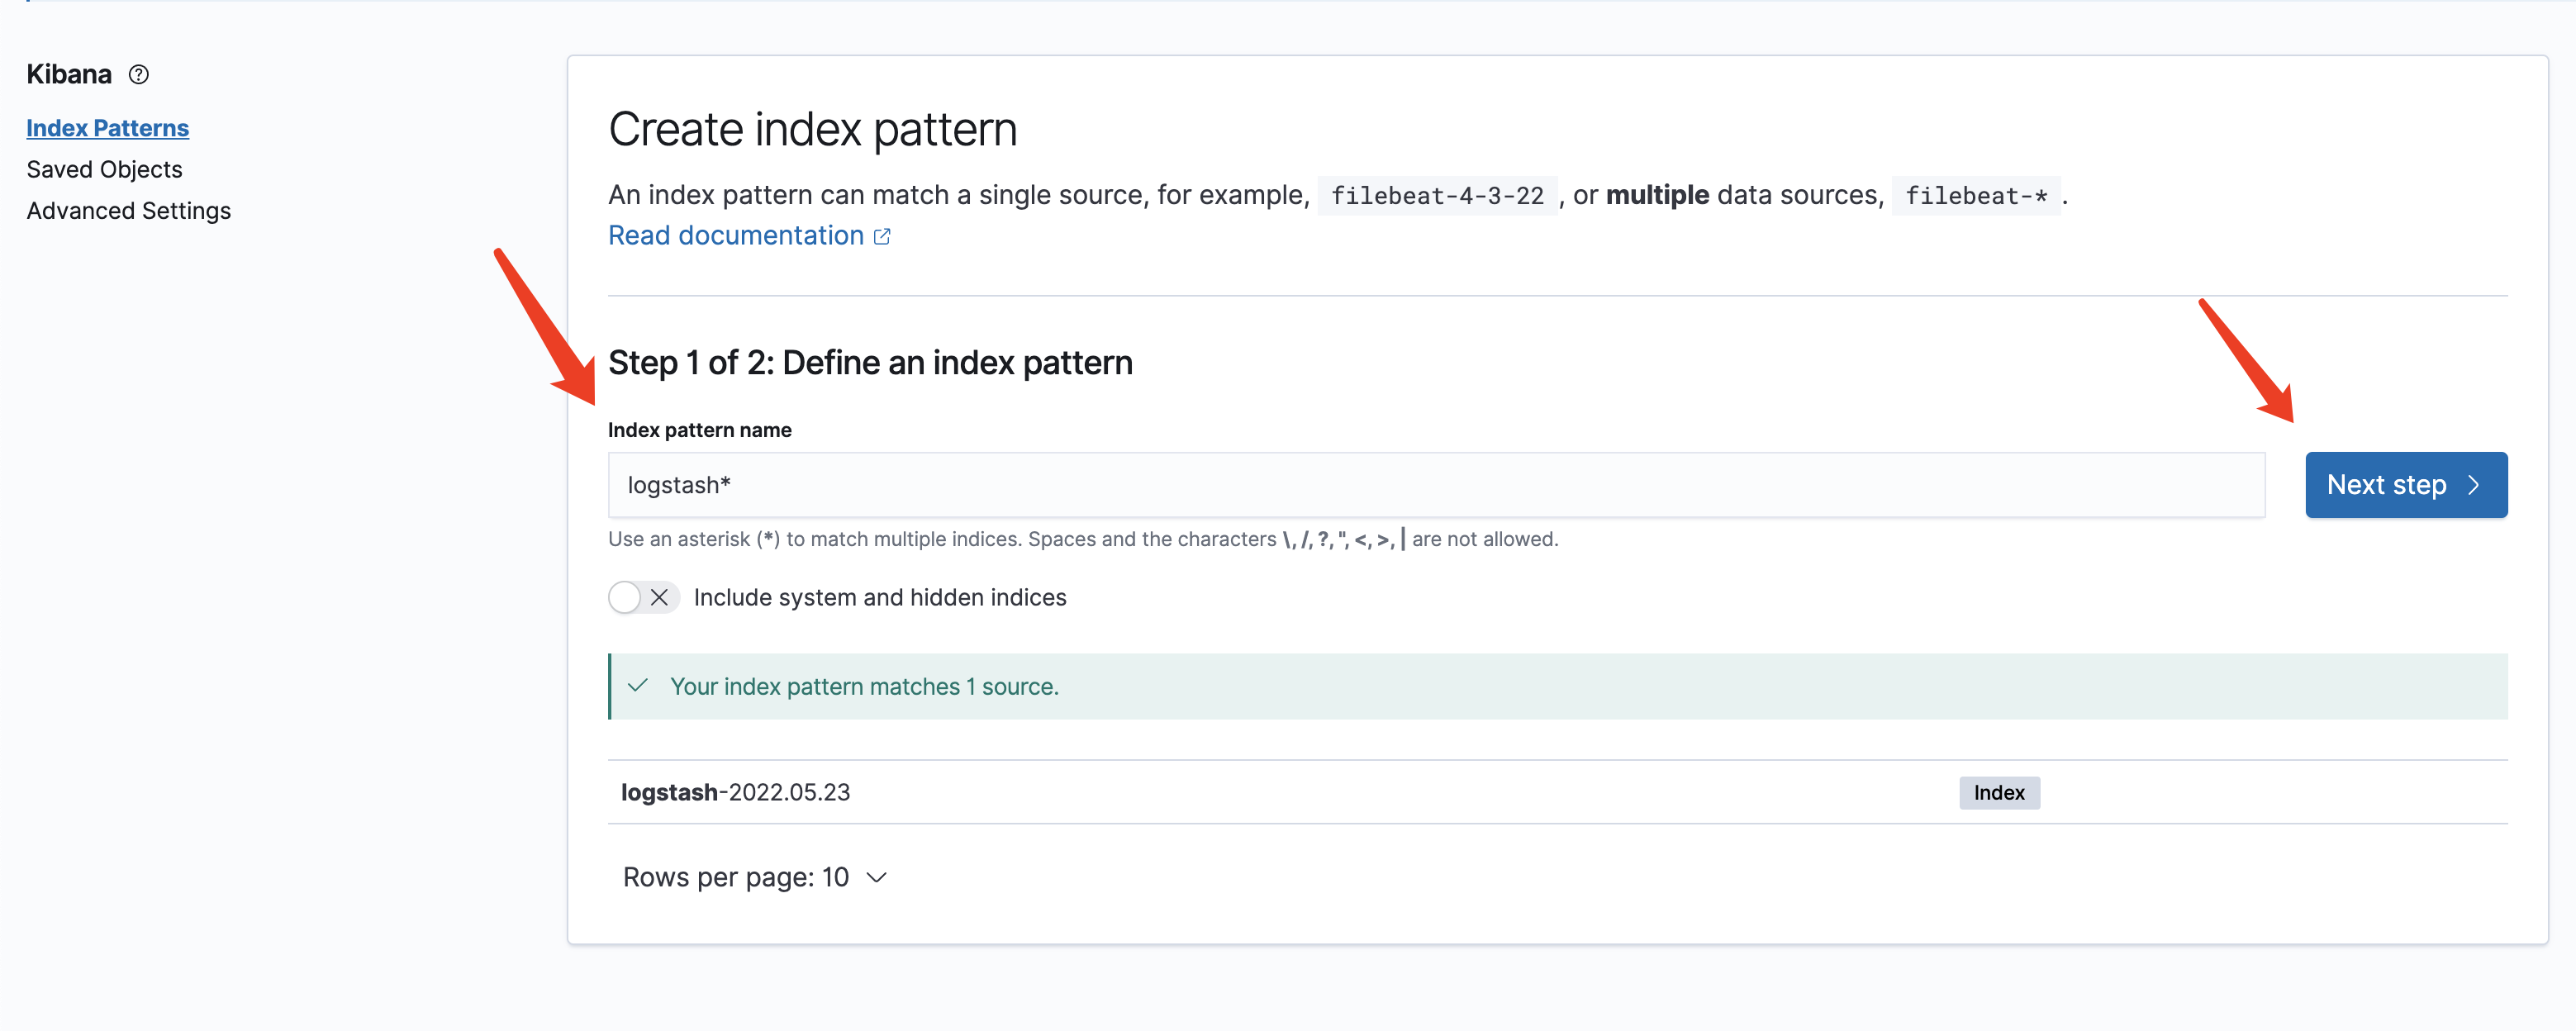
创建索引
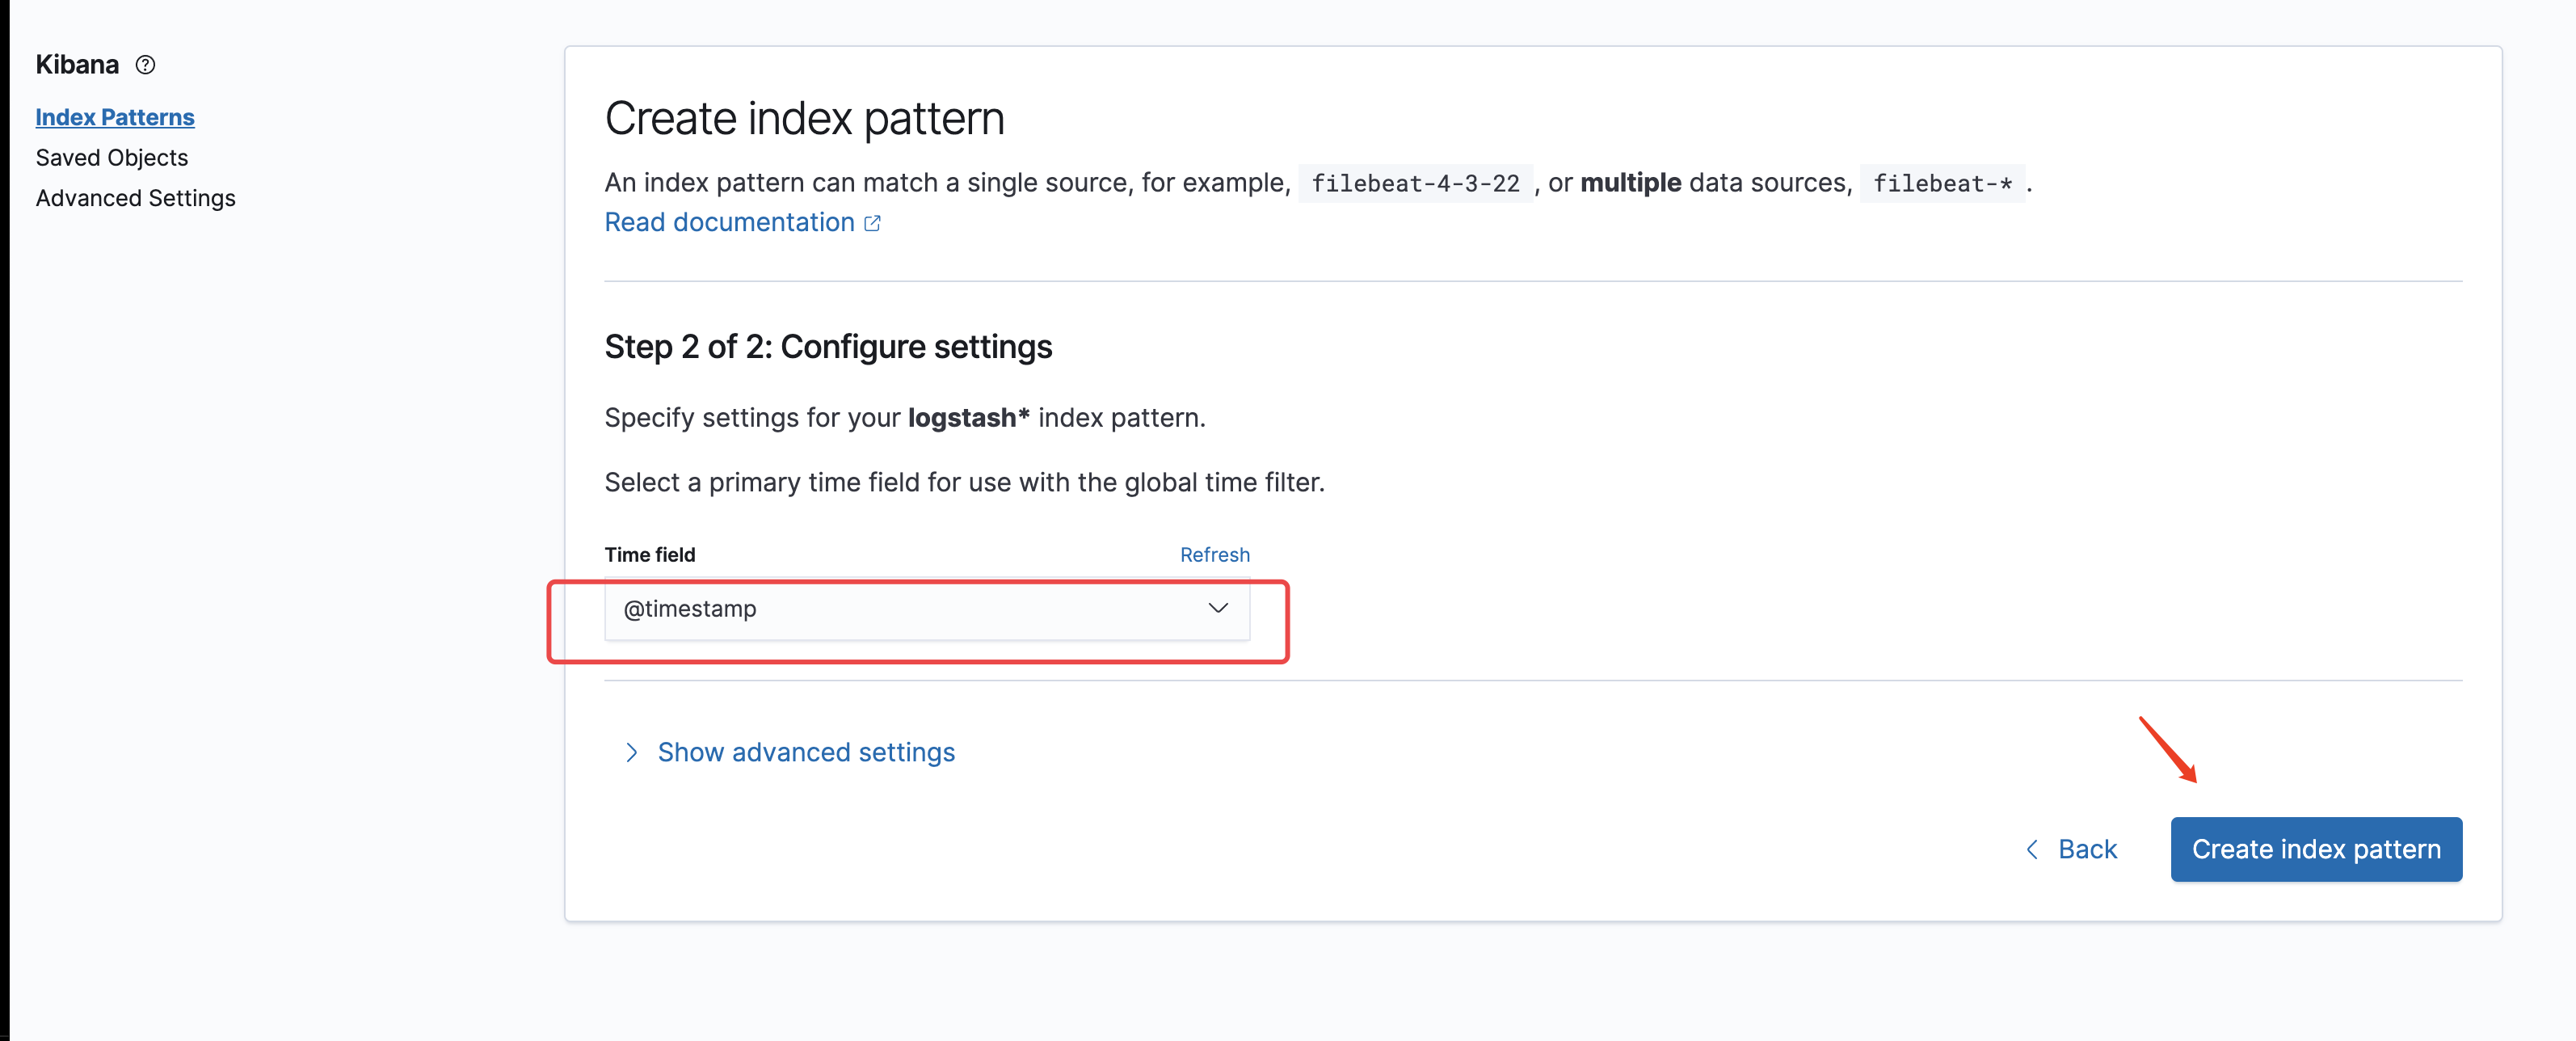
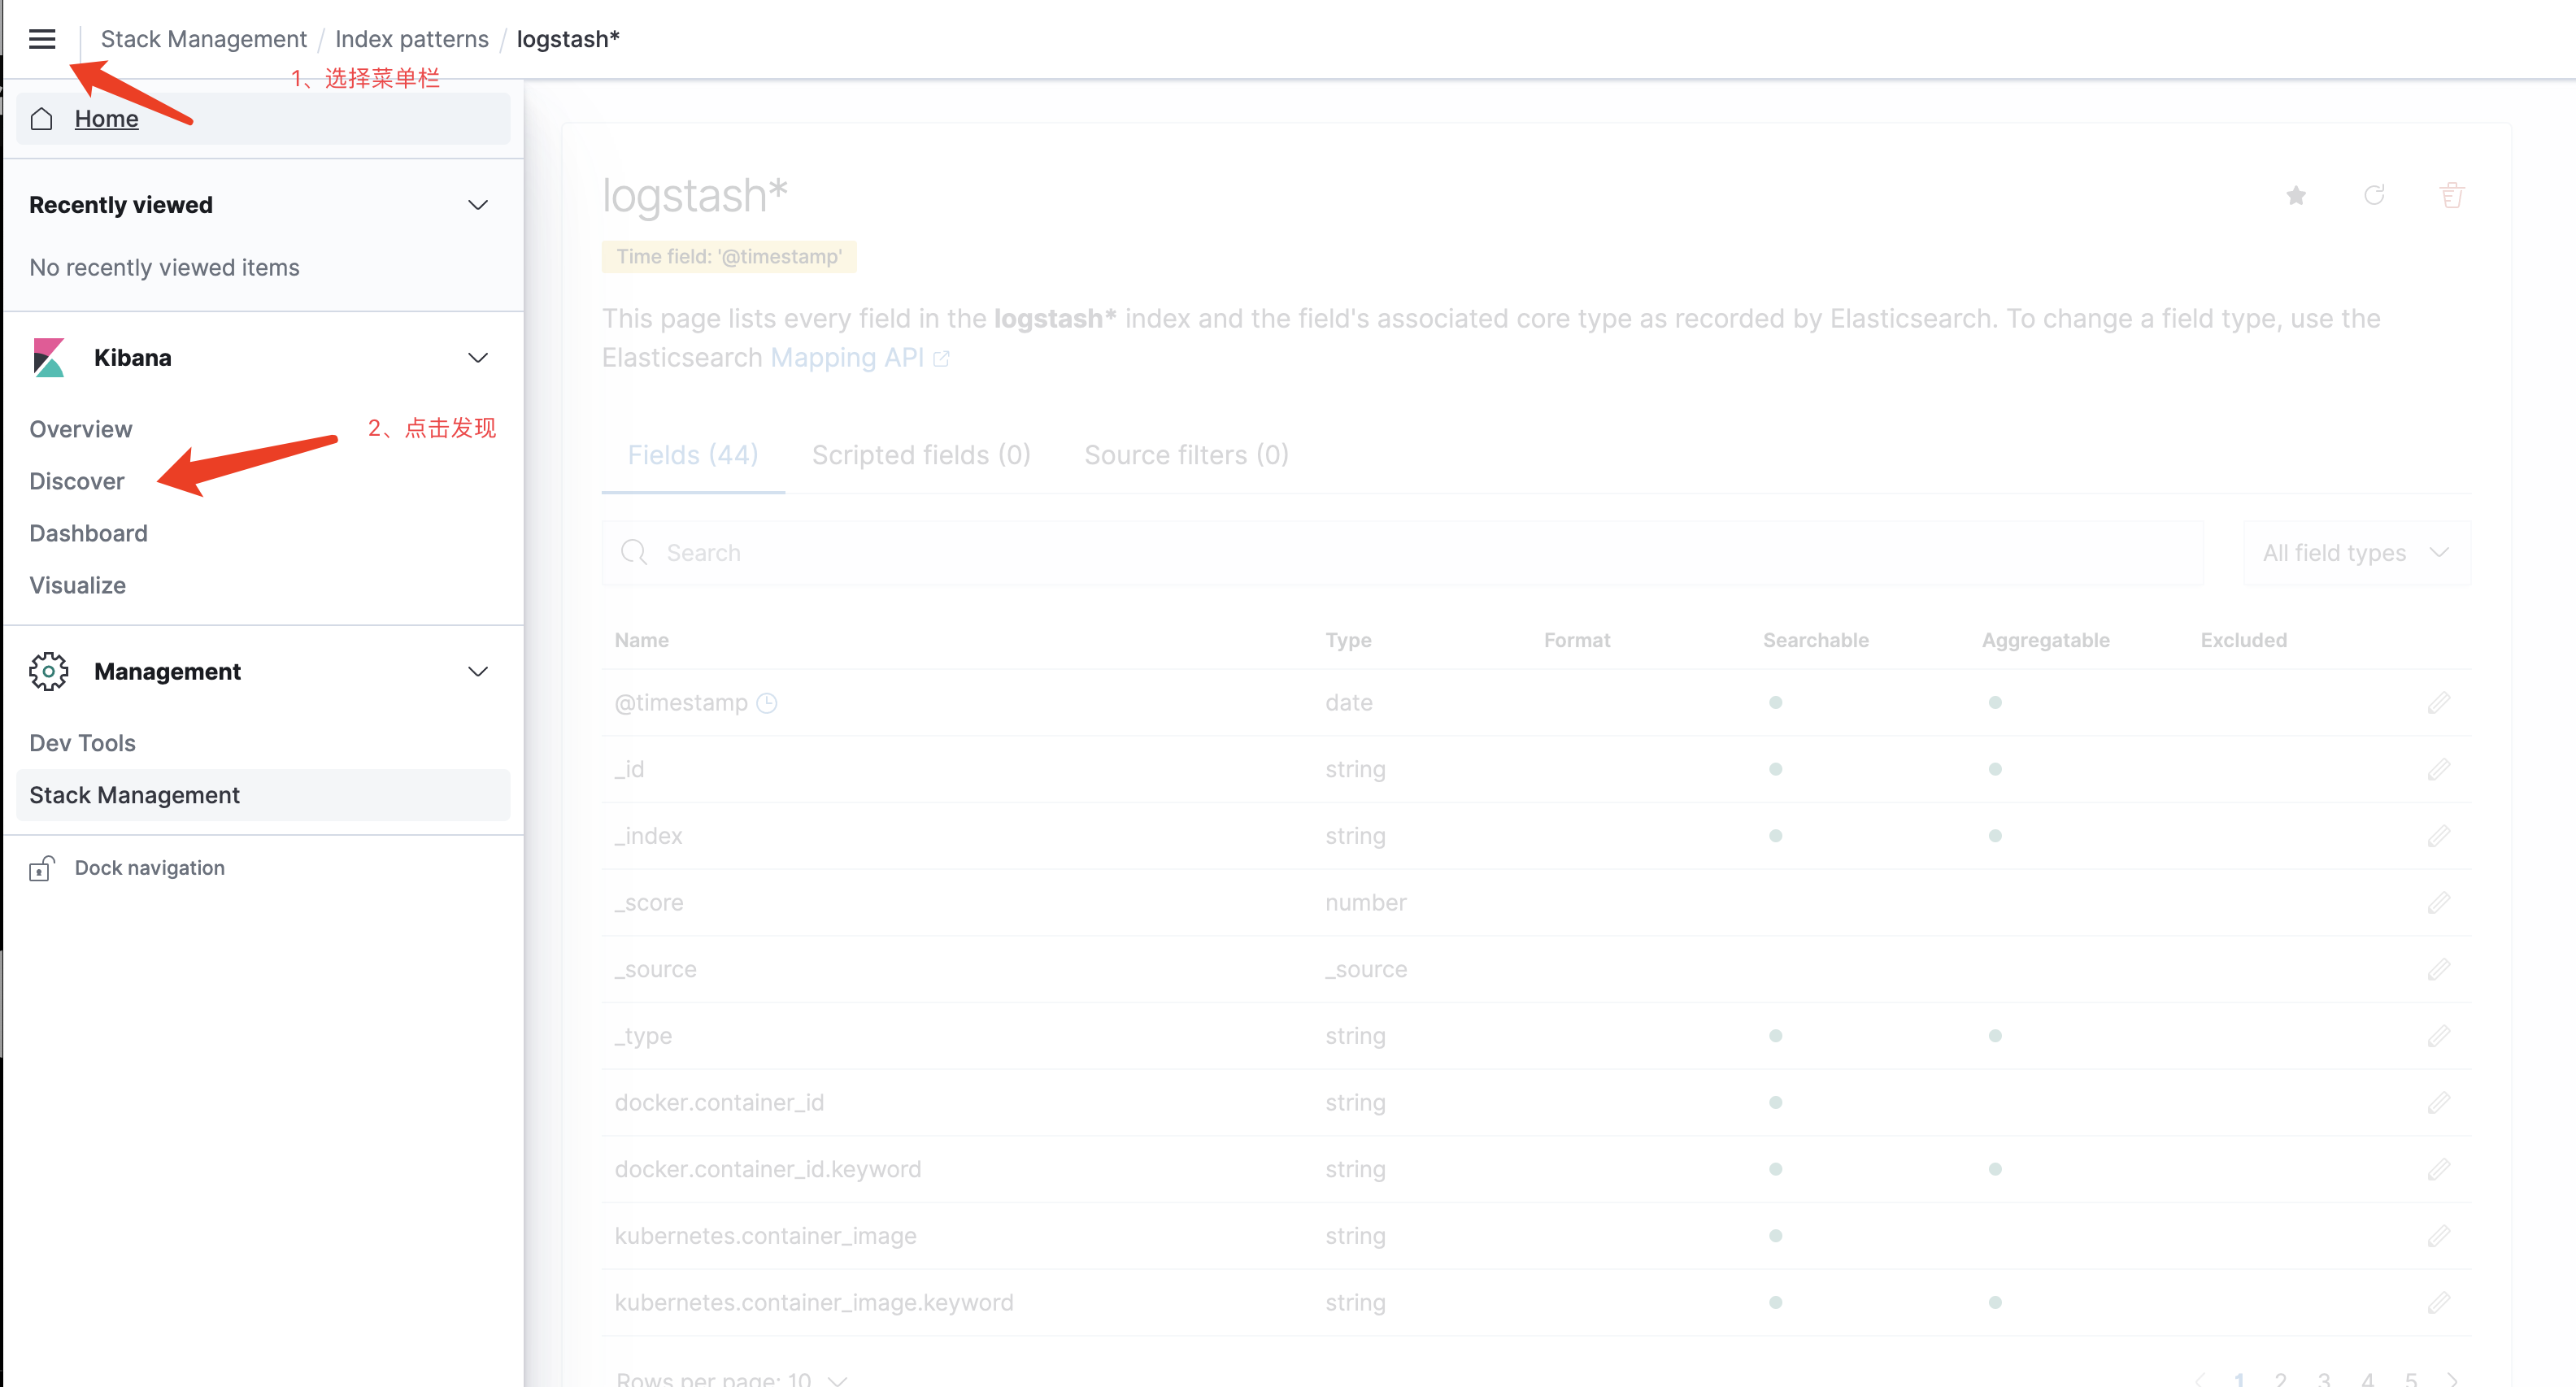
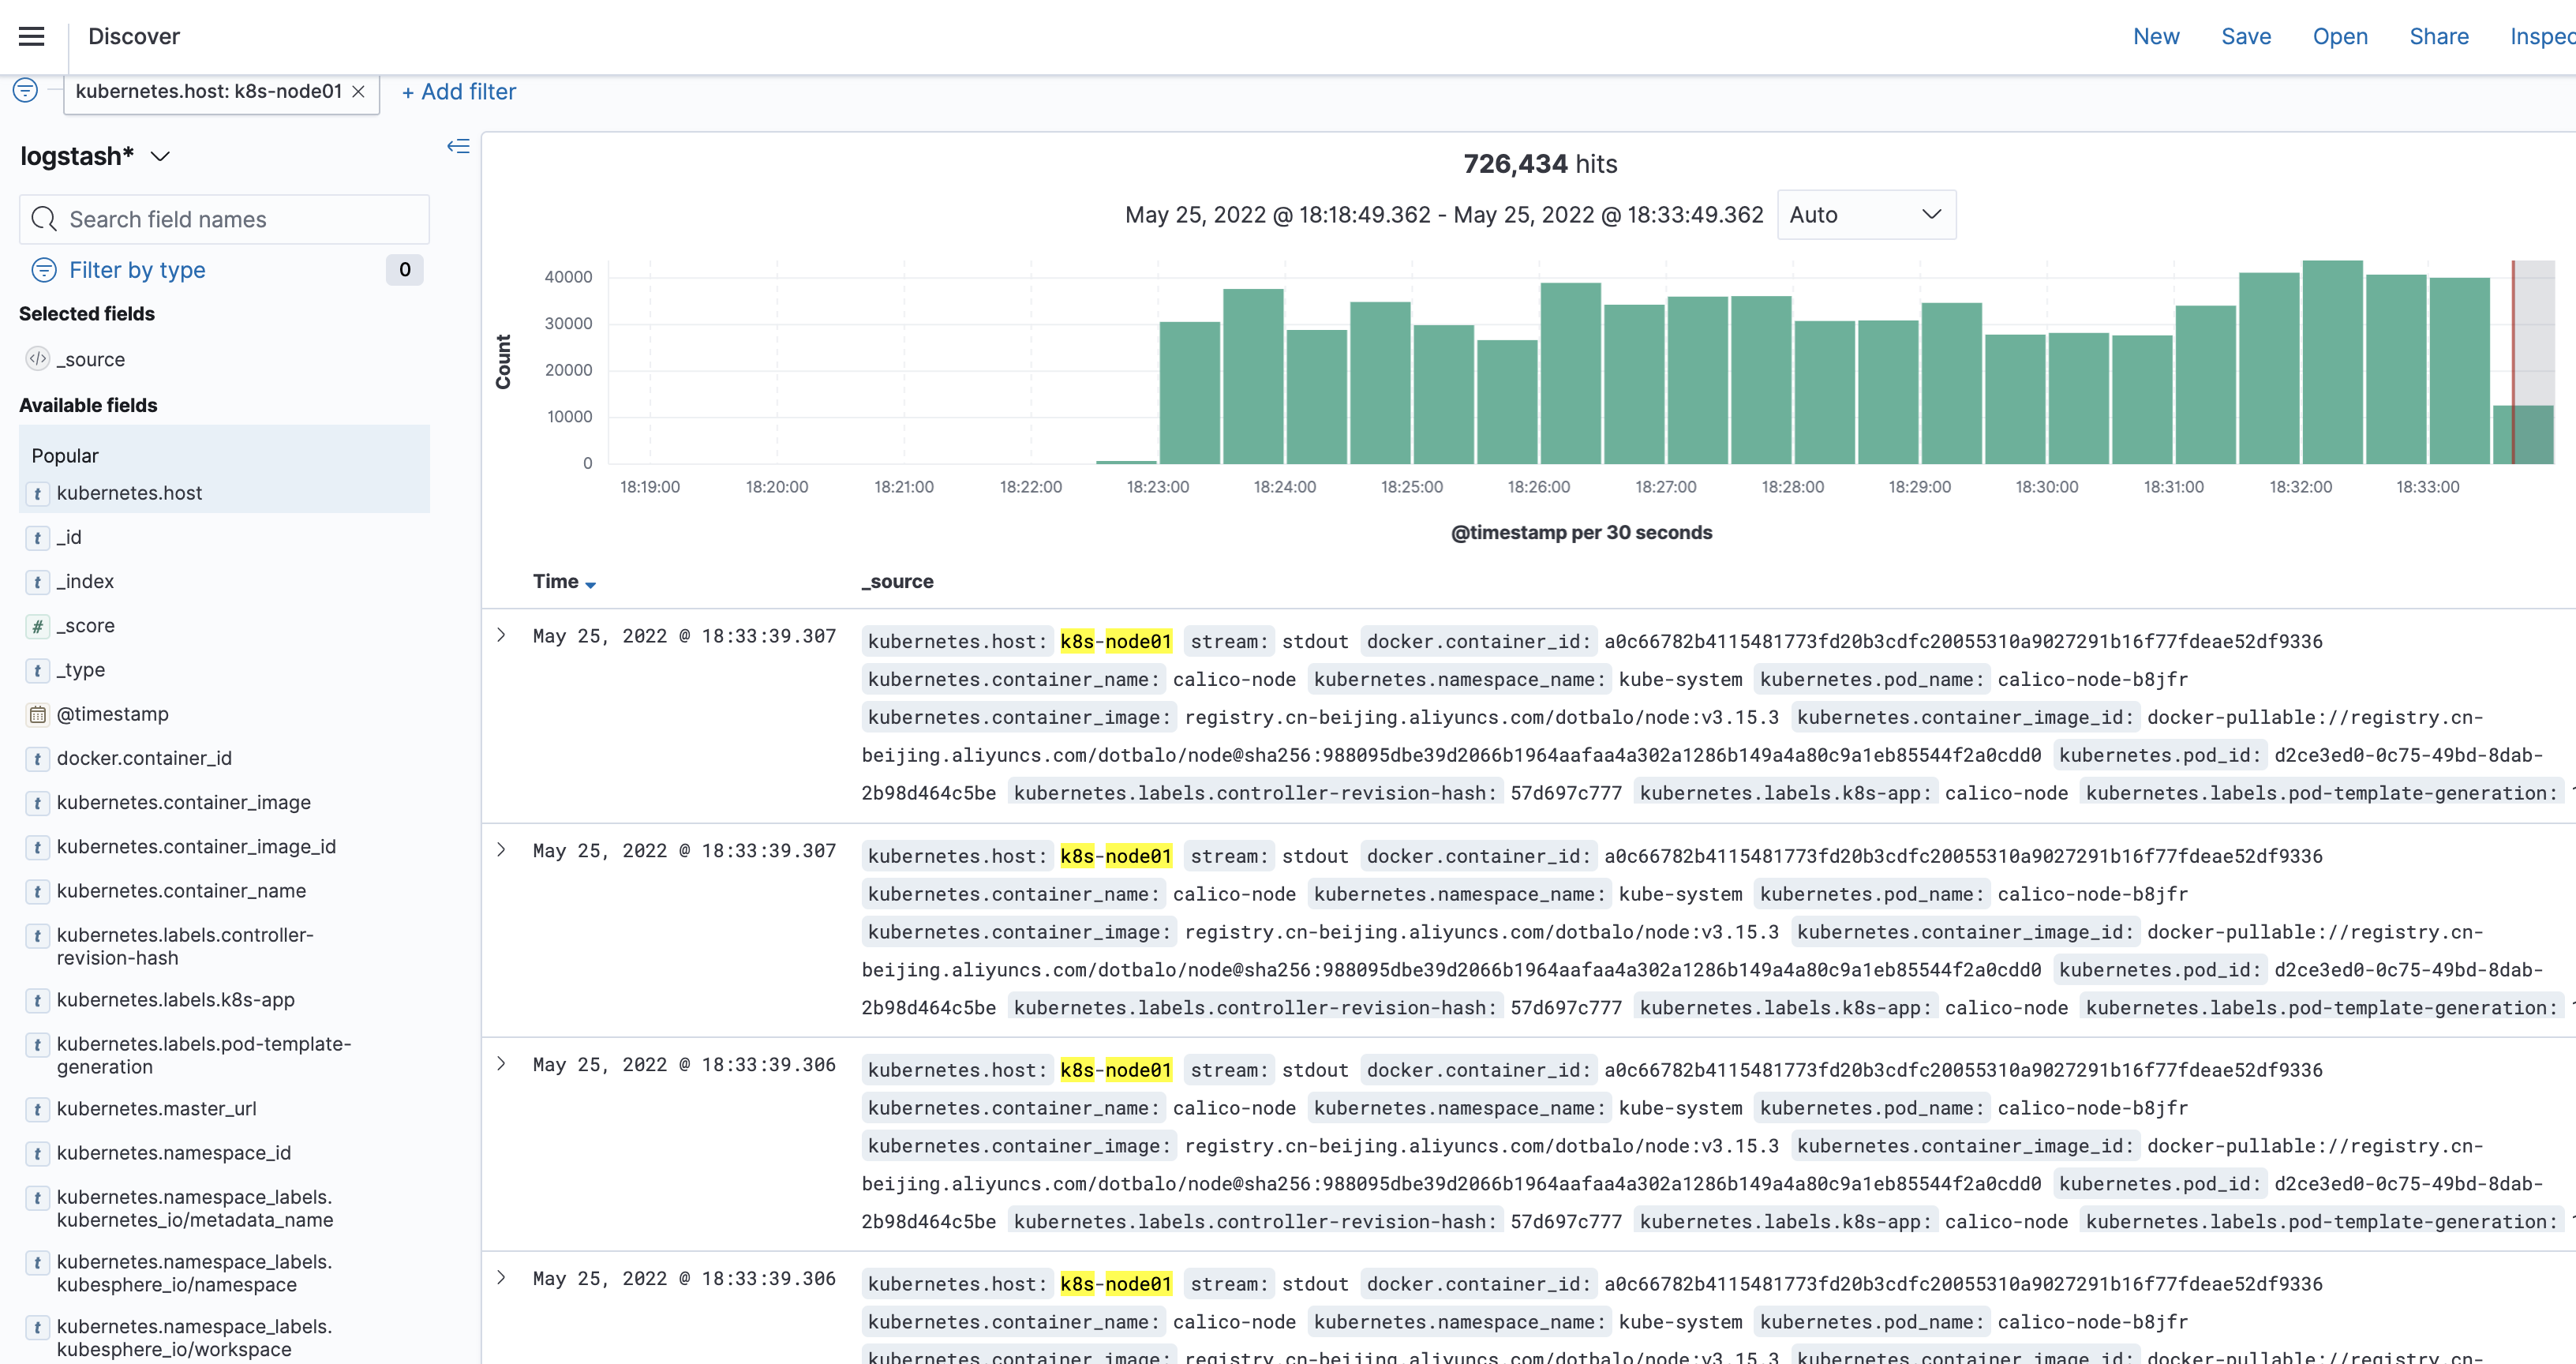
下面即可展示日志
END!
好了,到这里就结束了,喜欢我的博客作品,那就请关注我吧,如果对博客文章有更好的建议或者技术疑问欢迎在下方评论区留言,也可以在左侧找我的联系方式和QQ群进行交流互动,感谢大家的支持
PS:技术文章为原创作品,未经允许,请勿转载,如果转发分享,请标明出处
分类:
kubernetes


【推荐】国内首个AI IDE,深度理解中文开发场景,立即下载体验Trae
【推荐】编程新体验,更懂你的AI,立即体验豆包MarsCode编程助手
【推荐】抖音旗下AI助手豆包,你的智能百科全书,全免费不限次数
【推荐】轻量又高性能的 SSH 工具 IShell:AI 加持,快人一步
· TypeScript + Deepseek 打造卜卦网站:技术与玄学的结合
· .NET Core 中如何实现缓存的预热?
· 阿里巴巴 QwQ-32B真的超越了 DeepSeek R-1吗?
· 如何调用 DeepSeek 的自然语言处理 API 接口并集成到在线客服系统
· 【译】Visual Studio 中新的强大生产力特性
2021-05-25 RBAC-实现不同用户拥有不同权限
2017-05-25 openvpn的部署