picgo插件开发
借鉴文档
Typora配置picgo-core自动上传图片,及picgo-core上传组件开发
写在前面
为什么要自定义一个上传插件呢
因为 gitee 用不了了
觉得图片还是放到自己的服务器上安全
使用过web-uploader插件但是有问题调不通我的接口,于是自己写个上传插件方便一些
我的自定义上传插件 :picgo-plugin-bitbw-upload 插件地址
插件开发
使用模板
picgo init plugin <your-project-name>
进入编辑index.js
// https://picgo.github.io/PicGo-Core-Doc/zh/dev-guide/cli.html#transformer
module.exports = (ctx) => {
 const register = () => {
   // 上传
   ctx.helper.uploader.register("bitbw-uploader", {
     async handle(ctx) {
       console.log("=============ctx.output", ctx.output);
       // 获取当前插件的配置
       let config = ctx.getConfig("picgo-plugin-bitbw-upload");
       console.log("============= config", config);
       // 图片列表
       const imgList = ctx.output;
       try {
         for (const img of imgList) {
           if (img.fileName && img.buffer) {
             const base64Image = img.base64Image || Buffer.from(img.buffer);
             const options = {
               method: "POST",
               url:config.url,
               formData: {
                 [config.key]: {
                   value: base64Image,
                   options: {
                     filename: img.fileName,
                     contentType: "image/jpg",
                   },
                 },
               },
             };
             // request 使用 https://github.com/request/request
             let body = await ctx.Request.request(options);
             if (body) {
               delete img.base64Image;
               delete img.buffer;
               // 必须把 imgUrl 回填
               img.imgUrl = body;
             } else {
               throw new Error("Server error, please try again");
             }
           }
         }
         return ctx;
       } catch (err) {
         ctx.emit("notification", {
           title: "上传失败",
           body: "请检查你的配置以及网络",
           text: "text",
         });
         throw err;
       }
     },
   });
 };
 const commands = (ctx) => [
   {
     label: "",
     key: "",
     name: "",
     async handle(ctx, guiApi) {},
   },
 ];
 return {
   uploader: "bitbw-uploader",
   commands,
   register,
 };
};
加载插件
然后将你所写的插件的文件夹放到picgo默认的配置文件所在的目录里。注意插件文件夹名字必须以picgo-plugin-作为前缀,否则安装的时候picgo将不会读取。
然后在picgo默认配置文件所在的目录下,输入:
npm install ./picgo-plugin-<your-plugin-name>
编辑配置文件
修改 picgo默认的配置文件所在的目录 下config.json
{
  "picBed": {
    "uploader": "bitbw-uploader",
    "current": "bitbw-uploader"
  },
  "picgoPlugins": {
    "picgo-plugin-bitbw-upload": true
  },
  "picgo-plugin-bitbw-upload": {
    //  自定义 上传地址
    "url": "https://bitbw.top/xxxx/upload",
    // 自定义 formData 中的 key
    "key": "image"
  }
}
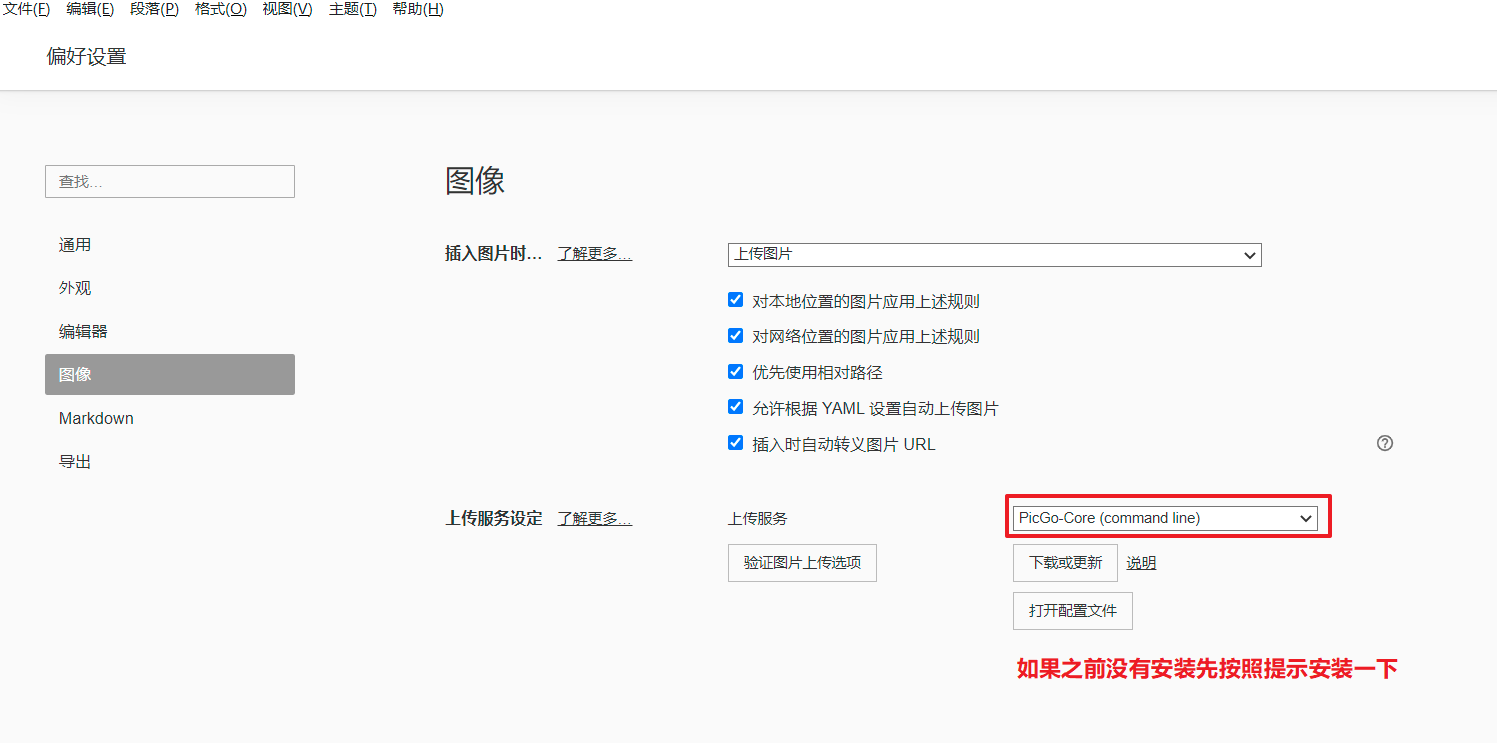
Typora中配置Picgo-Core

 浙公网安备 33010602011771号