路由传参
1.query方式传参和接收参数
//传参:
this.$router.push({
        path:'/teacher/edit',
        query:{
          id:id
        }
      })

//接收参数:
this.$route.query.id
注意:传参是this.$router,接收参数是this.$route,这里千万要看清了!!!
this.router 和this.router和this.route有何区别?
在控制台打印两者可以很明显的看出两者的一些区别:
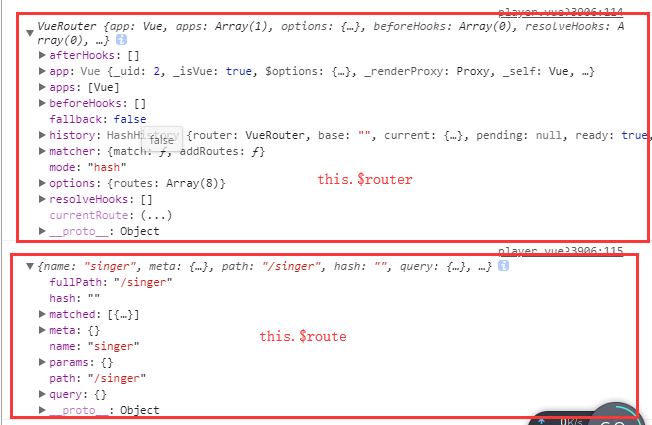
- router为VueRouter实例,想要导航到不同URL,则使用route**r为VueRouter实例,想要导航到不同URL,则使用router.push方法
- $route为当前router跳转对象,里面可以获取name、path、query、params等
2.params方式传参和接收参数
- 配置路由格式:
/teacher/edit/:id - 传递后形成的路径:
/teacher/edit/1
router-link方式
	 <template slot-scope="scope">
          <router-link :to="'/teacher/edit/' + scope.row.id">
            <el-button type="primary" size="mini" icon="el-icon-edit">修改</el-button
          >
          </router-link>
 </template>
to前要加冒号:,表示单向绑定
代码方式切换
//传参:
this.$router.push({
        name:'xxx',    //路由配置的name属性
        params:{
          id:id
        }
      })

//接收参数:
this.$route.params.id
注意:params传参,push里面只能是 name:'xxxx',不能是path:'/xxx',因为params只能用name来引入路由,如果这里写成了path,接收参数页面会是undefined!!!
