
ActiveMQ的应用实例
一、部署和启动ActiveMQ
去官网下载:http://activemq.apache.org/
我下载的是apache-activemq-5.12.0-bin.tar.gz,
解压到本地目录,进入到bin路径下,
运行activemq启动ActiveMQ。
运行方式:
启动 ./activemq start
ActiveMQ默认使用的TCP连接端口是61616,
5.0以上版本默认启动时,开启了内置的Jetty服务器,可以进入控制台查看管理。
启动ActiveMQ以后,登陆:http://localhost:8161/admin/,
默认用户名admin/admin。
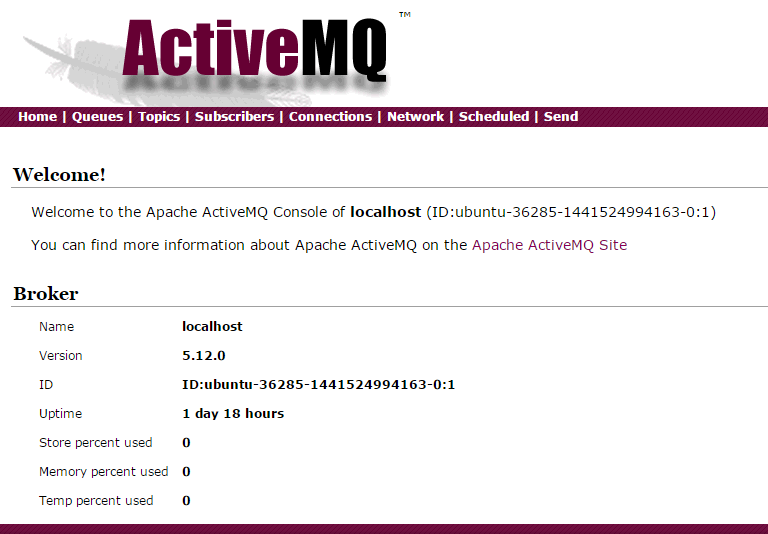
这里我在虚拟机里启动,访问地址:
http://192.168.106.128:8161/admin/
ActiveMQ的控制台功能十分强大,管理起来也很直观。
二、使用Java连接
1.创建POM文件
在Eclipse中新建Java工程,这里使用Maven管理依赖,
下面是pom.xml:
<project xmlns="http://maven.apache.org/POM/4.0.0"
xmlns:xsi="http://www.w3.org/2001/XMLSchema-instance"
xsi:schemaLocation="http://maven.apache.org/POM/4.0.0 http://maven.apache.org/xsd/maven-4.0.0.xsd">
<modelVersion>4.0.0</modelVersion>
<groupId>activemq-sample</groupId>
<artifactId>activemq-sample</artifactId>
<version>0.0.1-SNAPSHOT</version>
<name>activemq-sample</name>
<description>an activemq practice</description>
<build>
<sourceDirectory>src</sourceDirectory>
<plugins>

<plugin>
<artifactId>maven-compiler-plugin</artifactId>
<version>3.1</version>
<configuration>
<source>1.7</source>
<target>1.7</target>
</configuration>
</plugin>
<!-- activemq-core 5.7.0 使用bunble打包,需要添加相关插件 -->
<plugin>
<groupId>org.apache.felix</groupId>
<artifactId>maven-bundle-plugin</artifactId>
<extensions>true</extensions>
</plugin>

</plugins>
</build>
<dependencies>
<!-- activemq的maven依赖 -->
<dependency>
<groupId>org.apache.activemq</groupId>
<artifactId>activemq-core</artifactId>
<version>5.7.0</version>
<type>bundle</type>
</dependency>

</dependencies>

</project>
在第一次添加activemq的maven依赖时报错,后来发现activemq-core 5.7.0采用了bundle的打包方式,
必须在pom中配置maven-bundle-plugin。
2.创建消息创建者 MsgProducer:
import javax.jms.Connection;
import javax.jms.ConnectionFactory;
import javax.jms.Destination;
import javax.jms.JMSException;
import javax.jms.MessageProducer;
import javax.jms.Session;
import javax.jms.TextMessage;

import org.apache.activemq.ActiveMQConnectionFactory;

/**
* @Description: Message Producer
* @author: Bing Yue
*/
public class MsgProducer {
//如果你在本地启动,可以直接使用空的ActiveMQConnectionFactory构造函数
private static final String BROKER_URL="failover://tcp://192.168.106.128:61616";

public static void main(String[] args) throws JMSException, InterruptedException{
//创建连接工厂
ConnectionFactory connectionFactory=new ActiveMQConnectionFactory(BROKER_URL);
//获得连接
Connection conn = connectionFactory.createConnection();
//start
conn.start();

//创建Session,此方法第一个参数表示会话是否在事务中执行,第二个参数设定会话的应答模式
Session session = conn.createSession(false, Session.AUTO_ACKNOWLEDGE);

//创建队列
Destination dest = session.createQueue("test-queue");
//创建消息生产者
MessageProducer producer = session.createProducer(dest);

for (int i=0;i<100;i++) {
//初始化一个mq消息
TextMessage message = session.createTextMessage("这是第 " + i+" 条消息!");
//发送消息
producer.send(message);
System.out.println("send message:消息"+i);
//暂停3秒
Thread.sleep(3000);
}

//关闭mq连接
conn.close();
}

}
3.创建消息接收者 MsgProducer:
import javax.jms.Connection;
import javax.jms.ConnectionFactory;
import javax.jms.Destination;
import javax.jms.JMSException;
import javax.jms.Message;
import javax.jms.MessageConsumer;
import javax.jms.MessageListener;
import javax.jms.Session;
import javax.jms.TextMessage;

import org.apache.activemq.ActiveMQConnectionFactory;

/**
*
* @Description: Message Consumer
* @author: Bing Yue
*/
public class MsgConsumer implements MessageListener {

private static final String BROKER_URL="failover://tcp://192.168.106.128:61616";

public static void main(String[] args) throws JMSException{

//创建连接工厂
ConnectionFactory connectionFactory=new ActiveMQConnectionFactory(BROKER_URL);
//获得连接
Connection conn = connectionFactory.createConnection();
//start
conn.start();

//创建Session,此方法第一个参数表示会话是否在事务中执行,第二个参数设定会话的应答模式
Session session = conn.createSession(false, Session.AUTO_ACKNOWLEDGE);
//创建队列
Destination dest = session.createQueue("test-queue");
//创建消息生产者
MessageConsumer consumer = session.createConsumer(dest);

//初始化MessageListener
MsgConsumer msgConsumer = new MsgConsumer();

//给消费者设定监听对象
consumer.setMessageListener(msgConsumer);

}


/**
* 消费者需要实现MessageListener接口
* 接口有一个onMessage(Message message)需要在此方法中做消息的处理
*/
@Override
public void onMessage(Message msg) {
TextMessage txtMessage = (TextMessage)msg;
try {
System.out.println("get message:" + txtMessage.getText());
} catch (JMSException e) {
e.printStackTrace();
}

}
}
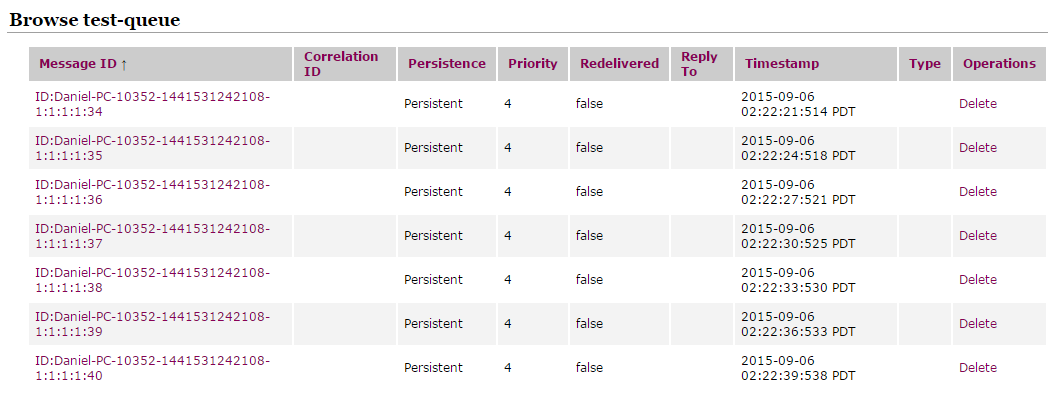
运行MsgProducer,
登录后台查看test-queue队列,可以看到发出的消息正在等待被处理:
运行MsgConsumer,接收消息并在控制台打印:

通过这个实例可以对ActiveMQ的应用有一个简单的了解。
代码地址:https://github.com/bingyue/activemq-sample
在实际开发中,通常还需要设置优先级处理,大部分情况下,消息的发送和接收方都会启用多线程,
通过线程池来提高处理效率,解耦的同时保持业务处理能力。
本文来自博客园,作者:越哥聊AI,转载请注明原文链接:https://www.cnblogs.com/binyue/p/4763767.html

 浙公网安备 33010602011771号