自定义博客园主题样式
如果想用我当前博客主题样式,可以参考这里:
https://www.cnblogs.com/bigtreei/p/15232992.html
自定义博客园主题样式
基础实现
之前有记录自己自定义目录以及相关样式功能,感兴趣的可以看下
博客园如何设置目录生成&设置目录&设置标题背景色&修改标题背景色
在此基础上再加点捣鼓内容,实现主题样式透明化、增加侧边“分享”模块、标题级别显示设置
具体代码中会进行注释,可进行相应参考
内容比较粗略,将就看喽~
透明化
效果
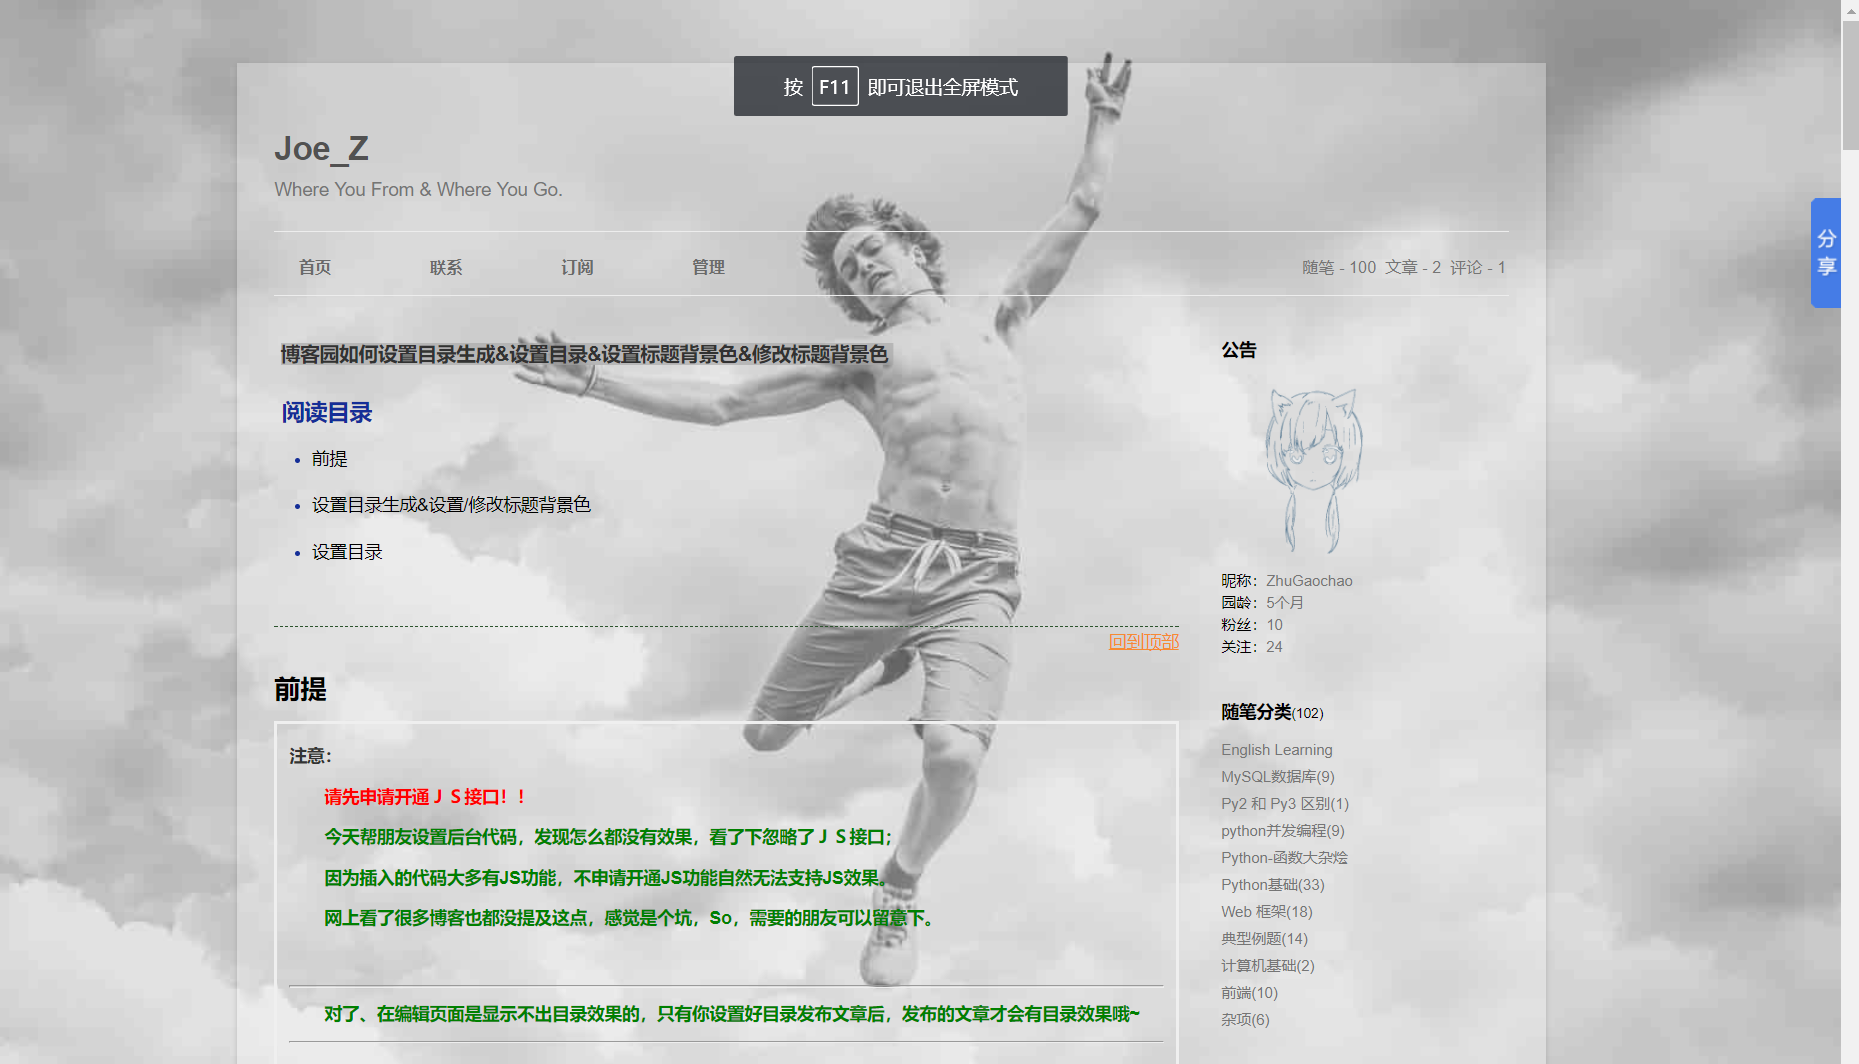
具体实现
******************************************
页面定制CSS代码
******************************************

<!--此处修改主题透明度(主页面)-->
#home {
    margin: 0 auto;
    width: 65%;
    min-width: 950px;
    background-color: rgba(255, 255, 255, 0.3);
    padding: 30px;
    margin-top: 50px;
    margin-bottom: 50px;
    box-shadow: 0 2px 6px rgba(100, 100, 100, 0.3);
}


<!--此处自定义背景图片-->
body {
background: url(http://owf7pjfxd.bkt.clouddn.com/18-2-8/70588419.jpg) no-repeat fixed;
    background-size: cover;
}


<!--此处修改主题透明度(侧边栏)-->
.newsItem, .catListEssay, .catListLink, .catListNoteBook, .catListTag, .catListPostCategory, .catListPostArchive, .catListImageCategory, .catListArticleArchive, .catListView, .catListFeedback, .mySearch, .catListComment, .catListBlogRank, .catList, .catListArticleCategory {
    background: rgba(255, 255, 255, 0);
    margin-bottom: 35px;
    word-wrap: break-word;
}

 <!--此处自定义标题背景色-->
#cnblogs_post_body h1 {
background: #265B8A;
border-radius: 6px 6px 6px 6px;
color: #FFFFFF;
font-family: FZShuTi;
font-size: 23px;
font-weight: bold;
height: 25px;
line-height: 25px;
margin: 18px 0 !important;
padding: 12px 0 8px 5px;
text-shadow: 2px 2px 3px #222222;
text-align:center;
margin-bottom: 20px;
}
#cnblogs_post_body h2 {
background-color: #008FC6;
border-radius: 3px;
text-align:center;
color: white;
text-shadow: 1px 1px 2px #222222;
padding-left: 15px;
margin-bottom: 12px;
}
#cnblogs_post_body h3 {
background-color: #51C332;
border-radius: 3px;
text-align:center;
color: white;
text-shadow: 1px 1px 2px #222222;
padding: 5px 15px;
margin-bottom: 10px;
width:50%
}

#cnblogs_post_body h4 {
    background-color: #5bc0de;
    border-radius: 3px;
    text-align:center;
    color: white;
    text-shadow: 1px 1px 2px #222222;
    padding: 5px 15px;
    margin-bottom: 10px;
    width:25%
}

code {
padding: 1px 3px;
margin: 0 3px;
background: #ddd;
border: 1px solid #ccc;
font-family: Menlo,Monaco,Andale Mono,lucida console,Courier New,monospace;
word-wrap: break-word;
font-size: 14px;
}
#cnblogs_post_body table {
text-align: center;
width: 100%;
border: 1px solid #dedede;
margin: 15px 0;
border-collapse: collapse;
}
#cnblogs_post_body table thead tr {
background: #f8f8f8;
}
#cnblogs_post_body table tbody tr:hover {
background: #efefef;
}
<!--此处修改主题透明度(侧边栏)--> 下面的代码修改侧边栏部分透明度

“分享”模块
效果图
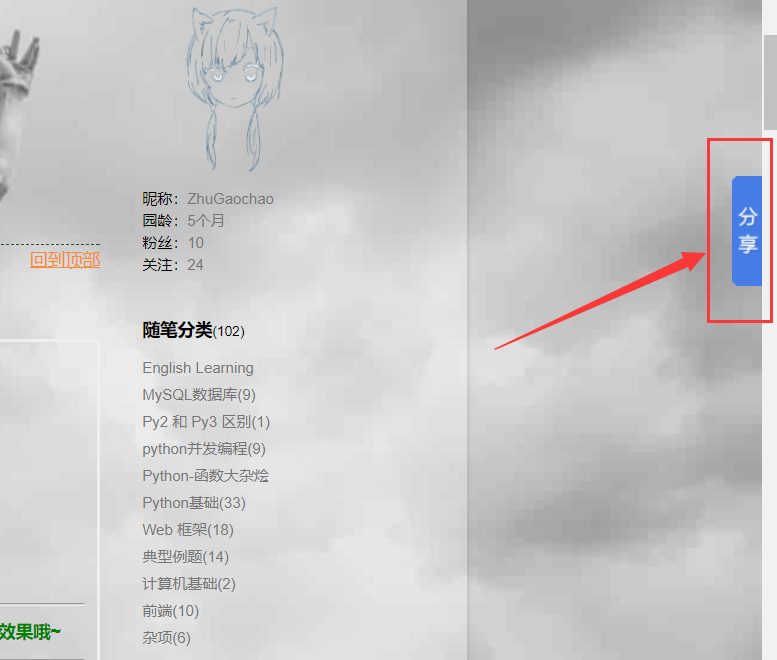
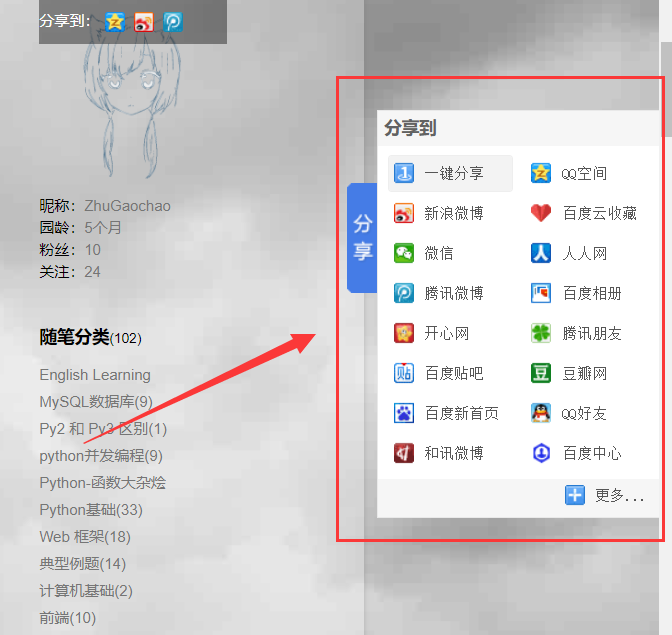
具体实现

******************************************
博客侧边栏公告
******************************************

<!--侧边悬浮分享模块-->
<script>window._bd_share_config={"common":{"bdSnsKey":{},"bdText":"","bdMini":"2","bdMiniList":false,"bdPic":"","bdStyle":"0","bdSize":"16"},"slide":{"type":"slide","bdImg":"6","bdPos":"right","bdTop":"100"},"image":{"viewList":["qzone","tsina","tqq","renren","weixin"],"viewText":"分享到:","viewSize":"16"}};with(document)0[(getElementsByTagName('head')[0]||body).appendChild(createElement('script')).src='http://bdimg.share.baidu.com/static/api/js/share.js?v=89860593.js?cdnversion='+~(-new Date()/36e5)];</script>
<img src="http://owf7pjfxd.bkt.clouddn.com/18-1-11/98960780.jpg" alt="Joe_Z的头像" class="img_avatar" width="150px" style="border-radius:50%">
标题级别显示
效果图
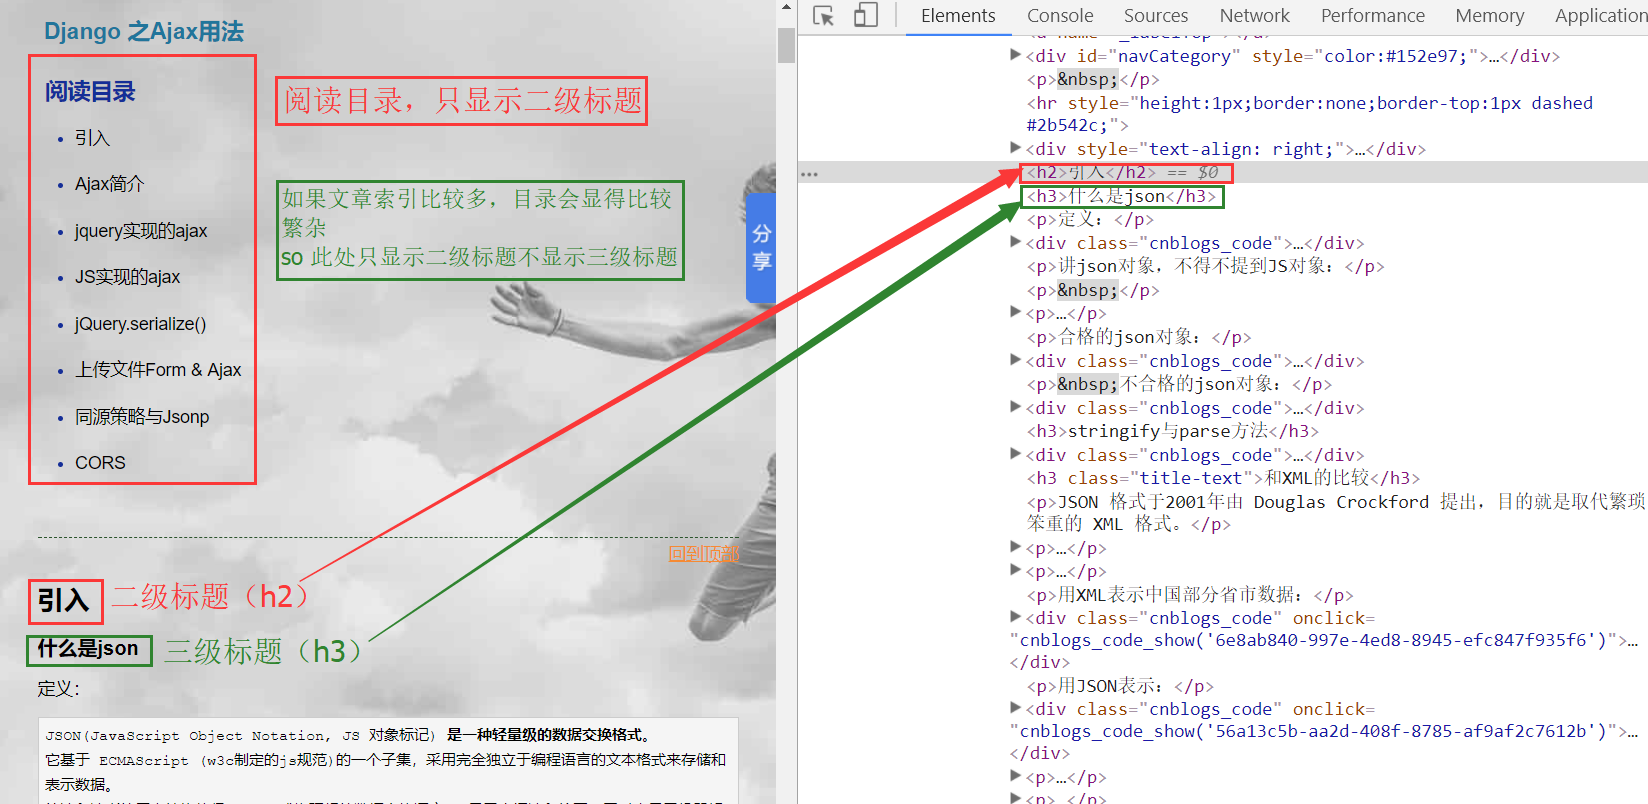
具体实现
详见代码and注释

****************************************** 页脚Html代码 ****************************************** <script language="javascript" type="text/javascript"> // 生成目录索引列表 function GenerateContentList() { var mainContent = $('#cnblogs_post_body'); var h2_list = $('#cnblogs_post_body h2');//如果你的章节标题不是h2,只需要将这里的h2换掉即可 if(mainContent.length < 1) return; if(h2_list.length>0) { var content = '<a name="_labelTop"></a>'; content += '<div id="navCategory" style="color:#152e97;">'; content += '<p style="font-size:18px;"><b style="margin-left: 6px">阅读目录</b></p>'; content += '<ul>'; for(var i=0; i<h2_list.length; i++) { var go_to_top = '<div style="text-align: right;"><a href="#_labelTop" style="color:#f68a33">回到顶部</a><a name="_label' + i + '"></a></div>'; $(h2_list[i]).before(go_to_top); var h3_list = $(h2_list[i]).nextAll("h9"); // 把“h9”换成“h3”即可正常渲染出 三级索引,此处我是故意不让它渲染出来,因为文章索引多了会显得目录杂乱不美观(跟个人需求改~) var li3_content = ''; for(var j=0; j<h3_list.length; j++) { var tmp = $(h3_list[j]).prevAll('h2').first(); if(!tmp.is(h2_list[i])) break; var li3_anchor = '<a name="_label' + i + '_' + j + '" style="text-decoration: none"></a>'; $(h3_list[j]).before(li3_anchor); li3_content += '<li><a href="#_label' + i + '_' + j + '" style="text-decoration: none">' + $(h3_list[j]).text() + '</a></li>'; } var li2_content = ''; if(li3_content.length > 0) li2_content = '<li><a href="#_label' + i + '" style="text-decoration: none">' + $(h2_list[i]).text() + '</a><ul>' + li3_content + '</ul></li>'; else li2_content = '<li><a href="#_label' + i + '" style="text-decoration: none">' + $(h2_list[i]).text() + '</a></li>'; content += li2_content; } content += '</ul>'; content += '</div><p> </p>'; content += '<hr style="height:1px;border:none;border-top:1px dashed #2b542c;"/>'; if($('#cnblogs_post_body').length != 0 ) { $($('#cnblogs_post_body')[0]).prepend(content); } } } GenerateContentList(); </script>
提示
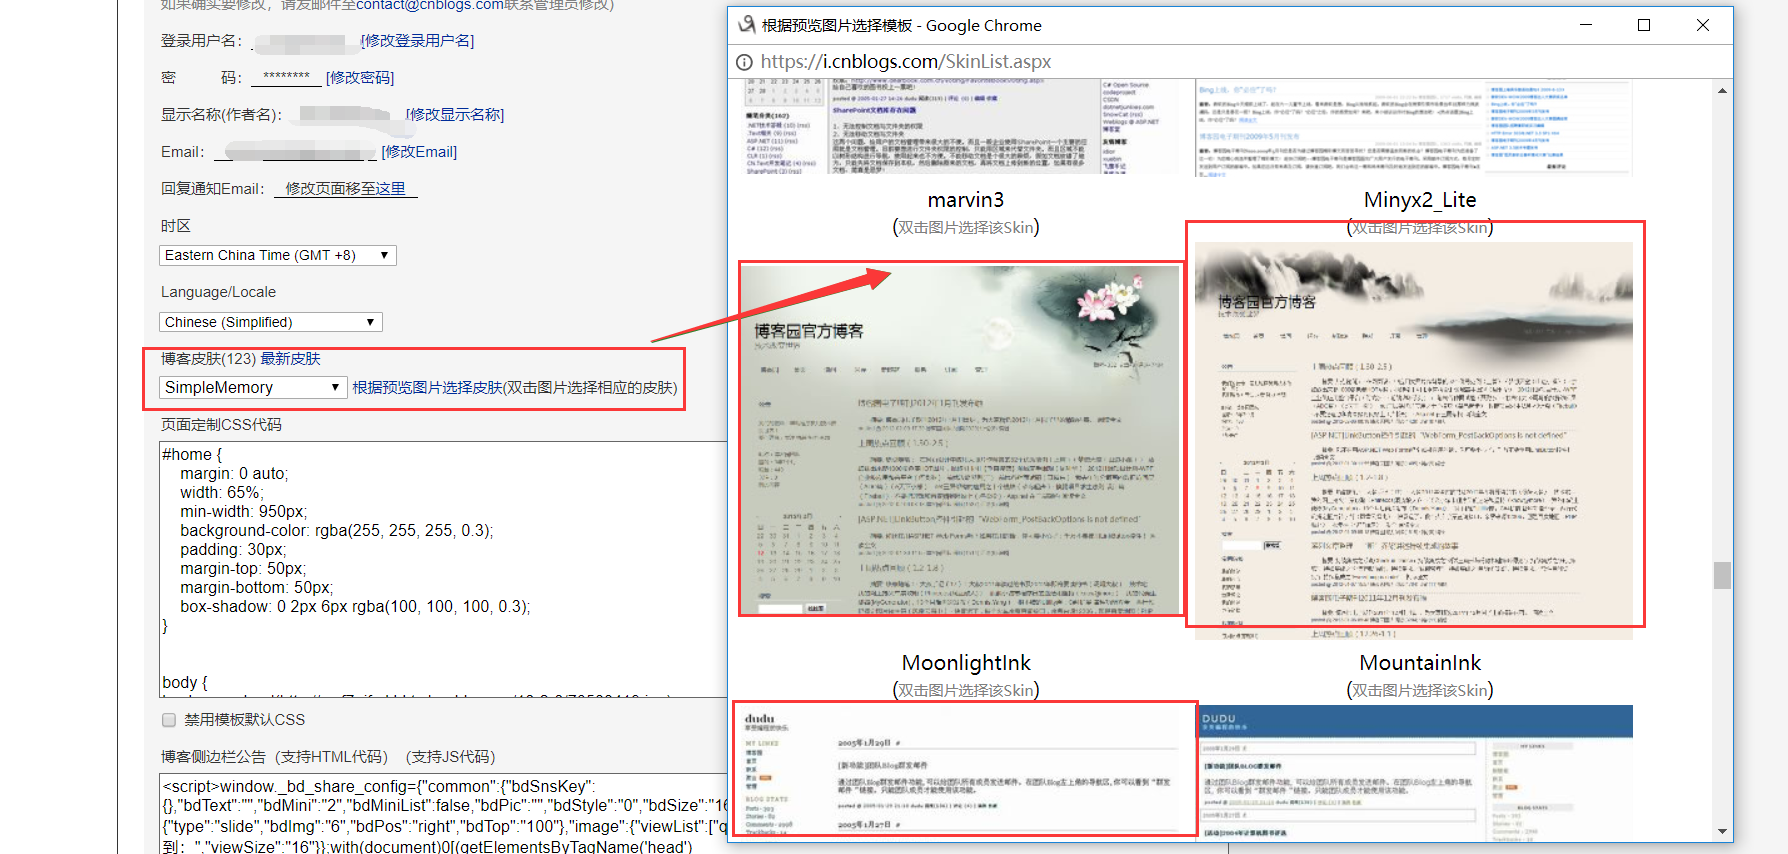
样式的设定可以根据你所选择的主题模板来自定义,想自定义背景图的话,建议选择博客园提供的留白较多的模板进行改,这样修改空间更大;
背景图,建议使用图床,并且上传时尽量压缩下图片,不然访问时会不同程度降低你博客园响应速度。
如下图,可以选择界面简洁,留白较多的模板,这样修改起来相对方便些;
不同模板修改的效果就不一样,所以,这套东东不具有通用性,要根据你的口味自己去折腾哦
注:
代码主要用到了HTML标签选择器、css页面样式、JS;
设置背景透明度时使用 rgba格式


 浙公网安备 33010602011771号