

uniapp中前端canvas合成图片使用详解
beforeUpload(index, list) {
let that = this
console.log('图片信息', list[0].file.size)
const imagesize=list[0].file.size
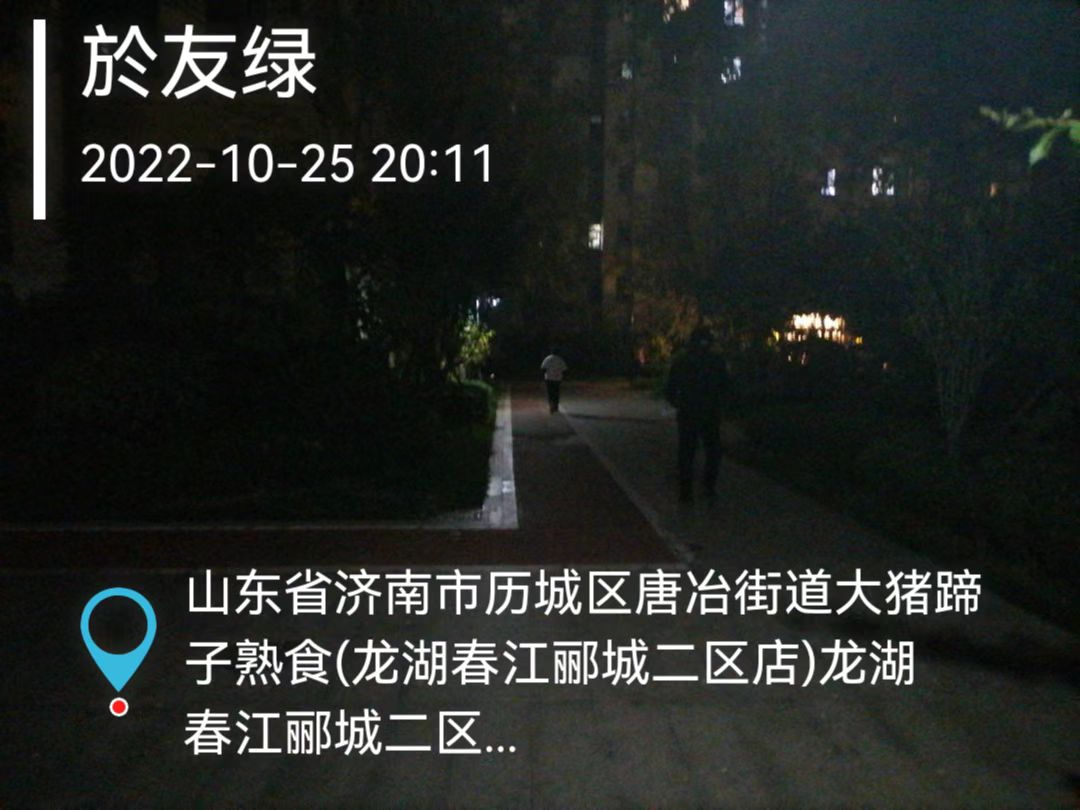
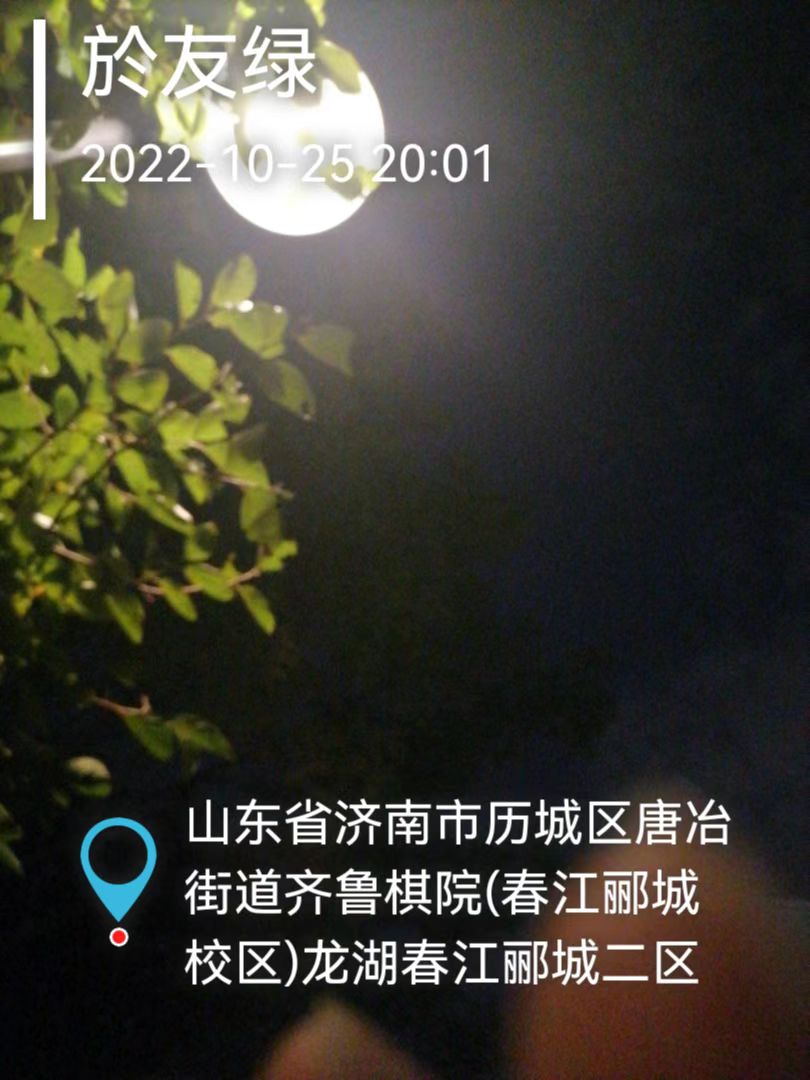
//水印信息添加 用户名 地址 时间
let ress = list[0].file
var name = that.$store.getters.userInfo.userName
var address = that.$store.getters.locationaddress
var time = that.createTimeComputed(list[0].file.lastModified)
if (!name) {
name = '测试'
}
if (!address) {
address = '济南'
}
if (!time) {
time = '20221019'
}
uni.getImageInfo({
src: list[0].url,
success: res => {
console.log('图片信息', res)
// that.imagewidth = res.width
// that.imageheight = res.height
var width = res.width;
var height = res.height;
//图片大小超过100k
if(imagesize>102400){
//按比例压缩2倍
var rate = (width < height ? width / height : height / width) / 2;
that.imagewidth = width * rate;
that.imageheight = height * rate;
}else{
that.imagewidth = width;
that.imageheight = height;
}
that.isshow = true
setTimeout(() => {
console.log('实际图片大小', that.imagewidth, that.imageheight)
let ctx = uni.createCanvasContext('firstCanvas', that); /** 创建画布 */
console.log('尺寸', ress.path)
console.log(ctx)
// ctx.beginPath()
//将图片src放到cancas内,宽高为图片大小
ctx.drawImage(ress.path, 0, 0, that.imagewidth, that.imageheight)
ctx.setFillStyle('#ffffff')
//ctx.rotate(30 * Math.PI / 180);
ctx.shadowColor = "#333"; // 阴影颜色
ctx.shadowOffsetX = 0; // 阴影x轴位移。正值向右,负值向左。
ctx.shadowOffsetY = 0; // 阴影y轴位移。正值向下,负值向上。
ctx.shadowBlur = 20; // 阴影模糊滤镜。数据越大,扩散程度越大。
ctx.setFontSize(40)
ctx.fillText(name, 40, 45)
ctx.setFontSize(20)
ctx.fillText(time, 40, 90)
ctx.lineTo()
//绘制竖线
ctx.beginPath();//开始绘制线条,若不使用beginPath,则不能绘制多条线条
ctx.lineWidth = 6;//设置线条宽度
ctx.strokeStyle = "#ffffff";//设置线条颜色
ctx.moveTo(20, 10);
ctx.lineTo(20, 110);
ctx.stroke();//用于绘制线条
ctx.closePath();//结束绘制线条,不是必须的
//绘制定位图标
uni.getImageInfo({
src: '/static/maplocation.png',
success: res => {
console.log('定位图片',res)
ctx.setFontSize(20)
//判断是横屏还是竖屏拍照,宽大于高是横屏
if(width>height){
this.toFormateStr(ctx, address, that.imagewidth - 80-10-res.width/2, 3, 40+10+res.width/2, that.imageheight - 100, 35)
ctx.drawImage(res.path, 40, that.imageheight - 90-res.height/2+that.linesNumber*30/2, res.width/2, res.height/2)
}else{
this.toFormateStr(ctx, address, that.imagewidth - 80-10-res.width/2, 4, 40+10+res.width/2, that.imageheight - 120, 35)
ctx.drawImage(res.path, 40, that.imageheight - 110-res.height/2+that.linesNumber*30/2, res.width/2, res.height/2)
}
ctx.draw(false, () => {
uni.showLoading({
title: "水印图片合成中,请稍后...",
mask: true
});
setTimeout(() => {
uni.canvasToTempFilePath({
canvasId: 'firstCanvas',
success: (res1) => {
that.src = res1.tempFilePath;
list[0].url = res1.tempFilePath
this.isshow = false
this.btnenabled = false
console.log('我绘制成功了', list)
uni.hideLoading();
},
fail(err) {
uni.hideLoading();
console.log(err)
}
}, that);
}, 3000)
});
},
fail: (res) => {
console.log('定位图片',res)
}
})
}, 1)
}
})
}
整理总结不易,如需全部代码,请联系我15098950589(微信同号)


【推荐】国内首个AI IDE,深度理解中文开发场景,立即下载体验Trae
【推荐】编程新体验,更懂你的AI,立即体验豆包MarsCode编程助手
【推荐】抖音旗下AI助手豆包,你的智能百科全书,全免费不限次数
【推荐】轻量又高性能的 SSH 工具 IShell:AI 加持,快人一步
· 25岁的心里话
· 闲置电脑爆改个人服务器(超详细) #公网映射 #Vmware虚拟网络编辑器
· 零经验选手,Compose 一天开发一款小游戏!
· 因为Apifox不支持离线,我果断选择了Apipost!
· 通过 API 将Deepseek响应流式内容输出到前端
2021-11-18 所有的运势都讲究一个时机