
使用Maven构建的Springboot父子工程的项目打包部署
1、SpringBoot作为微架构的主要实现技术,其发布项目的方式极为简单,只需要在项目中配置好插件,然后打包执行就可以了,并且这个执行不需要特别复杂的配置。
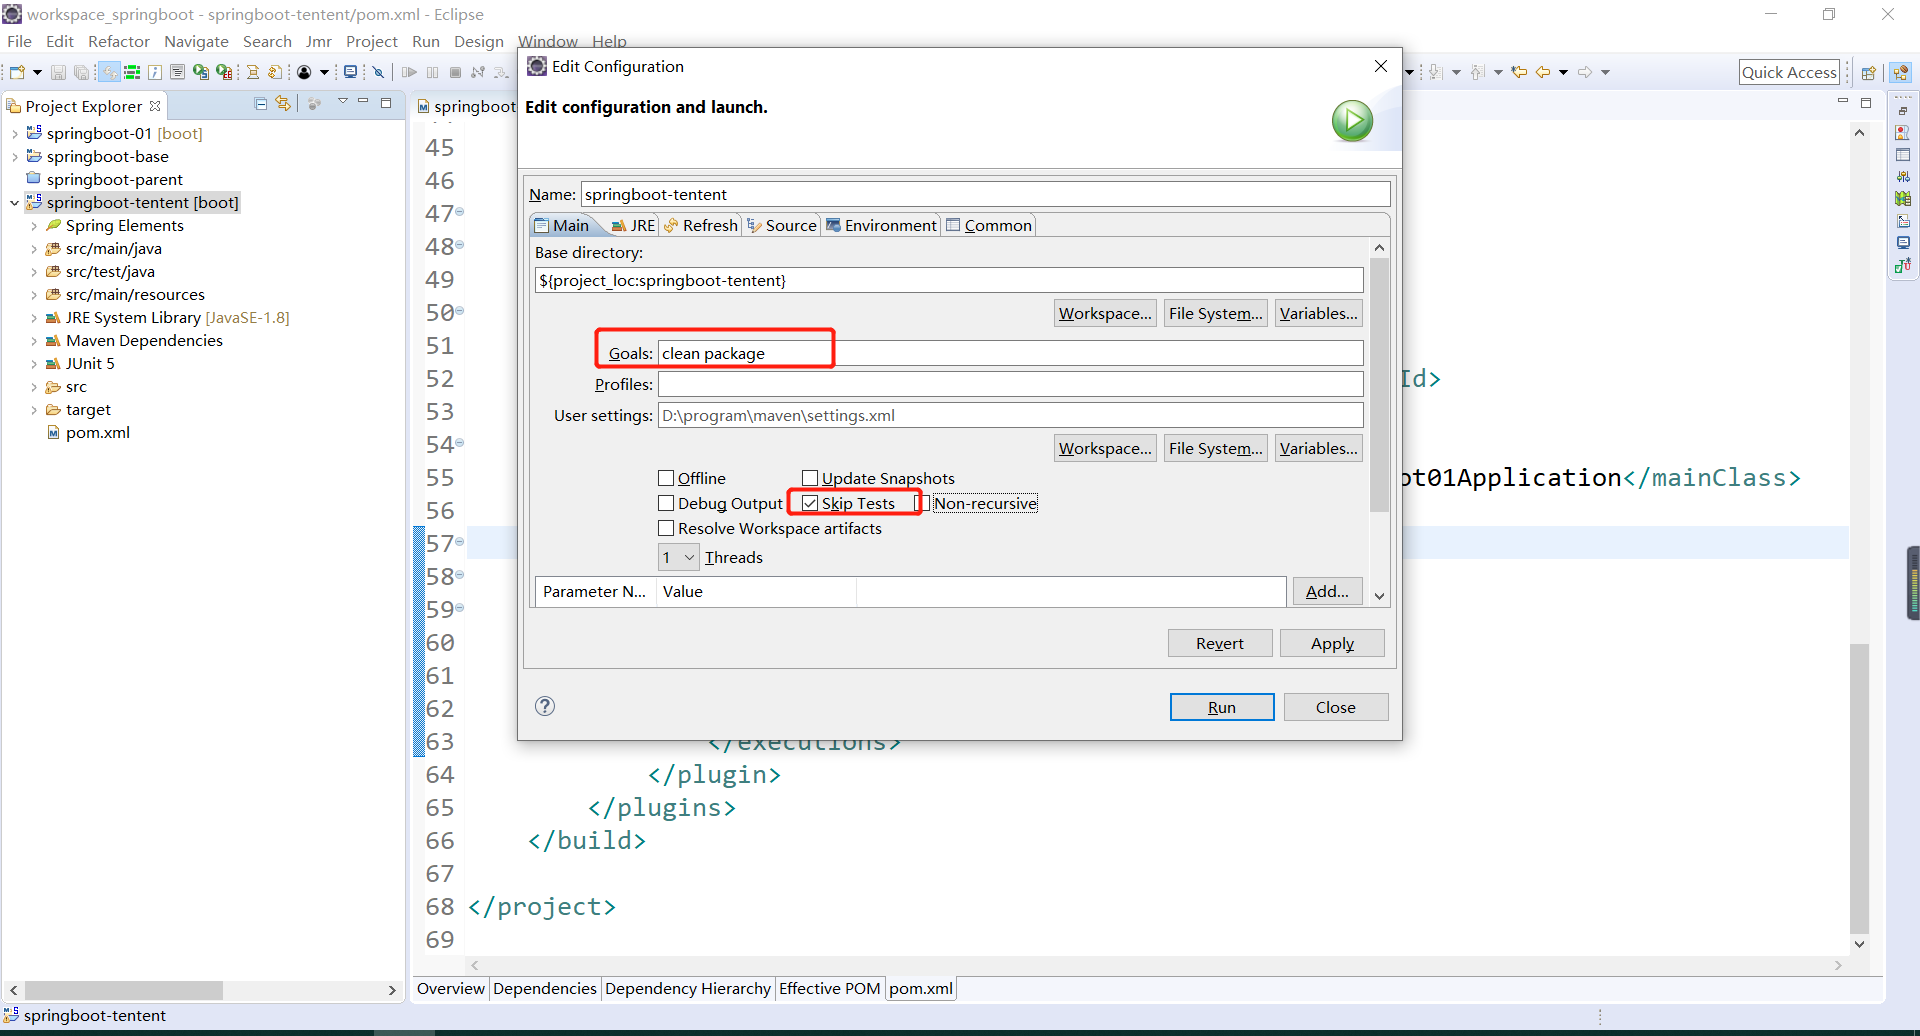
首先,修改pom.xml配置文件,配置SpringBoot的打包插件。

 1 <?xml version="1.0"?>
 2 <project
 3     xsi:schemaLocation="http://maven.apache.org/POM/4.0.0
 4     http://maven.apache.org/xsd/maven-4.0.0.xsd"
 5     xmlns="http://maven.apache.org/POM/4.0.0"
 6     xmlns:xsi="http://www.w3.org/2001/XMLSchema-instance">
 7     <modelVersion>4.0.0</modelVersion>
 8
 9     <parent>
10         <groupId>com.bie</groupId>
11         <artifactId>springboot-base</artifactId>
12         <version>0.0.1-SNAPSHOT</version>
13     </parent>
14
15     <!-- 父项目已经指定,这里可以省略 -->
16     <!-- <groupId>com.bie</groupId> -->
17     <artifactId>springboot-tentent</artifactId>
18     <!-- <version>0.0.1-SNAPSHOT</version> -->
19     <name>springboot-tentent</name>
20     <url>http://maven.apache.org</url>
21
22     <properties>
23         <project.build.sourceEncoding>UTF-8</project.build.sourceEncoding>
24     </properties>
25
26     <dependencies>
27         <dependency>
28             <groupId>org.springframework.boot</groupId>
29             <artifactId>spring-boot-starter-web</artifactId>
30         </dependency>
31         <dependency>
32             <groupId>org.springframework.boot</groupId>
33             <artifactId>spring-boot-starter-test</artifactId>
34             <scope>test</scope>
35         </dependency>
36         <dependency>
37             <groupId>junit</groupId>
38             <artifactId>junit</artifactId>
39             <scope>test</scope>
40         </dependency>
41         <dependency>
42             <groupId>org.springframework.boot</groupId>
43             <artifactId>spring-boot-starter-jetty</artifactId>
44         </dependency>
45     </dependencies>
46
47     <build>
48         <plugins>
49             <!-- 该插件的主要功能是进行项目的打包发布处理 -->
50             <plugin>
51                 <groupId>org.springframework.boot</groupId>
52                 <artifactId>spring-boot-maven-plugin</artifactId>
53                 <!-- 设置程序执行的主类 -->
54                 <configuration>
55                     <mainClass>org.springboot.tentent.Springboot01Application</mainClass>
56                 </configuration>
57                 <executions>
58                     <execution>
59                         <goals>
60                             <goal>repackage</goal>
61                         </goals>
62                     </execution>
63                 </executions>
64             </plugin>
65         </plugins>
66     </build>
67
68 </project>
由于Maven增加了新的插件配置,所以需要对项目进行更新Maven - Update Porject。

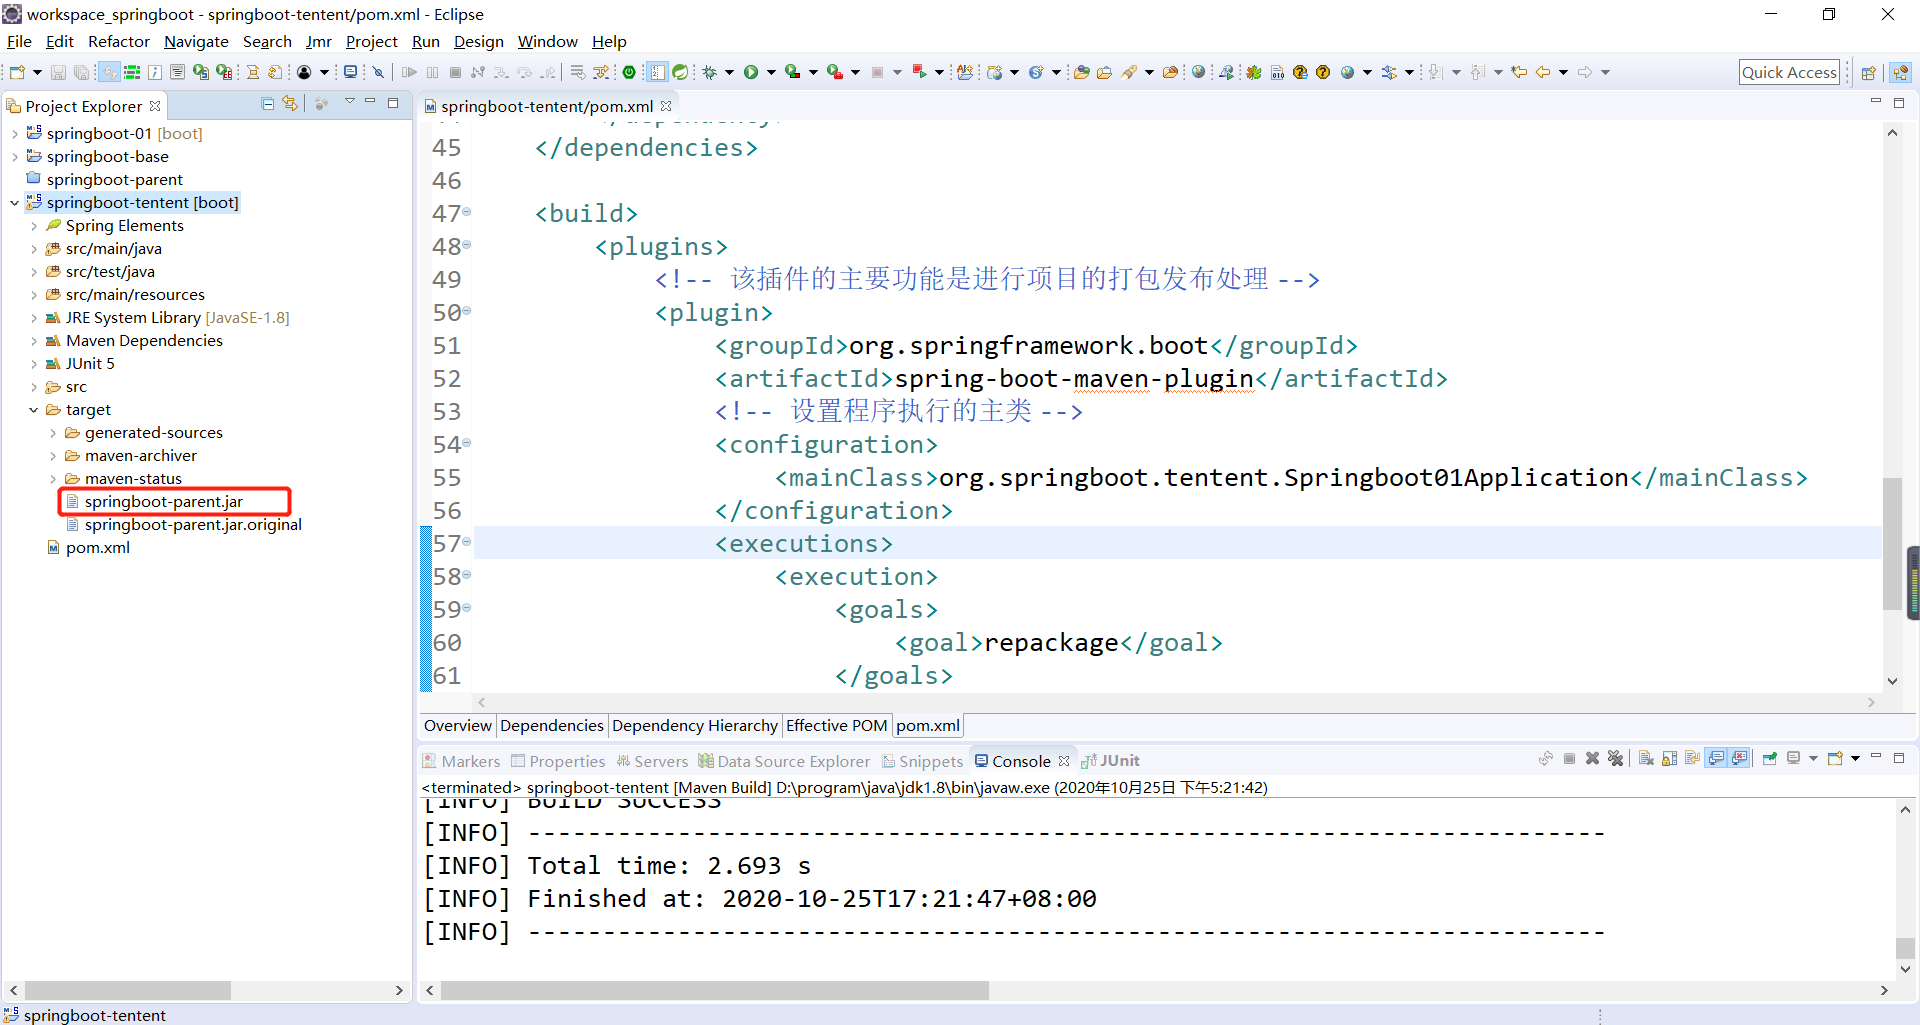
将当前项目模块进行打包处理(clean package),打包完成后,会在项目的target目录下生成xxx.jar程序文件,如下所示:

打包完成后,会在项目的target目录下生成xxx.jar程序文件,需要刷新一下项目的哦,就可以看到该jar包了,如下所示:
此时使用java -jar xxx.jar包,此时,SpringBoot项目将以一个独立的*.jar文件的方式执行。

使用浏览器访问,也是正常访问的,如下所示:

分类:
SpringBoot


【推荐】国内首个AI IDE,深度理解中文开发场景,立即下载体验Trae
【推荐】编程新体验,更懂你的AI,立即体验豆包MarsCode编程助手
【推荐】抖音旗下AI助手豆包,你的智能百科全书,全免费不限次数
【推荐】轻量又高性能的 SSH 工具 IShell:AI 加持,快人一步
· 如何编写易于单元测试的代码
· 10年+ .NET Coder 心语,封装的思维:从隐藏、稳定开始理解其本质意义
· .NET Core 中如何实现缓存的预热?
· 从 HTTP 原因短语缺失研究 HTTP/2 和 HTTP/3 的设计差异
· AI与.NET技术实操系列:向量存储与相似性搜索在 .NET 中的实现
· 周边上新:园子的第一款马克杯温暖上架
· Open-Sora 2.0 重磅开源!
· 分享 3 个 .NET 开源的文件压缩处理库,助力快速实现文件压缩解压功能!
· Ollama——大语言模型本地部署的极速利器
· DeepSeek如何颠覆传统软件测试?测试工程师会被淘汰吗?
2017-10-25 一脸懵逼学习HBase的搭建(注意HBase的版本)
2017-10-25 一脸懵逼学习HBase---基于HDFS实现的。(Hadoop的数据库,分布式的,大数据量的,随机的,实时的,非关系型数据库)