实现文件上传(一图片为例)
需要:
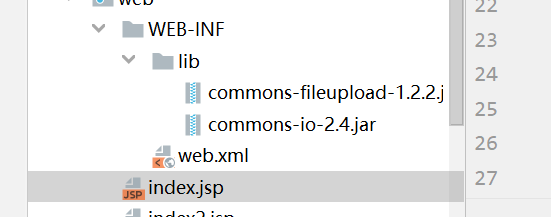
两个jar包
直接上代码:
index2.jsp代码:
<%--
  Created by IntelliJ IDEA.
  User: admin
  Date: 2019/10/8
  Time: 10:07
  To change this template use File | Settings | File Templates.
--%>
<%@ page contentType="text/html;charset=UTF-8" language="java" %>
<html>
<head>
    <title>上传图片</title>

    <style>
        span{
            color: red;
        }
    </style>
</head>

<body>
<form method="post" action="index.jsp" enctype="multipart/form-data">
    <%--    <textarea class="ckeditor" name="textareaid"></textarea>--%>
    <p>
        账号: <input type="text"name="userName"placeholder="请输入账号:"><span>*</span>
    </p>
        <p>
            密码: <input type="password"name="password"placeholder="请输入密码:"><span>*</span>
        </p>
        <p>
            出生年月: <input type="date"name="date">
        </p>
    上传图片:<input type="file" name="img"/>
    <input type="submit" value="提交"/>
</form>


</body>
</html>
index.jsp代码:
<%@ page import="java.io.File" %> <%@ page import="org.apache.commons.fileupload.servlet.ServletFileUpload" %> <%@ page import="org.apache.commons.fileupload.FileItemFactory" %> <%@ page import="org.apache.commons.fileupload.disk.DiskFileItemFactory" %> <%@ page import="java.util.List" %> <%@ page import="org.apache.commons.fileupload.FileItem" %> <%@ page import="java.util.Iterator" %> <%--<%@ page import="org.apache.tomcat.util.http.fileupload.servlet.ServletFileUpload" %>--%> <%--<%@ page import="org.apache.tomcat.util.http.fileupload.FileItemFactory" %>--%> <%--<%@ page import="org.apache.tomcat.util.http.fileupload.disk.DiskFileItemFactory" %>--%> <%--<%@ page import="org.apache.tomcat.util.http.fileupload.FileItem" %><%–--%> <%-- Created by IntelliJ IDEA.--%> <%-- User: admin--%> <%-- Date: 2019/10/8--%> <%-- Time: 17:13--%> <%-- To change this template use File | Settings | File Templates.--%> <%--–%>--%> <%@ page contentType="text/html;charset=UTF-8" language="java" %> <html> <head> <title>测试传送图片</title> </head> <body> <% request.setCharacterEncoding("UTF-8"); String realPath = request.getSession().getServletContext().getRealPath("/img"); File file = new File(realPath); if(file.exists()){ file.mkdir(); } boolean multipartContent = ServletFileUpload.isMultipartContent(request); FileItemFactory factory = new DiskFileItemFactory(); ServletFileUpload upload = new ServletFileUpload(factory); List<FileItem> list = upload.parseRequest(request); Iterator<FileItem> iterator = list.iterator(); while(iterator.hasNext()){ FileItem fileItem = iterator.next(); if(!fileItem.isFormField()){ String name = fileItem.getName(); name = name.substring(0,name.length()-4)+"personal"+System.currentTimeMillis()+".jpg"; File fullFile = new File(name); File uploadFile = new File(realPath,fullFile.getName()); fileItem.write(uploadFile); }else{ String userName = fileItem.getString("UTF-8"); request.setAttribute("name",userName); } } %> </body> </html>
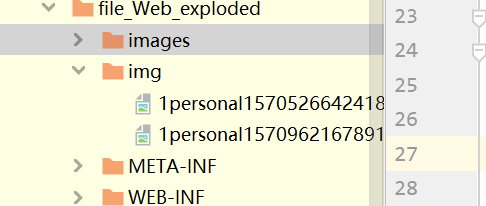
注意: 要记得在out下创建一个文件,这样index2.jsp里的:
String realPath = request.getSession().getServletContext().getRealPath("/images");
("/images")===>这里面写路径

成功后点击下面就有你添加上传的图片
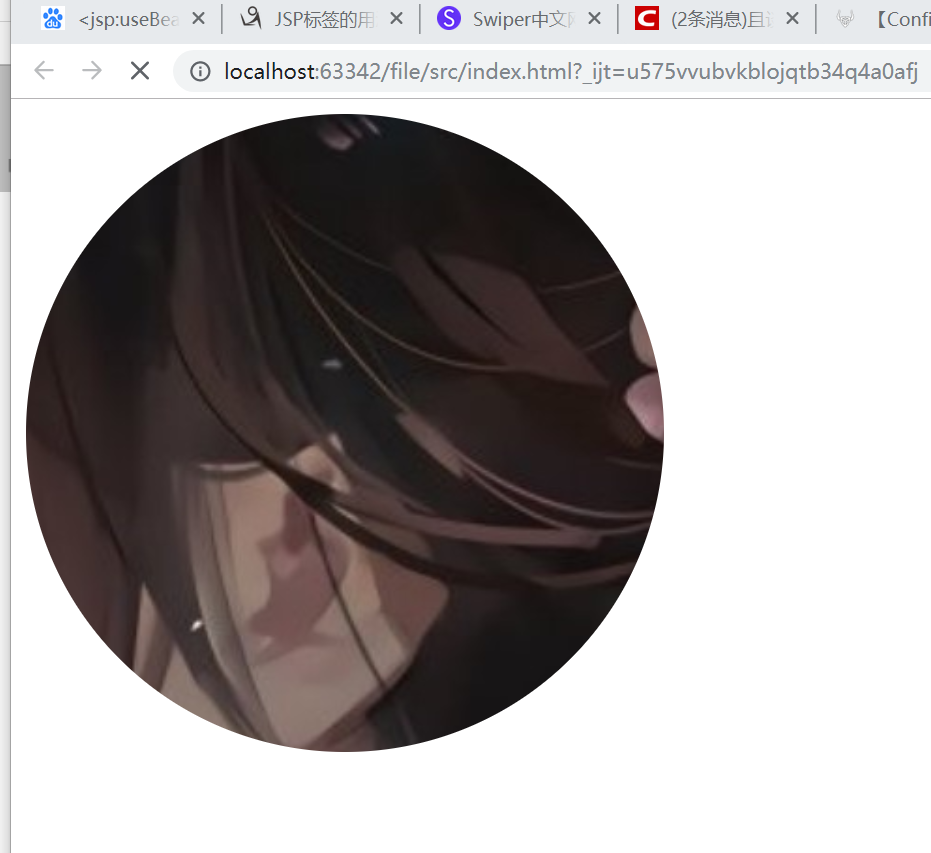
这里我可以让图片显示出来:
首先上传文件(图片为例):
index.css:
.round_icon{
    width: 340px;
    height: 340px;
    display: flex;
    border-radius: 50%;
    align-items: center;
    justify-content: center;
    overflow: hidden;
}
index.html:
<!DOCTYPE html>
<html lang="en">
<head>
    <meta charset="UTF-8">
    <title>圆形图片</title>
    <link rel="stylesheet" href="index.css">
</head>
<body>

<div class="round_icon">
    <img src="../out/artifacts/file_Web_exploded/upload/1personal1570526642418.jpg"/>
</div>


</body>
</html>

 浙公网安备 33010602011771号