zabbix4.0离线快速编译安装(编译安装方法)
本博客已整理更新至第三版。更新于2019.5.28
其实这个主要是想试一下离线编译安装的具体步骤,记得要配置好本地yum云,因为我们需要使用yum,yum能帮我们自动解决很多依赖问题。发现最主要的问题是,当编译安装时,会提示没有对应包,所以有一个网站我们需要到上面去找依赖包,网址http://rpm.pbone.net/,当我们找不到某些要用到的包时,可以考虑到这个网址里下载。值得注意的是php缺少的某些扩展,可以通过yum安装,php会自动识别这些扩展的
一般来说,直接执行以下脚本也可以了。脚本统一放在root目录下
脚本1
systemctl stop firewalld
systemctl disable firewalld
sed -i 's/=enforcing/=disabled/g' /etc/selinux/config
setenforce 0
yum install httpd mariadb mariadb-server php php-mysql php-devel php-xml  php-bcmath  php-mbstring php-gd wget expect net-snmp gcc  mysql-devel  libxml2-devel  net-snmp-devel  libevent-devel  curl-devel -y
wget https://nchc.dl.sourceforge.net/project/zabbix/ZABBIX%20Latest%20Stable/4.2.1/zabbix-4.2.1.tar.gz
systemctl start httpd
systemctl enable httpd
systemctl enable mariadb
systemctl start mariadb
chmod +x initmysqlpassword.sh
/root/initmysqlpassword.sh
tar -zxvf zabbix-4.2.1.tar.gz
cd zabbix-4.2.1
groupadd --system zabbix
useradd --system -g zabbix -d /usr/lib/zabbix -s /sbin/nologin -c "Zabbix Monitoring System" zabbix
cd database/mysql/
mysql -uroot -p123456 -e "create database zabbix character set utf8 collate utf8_bin;"
mysql -uroot -p123456 -e "grant all privileges on zabbix.* to zabbix@localhost identified by 'zabbix';"
mysql -uroot -p123456 -e "flush privileges;"
mysql -uzabbix -pzabbix -e "use zabbix;source schema.sql;source images.sql;source data.sql;"
cd ../..
./configure --enable-server --enable-agent --with-mysql --enable-ipv6 --with-net-snmp --with-libcurl --with-libxml2
make install
sed -i s/'# DBPassword='/'DBPassword=zabbix'/g  /usr/local/etc/zabbix_server.conf
cp -r  frontends/php/ /var/www/html/zabbix
sed -i s/'^max_execution_time.*'/'max_execution_time = 300'/g /etc/php.ini
sed -i s/'^max_input_time.*'/'max_input_time = 300'/g /etc/php.ini
sed -i s/'^post_max_size.*'/'post_max_size = 16M'/g /etc/php.ini
sed -i s/'^;date.timezone.*'/'date.timezone = Asia\/Shanghai'/g /etc/php.ini
systemctl restart httpd
systemctl restart mariadb
zabbix_server
脚本2,无需手动自行,只需将该脚本命名为initmysqlpassword.sh
#!/usr/bin/expect
spawn mysql_secure_installation
expect "Enter current password for root (enter for none):"
send "\r"
expect "Set root password? "
send "Y\r"
expect "New password:"
send "123456\r"
expect "Re-enter new password:"
send "123456\r"
expect "Remove anonymous users? "
send "y\r"
expect "Disallow root login remotely? "
send "n\r"
expect "Remove test database and access to it? "
send "y\r"
expect "Reload privilege tables now? "
send "y\r"
expect eof
以下为具体分步骤
第一步
关闭selinux以及防火墙,被这两个东西坑过很多次了
第二步
部署lamp或者lnmp环境,这里以部署lamp环境做演示。另一篇博客有更加详细的教程https://www.cnblogs.com/biaopei/p/7730676.html
yum install httpd mariadb mariadb-server php php-mysql php-devel -y
接着启动对应服务和设置开机自启
systemctl start httpd
systemctl enable httpd
systemctl enable mariadb
systemctl start mariadb
mysql_secure_installation #在Set root password? [Y/n]后面输入 y,设置密码123456,在Disallow root login remotely? [Y/n] 后面输入n,允许root用户远程登录,其他选项直接回车默认就可以了
写一个页面测试php和mariadb是否已经在Apache里正常运行,以下内容是用来检测用php连接mariadb的,连接成功显示success,失败显示fail(说明哪里没配置正确,需要检查)
直接复制一下内容到终端中执行就可以了(注意,$link之类的变量前面必须加个斜杆转义,否则系统会把他当做一个变量,不能将这个变量名打印到文本中)
cat > /var/www/html/test.php <<EOF
<?php
\$link=mysql_connect('localhost','root','123456');
if(!\$link) echo "fail";
else echo "success";
mysql_close();
?>
EOF
访问服务器ip/test.php,如果返回success则说明可以了
第三步
编译安装zabbix
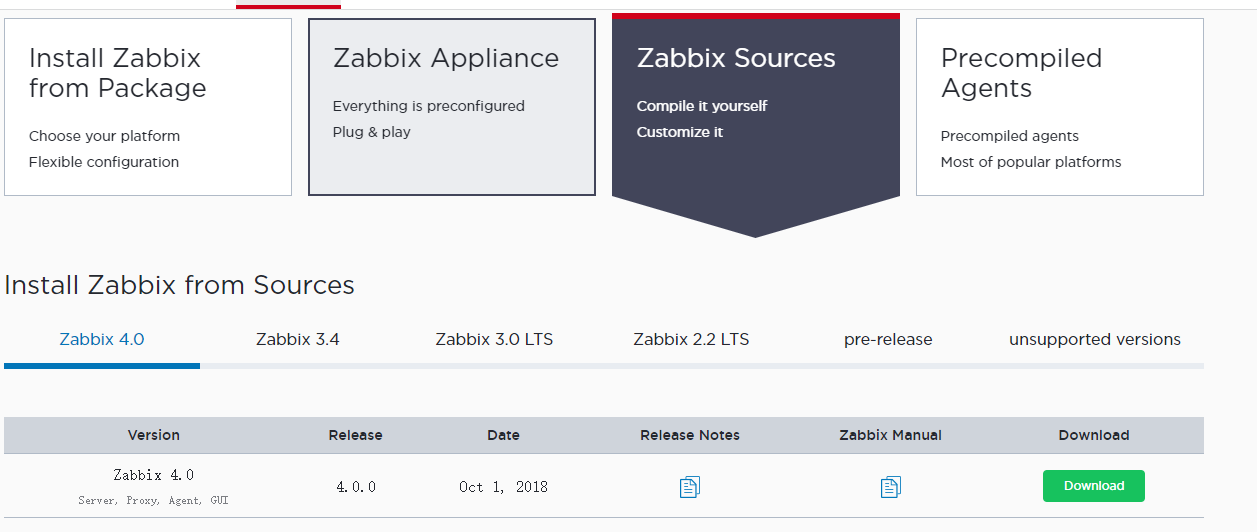
3.1 下载源码包就行,我下载的是4.0版本的
3.2 解压
tar -zxvf zabbix-4.0.0.tar.gz
3.3 开始编译,执行sql文本时注意导入顺序
cd zabbix-4.0.0
groupadd --system zabbix
useradd --system -g zabbix -d /usr/lib/zabbix -s /sbin/nologin -c "Zabbix Monitoring System" zabbix
cd database/mysql/
mysql -uroot -p
create database zabbix character set utf8 collate utf8_bin;
grant all privileges on zabbix.* to zabbix@localhost identified by 'zabbix';
flush privileges;
quit
mysql -uzabbix -p
use zabbix
source schema.sql;
source images.sql;
source data.sql;
quit
yum install net-snmp gcc mysql-devel libxml2-devel net-snmp-devel libevent-devel curl-devel -y
cd ../..
./configure --enable-server --enable-agent --with-mysql --enable-ipv6 --with-net-snmp --with-libcurl --with-libxml2
make install
接下来还需要修改zabbix的配置文件,我的默认是在/usr/local/etc/zabbix_server.conf。取消DBPassword的注释并将其值改为zabbix。这个不修改回导致zabbix_server起不来

现在可以启动zabbix_server了
zabbix_server
注意:zabbix_server默认日志文件位于/tmp/zabbix_server.log,有问题可以查看这个日志文件
[root@localhost zabbix-4.0.0]# cp -r frontends/php/ /var/www/html/zabbix #先返回到解压后的目录再执行这条命令,这个迁移的是zabbix前端文件
现在我们先来尝试访问zabbix ,访问地址服务器ip/zabbix
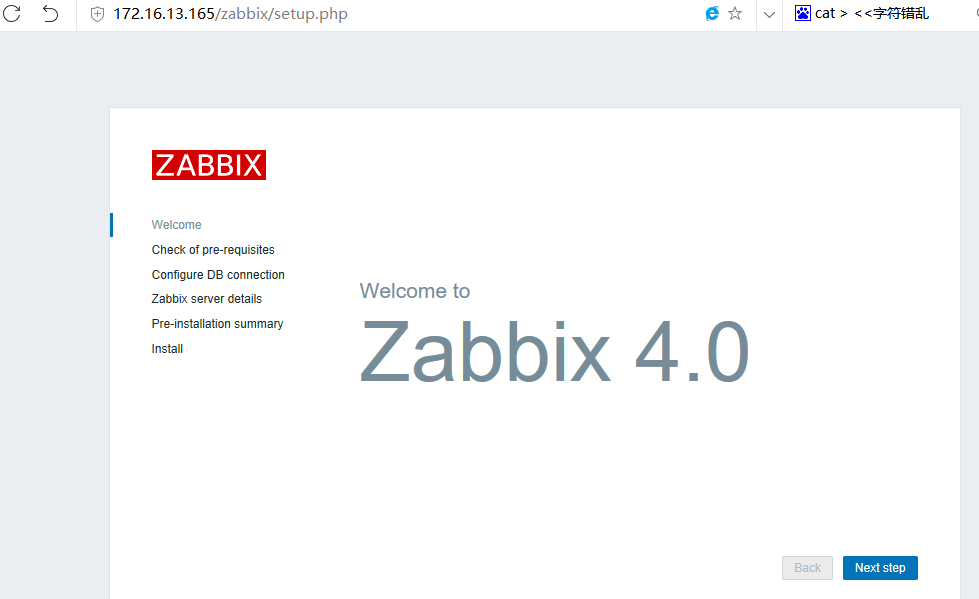
点击下一步

这个需要修改php配置文件和添加php扩展就可以了
我们先修改/etc/php.ini文件,将对应参数做如下修改
max_execution_time = 300
max_input_time = 300
post_max_size = 16M
date.timezone =Asia/Shanghai
添加扩展
yum install php-gd -y
yum install php-xml
php-bcmath php-mbstring
找到这两个rpm包安装,注意一下版本,刚开始,我使用的是php-bcmath-5.4.16-45.el7.x86_64.rpm这个版本的,后面发现会有依赖问题,所以后面下了另一个版本的php-bcmath-5.4.16-42.el7.x86_64.rpm,安装方式rpm -ivh rpm包名
systemctl restart httpd 重启一下httpd,刷新页面就发现不会报错了
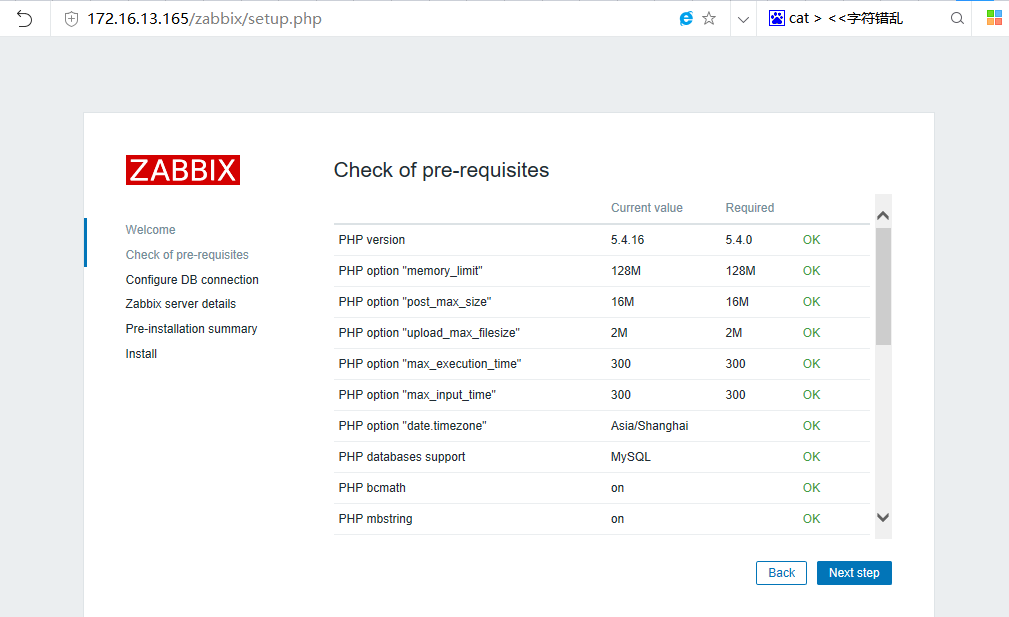
那个警告可以忽略,点击下一步。第二次安装时我遇到了另一个问题,那就是提示The frontend does not match Zabbix database. Current database version (mandatory/optional): 3050047/3050047. Required mandatory version: 4000000. Contact your system administrator.之类的问题,具体解决方法是
mysql> use zabbix;
mysql> update dbversion set mandatory=4000000; 将后面的4000000根据情况改为对应的值
mysql> flush privileges;

随便起个名
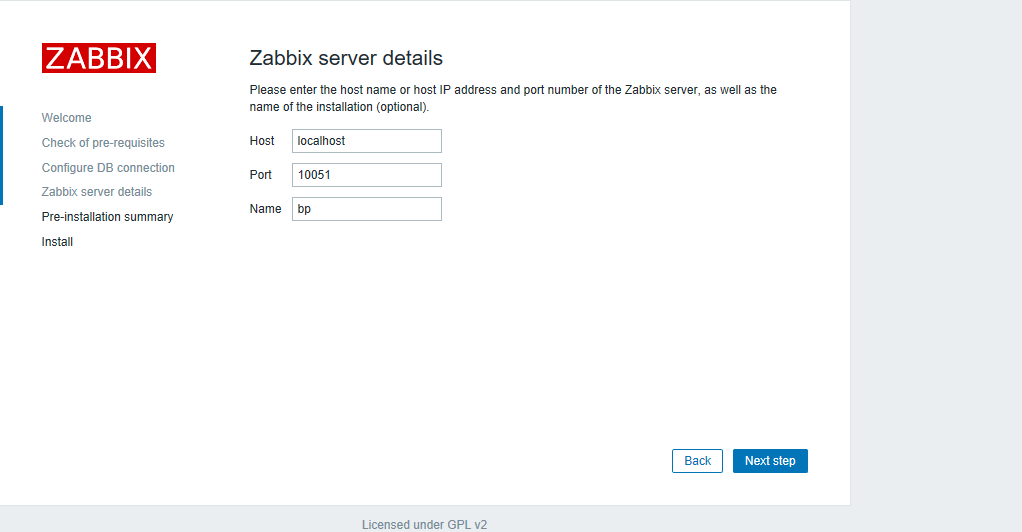
下一步
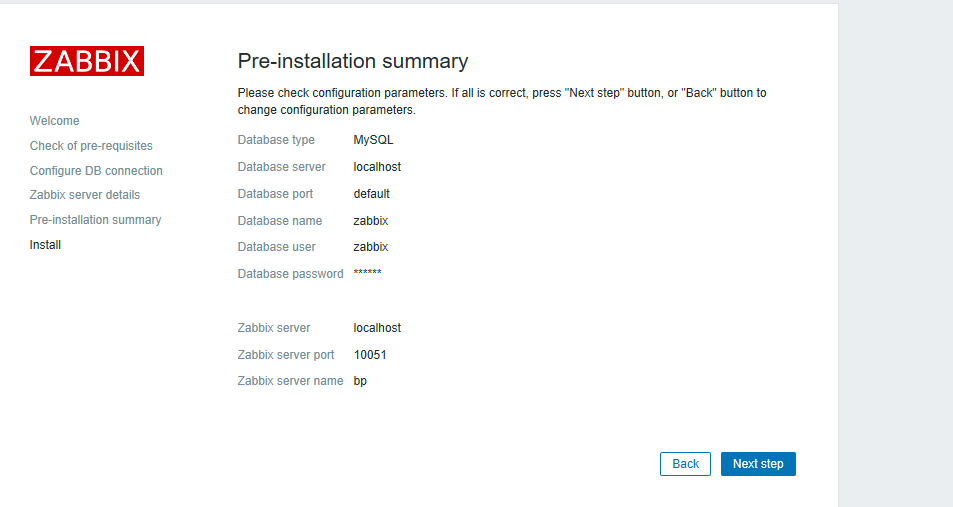
再下一步
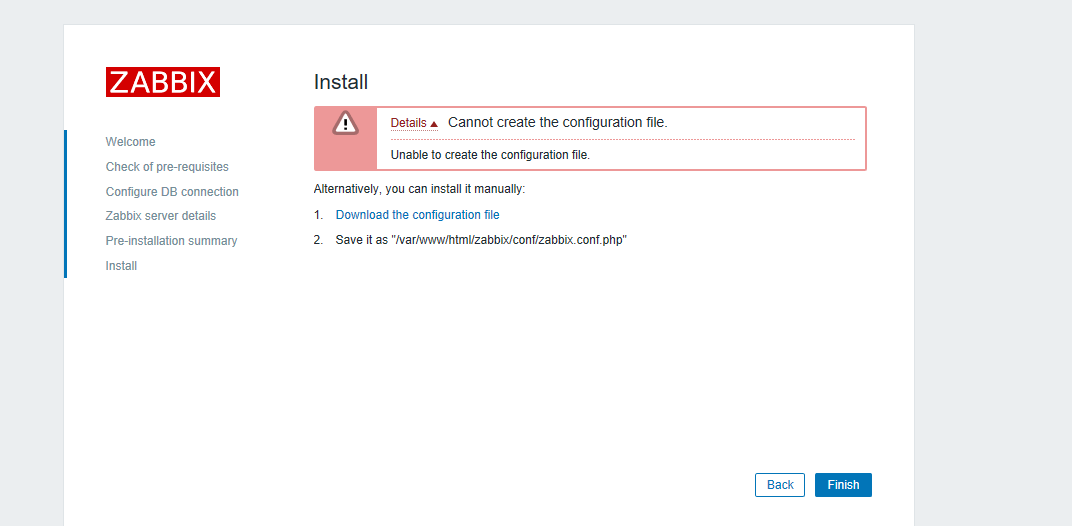
按操作提示,下载配置文件,放到指定位置就可以了

点击下一步

点击完成,默认账号Admin密码zabbix
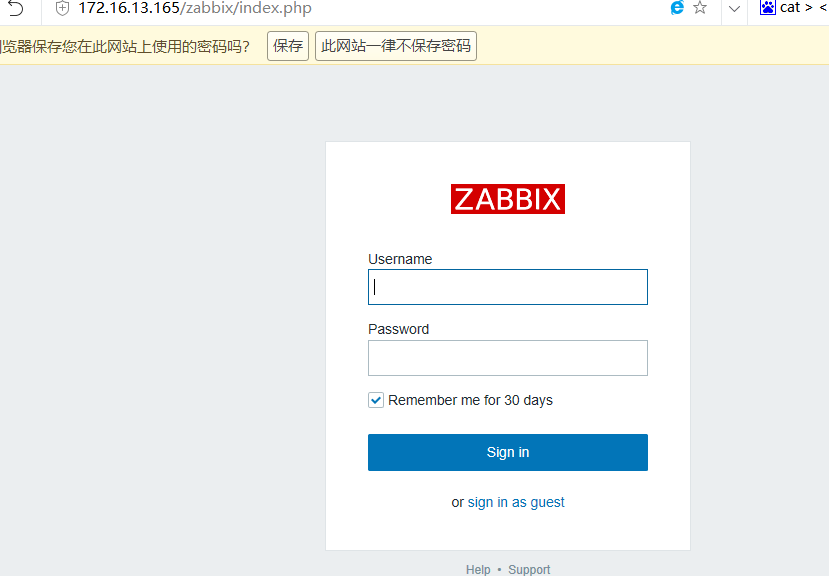
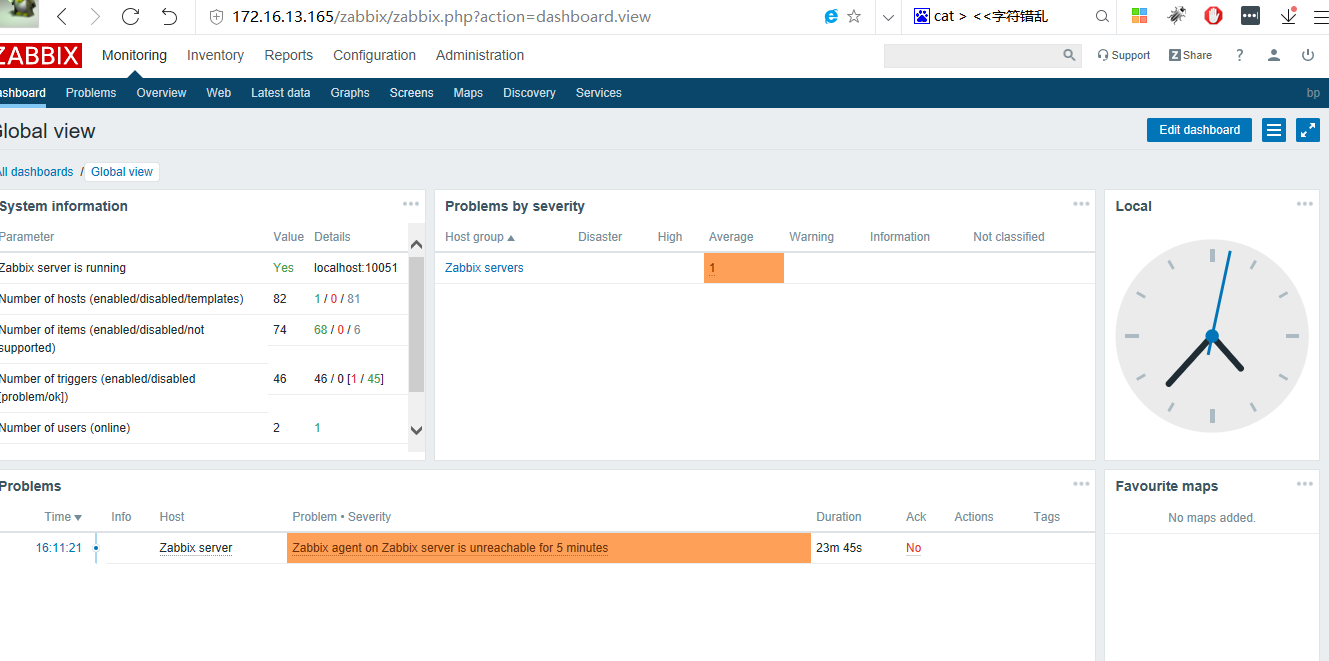
登录效果


【推荐】国内首个AI IDE,深度理解中文开发场景,立即下载体验Trae
【推荐】编程新体验,更懂你的AI,立即体验豆包MarsCode编程助手
【推荐】抖音旗下AI助手豆包,你的智能百科全书,全免费不限次数
【推荐】轻量又高性能的 SSH 工具 IShell:AI 加持,快人一步
· 从 HTTP 原因短语缺失研究 HTTP/2 和 HTTP/3 的设计差异
· AI与.NET技术实操系列:向量存储与相似性搜索在 .NET 中的实现
· 基于Microsoft.Extensions.AI核心库实现RAG应用
· Linux系列:如何用heaptrack跟踪.NET程序的非托管内存泄露
· 开发者必知的日志记录最佳实践
· winform 绘制太阳,地球,月球 运作规律
· AI与.NET技术实操系列(五):向量存储与相似性搜索在 .NET 中的实现
· 超详细:普通电脑也行Windows部署deepseek R1训练数据并当服务器共享给他人
· 【硬核科普】Trae如何「偷看」你的代码?零基础破解AI编程运行原理
· 上周热点回顾(3.3-3.9)
2017-10-30 实现在同一界面打开putty终端连接工具