手把手建项目 PrimeNG安装使用
手把手建项目 PrimeNG安装使用
之前写过一片关于PrimeNG的安装使用,当时也是接触不久,最近重新使用的时候发现还是有一些东西没有说清楚。
当时用的是Angular2现在已经是Angular4+了,并且angular-cli也更新了,所以有时候在网上查到的别人的经验可能放在现在并不好用,我们在使用的时候一定要注意版本。
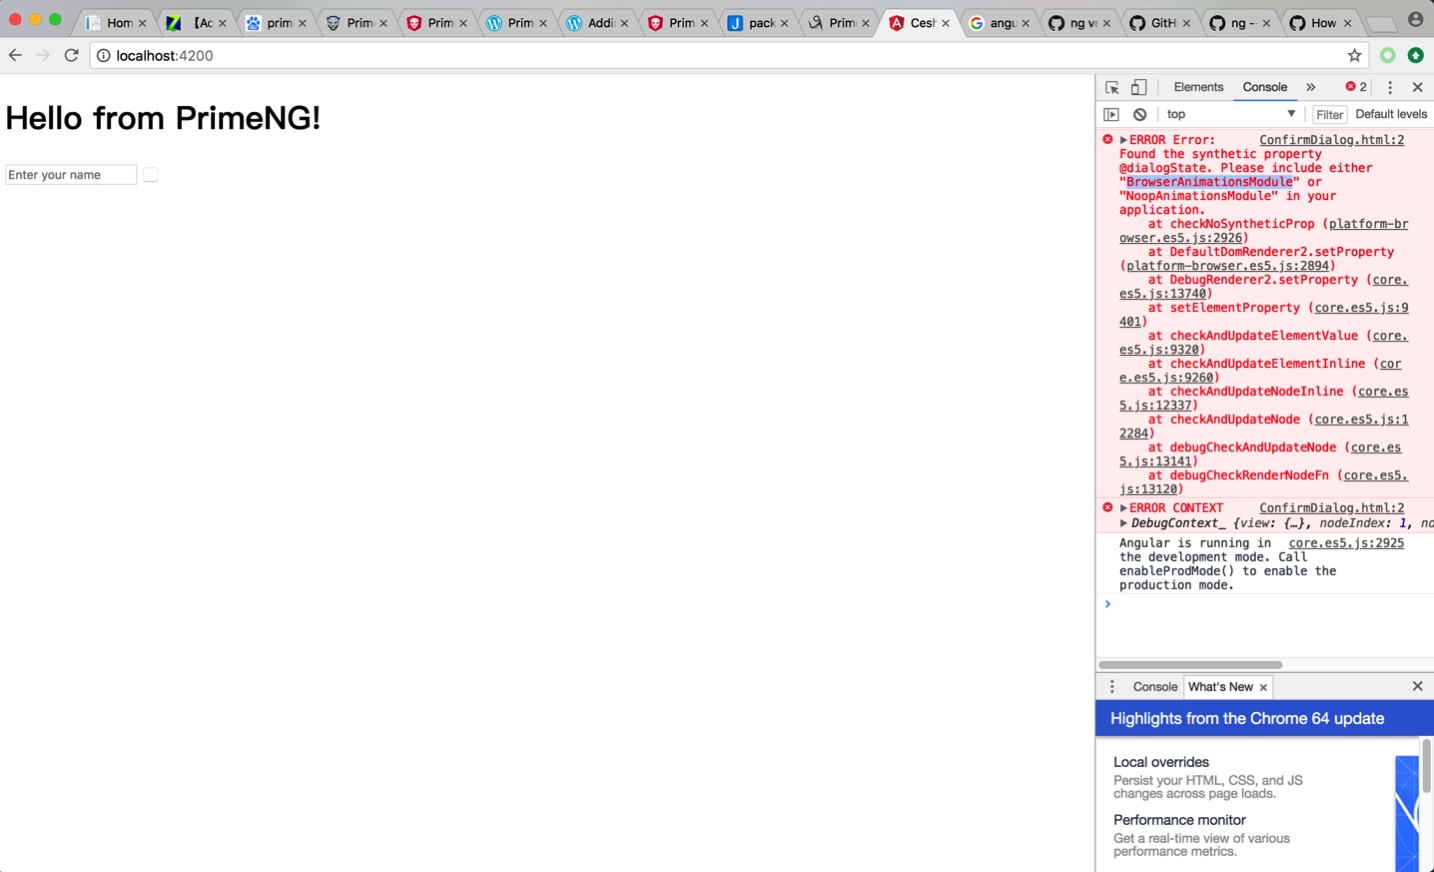
先上一张因为angular版本和primeng版本不匹配导致的编译异常。
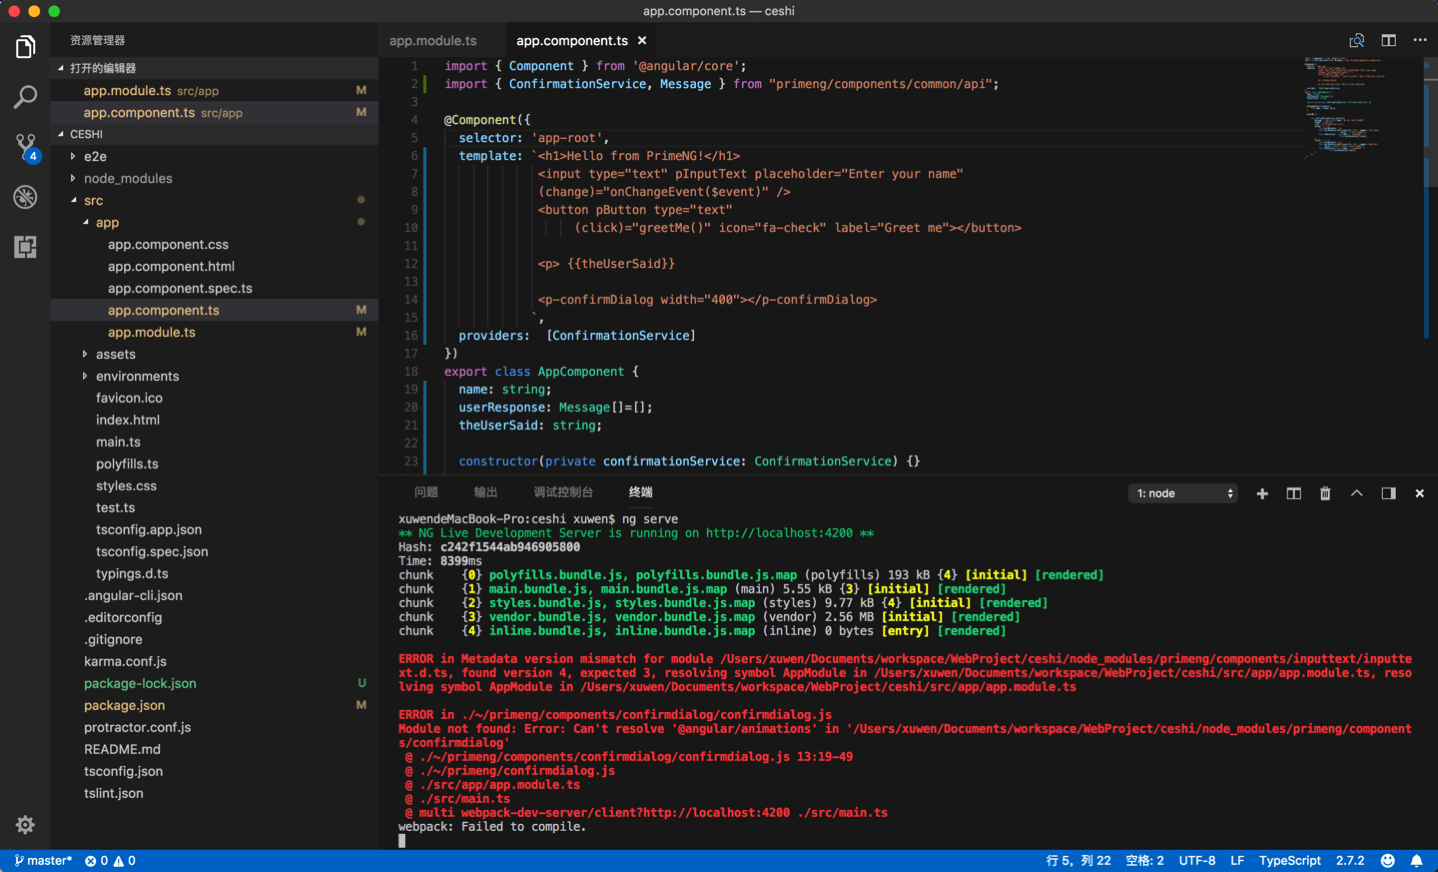
这个问题是使用如下命令安装的primeng
![]()
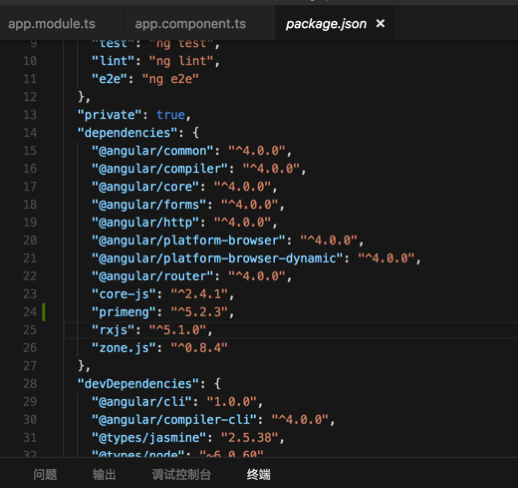
看一下不匹配的package.json,注意angular和primeng的版本。
言归正传,开始我们的安装
安装angular-cli
当你看到这篇文章的时候angular-cli的版本可能和我的不一样,再说一下:注意版本。
首先贴一下我的cli的版本信息

使用angular-cli创建项目。
这个就不用多说了,直接ng new projectName就好了。
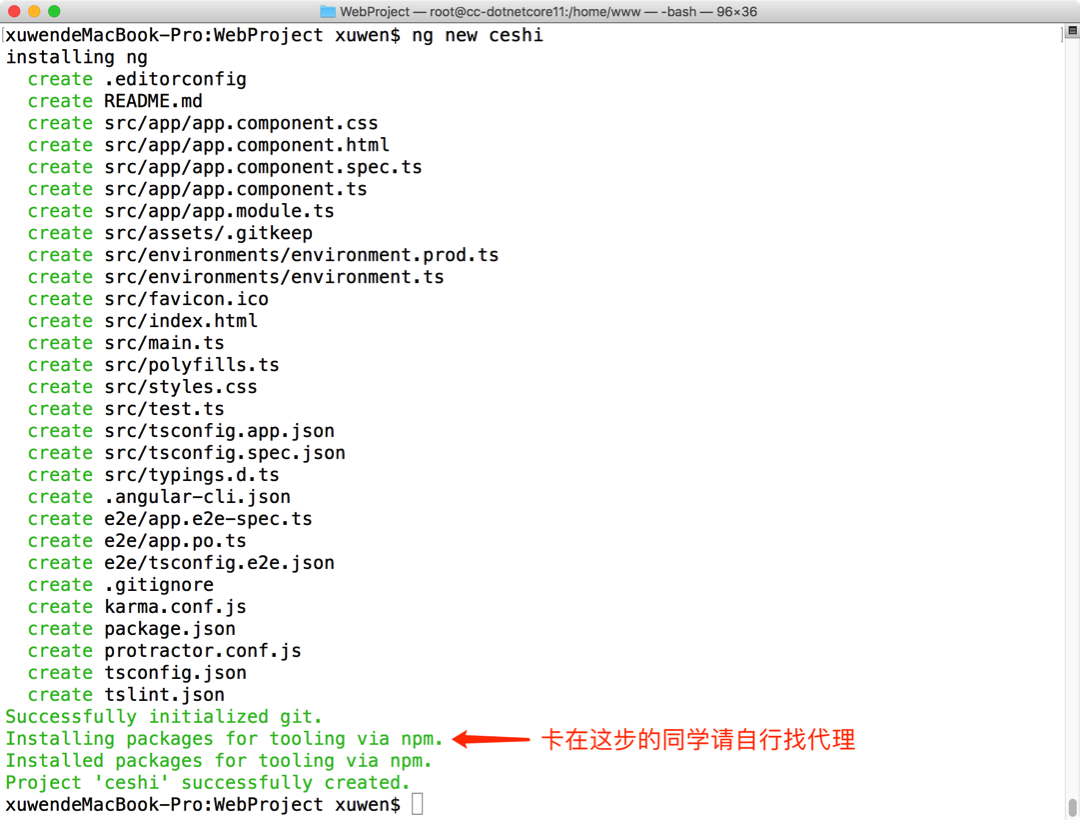
angular版本可以在上面ng version看到是4.4.6。
安装所需要的依赖项目。
这里所说的依赖是PrimeNG必须的依赖,其他的根据项目需求可慢慢增加。再次强调:注意版本。
package.json文件dependencies下添加依赖项
"@angular/animations": "^4.4.6",
"font-awesome": "^4.7.0",
"primeng": "^4.0.0"
使用npm命令更新
npm install
添加样式引用
在.angular-cli.json中的styles添加
"../node_modules/primeng/resources/themes/omega/theme.css",
"../node_modules/font-awesome/css/font-awesome.min.css",
"../node_modules/primeng/resources/primeng.min.css"
或者在src/styles.css文件中添加
@import "~primeng/resources/themes/omega/theme.css";
@import "~primeng/resources/primeng.min.css";
@import "~font-awesome/css/font-awesome.min.css";
修改项目文件
app.module.ts
import { BrowserModule } from '@angular/platform-browser';
import { BrowserAnimationsModule } from '@angular/platform-browser/animations';
import { NgModule } from '@angular/core';
import { FormsModule } from '@angular/forms';
import { HttpModule } from '@angular/http';

import { InputTextModule } from 'primeng/primeng';
import { ButtonModule } from 'primeng/primeng';
import { ConfirmDialogModule } from 'primeng/primeng';

import { AppComponent } from './app.component';

@NgModule({
  declarations: [
    AppComponent
  ],
  imports: [
    BrowserModule,
    BrowserAnimationsModule,
    FormsModule,
    HttpModule,
    InputTextModule,
    ButtonModule,
    ConfirmDialogModule
  ],
  providers: [],
  bootstrap: [AppComponent]
})
export class AppModule { }
app.component.ts
import { Component } from '@angular/core';
import { ConfirmationService, Message } from "primeng/components/common/api";

@Component({
  selector: 'app-root',
  template: `<h1>Hello from PrimeNG!</h1>
             <input type="text" pInputText placeholder="Enter your name"
             (change)="onChangeEvent($event)" />
             <button pButton type="text"
                  (click)="greetMe()" icon="fa-check" label="Greet me"></button>

             <p> {{theUserSaid}}

             <p-confirmDialog width="400"></p-confirmDialog>
            `,
  providers:  [ConfirmationService]
})
export class AppComponent {
  name: string;
  userResponse: Message[]=[];
  theUserSaid: string;

  constructor(private confirmationService: ConfirmationService) {}

  onChangeEvent({target}){
      this.name = target.value;
  }

  greetMe(){

      this.confirmationService.confirm({
          message: ` Hey ${this.name}, do you like PrimeNG?`,
          header: 'Greeting',
          icon: 'fa fa-question-circle',
          accept: () => {
              this.userResponse = [];
              this.userResponse.push({severity:'info', summary:'Confirmed',
                                    detail:'I like PrimeNG'});
              this.theUserSaid = this.name + " responded " +
                                   this.userResponse[0].detail;
          },
          reject: () => {
              this.userResponse = [];
              this.userResponse.push({severity:'info', summary:'Rejected',
                    detail:'I don\'t really like PrimeNG'});
              this.theUserSaid = this.name + " responded " +
                        this.userResponse[0].detail;
          }
      });
  }
}
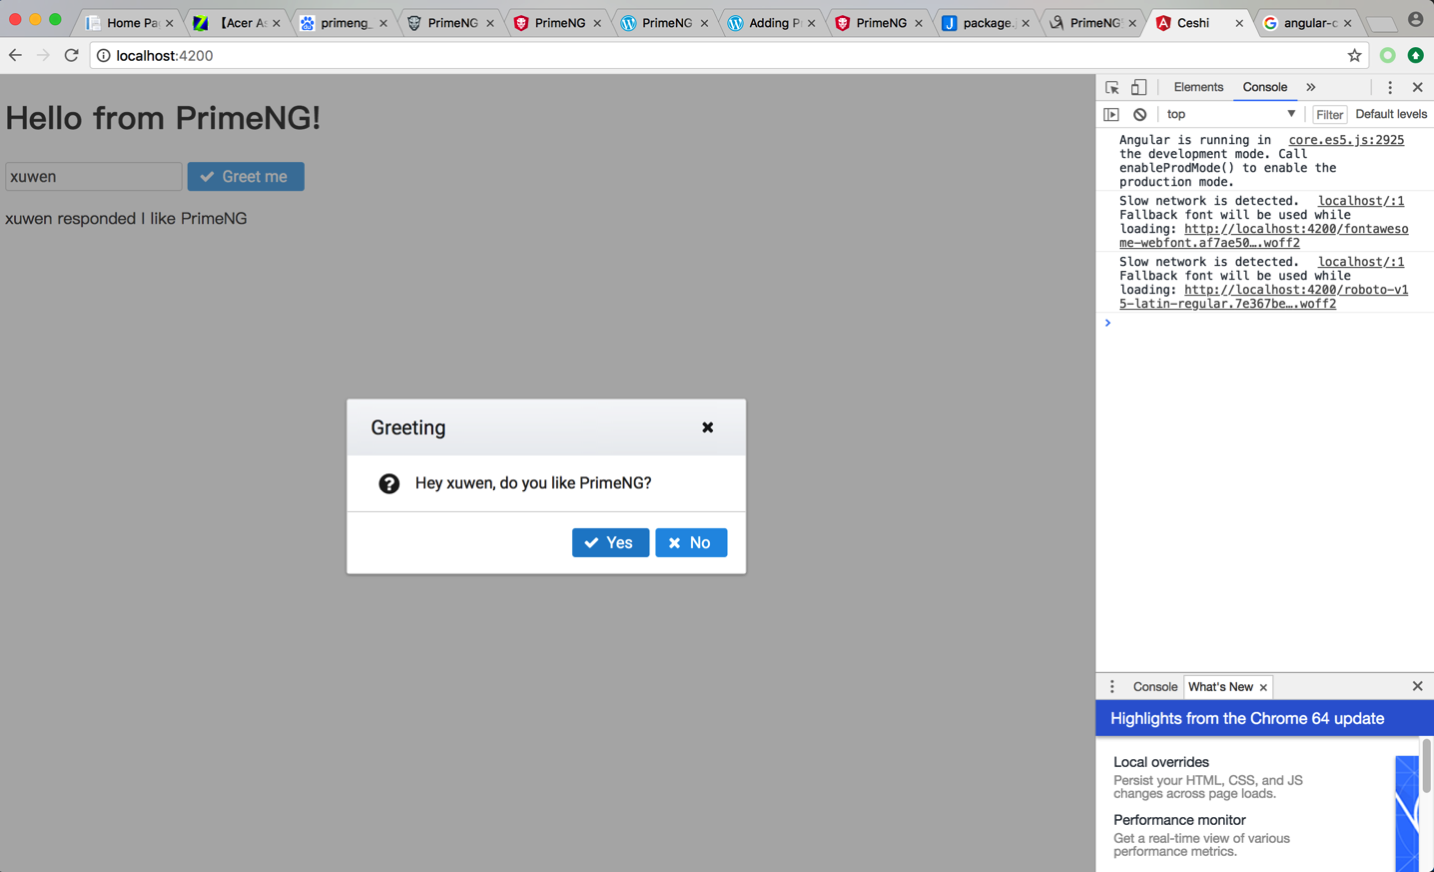
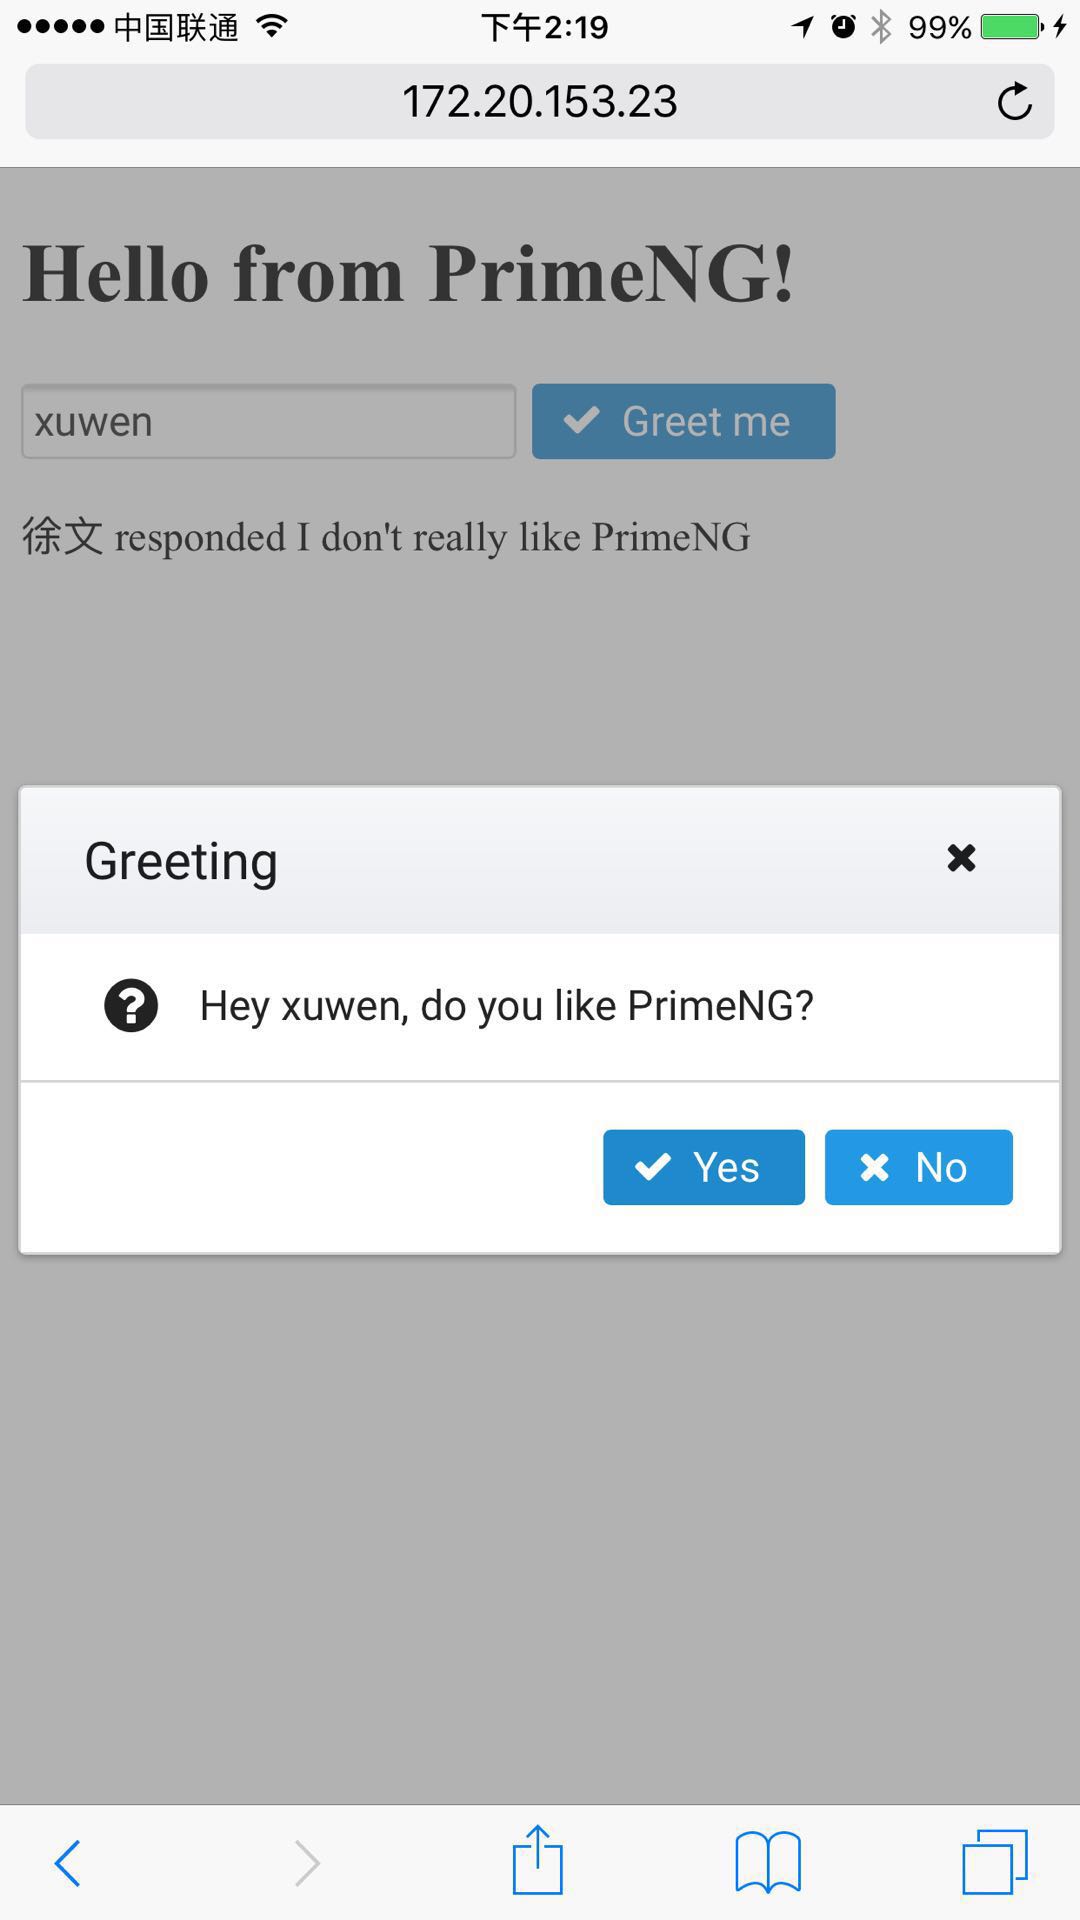
成功
其他
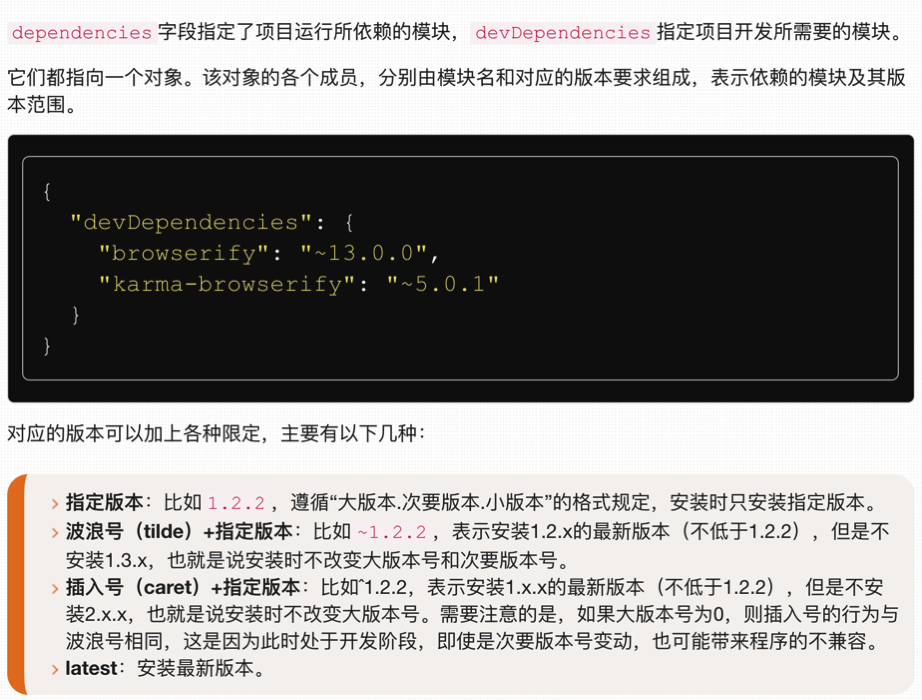
补充个package.json版本号解释
碰到问题多使用chrome的开发者模式进行调试差错。
