springboot与数据访问之jdbc
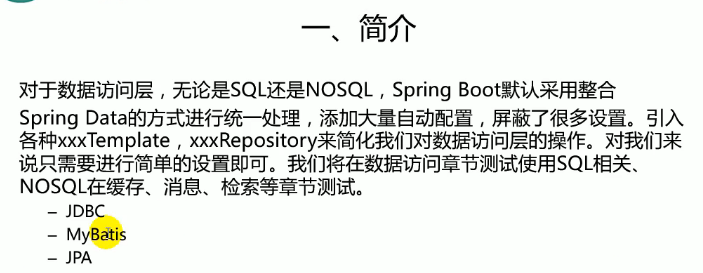
官网的starthttps://docs.spring.io/spring-boot/docs/current/reference/htmlsingle/#using-boot-starter
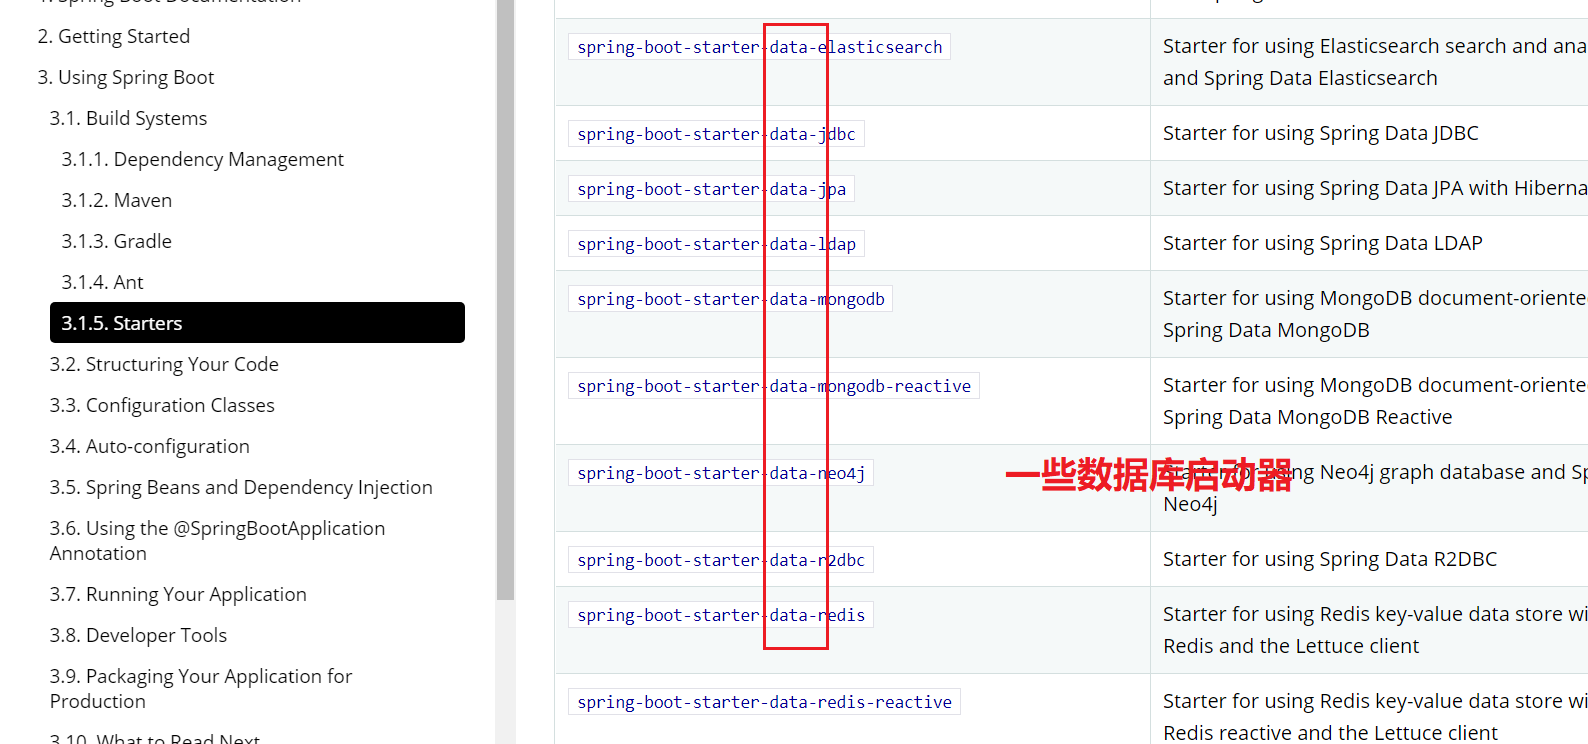
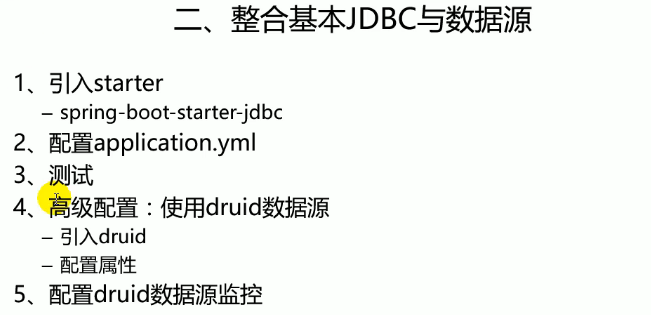
添加依赖,
使用初始化器的时候自己选择依赖
   <dependency>
            <groupId>org.springframework.boot</groupId>
            <artifactId>spring-boot-starter-jdbc</artifactId>
        </dependency>
        <dependency>
        <groupId>mysql</groupId>
        <artifactId>mysql-connector-java</artifactId>
        <scope>runtime</scope>
         </dependency>
编写配置文件:

效果: 默认是用org.apache.tomcat.jdbc.pool.DataSource作为数据源; 数据源的相关配置都在DataSourceProperties里面; 自动配置原理: org.springframework.boot.autoconfigure.jdbc: 1、参考DataSourceConfiguration,根据配置创建数据源,默认使用Tomcat连接池;
可以使用spring.datasource.type指定自定义的数据源类型; 2、SpringBoot默认可以支持; org.apache.tomcat.jdbc.pool.DataSource、HikariDataSource、BasicDataSource、
自动配置datasource的源码:


编写测试,测试是否连接成功:
    @Autowired
    DataSource dataSource;

    @Test
    void contextLoads() throws SQLException {
        System.out.println(dataSource.getClass());
        Connection connection = dataSource.getConnection();
        System.out.println(connection);
        connection.close();
    }
测试结果

测试出现错误:
java.sql.SQLNonTransientConnectionException: CLIENT_PLUGIN_AUTH is required
这是由于快速生成的mysql-connector-java的版本问题,改为5.1.37就行
源码中有个自定义数据源的自动配置:
//使用DataSourceBuilder创建数据源,利用反射创建响应type的数据源,并且绑定相关属性
    @Configuration(proxyBeanMethods = false)
    @ConditionalOnMissingBean(DataSource.class)
    @ConditionalOnProperty(name = "spring.datasource.type")
    static class Generic {

        @Bean
        DataSource dataSource(DataSourceProperties properties) {
            return properties.initializeDataSourceBuilder().build();
        }

    }
源码中还有一个累
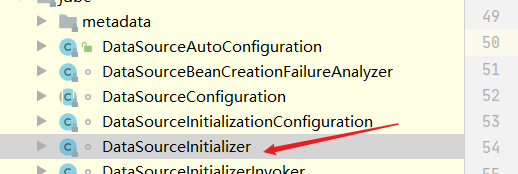
作用: 1)、runSchemaScripts();运行建表语句; 2)、runDataScripts();运行插入数据的sql语句;
只需要:
schema-*.sql、data-*.sql
默认规则:schema.sql,schema-all.sql;
可以使用
    schema:
      - classpath:department.sql
      指定位置
再配置文件中添加:
schema: classpath*:schema.sql 即可


操作数据库。会自动配置jdbcTemplate操作数据库

简单使用一下:
@Controller
public class Controllerhello {
    @Autowired
    JdbcTemplate jdbcTemplate;

    @RequestMapping("/hello")
    @ResponseBody
    public Map<String,Object> map(){
        List<Map<String,Object>> maps= jdbcTemplate.queryForList("select  * from weibo_user ");
        return maps.get(1);
    }

}

高级配置---使用druid数据源
默认配置文件如果没有配置,则使用默认的数据源
可以通过type去指定数据源类型
修改配置文件:
spring:
  datasource:
    username: root
    password: 2004
    url: jdbc:mysql://129.204.3.133:3306/students
    driver-class-name: com.mysql.jdbc.Driver
    type: com.alibaba.druid.pool.DruidDataSource
测试能否切换:
运行我们之前的测代码就行

数据源的其他配置;
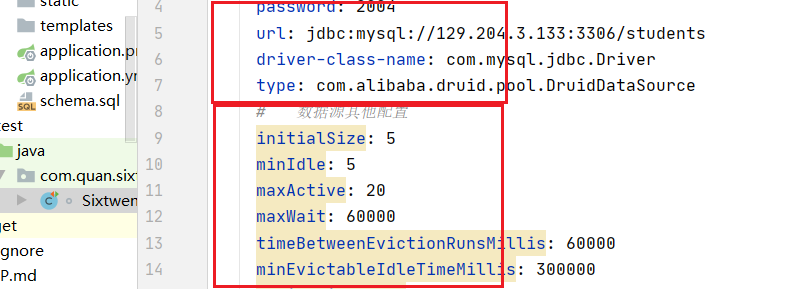
图中的黄颜色是不能绑定到数据源当中的,因为没有和下面这个文件里面的属性对象

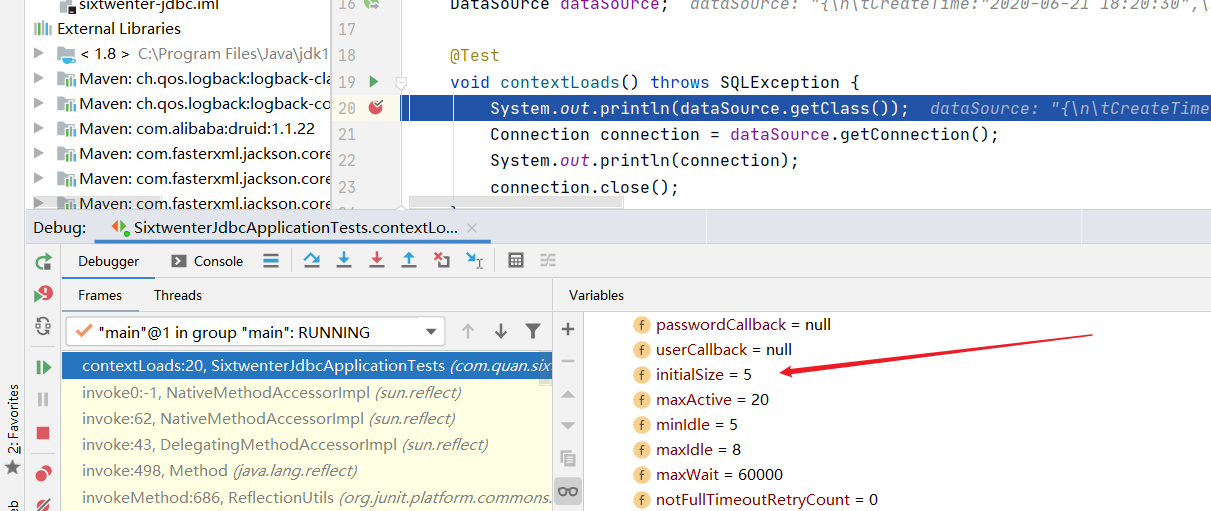
debug模式看看
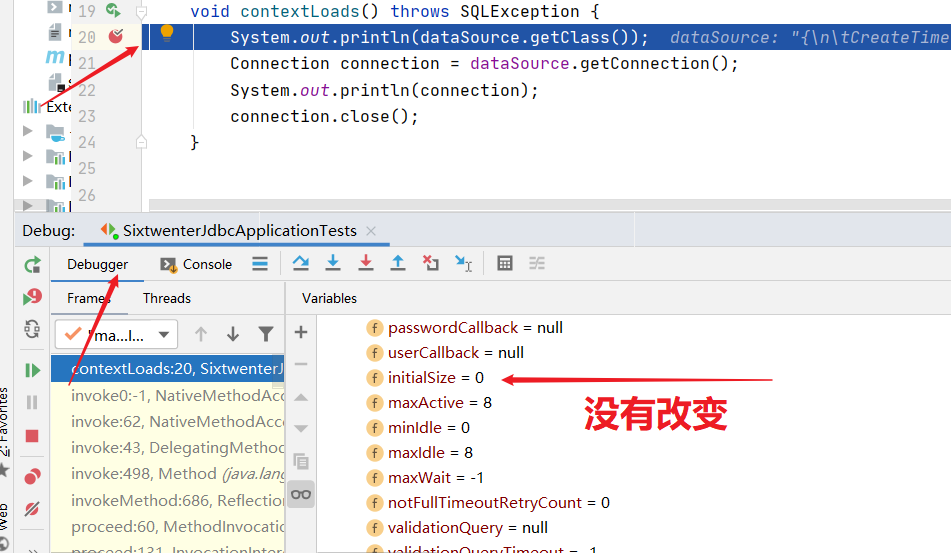
这时候需要我们自己创建配置类

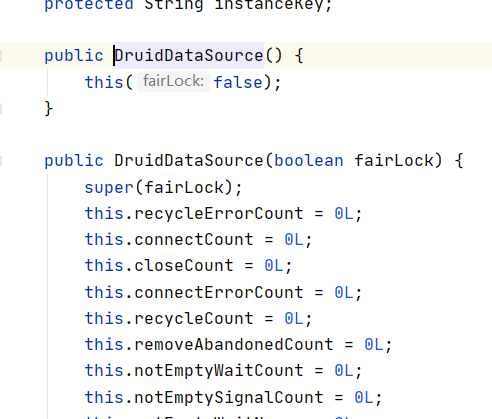
由于配置文件里面的属性再DruidDataSource累里面有对应的属性,所以可以绑定:
测试一下:
会报错

加入log4j依赖看看
<!-- https://mvnrepository.com/artifact/org.apache.logging.log4j/log4j-core -->
<dependency>
    <groupId>org.apache.logging.log4j</groupId>
    <artifactId>log4j-core</artifactId>
    <version>2.13.3</version>
</dependency>
重新debug
接下来配置Druid监控
import com.alibaba.druid.pool.DruidDataSource;
import com.alibaba.druid.support.http.StatViewServlet;
import com.alibaba.druid.support.http.WebStatFilter;
import org.springframework.boot.context.properties.ConfigurationProperties;
import org.springframework.boot.web.servlet.FilterRegistrationBean;
import org.springframework.boot.web.servlet.ServletRegistrationBean;
import org.springframework.context.annotation.Bean;
import org.springframework.context.annotation.Configuration;

import javax.sql.DataSource;
import java.util.Arrays;
import java.util.HashMap;
import java.util.Map;


@Configuration
public class DruidConfig {
    @ConfigurationProperties(prefix = "spring.datasource")
    @Bean
    public DataSource druid(){
        return new DruidDataSource();
    }

    //配置Druid监控
    //配置管理后台Servlet
    @Bean
    public ServletRegistrationBean statViewServlet(){
        ServletRegistrationBean bean =new ServletRegistrationBean(new StatViewServlet(),"/druid/*");
        Map<String,String> initParams = new HashMap<>();
        //下面的参数都是 StatViewServlet extends ResourceServlet两个累里面的属性
        initParams.put("loginUsername","admin");
        initParams.put("loginPassword","admin");
//        initParams.put("allow","");//默认允许所有
//        initParams.put("deny","192.212.121.12");
        bean.setInitParameters(initParams);
        return bean;
    }

    //配置一个Web监控的Filter
    @Bean
    public FilterRegistrationBean webStatFilter(){
        FilterRegistrationBean bean = new FilterRegistrationBean();
        bean.setFilter(new WebStatFilter());

        Map<String,String> initParams = new HashMap<>();
        initParams.put("exclusions","*.js,*.css");
        bean.setInitParameters(initParams);
        bean.setUrlPatterns(Arrays.asList("/*"));
        return bean;
    }

}
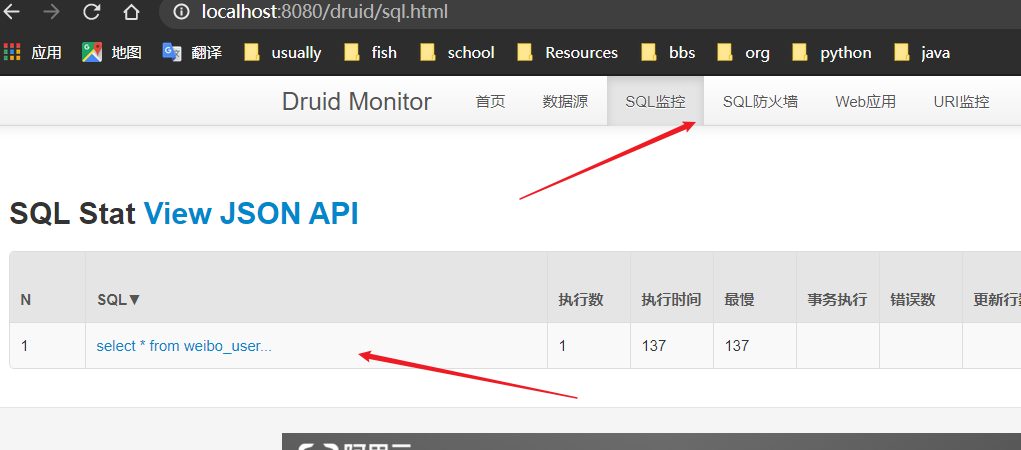
上面的后台和过滤都是自带的监控
注意:这里一定要加星号,

结果

测试一个查询看看
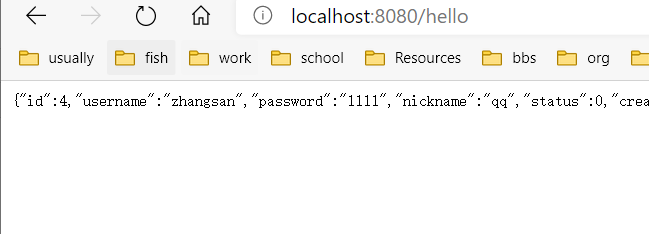
可以再后台查看
