DOM
概念
DOM:文档对象模型,是一套标准的编程接口,可以通过DOM来操作html元素
js操作DOM元素
浏览器加载html的时候,会根据html的结构体形成一颗DOM树,dom树上有元素节点、属性节点。
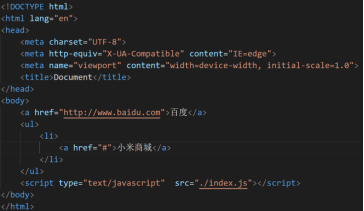
对应的DOM树
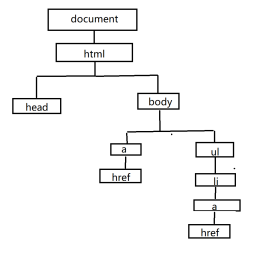
document对象
DOM通过document对象为开发者提供大量的接口来操作DOM树
获取节点
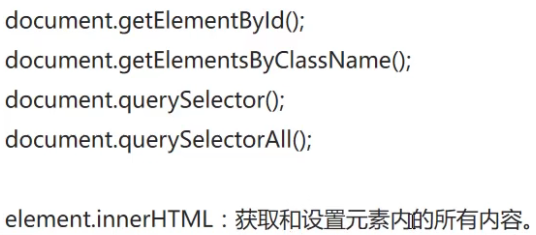
getElementById
    <h1 id="title">hello h1</h1>

    <script>
        let h=document.getElementById("title");//返回值是一个dom节点
        console.log(h);//<h1 id="title">hello h1</h1>
    </script>
getElementByClassName
<body>
    <button class="btn">1</button>
    <button class="btn">2</button>
    <button class="btn">3</button>

    <script>
        let btns = document.getElementsByClassName("btn");//返回值是dom节点的一个集合
        console.log(btns);//HTMLCollection(3) [button.btn, button.btn, button.btn]
    </script>
</body>
element.innerHTML/innerText
innerHTML和innerText都能获取和设置document对象的文本内容
innerHTML指的是从对象的起始位置到终止位置的全部内容,包括Html标签。
innerText指的是从起始位置到终止位置的内容,但它去除Html标签。
同时,innerHTML是所有浏览器都支持的,innerText是IE浏览器和chrome 浏览器支持的,Firefox浏览器不支持。
其实,innerHTML是W3C 组织规定的属性;而innerText属性是IE浏览器自己的属性,不过后来的浏览器部分实现这个属性罢了。
innerHTML是符合W3C标准的属性,而innerText只适用于IE浏览器(现在也适应chrome浏览器)
因此尽可能地去使用innerHTML,而少用innerText
如果要输出不含HTML标签的内容,可以使用innerHTML取得包含HTML标签的内容后,再用正则表达式去除HTML标签
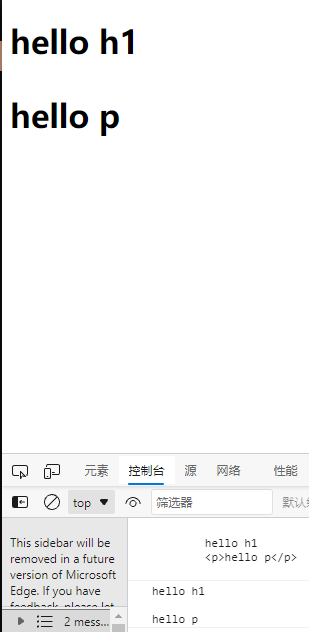
- 获取内容
    <h1 id="title">
        hello h1
        <p>hello p</p>
    </h1>

    <script>
        let h=document.getElementById("title");
        console.log(h.innerHTML);//带标签,如<p>
        console.log(h.innerText);//不带标签
    </script>
- 设置内容
    <h1 id="title">
        hello h1
        <p>hello p</p>
    </h1>

    <script>
        let h=document.getElementById("title");
        console.log(h.innerHTML);
        console.log(h.innerText);
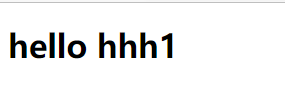
        h.innerHTML="hello hh1";
        h.innerText="hello hhh1";//两者效果上一致,所以后面的会替换前者的效果
    </script>
document.querySelector&querySelectorAll
getID和getClassName都是旧的方法,现在多采用效率更高的querySelector和querySelectorAll
通过选择器来获取节点
    <h1 id="title">hello h1</h1>
    <button class="btn">1</button>
    <button class="btn">2</button>
    <button class="btn">3</button>

    <script>
        let g1 = document.querySelector("#title");
        let g2 = document.querySelector(".btn");//如果有多个相同的类名,只会选择第一个
        console.log(g1);//<h1 id="title">hello h1</h1>
        console.log(g2);//<button class="btn">1</button>

        let g3 = document.querySelectorAll(".btn");//获取所有符合的节点
        console.log(g3);//NodeList(3) [button.btn, button.btn, button.btn]
    </script>
事件类型
触发某些事件,产生某些效果
点击事件:onclick
点击按钮,弹出弹窗
    <button class="btn">按钮</button>

    <script>
        let g = document.querySelector("button");
        //事件监听函数
        g.onclick = function(){
            alert("hello btn");
        }
    </script>

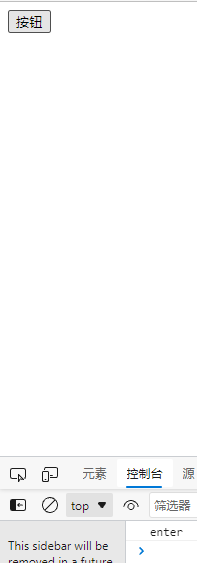
鼠标移入元素:onmouseenter
    <button class="btn">按钮</button>

    <script>
        let g = document.querySelector("button");
        g.onmouseenter = function(){
            console.log("enter");
        }
    </script>
移入鼠标打印enter
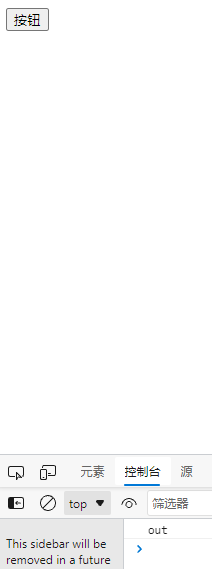
鼠标移出元素:onmouseleave
    <button class="btn">按钮</button>

    <script>
        let g = document.querySelector("button");
        g.onmouseleave = function(){
            console.log("out");
        }
    </script>
移开鼠标打印out
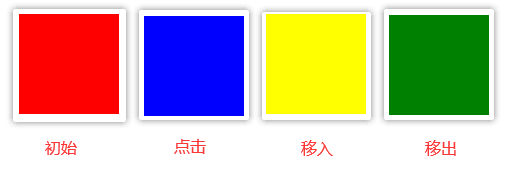
事件设置样式
    <style>
        .box{
            width: 100px;
            height: 100px;
            background-color: red;
        }
    </style>
</head>
<body>
    <div class="box"></div>

    <script>
        let g = document.querySelector(".box");

        g.onclick = function(){
            this.style.backgroundColor = "blue";//this是g
        }

        g.onmouseenter = function(){
            this.style.backgroundColor = "yellow";
        }

        g.onmouseleave = function(){
            this.style.backgroundColor = "green";
        }
    </script>
</body>
事件设置属性
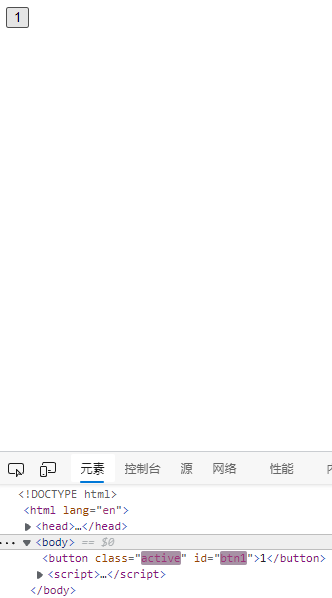
- id、className
    <button class="btn">1</button>

    <script>
        let g = document.querySelector("button");

        g.onclick = function(){
            g.id="btn1";//点击后设置id属性,有就覆盖,没有就添加
            g.className="active";
        }
    </script>
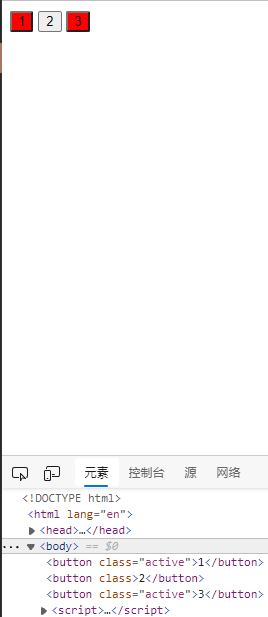
- 利用className的变化实现样式
    <style>
        .active{
            background-color: red;
        }
    </style>
</head>
<body>
    <button>1</button>
    <button>2</button>
    <button>3</button>
    <script>
        let btnArr = document.querySelectorAll("button");
        for(let i of btnArr){
            i.onclick=function(){
                if(this.className==="active"){
                    this.className="";
                }else{
                    this.className="active";
                }
            }
        }
    </script>
点击对应按钮就会加上类名active(前提是原类名没有active)背景色也会变成红色
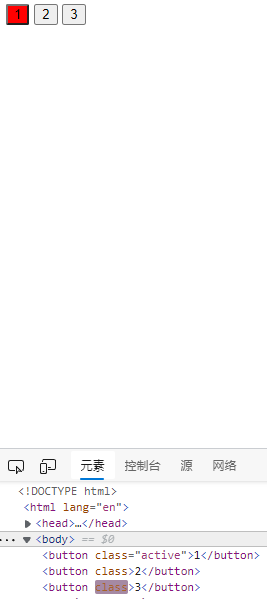
如果本来的类名是active,点击后类名就会变为空,背景色变回原样
- img
    <style>
        img{
            height: 500px;
        }
    </style>
</head>
<body>
    <div>
        <img src="img/keli.jpg" alt="">
    </div>
    <button>1</button>
    <button>2</button>
    <button>3</button>

    <script>
        let img = document.querySelector("img");
        let imgArr = ["img/keli.jpg","img/yae.png","img/jay.jpg"];
        let btns = document.querySelectorAll("button");
        for(let i in btns){//i=0,1,2 遍历按钮数组
            btns[i].onclick=function(){//点击对应按钮切换相应图片
                img.src=imgArr[i];
            }
        }
    </script>

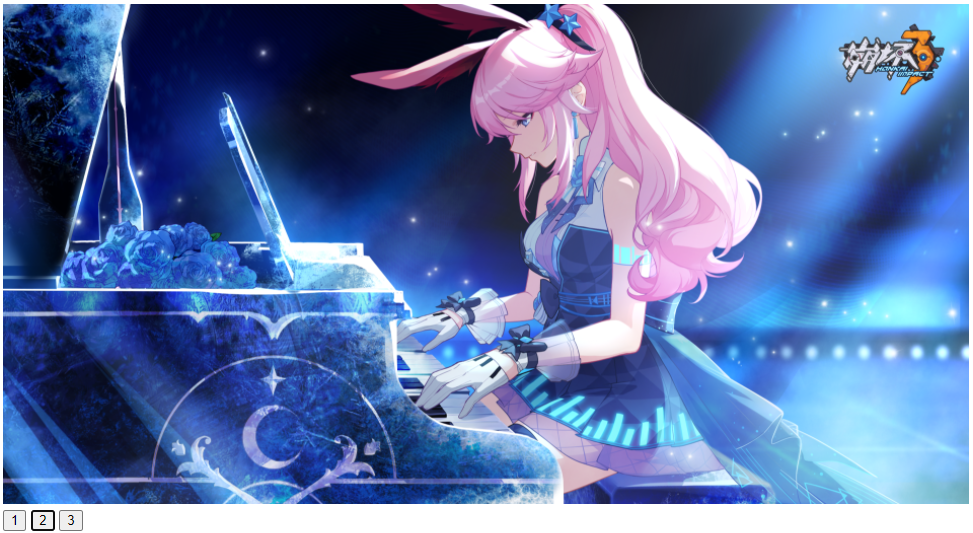

轮播图
3张图,flex布局横向排列,通过hidden隐藏掉超出的图片,通过向左平移实现图片的切换

<!DOCTYPE html>
<html lang="en">
<head>
    <meta charset="UTF-8">
    <meta http-equiv="X-UA-Compatible" content="IE=edge">
    <meta name="viewport" content="width=device-width, initial-scale=1.0">
    <title>Document</title>
    <style>
        .swiper{
            width: 640px;
            height: 320px;
            overflow: hidden;
            position: relative;
        }

        .img-container{
            width: 1920px;/*容纳3张图片以实现横向排列*/
            height: 320px;
            transition: transform 0.3s;/*切换图片*/
            display: flex;/*消除幽灵空白*/
        }

        .img-container img{
            width: 640px;
            height: 320px;
        }

        .btn-list{
            position: absolute;/*绝对定位抵消隐藏*/
            bottom: 0;
        }
    </style>
</head>
<body>
    <div class="swiper">
        <div class="img-container">
            <img src="img/keli.jpg" alt="">
            <img src="img/yae.png" alt="">
            <img src="img/jay.jpg" alt="">
        </div>
        <div class="btn-list">
            <button>1</button>
            <button>2</button>
            <button>3</button>
        </div>
    </div>
    <script>
        let btn = document.querySelectorAll(".btn-list button");
        let container = document.querySelector(".img-container");
        for(let i in btn){
            btn[i].onclick = function(){
                /*
                0 * 640 = 0
                1 * 640 = 640
                2 * 640 = 1280
                */
                container.style.transform = `translate(${-640*i}px)`;//不同按钮有相应的偏移值
            }
        }
    </script>
</body>
</html>
DOM节点分类

innerHtml
innerHtml不只能设置文本,还能设置标签、属性等内容
点击按钮显示列表
<button>按钮</button>
    <ul></ul>

    <script>
        let btn = document.querySelector("button");
        let u = document.querySelector("ul");
        btn.onclick = function(){
            u.innerHTML = `
                <li>苹果</li>
                <li>香蕉</li>
                <li>雪梨</li>
            `;
        }
    </script>

innerHtml是一个大刀阔斧的操作,一般用更细致的操作
节点操作
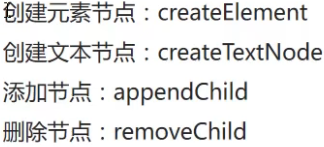
通过添加节点的方式
    <input type="text">
    <button>按钮</button>
    <ul></ul>

    <script>
        let inp = document.querySelector("input");
        let btn = document.querySelector("button");
        let ul1 = document.querySelector("ul");
        btn.onclick = function(){
            let li1 = document.createElement("li");//创建li标签
            let value1 = inp.value;//将文本框输入的内容赋值给value1
            let txt = document.createTextNode(value1);//创建文本,内容是value1
            ul1.appendChild(li1);//将li1即li标签添加到ul1即ul中
            li1.appendChild(txt);//将txt即文本添加到li1即li标签中
        }
    </script>
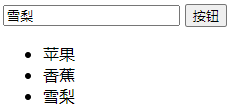
点击列表,删除列表项
    <input type="text">
    <button>按钮</button>
    <ul class="fruit">
        <li>苹果</li>
        <li>香蕉</li>
        <li>雪梨</li>
    </ul>

    <script>
        let inp = document.querySelector("input");
        let btn = document.querySelector("button");
        let ul1 = document.querySelector("ul");
        let list = document.querySelectorAll(".fruit li");
        btn.onclick = function(){
            let li1 = document.createElement("li");
            let value1 = inp.value;
            let txt = document.createTextNode(value1);
            ul1.appendChild(li1);
            li1.appendChild(txt);
        }

        for(let i in list){
            list[i].onclick = function(){//点击列表删除列表
                ul1.removeChild(this);//removeChild删除节点
                //this是list[i]调用的,指代一个li
            }//这个删不了新添加的列表,因为list选中的li是加载时就确定的,新添加的不在其中
        }
    </script>
事件对象
    <style>
        .box{
            width: 200px;
            height: 200px;
            background-color: red;
        }
    </style>
</head>
<body>
    <div class="box"></div>
    <script>
        let b = document.querySelector(".box");
        b.onclick = function(e){//e就是事件对象,可以取任何名字,就是个形参,建议e或者Event
            console.log(e);//返回值是一个对象,里面包含一些关于事件对象的信息
            console.log(e.clientX);//鼠标点击位置的x坐标
            console.log(e.clientY);//鼠标点击位置的y坐标
        }
    </script>
</body>


随鼠标移动显示大图
    <style>
        .pic-list img{
            width: 320px;
            height: 160px;
        }

        .pic-big img{
            width: 640px;
            height: 320px;
        }

        .pic-big{
            position: absolute;
        }
    </style>
</head>
<body>
    <div class="pic-list">
        <img src="img/1.jpg" alt="">
        <img src="img/2.jpg" alt="">
        <img src="img/3.jpg" alt="">
    </div>
    <div class="pic-big"></div>
    <script>
        let pics = document.querySelectorAll(".pic-list img");
        let bigPic = document.querySelector(".pic-big");
        let picList = document.querySelector(".pic-list");

        for(let i in pics){
            pics[i].onmouseenter = function(){
                bigPic.innerHTML = `<img src="${this.src}">`;//this指向pics[i]
            }
            pics[i].onmouseleave = function(){
                bigPic.innerHTML = ``;
            }
        }

        picList.onmousemove = function(e){
            let x = e.clientX;
            let y = e.clientY;
            bigPic.style.top = y + 10 + "px";//如果不加10,bigpic的图片会挡住picList,从而触发picList的移出js
            bigPic.style.left = x + 10 + "px";
        }
    </script>
</body>
