【Vue核心】7.事件处理
事件处理的基本使用
绑定监听
-
v-on:xxx=“fun”
-
@xxx=“fun”
-
@xxx=“fun(参数)”
-
默认事件形参: event
-
隐含属性对象: $event
绑定方法说明
- 使用v-on:xxx 或@xxx绑定事件,其中xxx是事件名;
- 事件的回调需要配置在methods对象中,最终公在vm上;
- methods中配置的函数,不要用箭头函数!否则this就不是vm了;
- methods中配置的函数,都是被Vue所管理的函数, this的指向是vm或组件实例对象;
- @click="demo"和 @click="demo($event)"效果一致,但后者可以传参;
代码示例
<!DOCTYPE html>
<html>
<head>
<meta charset="utf-8">
<title>事件的基本使用</title>
<script type="text/javascript" src="../js/vue.js"></script>
</head>
<body>
<!-- 准备好一个root容器 -->
<div id="root">
<h1>绑定点击事件v-on:click v-on:click=""</h1>
<button v-on:click="tipClick">点击提示</button>
<h1>绑定点击事件@click @click=""</h1>
<button @click="tipClick">点击提示2</button>
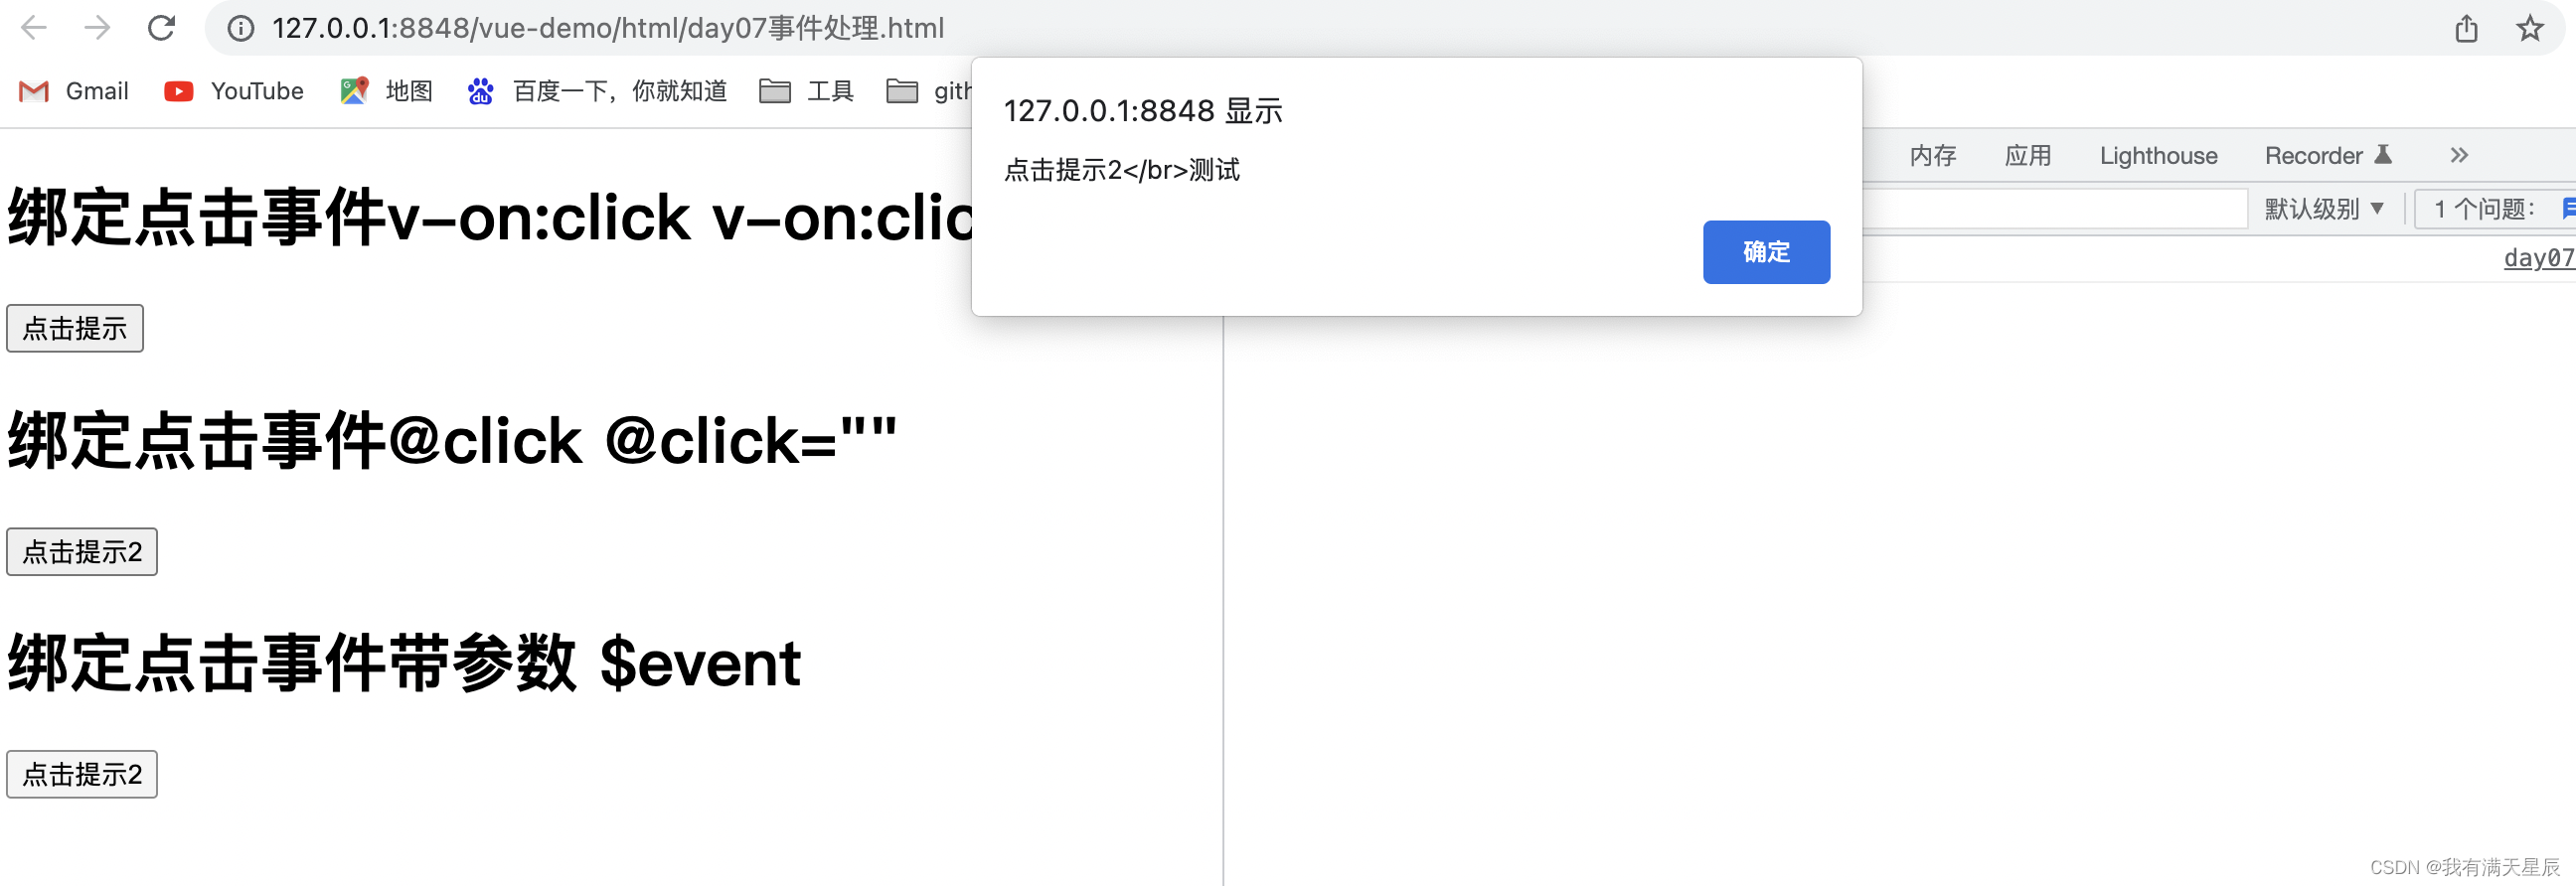
<h1>绑定点击事件带参数 $event</h1>
<button @click="tipClick3($event,'测试')">点击提示2</button>
</div>
</body>
<script type="text/javascript">
Vue.config.productionTip = false;
/*
事件的基本使用:
1.使用v-on:xxx 或@xxx绑定事件,其中xxx是事件名;
2.事件的回调需要配置在methods对象中,最终公在vm上;
3.methods中配置的函数,不要用箭头函数!否则this就不是vm了;
4.methods中配置的函数,都是被Vue所管理的函数, this的指向是vm或组件实例对象;
5.@click="demo"和 @click="demo($event)"效果一致,但后者可以传参;
*/
// 准备一个vue实例
const vm = new Vue({
el: '#root',
data: {
id: 1,
name: "测试",
},
methods: {
tipClick(event) {
console.log(event.target);
alert(event.target.innerText)
},
tipClick3(event, tipstr) {
alert(event.target.innerText + "</br>" + tipstr)
}
}
})
</script>
</html>
效果:
事件修饰符
使用说明
Vue中的事件修饰符:
- prevent:阻止默认事件(常用) ; 阻止事件的默认行为 event.preventDefault()
- stop: 阻止事件冒泡(常用);停止事件冒泡 event.stopPropagation()
- once:事件只触发一次(常用);
- capture:使用事件的捕获模式:
- self:只有event.target是当前操作的元素是才触发事件;
- passive:事件的默认行为立即执行,无需等待事件回调执行完毕;
代码示例:
<!DOCTYPE html>
<html>
	<head>
		<meta charset="utf-8">
		<title>事件的基本使用</title>
		<script type="text/javascript" src="../js/vue.js"></script>
		<style>
			.demo-button {
				margin-top: 10px;
				width: 300px;
				height: 30px;
				background-color: azure;
			}

			.list {
				width: 200px;
				height: 200px;
				background-color: skyblue;
				overflow: auto;
			}

			li {
				height: 100px;
			}
		</style>
	</head>
	<body>
		<!-- 准备好一个root容器 -->
		<div id="root">

			<!--阻止默认事件.prevent  -->
			<h1>阻止默认事件.prevent</h1>
			<a href="http://www.baidu.com" @click.prevent="alertTip">a标签跳转</a>

			<!--阻止事件冒泡.stop  -->
			<div class="demo-button" @click="alertTip">
				<button @click.stop="alertTip">阻止事件冒泡.stop</button>
			</div>

			<!-- 事件只触发一次 -->
			<div class="demo-button">
				<button @click.once="alertTip">事件只触发一次.once</button>
			</div>

			<!-- 使用事件的捕获模式 -->
			<div class="demo-button" @click.capture="alertTipMsg(1)">
				<button @click="alertTipMsg(2)">使用事件的捕获模式.capture</button>
			</div>

			<!-- 只有event.target是当前操作的元素时才触发事件:-->
			<div class="demo-button" @click.self="alertTipMsg(1)">
				<button @click="alertTipMsg(2)">event.target是当前操作的元素时才触发.self</button>
			</div>

			<!-- 只有event.target是当前操作的元素时才触发事件:-->
			<div class="demo-button" @click.self="alertTipMsg(1)">
				<button @click="alertTipMsg(2)">event.target是当前操作的元素时才触发.self</button>
			</div>

			<!-- 事件的默认行为立即执行,无需等待事件回调执行完毕:
			 @wheel鼠标滚轮事件  会优先执行事件,再改变滚动条
			 @scroll 滚动条滚动事件-->
			<div class="demo-button">

				<h6>事件的默认行为立即执行,无需等待事件回调执行完毕:.passive</h6>

				<ul class="list" @wheel.passive="wheelClick" @scroll="scrollClick">
					<li>1</li>
					<li>2</li>
					<li>3</li>
					<li>4</li>
				</ul>
			</div>
		</div>
	</body>

	<script type="text/javascript">
		Vue.config.productionTip = false;
		// 准备一个vue实例
		const vm = new Vue({
			el: '#root',
			data: {
				name: "测试",
			},
			methods: {
				alertTip(event) {
					console.log(event.target);
					alert(event.target.innerText)
				},
				alertTipMsg(number) {
					console.log("number:" + number);
				},
				wheelClick() {
					console.log("wheel")
				},
				scrollClick() {
					console.log("scroll")
				},
			}
		})
	</script>
</html>
键盘事件
keyup
1.Vue中常用的按键别名:
- 回车=> enter
- 删除=>-delete·(捕获“删除”和“退格”健)
- 退出=>-esc
- 空格=> space
- 换行=>-tab
- 上=> up
- 下=> down
- 左=>-left
- 右-=>-right
2.Vue未提供别名的按健,可以使用按键原始的key值去绑定,但注意要转为kebab-case (短横线命名)
3,系统修饰键(用法特殊) : ctrl,alt,shift,meta
(1).配合keyup使用:按下修饰健的同时,再按下其他键,随后释放其他健,事件才被触发。
(2).配合keydown使用:正常触发事件。
4.也可以使用keyCode去指定具体的按键(不推荐)
5.Vue.config.keyCodes.自定义键名 = 键码,可以去定制按健别名
代码示例
<!DOCTYPE html>
<html>
	<head>
		<meta charset="utf-8">
		<title>键盘事件</title>
		<!-- 引入vue.js -->
		<script type="text/javascript" src="../js/vue.js"></script>
	</head>
	<body>
		<!-- 准备好一个容器 -->
		<div id="root">
			<div>
				回车: <input type="text" placeholder="按下[回车]提示输入" @keyup.enter="showKeyCode">

			</div>

			<div>
				tab: <input type="text" placeholder="按下[tab]提示输入" @keydown.tab="showKeyCode">
			</div>

			<div>
				未提供别名的按键,转化为短横线kebab-case: <input type="text" placeholder="按下[切换大小写]提示输入"
					@keyup.caps-lock="showKeyCode">
			</div>


			<div>
				@keyup 按下: <input type="text" placeholder="按下哪个键提示输入" @keyup="showKeyCode">
			</div>


			<div>
				按下crtl + y: <input type="text" placeholder="按下[crtl + y]提示输入" @keyup.crtl.y="showKeyCode">
			</div>


			<div>
				自定义按键: <input type="text" placeholder="按下[huiche]提示输入" @keyup.huiche="showKeyCode">
			</div>

		</div>
	</body>

	<script type="text/javascript">
		Vue.config.productionTip = false;
		Vue.config.keyCodes.huiche = 13;

		new Vue({
			el: '#root',
			data: {
				vue_info: {
					id: '1',
					name: 'vue'
				},

			},
			methods: {
				showKeyCode(event) {
					console.log(event.target);
					console.log(event.key + ":" + event.keyCode)

				}
			},

		})
	</script>
</html>
- keycode : 操作的是某个keycode 值的键
- keyName : 操作的某个按键名的键(少部分)

 浙公网安备 33010602011771号