

vue-cli3配置多页面入口
经常遇到需要配置多入口文件的需求,做下总结记录:
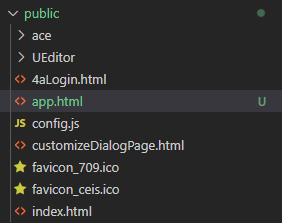
第一步:在public文件下创建一个app.html页面的文件。
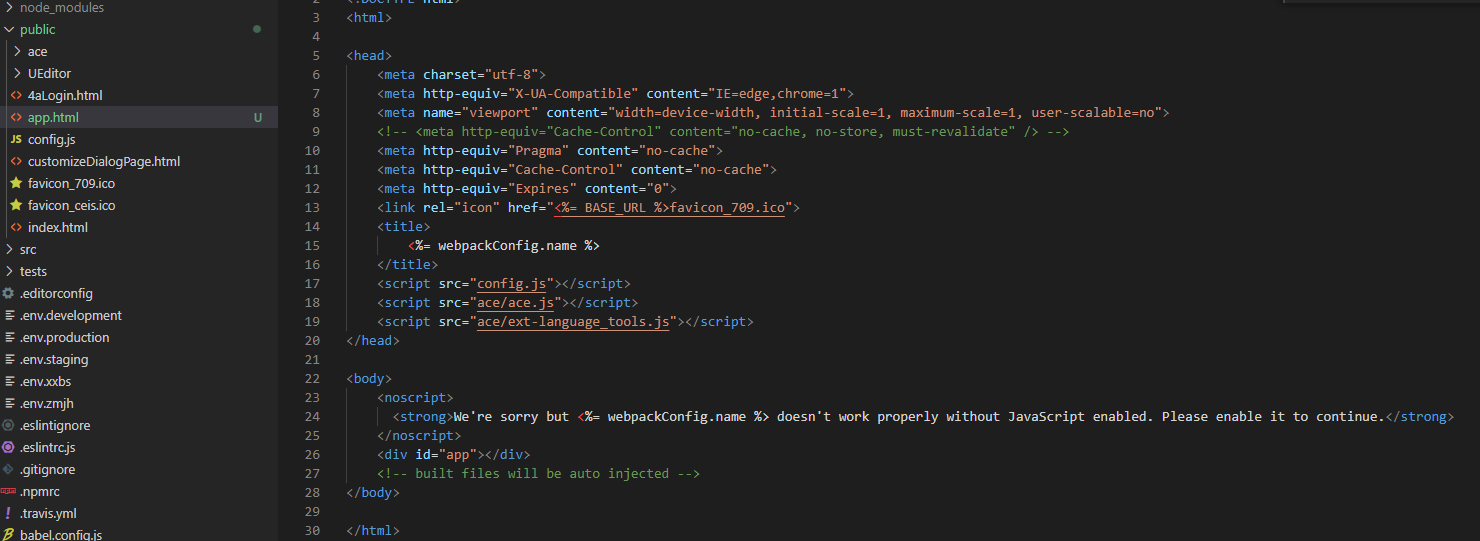
在项目public文件夹下创建一个app.html,其实就是将index.html复制一份,将title和name改一下:
ps:如果不需要特殊引入其他js,也可以配置好,会自动生成app.vue模板文件.
第二步:在src文件夹下创建一个app文件夹,分别创建main.js、app.vue两个文件,permission文件是为了权限控制,可有可无。
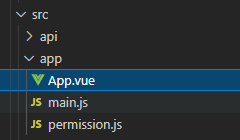
三个文件内容如下:
app下的main.js仿照main.js
// 引入@babel/polyfill处理兼容
import "@babel/polyfill";

import Vue from "vue";
import App from "./App.vue";
import router from "./router/";

import ElementUI from 'element-ui';
import 'element-ui/lib/theme-chalk/index.css';
Vue.use(ElementUI);

Vue.config.productionTip = false;

new Vue({
  router,
  render: h => h(App)
}).$mount("#app");
app/app.vue(仿造app.vue)
<template>
    <div id="app">
    <router-view></router-view>
    </div>
</template>
<script>
export default {
    data(){
        return{
        }
    }
}
</script>
<style scoped>

</style>
第三步:配置vue.config.js
在module.exports里加上入口配置:
const pages = {
  'index': {
    entry: 'src/index/main.js',
    // 页面的模板文件
    template: 'public/index.html',
    // build 生成的文件名称  例: dist/index.html
    filename: 'index.html',
    chunks: ['chunk-libs', 'chunk-commons', 'chunk-elementUI', 'runtime', 'index']
  },
  'app': {
    entry: 'src/app/main.js',
    template: 'public/app.html',
    filename: 'app.html',
    chunks: ['chunk-libs', 'chunk-commons', 'chunk-elementUI', 'runtime', 'app']
  }
}
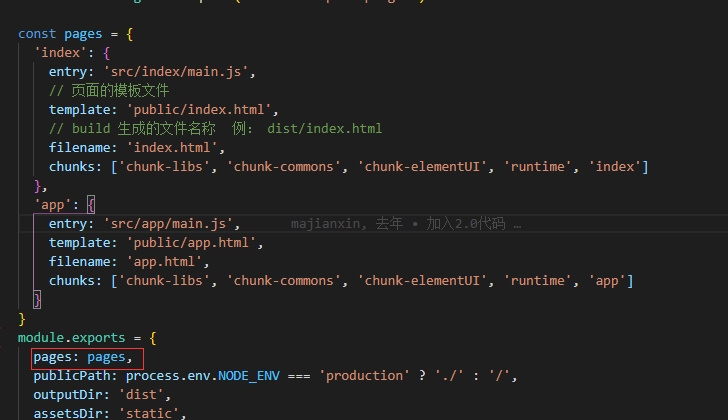
然后运行访问:localhost:port/app.html/#/即可!!!
打包看看!!!
nginx上这样配置:
    root  C:\Users\hoohui_qianduan\Desktop\littleDemo-mianshi\vueAllDemo\dist;
        location /login {
            index  app.html app.htm;
            try_files $uri $uri/ /app.html;
        }
        location / {
            index  index.html index.htm;
            try_files $uri $uri/ /index.html;
        }
vue.config.js中的静态资源访问路径这样配置:
publicPath: process.env.NODE_ENV === 'production'? '/': '/',//静态资源访问路径
/ :代表从root根路径访问 是绝对路径 静态资源访问路径永远都是localhost:port/static.....
./ :代表相对路径 相对于地址栏的路径 假如地址栏上是localhost:port/app 那么静态资源的访问路径就是 localhost:port/app/static.....
/dist/ :也是相对路径 代表静态资源路径在 root的dist文件夹下
