

1.简单上手应用
一、在阿里巴巴矢量图标库官网里面创建自己的项目,在里面添加自己项目得图标。(具体如何新建项目添加图标不是本文重点可自行百度)
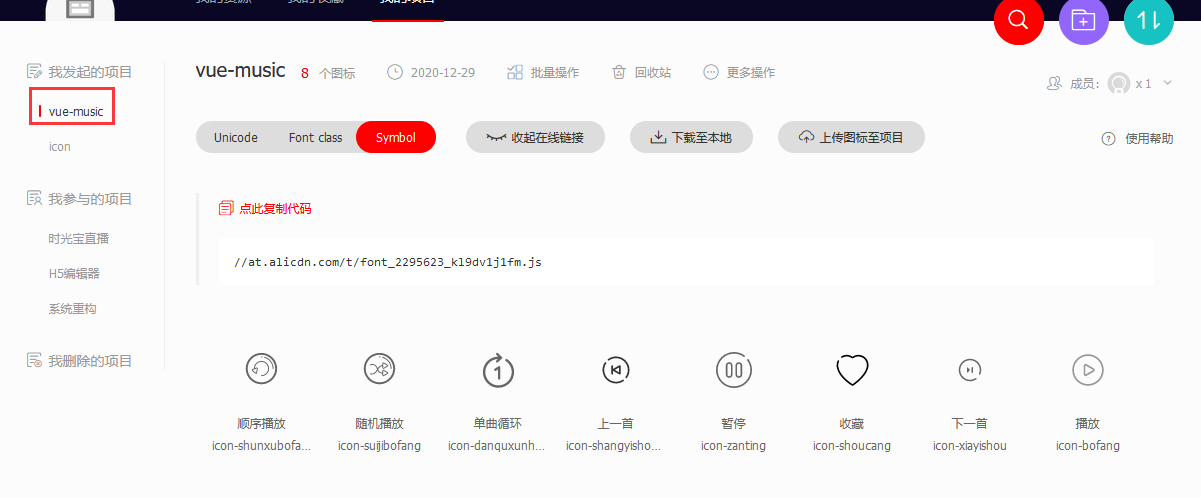
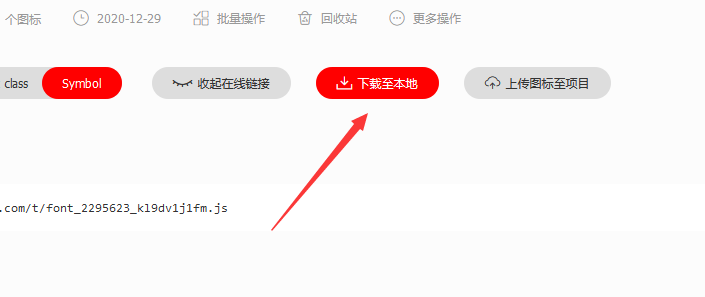
二、点击下载至本地
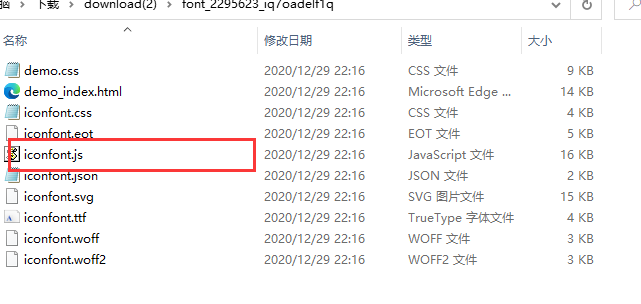
三、找到下载下来的iconfont.js复制
四、引进项目
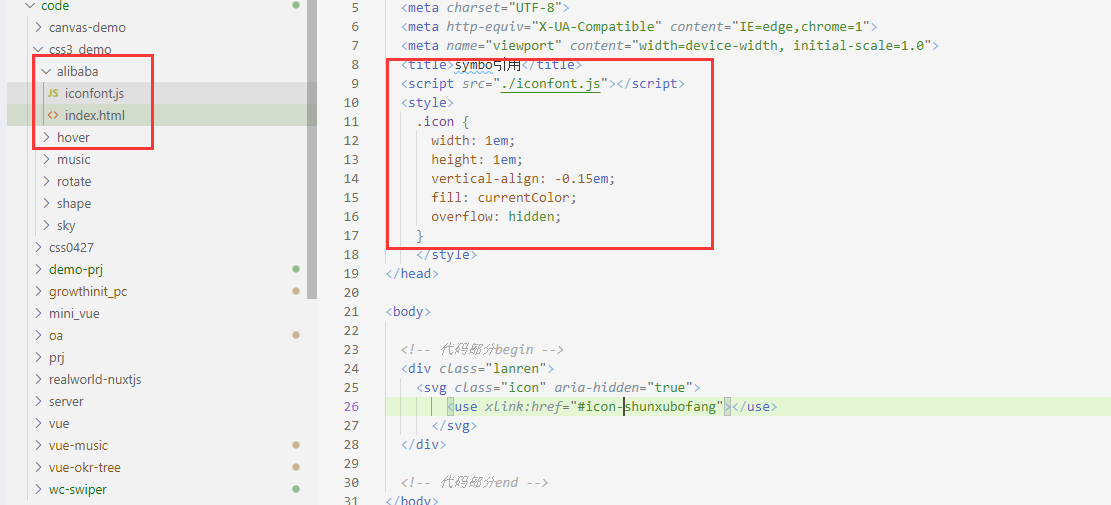
好了,到这里就完了!!!看效果

需要注意的一个地方:#icon-其中icon-是你在新建项目的时候设置的前缀
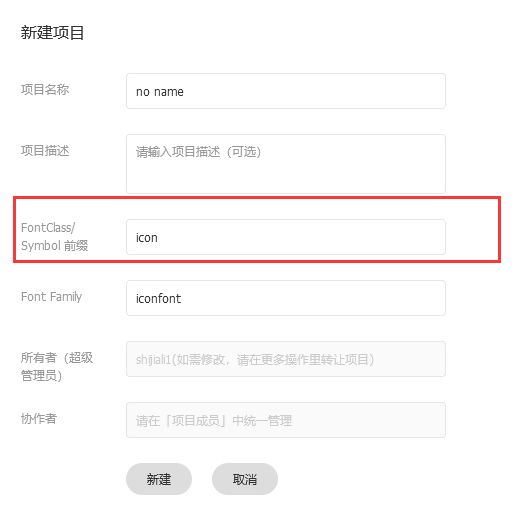
就是上面框住的地方,当然这只是一个简单的demo例子
引进项目里面你可以参考一下这篇文章 :https://blog.csdn.net/xiaocn325/article/details/100153307 建议一定要读完回来再看下面的内容
仔细看完你会发现重点来了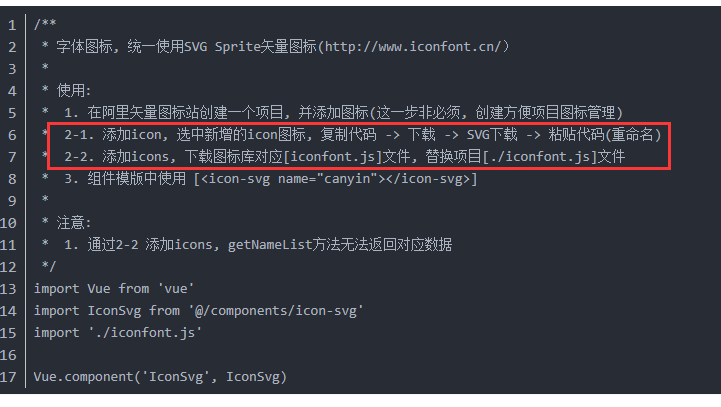
按照这样的方法在项目里面可以使用svg图但是有两个步骤在不断重复,这对于ui跟新图标库前端引用来说都是极其的不方便,因此就需要将其封装成组件,下一次需要添加的时候直接现在svg文件引入一个文件就可以了,不需要频繁替换iconfont,js,团队协作也很方便;
2.使用svg格式字体图标在vue项目里的封装
1、第一步:安装解析svg类型图标的依赖库
npm install svg-sprite-loader --save-dev
2、配置vue.config.js文件,代码如下 我现在用的webpack是4.0以上版本的 这一步配置很关键,这里配置失败图标是出不来的,如果有报resovle is undefined 则
    chainWebpack(config) {
        // set svg-sprite-loader
        config.module
            .rule('svg')
            .exclude.add(resolve('src/icons'))
            .end()
        config.module
            .rule('icons')
            .test(/\.svg$/)
            .include.add(resolve('src/icons'))
            .end()
            .use('svg-sprite-loader')
            .loader('svg-sprite-loader')
            .options({
                symbolId: 'icon-[name]'
            })
            .end()

    }
整个文件如下
const path = require('path')
module.exports = {
    publicPath:'./' ,
    devServer: {
        proxy: {
            '/api':{
                target: 'https://c.y.qq.com/splcloud/fcgi-bin/fcg_get_diss_by_tag.fcg',
                // target: 'http://192.168.3.20:8154/',
                changeOrigin: true,
                pathRewrite: {
                '^/api': '/'
                }
            },
        },
        disableHostCheck: true
    },
    chainWebpack: config => {

        config.entry('main').add('babel-polyfill') // main是入口js文件
        // 其他配置
        config.module
        .rule('svg')
        .exclude.add(path.resolve(__dirname,"src/icons"))
        .end()
        config.module
        .rule('icons')
        .test(/\.svg$/)
        .include.add(path.resolve(__dirname,"src/icons"))
        .end()
        .use('svg-sprite-loader')
        .loader('svg-sprite-loader')
        .options({
            symbolId: 'icon-[name]'
        })
        .end()
    },
    lintOnSave: false,
};
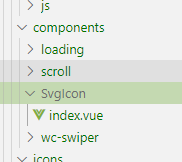
3、在src/components下新建文件夹及文件SvgIcon/index.vue,代码如下
 <template>
  <!--<svg class="svgClass" aria-hidden="true">
    <use :xlink:href="iconName"></use>
  </svg>-->
  <div v-if="isExternal" :style="styleExternalIcon" class="svg-external-icon svg-icon" v-on="$listeners" />
  <svg v-else :class="svgClass" aria-hidden="true" v-on="$listeners">
    <use :xlink:href="iconName" />
  </svg>

</template>
<script>
// doc: https://panjiachen.github.io/vue-element-admin-site/feature/component/svg-icon.html#usage
import { isExternal } from '@/utils/validate'

export default {
  name: 'SvgIcon',
  props: {
    iconClass: {
      type: String,
      required: true
    },
    className: {
      type: String,
      default: ''
    }
  },
  computed: {
    isExternal() {
      // return false
      return isExternal(this.iconClass)
    },
    iconName() {
      return `#icon-${this.iconClass}`
    },
    svgClass() {
      if (this.className) {
        return 'svg-icon ' + this.className
      } else {
        return 'svg-icon'
      }
    },
    styleExternalIcon() {
      return {
        mask: `url(${this.iconClass}) no-repeat 50% 50%`,
        '-webkit-mask': `url(${this.iconClass}) no-repeat 50% 50%`
      }
    }
  }
}
</script>

<style scoped>
.svg-icon {
  width: 1em;
  height: 1em;
  vertical-align: -0.15em;
  fill: currentColor;
  overflow: hidden;
}

.svg-external-icon {
  background-color: currentColor;
  mask-size: cover!important;
  display: inline-block;
}
</style>
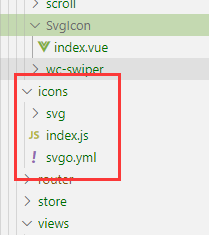
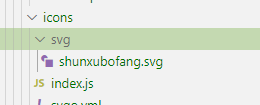
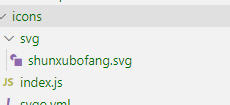
4、在src下新建icons文件夹,及icons文件夹下svg文件夹、index.js文件、svgo.yml文件
index.js文件
import Vue from 'vue'
import SvgIcon from '@/components/SvgIcon'// svg component

// register globally
Vue.component('svg-icon', SvgIcon)

const req = require.context('./svg', false, /\.svg$/)
const requireAll = requireContext => requireContext.keys().map(requireContext)
看不懂这段代码的可以参考这个来链接 https://blog.csdn.net/qq_21567385/article/details/107626075
svgo.yml文件
# replace default config
# multipass: true
# full: true

plugins:
  # - name
  #
  # or:
  # - name: false
  # - name: true
  #
  # or:
  # - name:
  #     param1: 1
  #     param2: 2

- removeAttrs:
    attrs:
      - 'fill'
      - 'fill-rule'
5、svg文件夹下面放svg图标文件
6、在main.js中引入svg
import '@/icons'
7、配置package.json文件
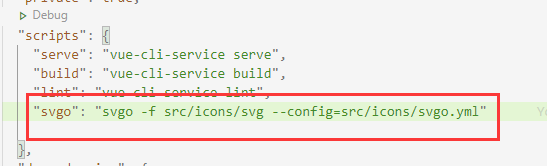
"svgo": "svgo -f src/icons/svg --config=src/icons/svgo.yml"
8、当初始化使用或者新增svg图标时,需要执行以下代码
npm run svgo
不知道svgo是干用的可以参考这篇文章 https://www.cnblogs.com/dongxiaolei/p/7344662.html
9、使用svg图标
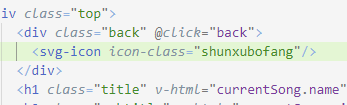
其中“chaxun”为svg文件中svg图标的名称
到这里就结束了。
如果你的svg图没有出来可以留言交流哦 一起探讨技术问题

 浙公网安备 33010602011771号