
MyEclipse2014快速配置Spring & Spring Testing, Spring AOP简单使用
1.新建项目
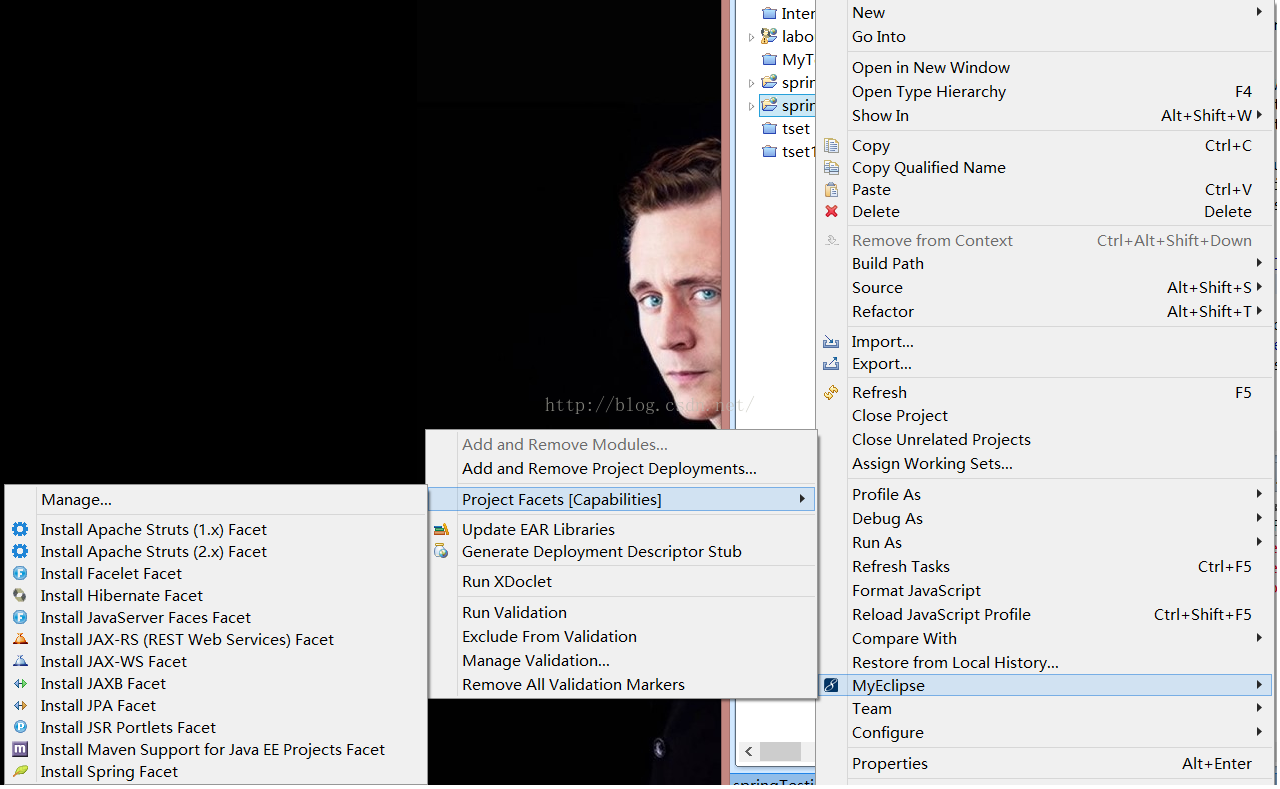
2.右击项目,如图,利用myeclipse自动导入spring
3.在弹出的对话框中一直next到最后,在最后的页面中勾选Spring Testing,完成.

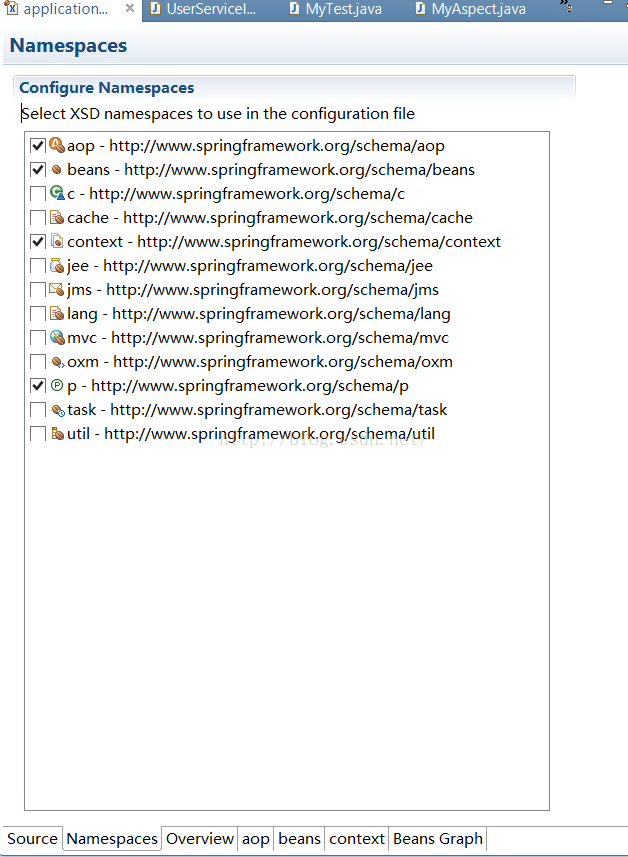
4.在src下的applicationContext.xml里,点击namespaces,勾选aop和context
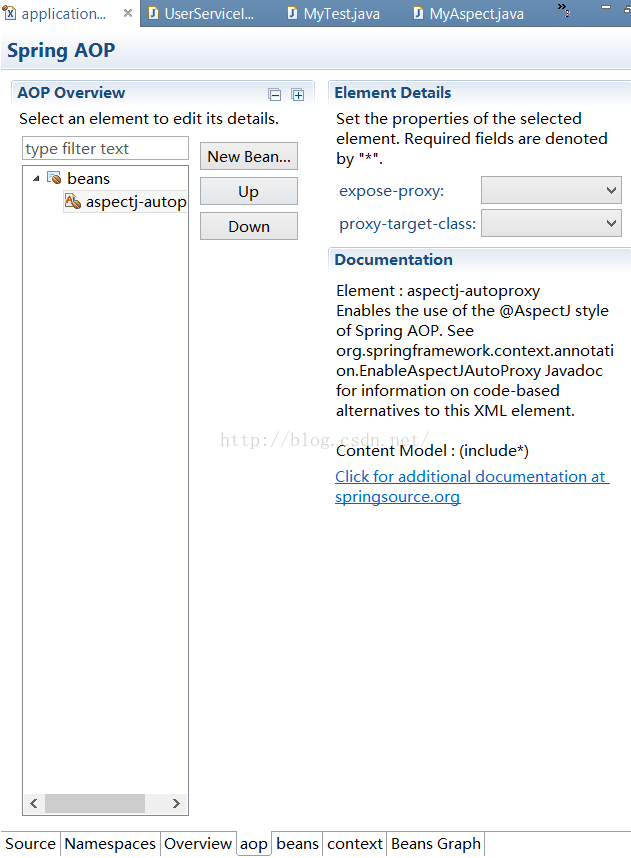
5.在上图的底部分别进入aop和context界面,
5.1在aop界面右击beans,添加<aop:aspectj-autoproxy>,这个的作用是启用aspectj类型的aop功能.
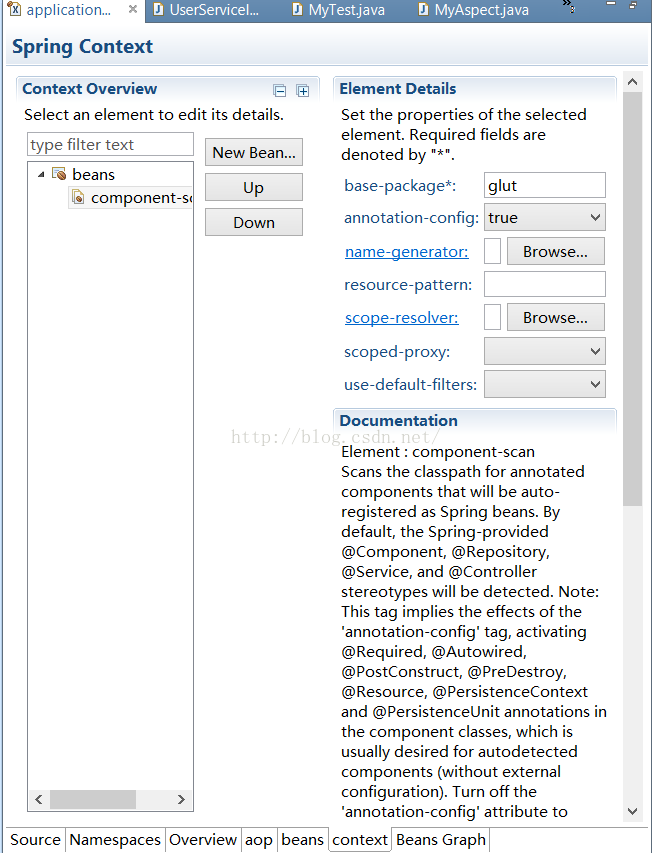
5.2 在context界面右击beans,添加<context:component-scan>,并在右边的elemen details识图中填写base-package和选择annotation-config
base-package的作用是,让spring自动扫描存在注解的包并注册为spring beans.(我这里的包均以glut开头)
annotation-config的作用大概是启用注解.(doc里面大致的意思......)
6.创建UserService接口,UserServiceImp实现类还有MyTest测试类.
目录结构:

package glut.service;

public interface UserService {
	void login(String username);
}
package glut.serviceImp;

import org.springframework.stereotype.Service;

import glut.service.UserService;

@Service
public class UserServiceImp implements UserService {

	@Override
	public void login(String username) {
		// TODO Auto-generated method stub
		System.out.println(username + " has login");
	}

}
package glut.test;

import javax.annotation.Resource;

import glut.service.UserService;

import org.junit.Test;
import org.junit.runner.RunWith;
import org.<span style="width: auto; height: auto; float: none;" id="2_nwp"><a target=_blank style="text-decoration: none;" target="_blank" href="http://cpro.baidu.com/cpro/ui/uijs.php?adclass=0&app_id=0&c=news&cf=1001&ch=0&di=128&fv=19&is_app=0&jk=211ff60146ba710b&k=spring&k0=spring&kdi0=0&luki=4&mcpm=0&n=10&p=baidu&q=65035100_cpr&rb=0&rs=1&seller_id=1&sid=b71ba461f61f21&ssp2=1&stid=9&t=tpclicked3_hc&td=1836545&tu=u1836545&u=http%3A%2F%2Fwww%2Ebubuko%2Ecom%2Finfodetail%2D992207%2Ehtml&urlid=0" id="2_nwl"><span style="font-size:12px;color:#0000ff;width:auto;height:auto;float:none;">spring</span></a></span>framework.test.context.ContextConfiguration;
import org.springframework.test.context.junit4.SpringJUnit4ClassRunner;

//启用Spring JUnit
@RunWith(SpringJUnit4ClassRunner.class)
//加载指定的配置文件
@ContextConfiguration(locations = "classpath:applicationContext.xml")
public class MyTest {
	@Resource
	private UserService userService;

	@Test
	public void test() {
		userService.login("leo");
	}
}
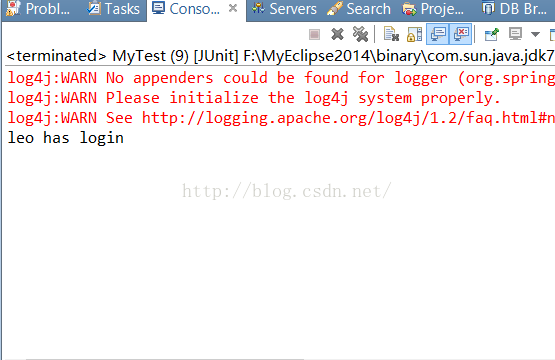
测试结果:
7.接下来测试AOP功能,新建一个切面类
package glut.aspect;

import org.aspectj.lang.annotation.After;
import org.aspectj.lang.annotation.Aspect;
import org.aspectj.lang.annotation.Before;
import org.aspectj.lang.annotation.Pointcut;
import org.<span style="width: auto; height: auto; float: none;" id="1_nwp"><a target=_blank style="text-decoration: none;" target="_blank" href="http://cpro.baidu.com/cpro/ui/uijs.php?adclass=0&app_id=0&c=news&cf=1001&ch=0&di=128&fv=19&is_app=0&jk=211ff60146ba710b&k=spring&k0=spring&kdi0=0&luki=4&mcpm=0&n=10&p=baidu&q=65035100_cpr&rb=0&rs=1&seller_id=1&sid=b71ba461f61f21&ssp2=1&stid=9&t=tpclicked3_hc&td=1836545&tu=u1836545&u=http%3A%2F%2Fwww%2Ebubuko%2Ecom%2Finfodetail%2D992207%2Ehtml&urlid=0" id="1_nwl"><span style="font-size:12px;color:#0000ff;width:auto;height:auto;float:none;">spring</span></a></span>framework.stereotype.Component;

//声明为切面
@Aspect
//切面也要作为component识别
@Component
public class MyAspect {
	//execution(任意类型  glut..任意包.任意类(任意参数)
	@Pointcut("execution(* glut..*.*(..))")
	public void myPointCut() {
	};

	//调用poincut指定的方法前执行beforeMethod
	@Before("myPointCut()")
	public void beforeMethod() {
		System.out.println("This is before method");
	}

	//调用poincut指定的方法后执行afterMethod
	@After("myPointCut()")
	public void afterMethod() {
		System.out.println("This is after method");
	}
}
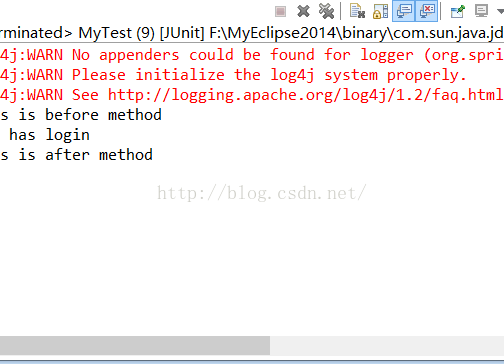
最后再看一次测试结果:
MyEclipse2014,你值得拥有.

 浙公网安备 33010602011771号