
django2.0数据展示流程
之前刚刚实现了数据添加的流程,那么数据展示是怎么回事
1 先在 views.py 中定义函数 增加获取数据的方式
from django.shortcuts import render
from blog.models import BlogsPost
from blog.models import PostType #这不是新加的

# Create your views here.
def blog_index(request):
    blog_list = BlogsPost.objects.all()  # 获取所有数据
    return render(request,'index.html', {'blog_list':blog_list})   # 返回index.html

def blog_type(request):
    type_list=PostType.objects.all()
    return render(request,'type.html',{'type_list':type_list}) #这部分是新加的
2 在urls.py 中定义此函数 访问的路由规则
from django.contrib import admin
from django.urls import path
from django.conf.urls import url

from blog import views

urlpatterns = [
    path('admin/', admin.site.urls),
    path('blog/', views.blog_index),

    path('index/', views.blog_index),
    path('type/', views.blog_type), 这部分是新添加的
     #定义默认访问路由,表示输入任意url路径
    url(r'^$', views.blog_index),
]
3 在模板页面里面写,找到templates里面的type.html
{% include "header.html" %}

    <div class="container" style="margin-top: 50px;">

      <div class="starter-template">

        {% for type in type_list %}
            <h2>{{ type.title }}</h2>
            <p>{{ type.timestamp }}</p>
            <p>{{ type.order }}</p>
        {% endfor %}

      </div>

    </div><!-- /.container -->

 {% include "footer.html" %}
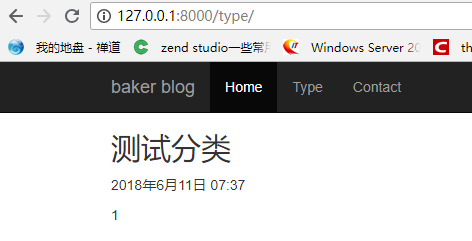
红色是注意的代码,到后台去type中添加测试的数据 然后打开页面看
header.html 的连接部分的代码也贴出来,很简单的一段
           <li class="active"><a href="/index/">Home</a></li>
            <li><a href="/type/">Type</a></li>#这个就是type的访问路径
4 打开页面看看结果

 浙公网安备 33010602011771号