自制时间轴组件封装
最新项目的一个时间轴选中样式,磨了我很久,刚开始想的是找网上的插件,但是发现没有,
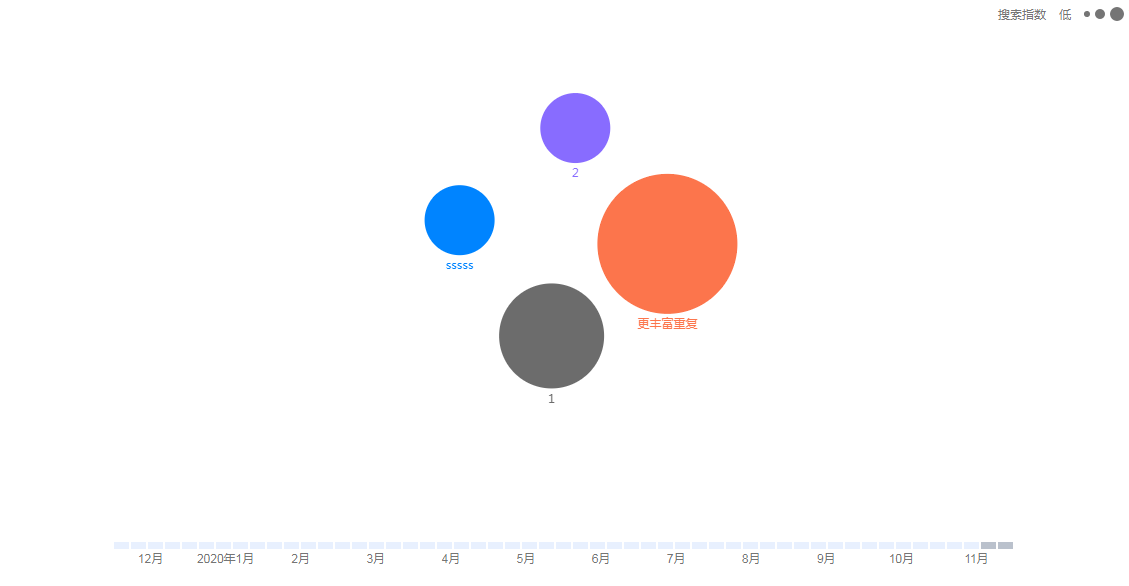
先给大家看一下我要完成的样式(使用该组件我指定的年限范围是一年,大家可以根据自己的需求,稍作更改)

就是图片下方的时间轴,要根据上面时间的选择范围变化,发现网上没有,于是自己和同事一起手写了一个。
先上代码
<template>
    <div class="drag-wrep">
        <ul class="list">
            <li class="time start" ref="Start"></li>
            <li
                v-for="(item, index) in endWeek - startWeek"
                :key="index + 'px'"
                class="time"
                :style="'left:' + (startInit + 17 * item) + 'px'"
            ></li>
            <li class="time end" ref="End"></li>
            <li class="item-li" v-for="(item, index) in 53" :key="index"></li>
        </ul>
        <ul class="list list-month">
            <li
                :class="{
                    'month-start': day < 10,
                    'month-center': day >= 10 && day <= 20,
                    'month-end': day > 20
                }"
                class="item-month"
                v-for="item in month"
                :key="item.id"
            >
                {{ item.name }}
            </li>
        </ul>
    </div>
</template>

<script>
const initMonth = [
    {
        name: "1月",
        id: 1
    },
    {
        name: "2月",
        id: 2
    },
    {
        name: "3月",
        id: 3
    },
    {
        name: "4月",
        id: 4
    },
    {
        name: "5月",
        id: 5
    },
    {
        name: "6月",
        id: 6
    },
    {
        name: "7月",
        id: 7
    },
    {
        name: "8月",
        id: 8
    },
    {
        name: "9月",
        id: 9
    },
    {
        name: "10月",
        id: 10
    },
    {
        name: "11月",
        id: 11
    },
    {
        name: "12月",
        id: 12
    }
];
export default {
    props: {
        daterange: {
            type: [Number, String, Array, Object],
            default: () => [
                parseInt(new Date("2020-09-30T16:00:00.000Z").valueOf()),
                parseInt(new Date("2020-10-30T16:00:00.000Z").valueOf())
            ]
        }
    },
    data() {
        return {
            startInit: 0, // 左边的初始位置
            startTime: 0,
            endTime: 0,
            startWeek: 0,
            endWeek: 0,

            month: [],
            day: new Date().getDate()
        };
    },
    created() {
        this.dealTimeAxis();
    },
    methods: {
        dealTimeAxis() {
            // 处理时间轴
            let month = new Date().getMonth() + 1;
            let year = new Date().getFullYear();
            let newArr = initMonth.filter(item => item.id <= month);
            if (month != 12) {
                newArr[0].name = `${year}年1月`;
            }
            let oldArr = [];
            for (let i = month + 1; i <= 12; i++) {
                oldArr.push({
                    name: `${i}月`,
                    id: i
                });
            }
            this.month = oldArr.concat(newArr);
        },
        dealStartTime(val) {
            // 处理开始时间
            this.startTime = parseInt(
                new Date().valueOf() - new Date(val).valueOf()
            );
            this.startWeek =
                53 - Math.ceil(this.startTime / (24 * 60 * 60 * 1000) / 7);
            this.startInit = this.startWeek * 17;
            this.$refs.Start.style.left = this.startInit + "px";
        },
        dealEndTime(val) {
            this.endTime = parseInt(
                new Date().valueOf() - new Date(val).valueOf()
            );
            this.endWeek =
                53 - Math.ceil(this.endTime / (24 * 60 * 60 * 1000) / 7);
            this.$refs.End.style.left = this.endWeek * 17 + "px";
        }
    }
};
</script>

<style lang="scss" scoped>
.drag-wrep {
    margin-top: 100px;
    width: 100%;
    height: 100px;
    // background-image: linear-gradient(to bottom right, red, yellow);
    .list {
        display: flex;
        position: relative;
        .time {
            position: absolute;
            top: 0;
            width: 15px;
            height: 7px;
            background: #bac1cc;
            margin: 1px;
            cursor: pointer;
        }
        .start {
            left: -1700px;
        }
        .end {
            left: -1700px;
        }
        .item-li {
            width: 15px;
            height: 7px;
            background: #e8f0fe;
            margin: 1px;
        }
    }
    .list-month {
        width: 901px;
        justify-content: space-between;
        .item-month {
            width: 77px;
            font-size: 12px;
            font-weight: 400;

            color: #757575;
        }
        .month-start {
            text-align: right;
        }
        .month-center {
            text-align: center;
        }
        .month-end {
            text-align: left;
        }
    }
}
</style>
就是,这个组件,先给大家讲一下思路。
首先是样式,通过ul,和li实现。因为我们是一个格子是一周的时间算下来一年大概要53个,通过循环,先将格子实现出来,再修改样式
然后先设置list为相对定位,然后里面再定三个li,这三个li就是被选中的样式,设置为绝对定位,每个格子的大小大概是17px。
     <ul class="list">
            <li class="time start" ref="Start"></li>
            <li
                v-for="(item, index) in endWeek - startWeek"
                :key="index + 'px'"
                class="time"
                :style="'left:' + (startInit + 17 * item) + 'px'"
            ></li>
            <li class="time end" ref="End"></li>
            <li class="item-li" v-for="(item, index) in 53" :key="index"></li>
        </ul>
然后通过接收外面传过来的起始时间和结束时间来实现选中样式。
然后在用一个昂发来处理时间轴的位置。和显示的文字内容。


