drf-认证
1 认证Authentication
1.1 自定义认证方案
1.1.1 编写models
models.py
from django.db import models


# Create your models here.
class Book(models.Model):
    name = models.CharField(max_length=32)
    price = models.DecimalField(max_digits=8, decimal_places=2)
    publish = models.CharField(max_length=32)

# ===========================认证用到的============================
class User(models.Model):
    username = models.CharField(max_length=32)
    password = models.CharField(max_length=32)
    user_type = models.IntegerField(choices=((1, '超级用户'), (2, '普通用户'), (3, '二笔用户')))


class UserToken(models.Model):
    token = models.CharField(max_length=64)
    user = models.OneToOneField(to='User', on_delete=models.CASCADE)   # on_delete=models.CASCADE级联删除
1.1.2 新建自定义认证类
app01/app_auth.py
from rest_framework.authentication import BaseAuthentication
from rest_framework.exceptions import AuthenticationFailed
from app01.models import UserToken


class MyAuthentication(BaseAuthentication):
    def authenticate(self, request):
        # 认证逻辑,如果认证通过,返回两个值
        # 如果认证失败,抛出AuthenticationFailed异常
        token = request.GET.get('token')
        if token:
            user_token = UserToken.objects.filter(token=token).first()
            # 认证通过
            if user_token:
                return user_token.user, token
            else:
                raise AuthenticationFailed('认证失败')
        else:
            raise AuthenticationFailed('请求地址中需要携带token')
1.1.3 编写视图
views.py
from rest_framework.viewsets import ModelViewSet
from rest_framework.views import APIView
from app01.models import Book
from app01.serializers import BookSerializer
from rest_framework.decorators import action  # 装饰器
from rest_framework.response import Response
# ===============认证相关===========================
from app01.app_atuh import MyAuthentication
from app01 import models
import uuid

# Create your views here.
class BookViewSet(ModelViewSet):
    authentication_classes = [MyAuthentication, ]     # 局部使用认证
    queryset = Book.objects.all()
    serializer_class = BookSerializer
    @action(methods=['GET', 'POST'], detail=True)
    def get_1(self, request, pk):
        print(pk)
        book = self.get_queryset()[:2]  # 从0开始截取两条
        ser = self.get_serializer(book, many=True)
        return Response(ser.data)

class LoginView(APIView):
    def post(self, request):
        username = request.data.get("username")
        password = request.data.get("password")
        user = models.User.objects.filter(username=username, password=password).first()
        if user:
            # 登录成功,生成随机字符串
            token = uuid.uuid4()
            # 存到UserToken表中
            # models.UserToken.objects.create(token=token, user=user)   # 用它每次登录都会记录一条,不好,
            # update_or_create有就更新,没有就新增
            usertoken_obj, flag = models.UserToken.objects.update_or_create(defaults={'token': token}, user=user)
            print(usertoken_obj, flag)
            return Response({'status': 200, 'msg': '登录成功', 'token': token})
        else:
            return Response({'status': 101, 'msg': '用户名或密码错误'})
补充:
update_or_create()方法中有一个defaults参数
模型字段会根据查询条件进行查询,如果查询到了,那么就用defaults对应的值去更新字段,如果没有查到就用defaults对应的值去创建字段。
返回值:
(对象,是否创建)
对象:object是已创建或已更新的对象
是否创建: created是一个布尔值,指定是否创建了新对象。
update_or_create()源码:
    def update_or_create(self, defaults=None, **kwargs):

        defaults = defaults or {}
        self._for_write = True
        with transaction.atomic(using=self.db):
            try:
                obj = self.select_for_update().get(**kwargs)
            except self.model.DoesNotExist:
                params = self._extract_model_params(defaults, **kwargs)
                # Lock the row so that a concurrent update is blocked until
                # after update_or_create() has performed its save.
                obj, created = self._create_object_from_params(kwargs, params, lock=True)
                if created:
                    return obj, created
            for k, v in defaults.items():
                setattr(obj, k, v() if callable(v) else v)
            obj.save(using=self.db)
        return obj, False
1.1.4 路由
urls.py
from django.contrib import admin
from django.urls import path, re_path
from app01 import views

urlpatterns = [
    path('admin/', admin.site.urls),
    path('login/', views.LoginView.as_view()),
]


from rest_framework import routers
router = routers.SimpleRouter()
router.register('books', views.BookViewSet)  # 不要加斜杠了

urlpatterns += router.urls
postman测试:
登录:
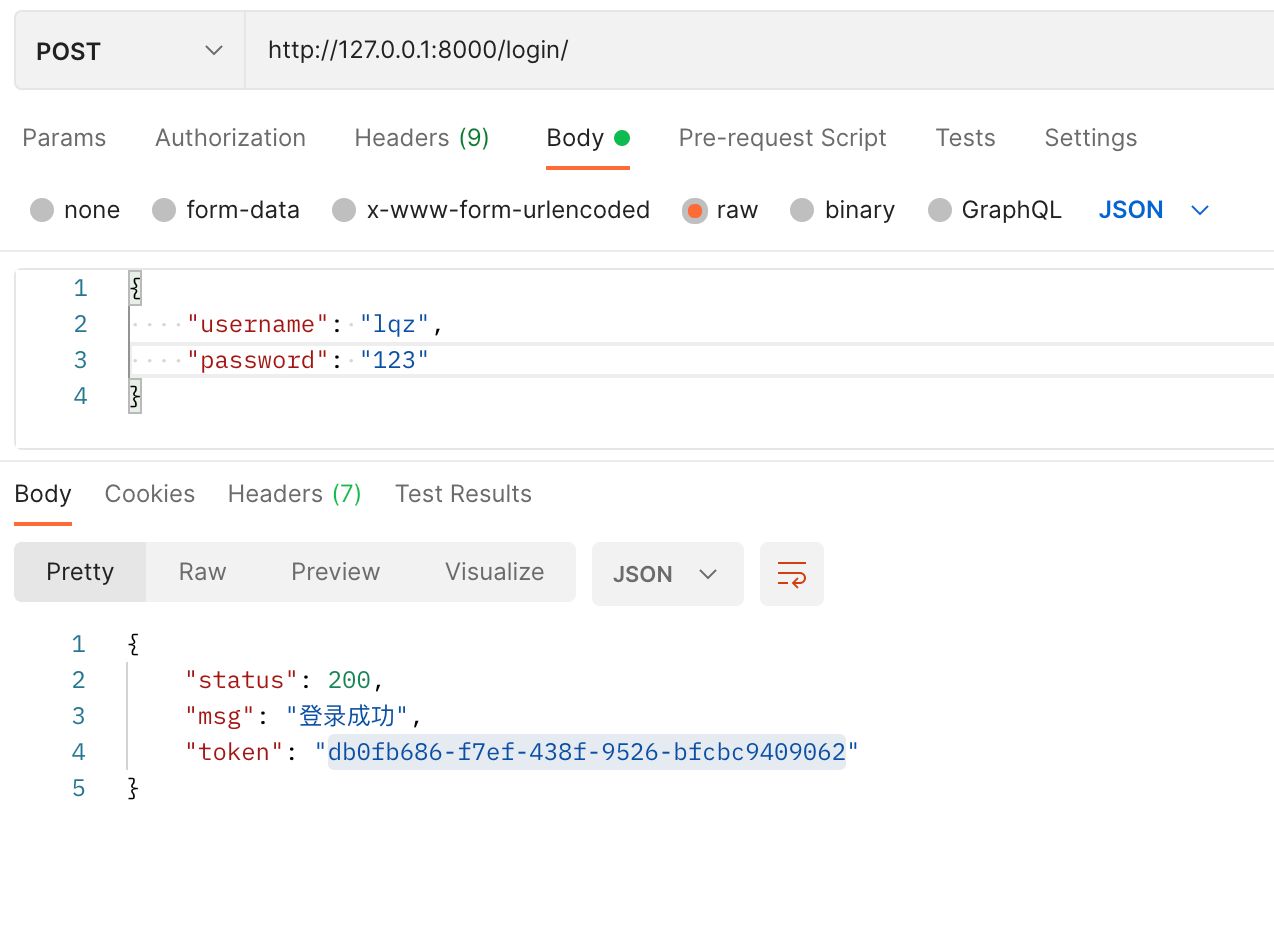
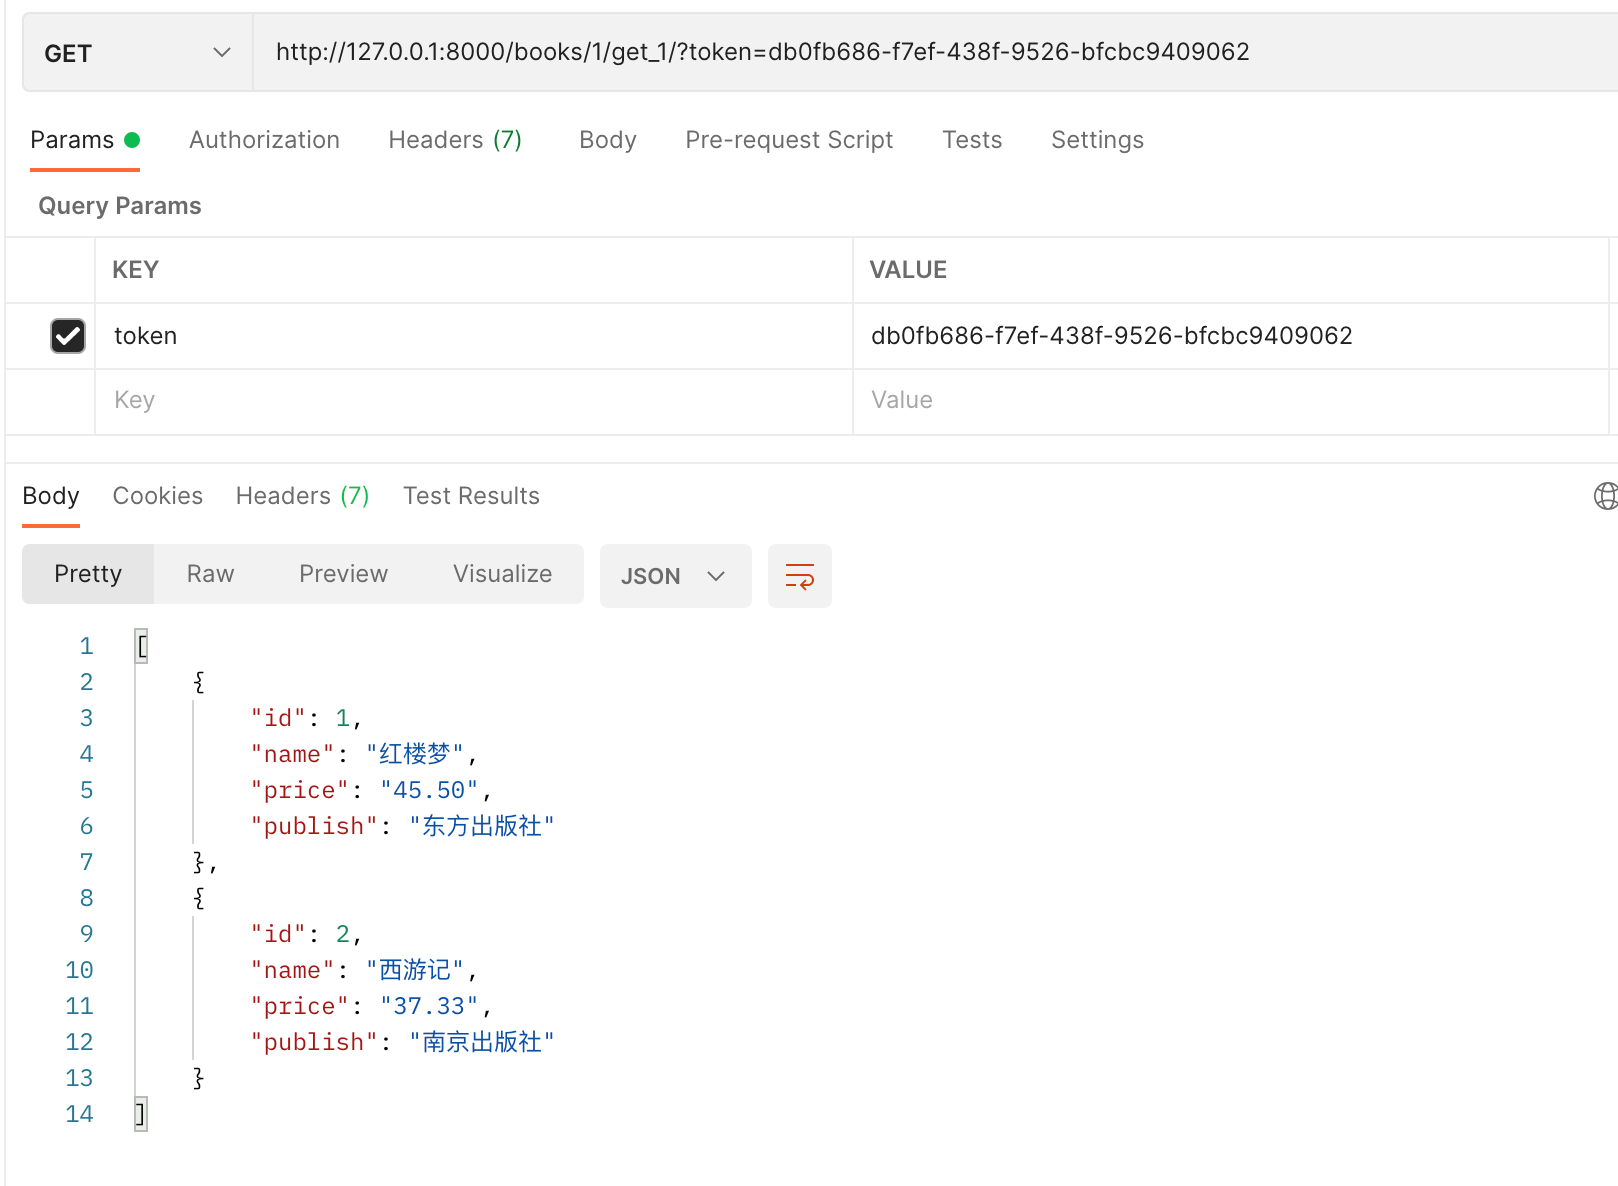
使用token获取
1.1.5 全局使用(在项目settings.py配置文件中配置)
可以配多个,从左到右依次执行
REST_FRAMEWORK={
    "DEFAULT_AUTHENTICATION_CLASSES":["app01.app_auth.MyAuthentication",]
}
1.1.6 局部使用
#局部使用,只需要在视图类里加入:
authentication_classes = [TokenAuth, ]
1.2 认证源码分析
认证的写法:
# 认证的实现
    1 写一个类,继承BaseAuthentication,重写authenticate,认证的逻辑写在里面,认证通过,返回两个值,一个值最终给了Requet对象的user,认证失败,抛异常:APIException或者AuthenticationFailed
    2 全局使用,局部使用
# 需要注意,如果配置多个认证类,要把返回两个值的放到最后
源码分析
#1 APIVIew----》dispatch方法---》self.initial(request, *args, **kwargs)---->有认证,权限,频率
#2 只读认证源码: self.perform_authentication(request)
#3 self.perform_authentication(request)就一句话:request.user,需要去drf的Request对象中找user属性(方法)
#4 Request类中的user方法,刚开始来,没有_user,走 self._authenticate()

#5 核心,就是Request类的 _authenticate(self):
    def _authenticate(self):
        # 遍历拿到一个个认证器,进行认证
        # self.authenticators配置的一堆认证类产生的认证类对象组成的 list
        #self.authenticators 你在视图类中配置的一个个的认证类:authentication_classes=[认证类1,认证类2],对象的列表
        for authenticator in self.authenticators:
            try:
                # 认证器(对象)调用认证方法authenticate(认证类对象self, request请求对象)
                # 返回值:登陆的用户与认证的信息组成的 tuple
                # 该方法被try包裹,代表该方法会抛异常,抛异常就代表认证失败
                user_auth_tuple = authenticator.authenticate(self)
            except exceptions.APIException:
                self._not_authenticated()
                raise

            # 返回值的处理
            if user_auth_tuple is not None:
                self._authenticator = authenticator
                # 如何有返回值,就将 登陆用户 与 登陆认证 分别保存到 request.user、request.auth
                self.user, self.auth = user_auth_tuple
                return
        # 如果返回值user_auth_tuple为空,代表认证通过,但是没有 登陆用户 与 登陆认证信息,代表游客
        self._not_authenticated()

 浙公网安备 33010602011771号