场景
Netty在IDEA中搭建HelloWorld服务端并对Netty执行流程与重要组件进行介绍:
https://blog.csdn.net/BADAO_LIUMANG_QIZHI/article/details/108592418
上面对于搭建Netty的HelloWorld已经实现,下面介绍怎样使用Netty进行Socket编程,并搭建服务端与客户端进行通信传输数据。
注:
博客:
https://blog.csdn.net/badao_liumang_qizhi
关注公众号
霸道的程序猿
获取编程相关电子书、教程推送与免费下载。
实现
Socket服务端搭建
在src下新建包,包下新建Socket类作为服务端,并新建main方法
package com.badao.nettySocket;

import io.netty.bootstrap.ServerBootstrap;
import io.netty.channel.ChannelFuture;
import io.netty.channel.EventLoopGroup;
import io.netty.channel.nio.NioEventLoopGroup;
import io.netty.channel.socket.nio.NioServerSocketChannel;

public class SocketServer {
    public static void main(String[] args) throws  Exception
    {
        EventLoopGroup bossGroup = new NioEventLoopGroup();
        EventLoopGroup workerGroup = new NioEventLoopGroup();
        try{
            //服务端启动类-Netty提供的启动服务端的类
            ServerBootstrap serverBootstrap = new ServerBootstrap();
            //参数为两个事件组 前面的用来接收请求 后面的用来处理
            //childHandler 设置请求到了之后进行处理的处理器
            serverBootstrap.group(bossGroup,workerGroup).channel(NioServerSocketChannel.class)
                    .childHandler(new SocketServerInitializer());
            //绑定端口
            ChannelFuture channelFuture = serverBootstrap.bind(70).sync();
            channelFuture.channel().closeFuture().sync();
        }finally {
            //关闭事件组
            bossGroup.shutdownGracefully();
            workerGroup.shutdownGracefully();
        }
    }
}
同上面的博客的流程一样,在服务端中也需要一个Socket服务端的初始化器SocketServerInitializer()
所以新建类SocketServerInitializer作为服务端的初始化器。
package com.badao.nettySocket;

import io.netty.channel.ChannelInitializer;
import io.netty.channel.ChannelPipeline;
import io.netty.channel.socket.SocketChannel;
import io.netty.handler.codec.LengthFieldBasedFrameDecoder;
import io.netty.handler.codec.LengthFieldPrepender;
import io.netty.handler.codec.string.StringDecoder;
import io.netty.handler.codec.string.StringEncoder;
import io.netty.util.CharsetUtil;

public class SocketServerInitializer extends ChannelInitializer<SocketChannel> {
    @Override
    protected void initChannel(SocketChannel ch) throws Exception {
        ChannelPipeline pipeline = ch.pipeline();
        pipeline.addLast(new LengthFieldBasedFrameDecoder(Integer.MAX_VALUE,0,4,0,4));
        pipeline.addLast(new LengthFieldPrepender(4));
        pipeline.addLast(new StringDecoder(CharsetUtil.UTF_8));
        pipeline.addLast(new StringEncoder(CharsetUtil.UTF_8));
        pipeline.addLast(new SocketServerHandler());
    }
}
在初始化器中只需要将其继承ChannelInitializer并且泛型的类型为SocketChannnel。
然后需要重写其initChannel方法,对通道进行初始化。
在方法中添加一些Netty自带的处理器,主要是编码解码的格式设置。
然后最后再添加自定义的处理器对请求进行处理。
所以再新建一个自定义的服务端处理类SockerServerHandler
package com.badao.nettySocket;

import io.netty.channel.ChannelHandlerContext;
import io.netty.channel.SimpleChannelInboundHandler;

public class SocketServerHandler extends SimpleChannelInboundHandler<String> {
    @Override
    protected void channelRead0(ChannelHandlerContext ctx, String msg) throws Exception {
        System.out.println("服务端收到来自"+ctx.channel().remoteAddress()+"的"+msg);
        ctx.channel().writeAndFlush("服务端发送的数据:(公众号:霸道的程序猿)");
    }

    @Override
    public void exceptionCaught(ChannelHandlerContext ctx, Throwable cause) throws Exception {
        cause.printStackTrace();
        ctx.close();
    }
}
在处理器中需要继承SimpleChannelInboundHandler,泛型的类型就是传输数据的类型String
然后重写其chanelRead0方法,此方法就是具体的处理的方法。
在方法中接受客户端的数据并向客户端发送数据。
然后再重写exceptionCaught方法,用来捕获异常并输出,一旦出现异常则关闭连接。
Socket客户端搭建
与搭建Socket服务端一致,搭建Socket客户端也是同样的流程。
新建SocketClient作为客户端类并新增main方法
package com.badao.nettySocket;

import io.netty.bootstrap.Bootstrap;
import io.netty.channel.ChannelFuture;
import io.netty.channel.EventLoopGroup;
import io.netty.channel.nio.NioEventLoopGroup;
import io.netty.channel.socket.nio.NioSocketChannel;

public class SocketClient {
    public static void main(String[] args) throws  Exception {
        EventLoopGroup eventLoopGroup = new NioEventLoopGroup();
        try {

            Bootstrap bootstrap = new Bootstrap();

            bootstrap.group(eventLoopGroup).channel(NioSocketChannel.class)
                    .handler(new SocketClientInitializer());
            //绑定端口
            ChannelFuture channelFuture = bootstrap.connect("localhost", 70);
            channelFuture.channel().closeFuture().sync();
        } finally {
            //关闭事件组
            eventLoopGroup.shutdownGracefully();

        }
    }
}
在main方法中连接上面服务端绑定的70端口,注意这里的启动类使用的是Bootstrap,并且
客户端使用的是handler方法,注意与服务端的不同。
然后在客户端中也使用了客户端的初始化器,所以新建SocketClientInitializer
package com.badao.nettySocket;

import io.netty.channel.ChannelInitializer;
import io.netty.channel.ChannelPipeline;
import io.netty.channel.socket.SocketChannel;
import io.netty.handler.codec.LengthFieldBasedFrameDecoder;
import io.netty.handler.codec.LengthFieldPrepender;
import io.netty.handler.codec.string.StringDecoder;
import io.netty.handler.codec.string.StringEncoder;
import io.netty.util.CharsetUtil;

public class SocketClientInitializer extends ChannelInitializer<SocketChannel> {
    @Override
    protected void initChannel(SocketChannel ch) throws Exception {
        ChannelPipeline pipeline = ch.pipeline();
        pipeline.addLast(new LengthFieldBasedFrameDecoder(Integer.MAX_VALUE,0,4,0,4));
        pipeline.addLast(new LengthFieldPrepender(4));
        pipeline.addLast(new StringDecoder(CharsetUtil.UTF_8));
        pipeline.addLast(new StringEncoder(CharsetUtil.UTF_8));
        pipeline.addLast(new SocketClientHandler());
    }
}
所添加的处理器与服务端的一致,同样添加了一个自定义的处理器SocketClientHandler
所以新建类SocketClientHandler
package com.badao.nettySocket;

import io.netty.channel.ChannelHandlerContext;
import io.netty.channel.SimpleChannelInboundHandler;

public class SocketClientHandler extends SimpleChannelInboundHandler<String> {
    @Override
    protected void channelRead0(ChannelHandlerContext ctx, String msg) throws Exception {
        System.out.println("客户端收到来自"+ctx.channel().remoteAddress()+"的"+msg);
        ctx.channel().writeAndFlush("客户端向服务端发送的数据:(公众号:霸道的程序猿)");
    }

    @Override
    public void exceptionCaught(ChannelHandlerContext ctx, Throwable cause) throws Exception {
        cause.printStackTrace();
        ctx.close();
    }


}
至此服务端和客户端已经搭建完成。
依次运行SocketServer的main方法和SocketClient的main方法,如果没有报错则是搭建成功。
但是此时虽然客户端和服务端已经建立连接但是没有任何的交互传输数据和输出。
这里因为客户端或者服务端并没有发出请求。
所以在客户端的处理器SocketClientHandler中
重写channelActive方法,此方法会在通道激活即建立连接后执行
    @Override
    public void channelActive(ChannelHandlerContext ctx) throws Exception {
        ctx.writeAndFlush("客户端发来消息");
    }
在此方法中向服务端发送字符串消息。
那么服务端的处理器中的channelRead0方法就会激活并执行,然后将数据输出并向客户端发送数据。
那么客户端的处理器中的channelRead0也会被激活并执行,那么客户端会输出收到服务端的数据并向服务端发送数据。
所以客户端和服务端一直发送数据。
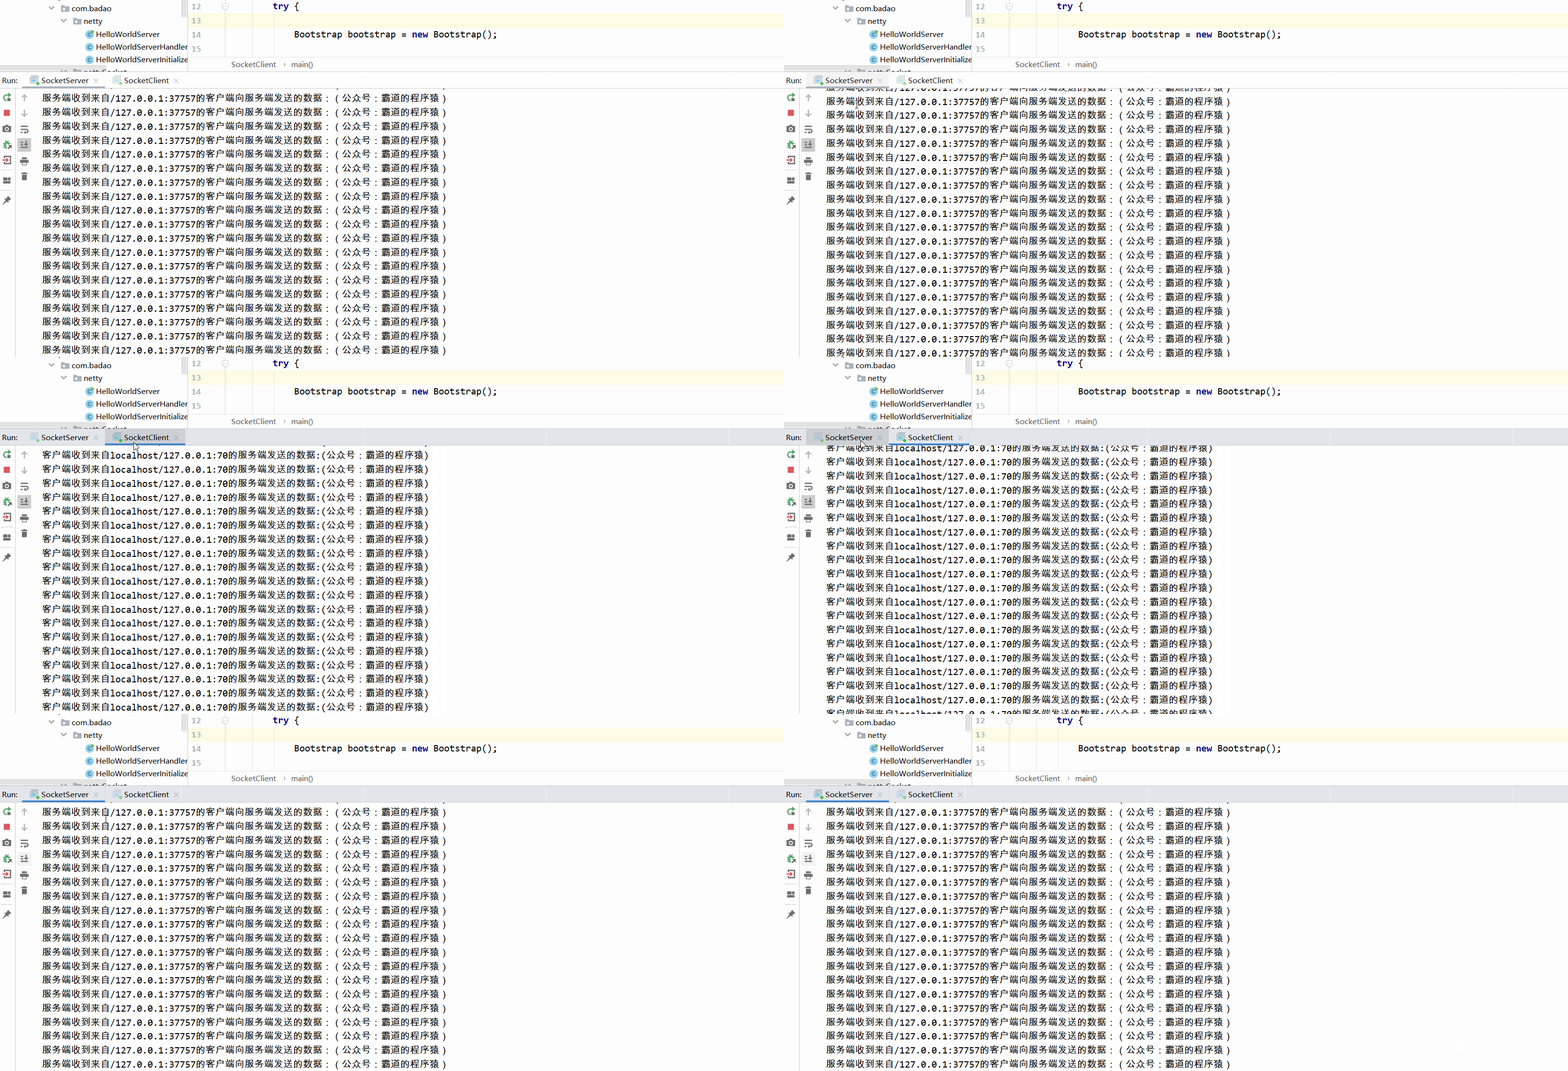
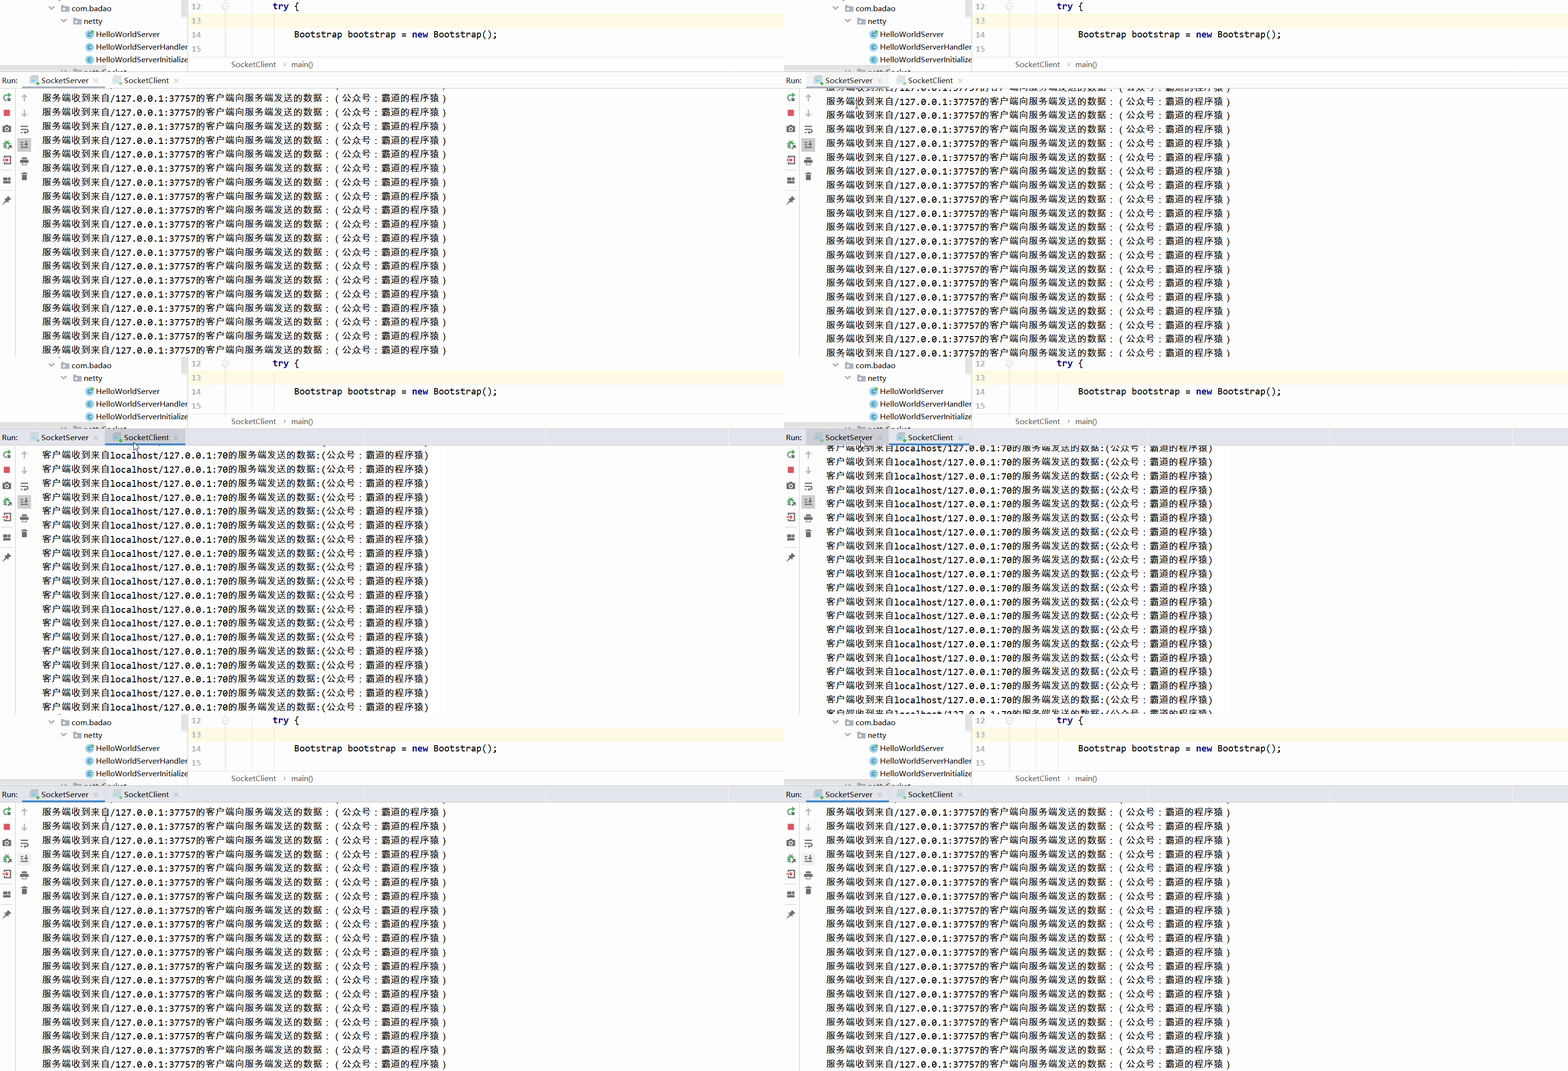
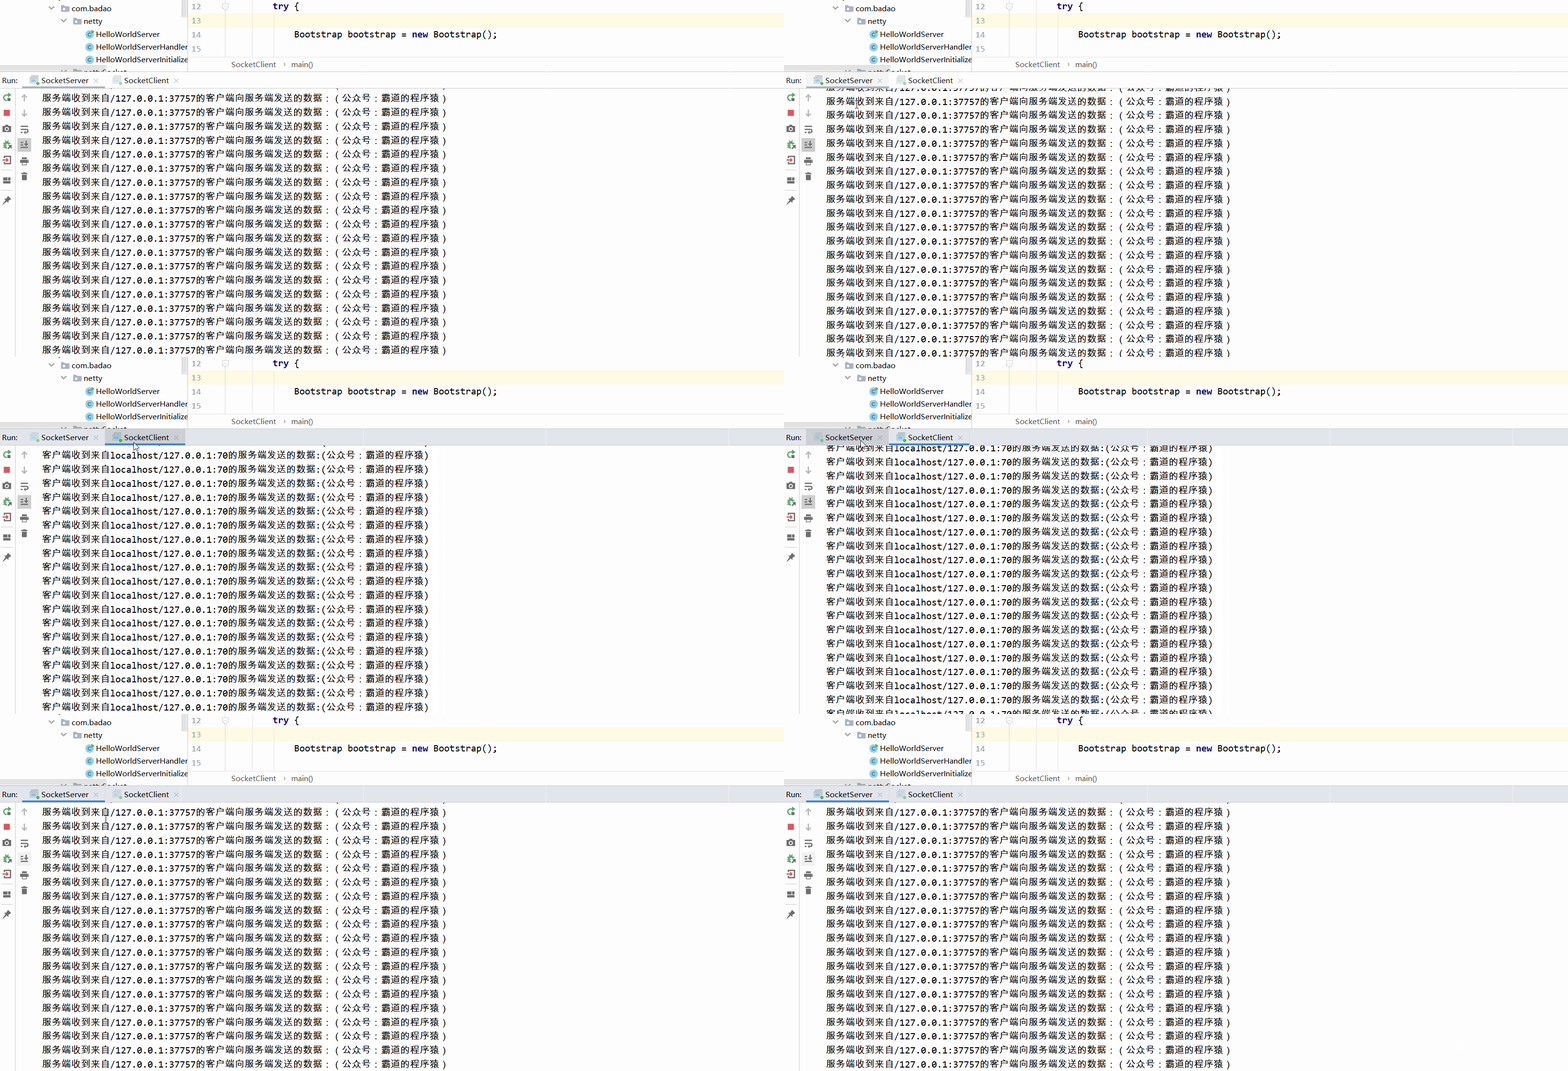
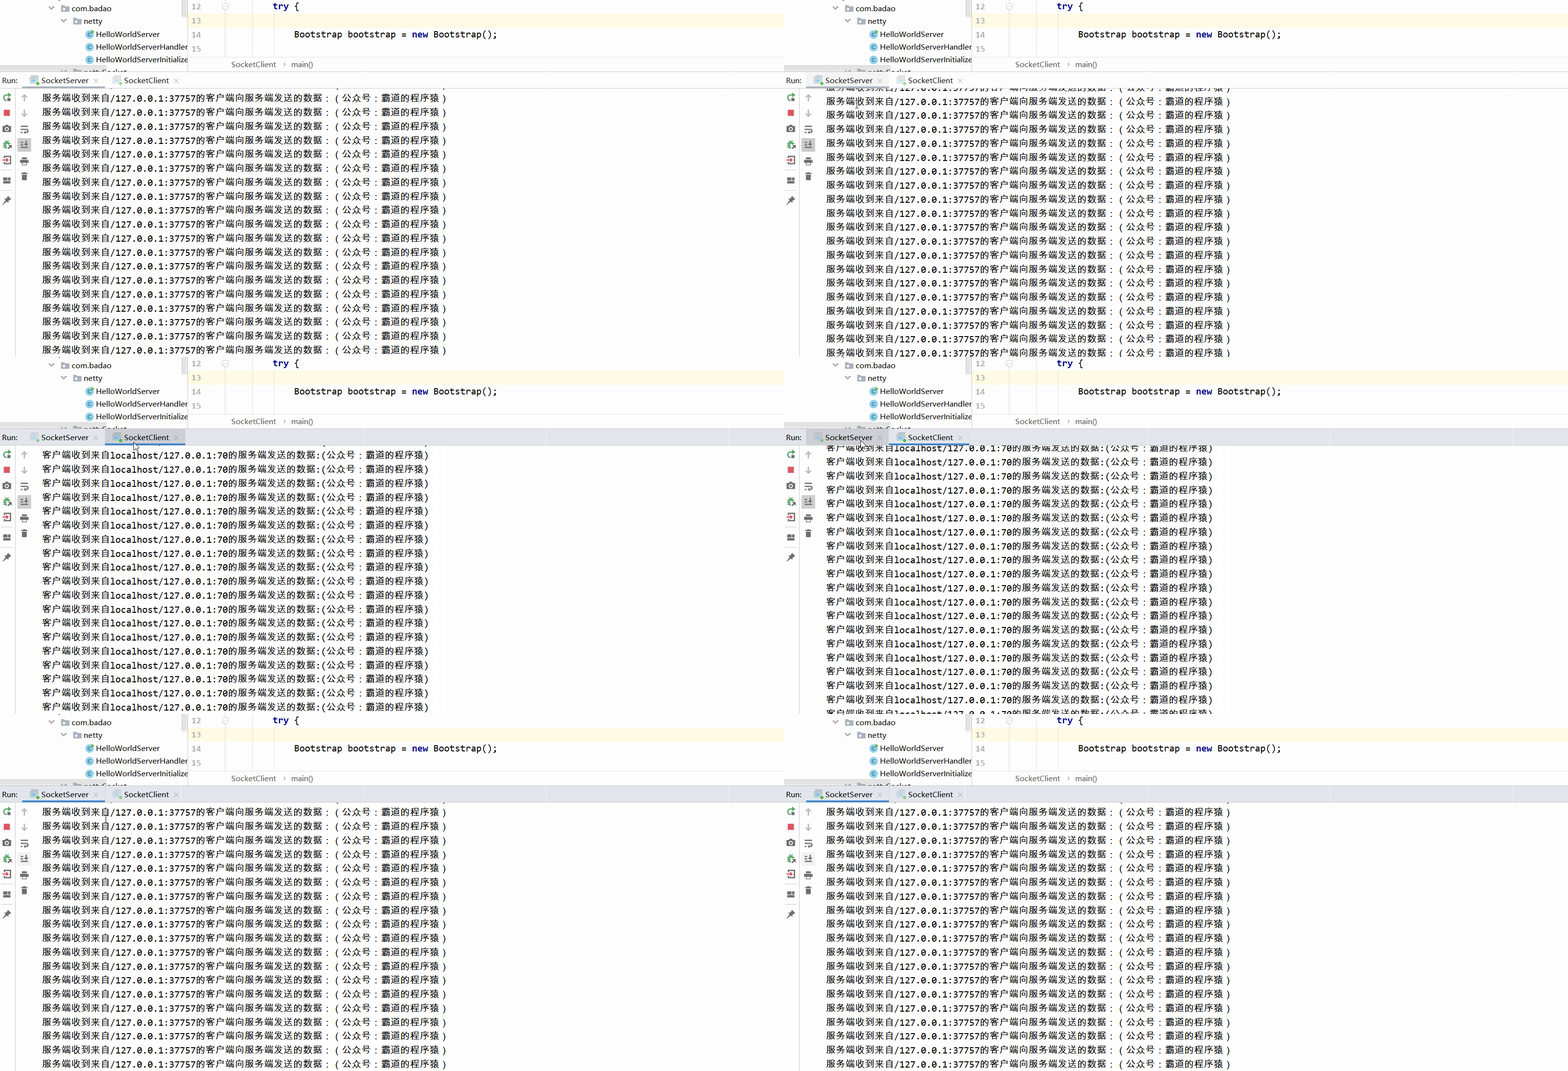
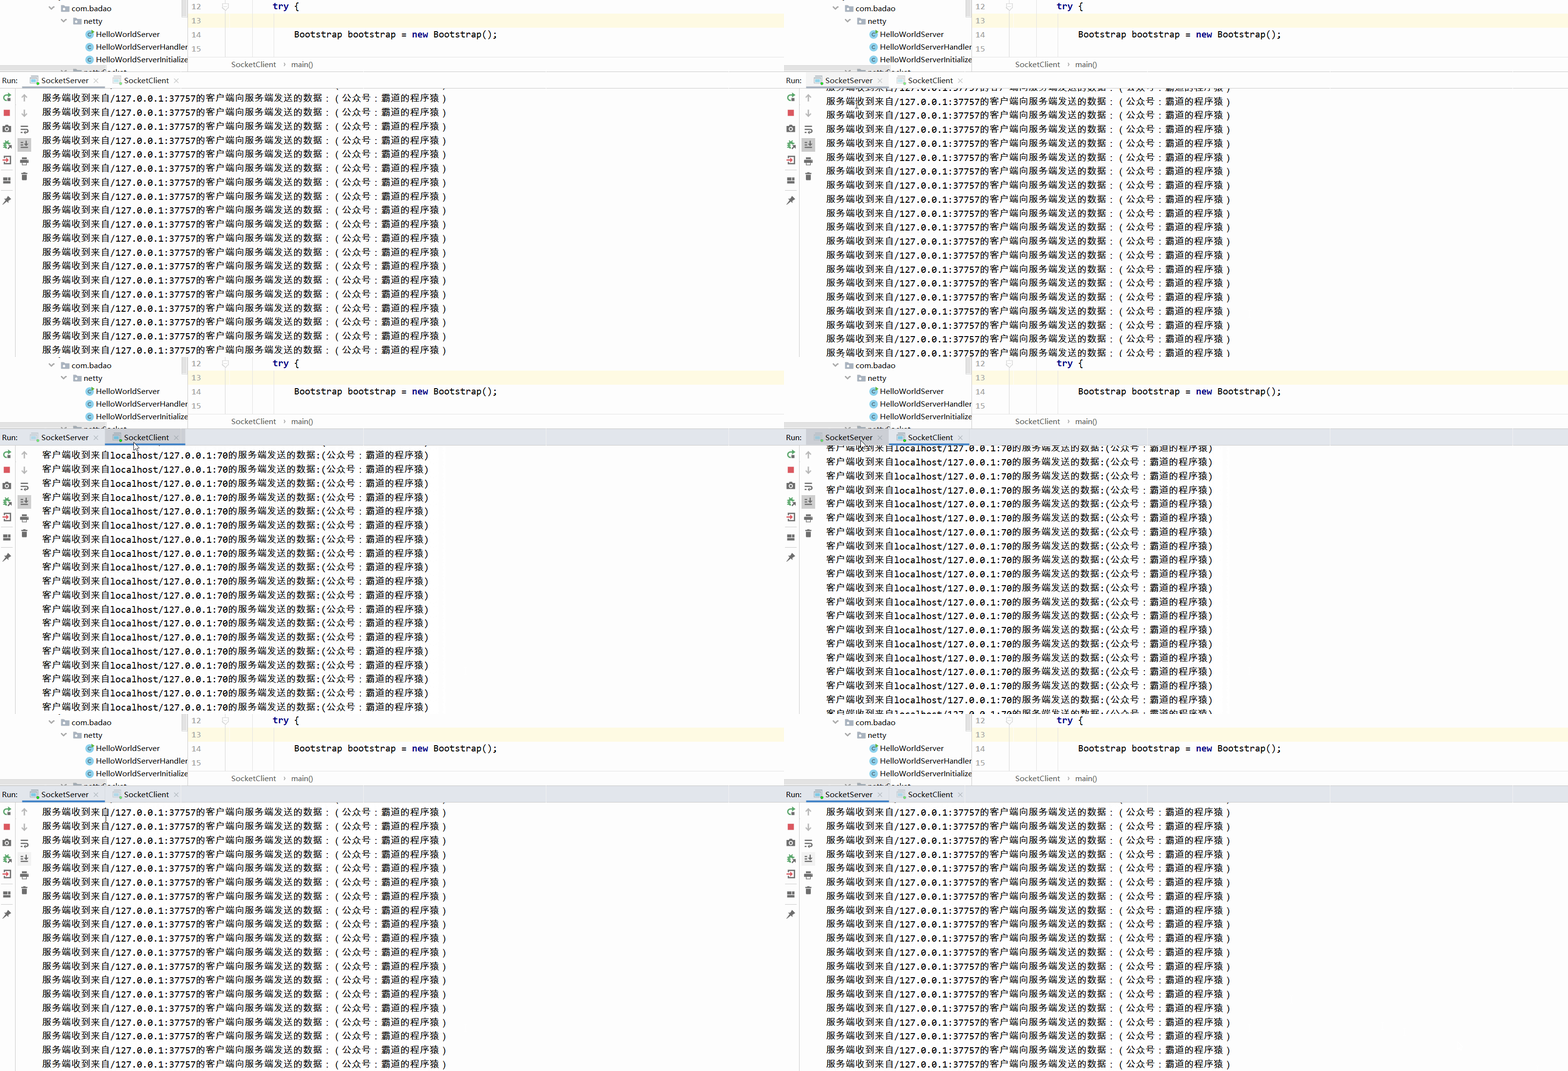
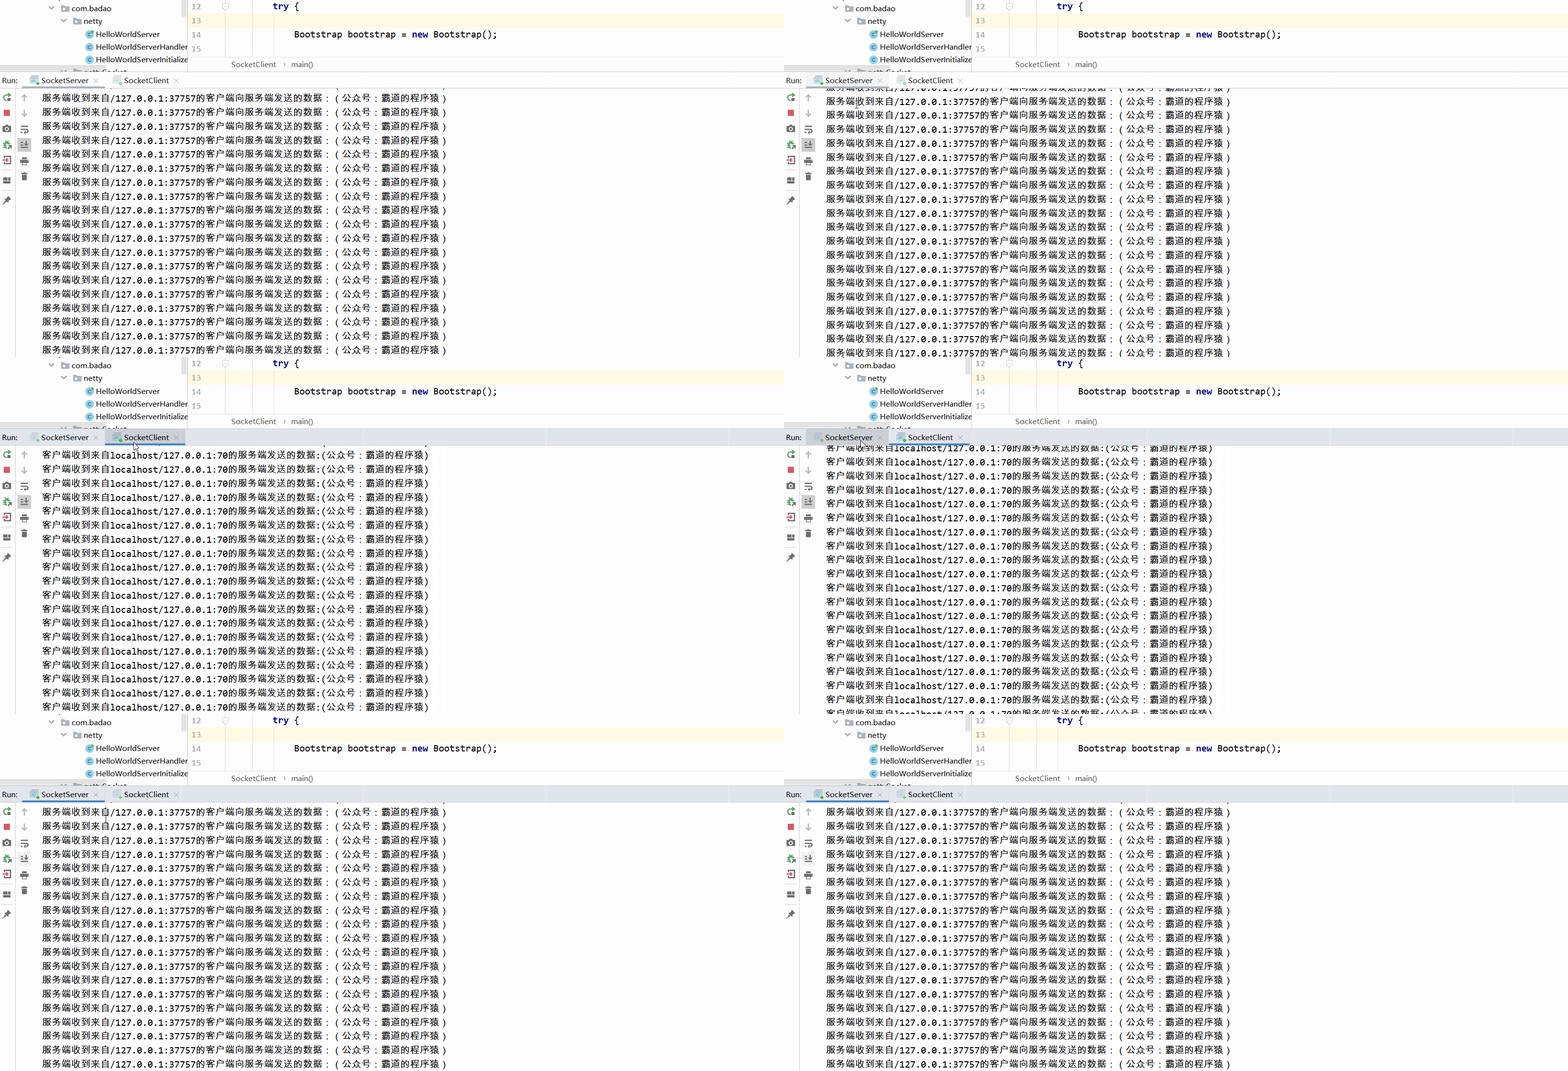
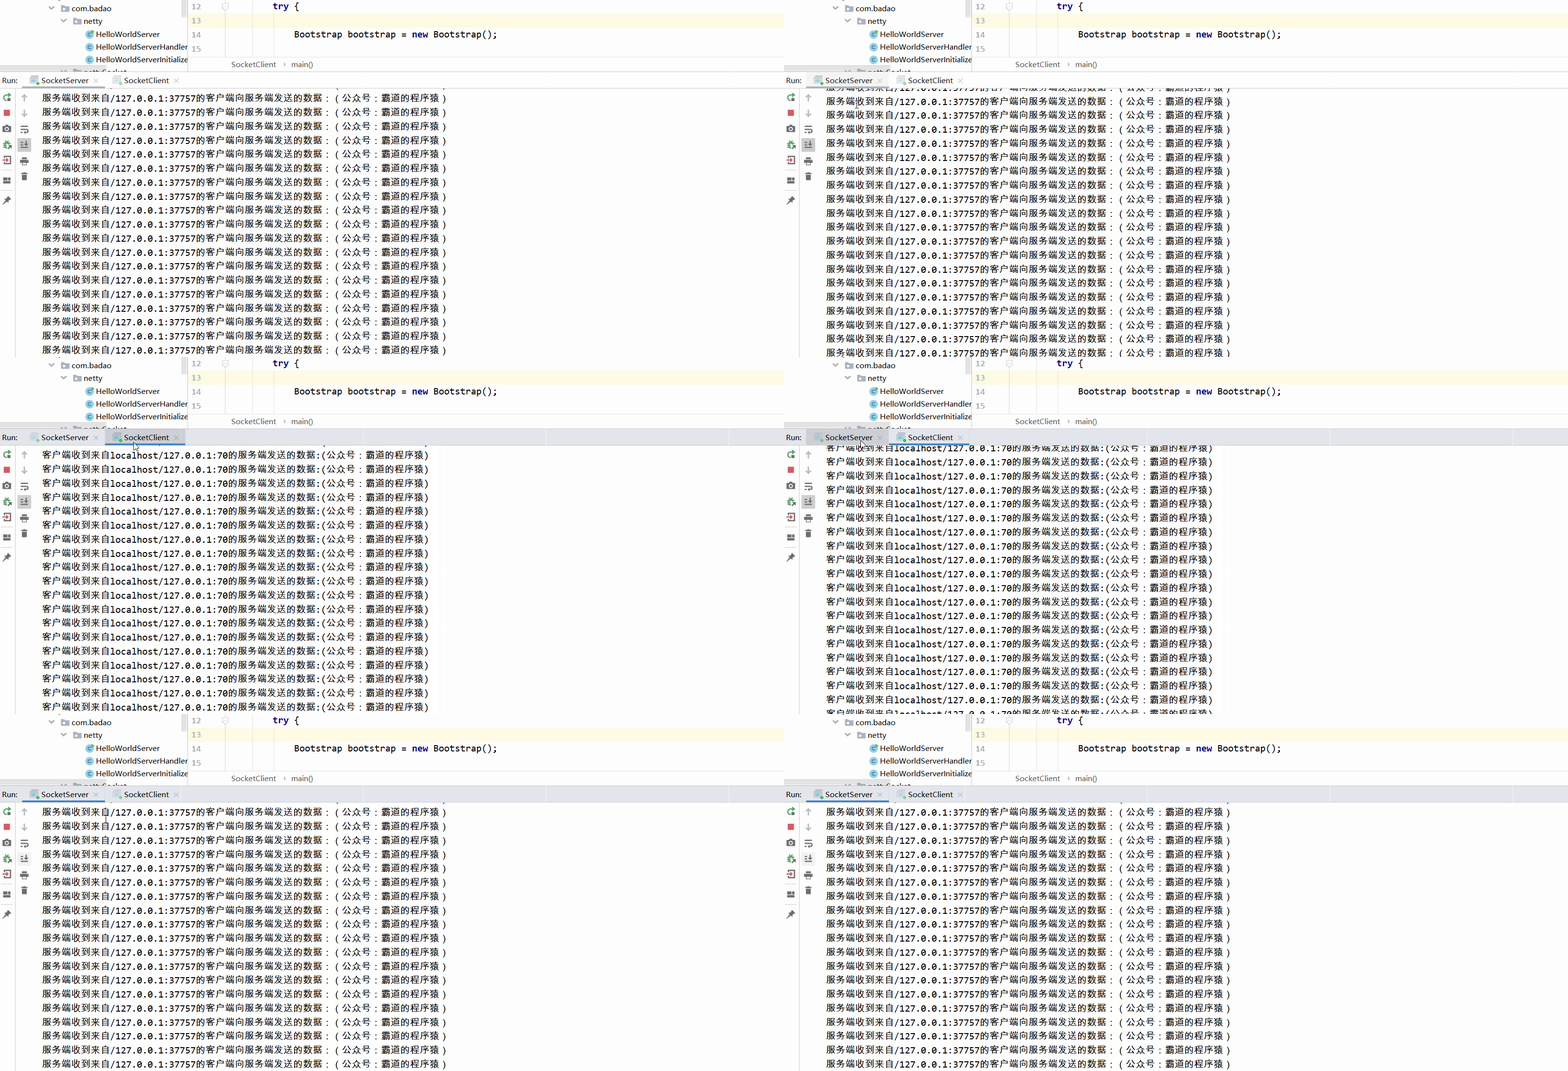
依次运行服务端和客户端的main方法,查看输出
