如何实现水下效果
本文参考自教程,并加上了自己的一些心得体会。之前的文章里有实现一些水的shader,我们可以在此基础上进行修改。首先,我们需要把原先不透明的shader改成透明的shader:
        Tags { "Queue" = "Transparent" "RenderType"="Transparent" }
        ZWrite Off
        Blend SrcAlpha OneMinusSrcAlpha
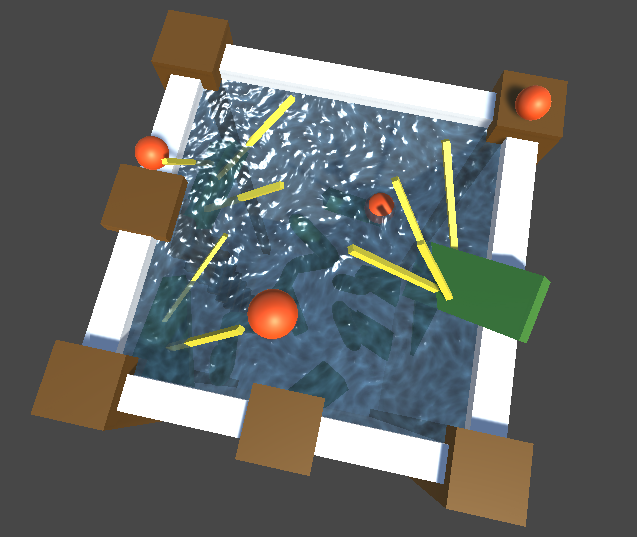
我们知道,水下的能见度应当随着深度的增加而不断降低,而现在水下的效果能见度是完全一样的。这时候我们需要获取屏幕深度信息,对于每个点,计算它的深度与水面的深度差,差值越大说明离水面越远,能见度越低;反之,能见度越高。Unity为我们提供了_CameraDepthTexture来获取屏幕深度信息,在forward rendering中是以额外的depth pass渲染得到的。注意,采样_CameraDepthTexture的uv参数是screen space下的xy,Unity为我们提供了ComputeScreenPos进行计算。另外,深度信息是以0~1的值保存的,我们还需要转换成相机空间下的线性深度值(使用Unity提供的LinearEyeDepth即可)。
                float2 screenUV = i.screenPos.xy / i.screenPos.w;
                float backgroundDepth = LinearEyeDepth(SAMPLE_DEPTH_TEXTURE(_CameraDepthTexture, screenUV));
这一段计算是在frag shader里进行的,我们还需要知道当前水面的原始深度信息。由透视投影变换可知,screenPos.w分量保存的就是原始的深度信息,也可以将UNITY_Z_0_FAR_FROM_CLIPSPACE(screenPos.z)做为近似的深度信息使用,这个接口返回将深度值固定在[0, far]区间范围内。我们可以先把这个深度的差值显示到屏幕上:
			   float surfaceDepth = i.screenPos.w;
                float depthDifference = backgroundDepth - surfaceDepth;

	            texColor = depthDifference / 20;
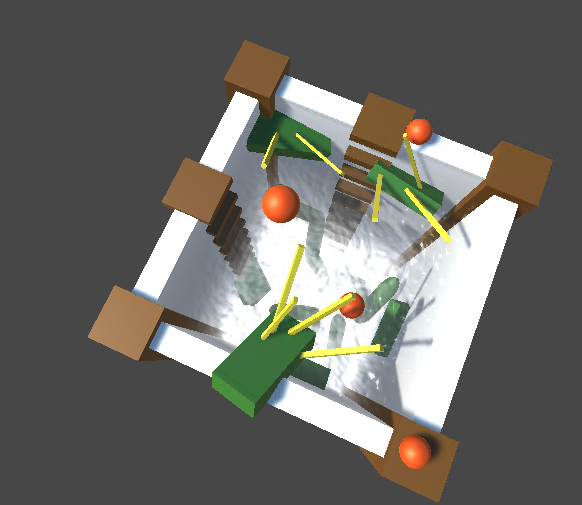
接下来回归到我们的主题来,我们希望透过水面依旧可以看见水下的物体,但是随着深度变大,物体就越来越不可见了,显然这里可以用深度的差值来实现这一效果。首先我们要使用GrabPass抓取屏幕纹理:
GrabPass { "_WaterBackground" }
sampler2D _WaterBackground;
然后我们对屏幕纹理进行采样,根据深度进行插值:
                float2 screenUV = i.screenPos.xy / i.screenPos.w;
                float3 backgroundColor = tex2D(_WaterBackground, screenUV).rgb;
                float backgroundDepth = LinearEyeDepth(SAMPLE_DEPTH_TEXTURE(_CameraDepthTexture, screenUV));
                float surfaceDepth = i.screenPos.w;
                float depthDifference = backgroundDepth - surfaceDepth;
                float fogFactor = exp2(-_WaterFogDensity * depthDifference);
	            texColor.rgb = lerp(_WaterFogColor.rgb, backgroundColor, fogFactor);
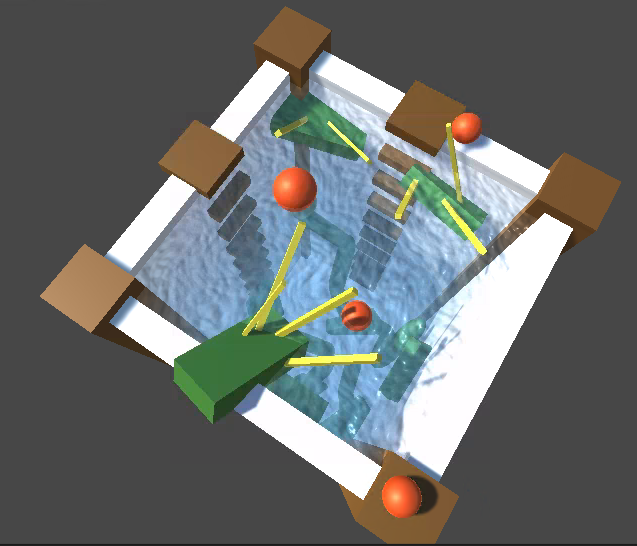
由于这一步我们所做的操作其实就是将水面颜色和背景颜色进行混合,所以我们不需要设置alpha以免重复进行混合:
texColor.a = 1.0;
现在,我们可以透过水面看到水下的物体了,但是还缺乏一点折射的效果。为了实现折射,我们需要对采样的屏幕空间坐标进行偏移。为了让偏移的距离在u方向和v方向是相同的,我们需要检查一下屏幕纹理的width和height,根据比例进行对偏移进行缩放:
                float2 screenUVOffset = 1;
                screenUVOffset.y *= _CameraDepthTexture_TexelSize.z * abs(_CameraDepthTexture_TexelSize.y);
                float2 screenUV = (i.screenPos.xy + screenUVOffset) / i.screenPos.w;
#if UNITY_UV_STARTS_AT_TOP
                if (_CameraDepthTexture_TexelSize.y < 0) {
                    screenUV.y = 1 - screenUV.y;
                }
#endif
这里加了判断纹理是否翻转情况的处理,我们只需要判断_CameraDepthTexture即可,grab pass生成的_WaterBackground无需我们来翻转,Unity会为我们处理。
If your Image Effect is a simple one (processing one texture at a time) then this does not really matter, because Graphics.Blit takes care of that.

上面我们是将屏幕uv的偏移量设置为恒定常量的,接下来我们要调整一下,将其设置为切线空间中的法向量的xy分量。我们知道,法线贴图是偏蓝色的,意味着在切线空间中,法向量的z分量基本都趋近1,那么xy分量的大小决定了法线偏离的程度,也反映了水面波澜起伏的程度。xy分量越小,说明水面越平静,折射的效果也应该越弱。
float2 screenUVOffset = tangentNormal.xy * _RefractionStrength;
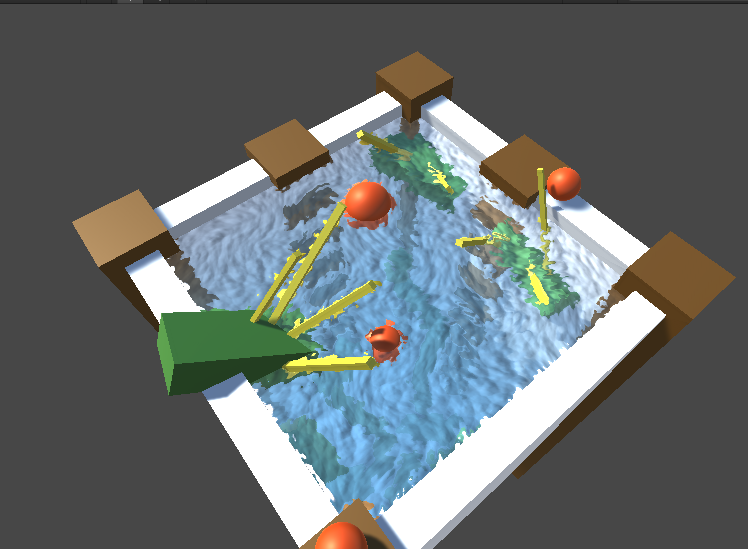
从图中可以发现,折射的效果渲染到了不该有折射的物体上,这些物体压根就不在水面下。这就需要我们对深度差值的正负进行判断,如果背景的深度值小于水面的深度值,说明背景在前,水在后,此时是不该有折射的:
                if(depthDifference < 0)
                {
                    screenUV = i.screenPos.xy / i.screenPos.w;
 #if UNITY_UV_STARTS_AT_TOP
                    if (_CameraDepthTexture_TexelSize.y < 0) {
                        screenUV.y = 1 - screenUV.y;
                    }
#endif
                    backgroundColor = tex2D(_WaterBackground, screenUV).rgb;
                    backgroundDepth = LinearEyeDepth(SAMPLE_DEPTH_TEXTURE(_CameraDepthTexture, screenUV));
                    depthDifference = backgroundDepth - surfaceDepth;
                }
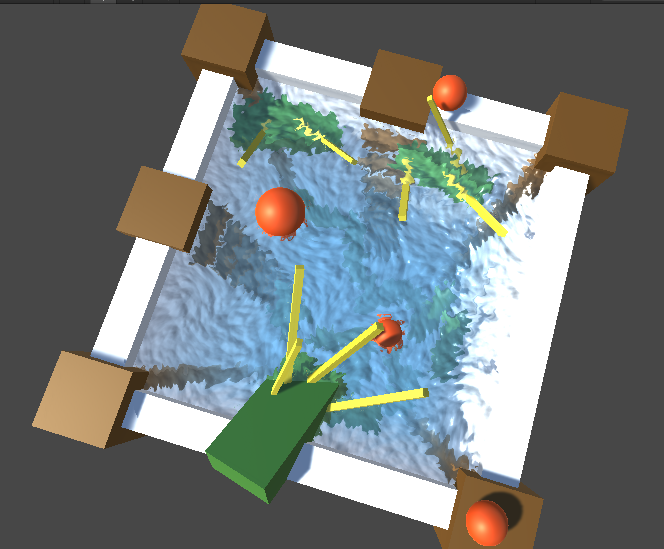
同时,为了避免采样屏幕纹理时,通过uv定位到的像素点不是整数而会触发linear filtering导致最终采样到的值不精准,我们手动实现一下point filtering,强行采样整数像素点:
            float2 AlignWithGrabTexel (float2 uv) {
                #if UNITY_UV_STARTS_AT_TOP
                    if (_CameraDepthTexture_TexelSize.y < 0) {
                        uv.y = 1 - uv.y;
                    }
                #endif

                return (floor(uv * _CameraDepthTexture_TexelSize.zw) + 0.5) * abs(_CameraDepthTexture_TexelSize.xy);
            }
另外,我们发现在水面和物体的交界之处,有时会出现一些错误的效果:
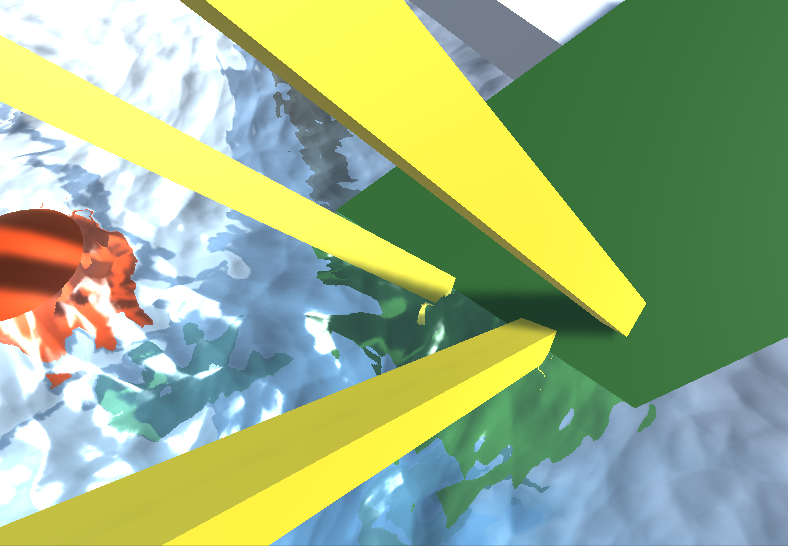
这是因为折射效果消失的太突然,没有过渡所导致。我们需要为之加上平滑。当depthDifference逐渐小于0时,我们要让对应的screenUVOffset逐渐趋于0,即不产生折射:
                float3 backgroundColor = tex2D(_WaterBackground, screenUV).rgb;
                float backgroundDepth = LinearEyeDepth(SAMPLE_DEPTH_TEXTURE(_CameraDepthTexture, screenUV));
                float surfaceDepth = i.screenPos.w;
                float depthDifference = backgroundDepth - surfaceDepth;
                screenUVOffset *= saturate(depthDifference);

                screenUV = (i.screenPos.xy + screenUVOffset) / i.screenPos.w;
                screenUV = AlignWithGrabTexel(screenUV);
                backgroundColor = tex2D(_WaterBackground, screenUV).rgb;
                backgroundDepth = LinearEyeDepth(SAMPLE_DEPTH_TEXTURE(_CameraDepthTexture, screenUV));
                depthDifference = backgroundDepth - surfaceDepth;
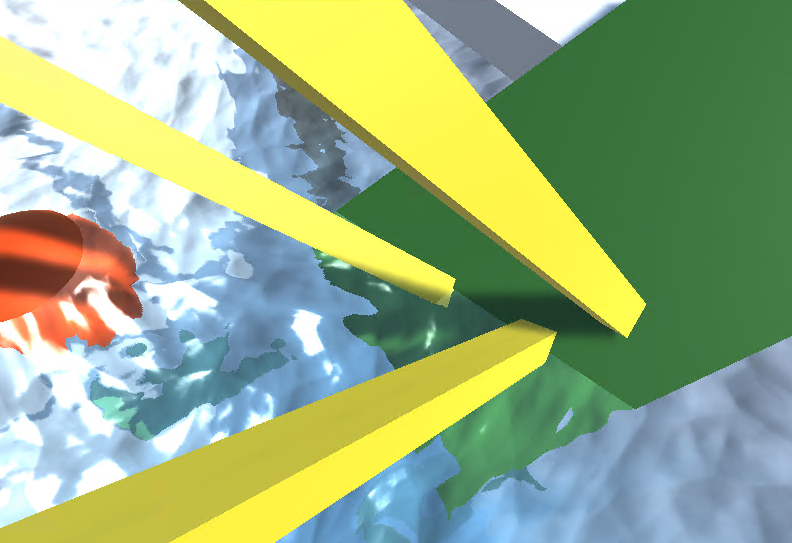
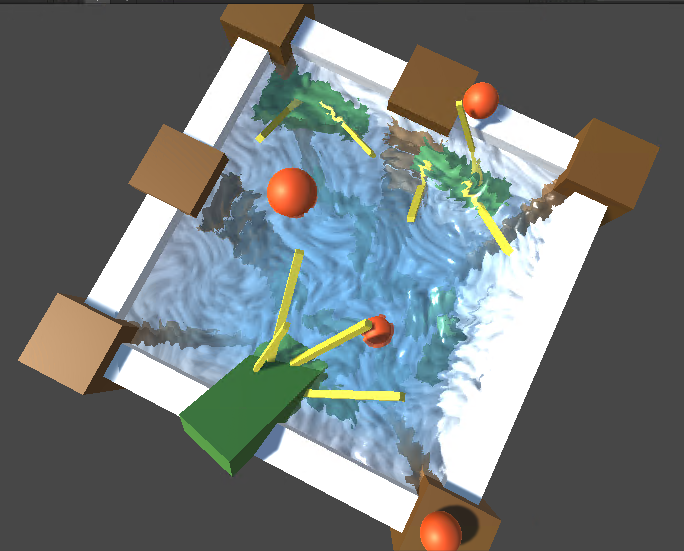
最终效果如下:
如果你觉得我的文章有帮助,欢迎关注我的微信公众号(大龄社畜的游戏开发之路)-


