
项目部署
项目部署篇
本博客记录项目部署的一些案例
1、SpringBoot项目如何部署SSL证书 (JKS格式)
1. 获取 SSL 证书和私钥
首先,你需要获取有效的 SSL 证书和私钥。SSL 证书是一种用于加密通信的数字证书,它可以通过购买商业 SSL 证书或使用免费的 Let's Encrypt 证书获得。请确保你拥有证书文件和与之对应的私钥文件,这通常是以 .pem 和 .key 结尾的文件或者是jks格式的,本文以jks格式的SSL证书为例。
2. 配置 Spring Boot 项目
接下来,我们将配置 Spring Boot 项目以使用 SSL。
2.0 项目环境
spring boot 2.2.2
maven
一个域名(各大域名商有售,阿里、腾讯、华为)
SSL证书(阿里云上有免费的SSL证书,有效期一年)
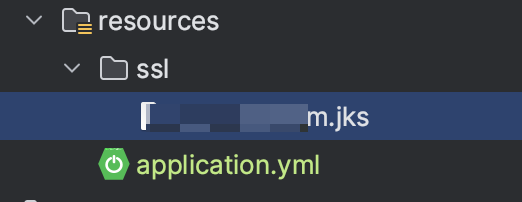
2.1 将 SSL 证书和私钥文件添加到项目
将之前获取的 SSL 证书和私钥文件拷贝到 Spring Boot 项目中的 src/main/resources 目录下。这样,证书文件会与项目一起打包并在运行时加载。
2.2 配置 application.properties 或 application.yml
在 Spring Boot 项目的配置文件(application.properties 或 application.yml)中添加以下 SSL 相关配置:
server:
  port: 8856
  servlet:
    context-path: /
  ssl:
    enabled: true
    # 保存SSL证书的秘钥库的路径
    key-store: classpath:ssl/xxx.com.jks
    key-store-password: xxx
    # 证书类型
    key-store-type: JKS
#    key-store-protocol: TLS
2.3 编写controller进行测试
添加一个controller,测试是否生效,测试结果如下:
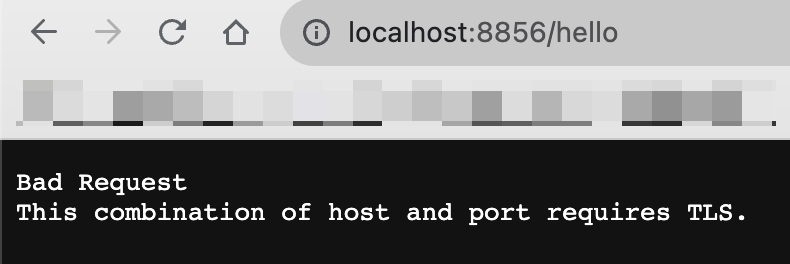
通过上述访问发现,如果通过http访问会提示访问需要组合TLS,但是如果用户直接通过这种方式访问的话,存在着极差的用户体验。
2.4 编写配置类HTTP转HTPPS
当用户使用http访问的时候,将http协议重定向到https端口
(1)修改配置文件
custom:  # 自定义http启动端口
  http-port: 8857

server:
  port: 8856
  servlet:
    context-path: /
  ssl:
    enabled: true
    #key-alias: alias-key # 别名(可以不进行配置)
    # 保存SSL证书的秘钥库的路径
    key-store: classpath:ssl/xxx.com.jks
    key-store-password: xxx
    # 证书类型
    key-store-type: JKS
#    key-store-protocol: TLS
(2)添加配置类
package org.pp.ssl.config;

import org.apache.catalina.Context;
import org.apache.catalina.connector.Connector;
import org.apache.tomcat.util.descriptor.web.SecurityCollection;
import org.apache.tomcat.util.descriptor.web.SecurityConstraint;
import org.springframework.beans.factory.annotation.Value;
import org.springframework.boot.web.embedded.tomcat.TomcatServletWebServerFactory;
import org.springframework.context.annotation.Bean;
import org.springframework.context.annotation.Configuration;

/**
 * https配置,将http请求全部转发到https
 * @author P_P
 */
@Configuration
public class HttpsConfig {

    @Value("${custom.http-port: 8857}")
    private Integer httpPort;

    @Value("${server.port}")
    private Integer port;

    @Bean
    public TomcatServletWebServerFactory servletContainer() {
        // 将http请求转换为https请求
        TomcatServletWebServerFactory tomcat = new TomcatServletWebServerFactory() {
            @Override
            protected void postProcessContext(Context context) {
                SecurityConstraint constraint = new SecurityConstraint();
                // 默认为NONE
                constraint.setUserConstraint("CONFIDENTIAL");
                SecurityCollection collection = new SecurityCollection();
                // 所有的东西都https
                collection.addPattern("/*");
                constraint.addCollection(collection);
                context.addConstraint(constraint);
            }
        };
        tomcat.addAdditionalTomcatConnectors(httpConnector());
        return tomcat;
    }

    /**
     * 强制将所有的http请求转发到https
     *
     * @return httpConnector
     */
    @Bean
    public Connector httpConnector() {
        Connector connector = new Connector("org.apache.coyote.http11.Http11NioProtocol");
        connector.setScheme("http");
        // connector监听的http端口号
        connector.setPort(httpPort);
        connector.setSecure(false);
        // 监听到http的端口号后转向到的https的端口号
        connector.setRedirectPort(port);
        return connector;
    }
}
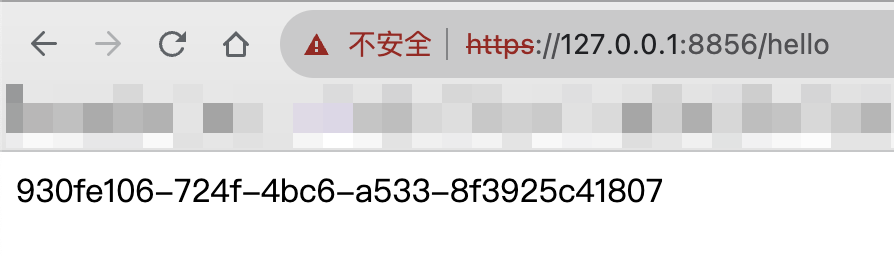
(3)启动项目
添加配置类之后,启动项目可以看到控制台出现了https端口和http端口

再次访问测试接口,会发现地址栏出现了https
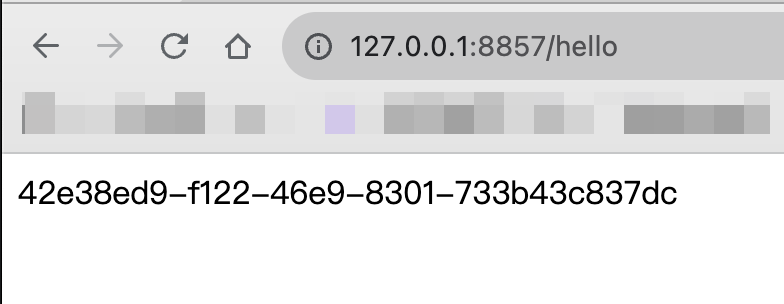
(4)同时开启http和https
如果不想将http请求都转发到https进行处理,可以同时开启http和https
/**
 * 同时开启http和https
 * @author P_P
 */
import org.apache.catalina.connector.Connector;
import org.springframework.beans.factory.annotation.Value;
import org.springframework.boot.web.embedded.tomcat.TomcatServletWebServerFactory;
import org.springframework.context.annotation.Bean;
import org.springframework.context.annotation.Configuration;
@Configuration
public class HttpsConfig {
    @Value("${custom.http-port: 8857}")
    private Integer httpPort;

    @Bean
    public TomcatServletWebServerFactory servletContainer() {
        TomcatServletWebServerFactory tomcat = new TomcatServletWebServerFactory();
        tomcat.addAdditionalTomcatConnectors(httpConnector());
        return tomcat;
    }

    @Bean
    public Connector httpConnector() {
        Connector connector = new Connector("org.apache.coyote.http11.Http11NioProtocol");
        connector.setPort(httpPort);
        return connector;
    }
}
这样访问8857(http协议)的端口就不会进行转发了
2、nginx部署多个静态网站
如何使用 Nginx 部署多个静态网站,并使用ssl证书
1. 安装 Nginx
首先,确保你的服务器已经安装了 Nginx。你可以使用以下命令在 Ubuntu 系统上安装 Nginx:
sudo apt update
sudo apt install nginx
2. 配置 Nginx
2.1 创建网站根目录
在 Nginx 的配置中,每个网站都需要有自己的根目录。你可以在服务器上选择一个目录,用于存放每个网站的静态文件。
在这个例子中,网站根目录结构如下:
- /var/www/
    - site1/
        - index.html
    - site2/
        - index.html
2.2创建 Nginx 配置文件
在 linux 系统上,Nginx 的配置文件通常位于 /etc/nginx/conf/ 目录。
配置文件如下:
events { }

http
    {
     # 配置默认 server,在访问其他未匹配的域名时使用
    server {
        listen 80 ;
        server_name localhost;
        return 301 https://$host$request_uri;
    }
	# 配置ssl证书
    server {
        listen 443 ssl;
        server_name localhost;
        # 证书地址,默认与配置文件同级
        ssl_certificate      xxx.com.pem;
        ssl_certificate_key  xxx.com.key;

        # 第一个项目(占用 80 默认端口)
        location / {
            # 第一个项目静态文件路径
            root html;
            index  index.html index.htm;
        }

        location  /leven {
            # 第二个项目静态文件路径
            alias  /www/server/nginx/dist/;
            index  index.html;
            try_files $uri $uri/ /index.html;
        }
    }
}
3. 测试配置并重启 Nginx
在重启 Nginx 之前,先检查配置是否正确:
sudo nginx -t
如果没有报错,说明配置正确。
重启 Nginx 以应用配置更改:
sudo systemctl restart nginx
3.1 Vue路径小问题
vue打包后nginx部署打开白屏,查看net发现资源地址错误(nginx同80端口部署多个vue项目)
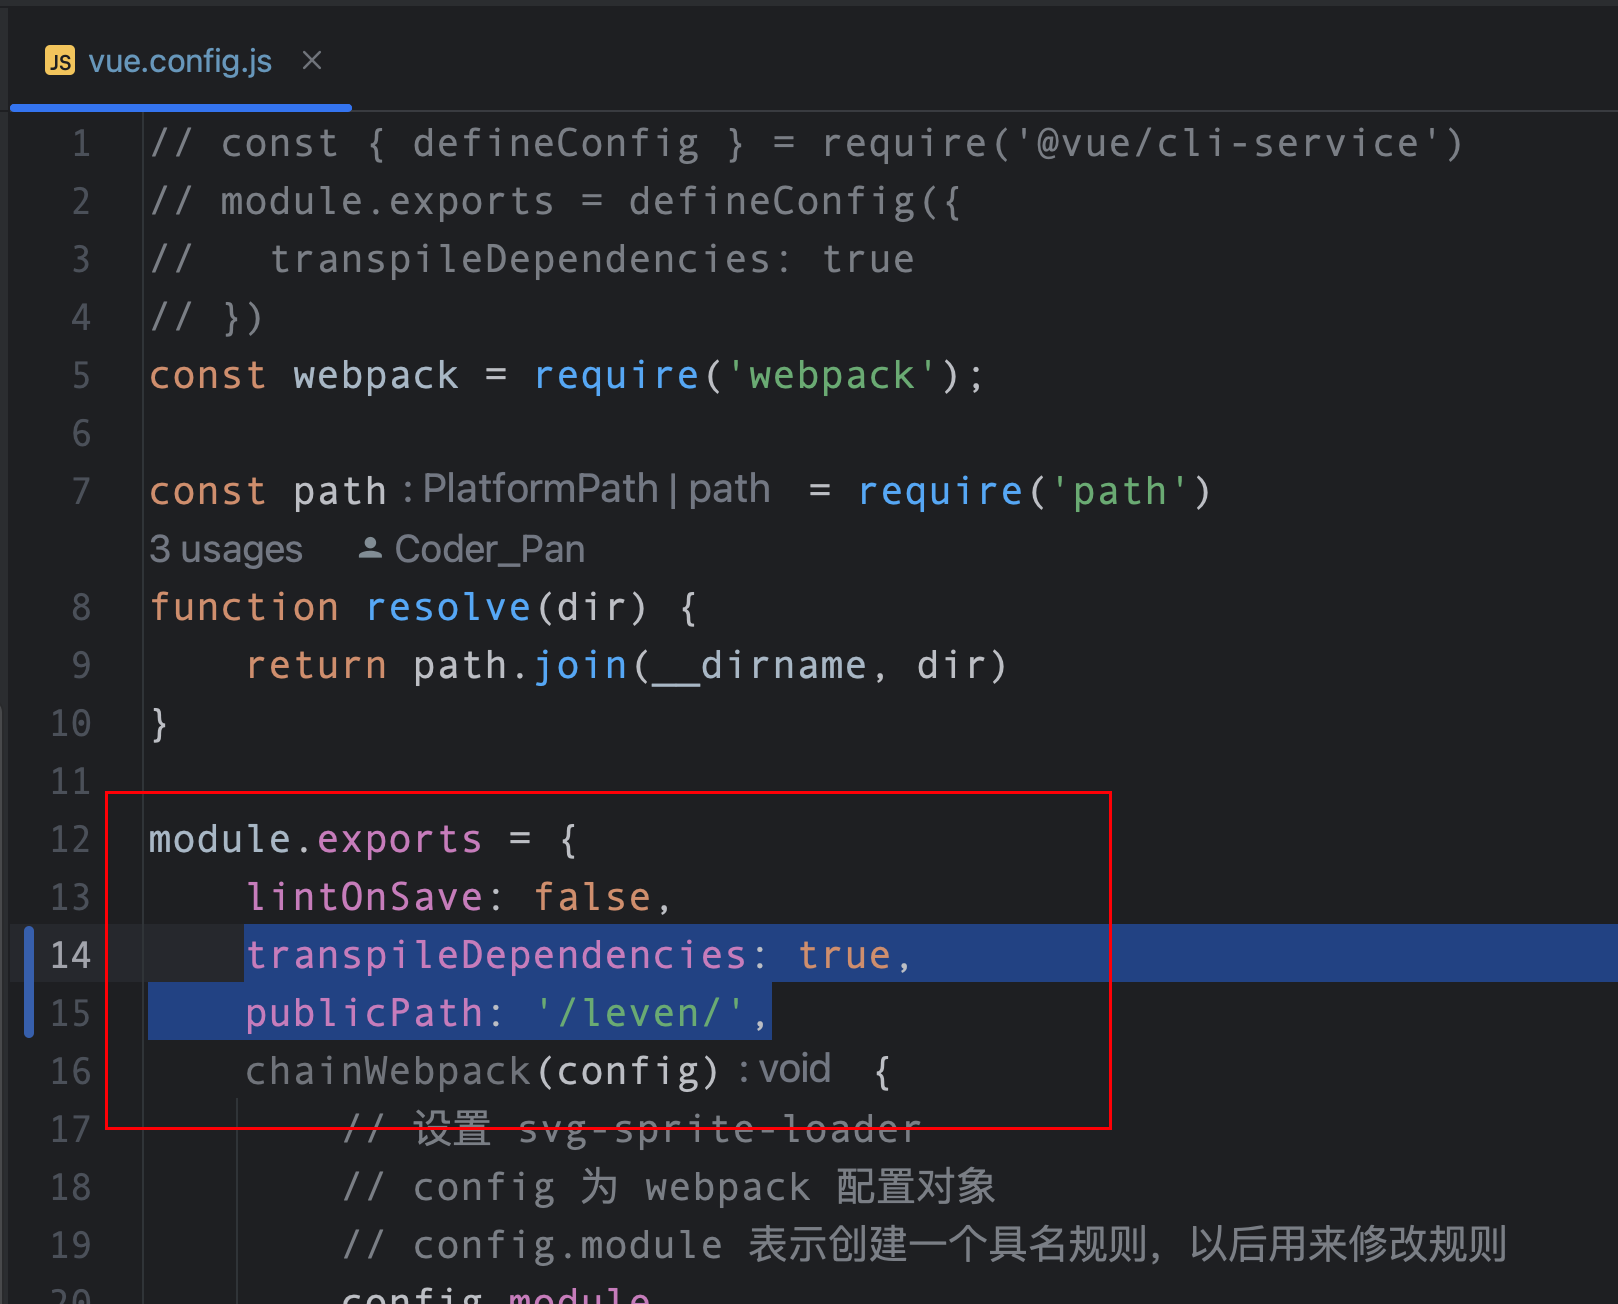
在上面的配置中,我们部署第二个项目的时候,匹配路径是*/leven,默认的vue.config.js中没有对路径进行配置,这时部署到服务器就会出现白屏的问题。
1.导致这种原因,首先判断自己是不是在80端口,部署了一个vue项目
2.如果要在80端口部署多个vue项目,就必须对vue中vue.config.js文件进行修改。
加上如下代码:
    transpileDependencies: true,
    publicPath: '/leven/'
posted on 2023-08-01 15:19 JavaCoderPan 阅读(84) 评论(0) 收藏 举报


 浙公网安备 33010602011771号