【深度学习:基于conda安装python环境 + pytorch安装 + GPU训练配置】
References: https://zh.d2l.ai/chapter_installation/index.html
0 基本环境安装
创建python的虚拟环境
conda create -n deeplearning python=3.8
打开python环境
conda activate deeplearning
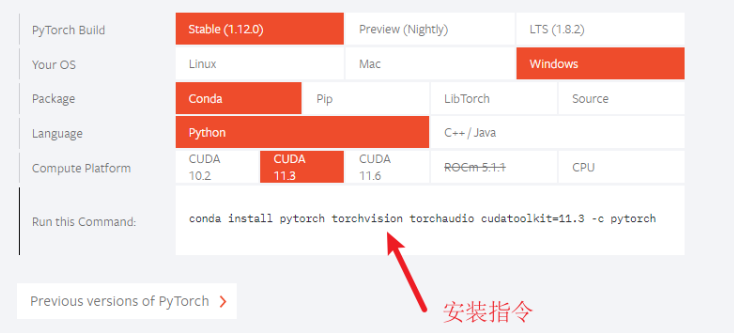
安装pythorch 的cpu 或 Gpu版本,首先要查看cuda的版本,在命令行中输入nvidia-smi,我查询的cuda版本是11.4
到pytorch官网选择对应的cuda安装版本:

pytorch安装成功后,在命令行输入以下代码验证:
点击查看代码
python
import torch
torch.cuda.is_available()

导入d2l包:
点击查看代码
conda activate d2l
pip install d2l=0.17.5
1 Jupyter notebook 管理的配置
1.1 内核管理
安装内核管理包:conda install ipykernel
添加要管理的内核环境,d2l是环境名,其余部分不用改变:python -m ipykernel install --user --name d2l --display-name d2l
查看正在管理的内核列表:
jupyter kernelspec list

内核切换:

1.2 路径管理
jupyter notebook 与 vscode等代码开发环境类似,这里只是对jupyter默认启动的工作目录进行了配置。
查看配置文件所在位置:jupyter-notebook --generate-config

打开配置文件,更改以下部分,添加路径到其中:


