通过nginx 访问 centos 7 服务器上的.Net Core
先安装依赖
# yum -y install pcre-devel openssl openssl-devel
# yum -y install gcc gcc-c++ autoconf automake make 编译器安装
一、安装nginx (地址:https://nginx.org/en/download.html)
新建文件夹保存nginx文件
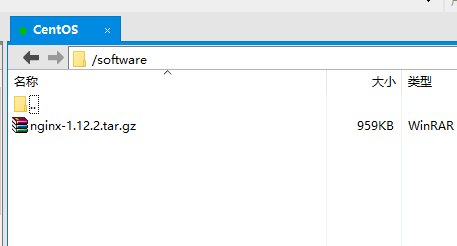
# cd /software
# tar -zxvf nginx-1.12.2.tar.gz 解压
# cd nginx-1.12.2
# ./configure
无误之后
# make
# make install
查询下安装的路径

启动
# cd /usr/local/nginx/sbin/ # ./nginx
开机启用
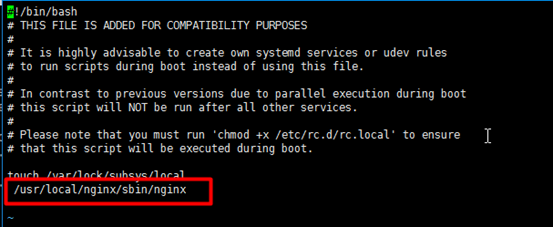
# vi /etc/rc.local
增加一行 /usr/local/nginx/sbin/nginx
测试是否成功
# curl http://localhost

二、将发布的.Net core 绑定域名 和 ip
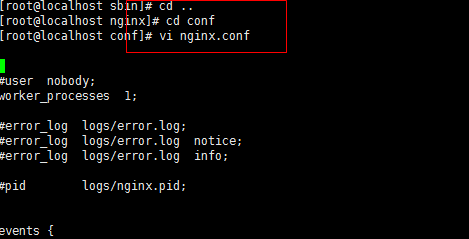
编辑 nginx的配置文件
server {
listen 80;
server_name www.test321.com;
#charset koi8-r;
#access_log logs/host.access.log main;
location / {
root html;
index index.html index.htm;
proxy_pass http://localhost:5000;
proxy_http_version 1.1;
proxy_set_header Upgrade $http_upgrade;
proxy_set_header Connection keep-alive;
proxy_set_header Host $host;
proxy_cache_bypass $http_upgrade;
}
主要修改如图

保存后重启
# cd /usr/local/nginx/sbin
# ./nginx -s reload
检测一下,已经变成我们发布的页面了
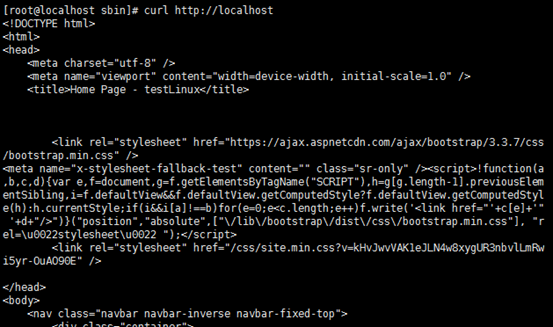
为了能够用域名 www.test321.com 访问
# sudo vi /etc/host
增加一行 www.test321.com 127.0.0.1
# sudo vi /etc/hosts
增加一行 127.0.0.1 www.test321.com
esc、:wq保存退出
# curl http://www.test321.com 也可以访问core页面了
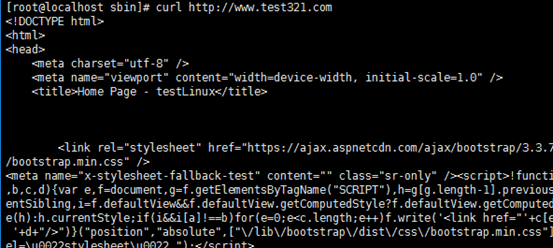
此时还不能通过ip远程访问 .net core 页面,被防火墙禁了,需要开放端口

--zone #作用域--add-port=80/tcp #添加端口,格式为:端口/通讯协议--permanent #永久生效,没有此参数重启后失效
# firewall-cmd --zone=public --add-port=80/tcp --permanent
重启
# firewall-cmd --reload

到这边的话就可以远程ip访问了,域名访问的话需要解析,或者在客户端host。


