python: 安装DeOldify库:黑白图片上色(Python 3.7.15)
一,下载deoldify
1,官网:
https://deoldify.ai/
2,项目地址:
https://github.com/jantic/DeOldify
3,用git下载到本地
[lhdop@blog soft]$ git clone https://github.com/jantic/DeOldify.git DeOldify
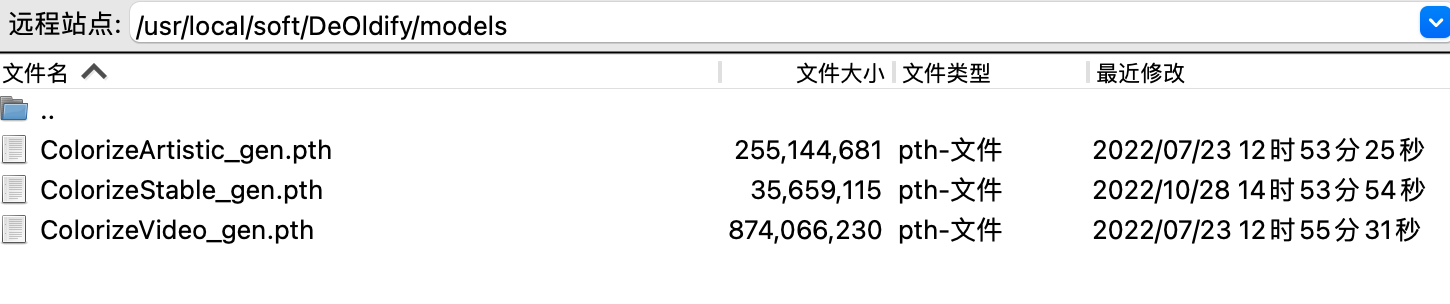
4,下载用到三个权重文件:
[lhdop@blog DeOldify]$ mkdir models
[lhdop@blog DeOldify]$ cd models/
[lhdop@blog models]$ wget https://data.deepai.org/deoldify/ColorizeArtistic_gen.pth
[lhdop@blog models]$ wget https://data.deepai.org/deoldify/ColorizeVideo_gen.pth
下面这个需要梯子,下载完后上传
https://www.dropbox.com/s/usf7uifrctqw9rl/ColorizeStable_gen.pth?dl=0
如图:
5,安装需要用到的依赖项
[lhdop@blog DeOldify]$ pip3 install -r requirements.txt
6,安装依赖项时,遇到报错的处理:
1,No matching distribution found for Pillow==9.1.0
参见:
说明:刘宏缔的架构森林是一个专注架构的博客,
网站:https://blog.imgtouch.com
本文: https://blog.imgtouch.com/index.php/2023/06/03/python-an-zhuang-deoldify-ku-hei-bai-tu-pian-shang-se/
对应的源码可以访问这里获取: https://github.com/liuhongdi/
或: https://gitee.com/liuhongdi
说明:作者:刘宏缔 邮箱: 371125307@qq.com
二,编写python代码:
setColor.py
from deoldify import device
from deoldify.device_id import DeviceId
#choices:  CPU, GPU0...GPU7
#device.set(device=DeviceId.GPU0)
device.set(device=DeviceId.CPU)
from deoldify.visualize import *
import sys
from pathlib import Path
plt.style.use('dark_background')
torch.backends.cudnn.benchmark=True

import warnings
warnings.filterwarnings("ignore", category=UserWarning, message=".*?Your .*? set is empty.*?")

colorizer = get_image_colorizer(artistic=True)

render_factor=35

source_path = sys.argv[1]

result_path = sys.argv[2]

result = colorizer.plot_transformed_image(path=source_path, render_factor=render_factor, compare=True)
if result is not None:
    result.save(result_path,quality=95)
    result.close
三,测试效果
命令行运行
[lhdop@blog DeOldify]$ python3 setColor.py /home/lhdop/imgblack/woman.webp /home/lhdop/imgblack/womanc.jpg
NumExpr defaulting to 4 threads.
/usr/local/soft/python3.7.15/lib/python3.7/site-packages/torch/utils/data/dataloader.py:490: UserWarning:
This DataLoader will create 8 worker processes in total. Our suggested max number of worker in current system is 4,
which is smaller than what this DataLoader is going to create. Please be aware that excessive worker creation might
get DataLoader running slow or even freeze, lower the worker number to avoid potential slowness/freeze if necessary.
  cpuset_checked))
查看图片效果:原图:

上色效果:

原图:

上色后:

四,查看python的版本:
[lhdop@blog DeOldify]$ python3 --version
Python 3.7.15

 浙公网安备 33010602011771号