
智能合约全栈开发示例(一)-hardhat、solidity和react开发
交流微博:https://weibo.com/u/2434823180
创建 react 工程
先通过 npx 创建 react 工程,工程名称 full-stack-dapp
npx create-react-app full-stack-dapp
然后进入 full-stack-dapp 目录
npm run start
看到 localhost:3000 页面, 说明安装没有问题
安装并创建 hardhat 工程
安装过程:https://www.cnblogs.com/apenote/p/16902269.html
在 full-stack-dapp 目录下在创建工程 npx hardhat,一路回车
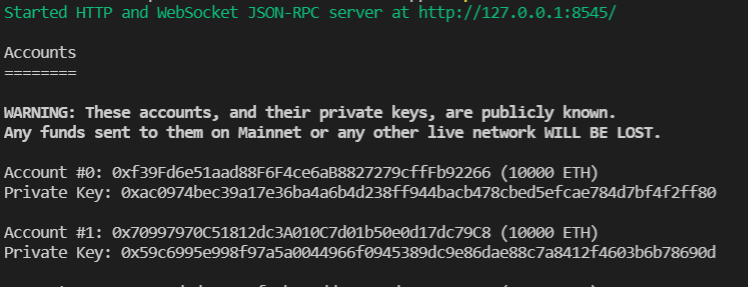
查看节点:
npx hardhat node
可以看到如下节点
修改hardhat.config.js
添加 path 和 networks 参数
module.exports = {
  solidity: "0.8.17",
  path: {
    artifacts: './src/artifacts',
  },
  networks: {
    hardhat: {
      chainId: 1337,
    },
  }
};
合约代码:
// SPDX-License-Identifier: UNLICENSED
pragma solidity ^0.8.9;

// Uncomment this line to use console.log
// import "hardhat/console.sol";
import "hardhat/console.sol";
contract Greeter {

    string private greeting;

    constructor (string memory _greeting)
    {
        console.log('Deploying a Greeter:', _greeting);
        greeting = _greeting;
    }

    function getGreeting() public view returns (string memory)
    {
        return greeting;
    }

    function setGreeting(string memory _newGreeting ) public
    {
        console.log('Changing greeting from ');
        greeting = _newGreeting;
    }

}
部署文件 deploy.js
const hre = require("hardhat");

async function main() {

  const Greeter = await hre.ethers.getContractFactory("Greeter");
  const greeter = await Greeter.deploy("Hello, Hardhat!!s");

  await greeter.deployed();

   console.log(
   "Greeter deployed to :", greeter.address );
}


main().catch((error) => {
  console.error(error);
  process.exitCode = 1;
});
运行部署(本地部署)
npx hardhat run .\scripts\deploy.js --network localhost
运行完成


 浙公网安备 33010602011771号