CentOS 安装Weblogic并配置 domain
CentOS 安装Weblogic并配置 domain
1、创建用户组
[root@localhost weblogic]# groupadd weblogic
2、创建 tmn 用户
[root@localhost weblogic]# adduser tmn
3、设置 tmn 用户密码
> [root@localhost weblogic]# passwd tmn
Changing password for user tmn.
New password:
BAD PASSWORD: The password is shorter than 8 characters
Retype new password:
passwd: all authentication tokens updated successfully.
[root@localhost weblogic]#
4、切换至 tmn 用户
[root@localhost opt]# su - tmn
[tmn@localhost ~]$
5、进入 wls1036_generic.jar 安装包目录
[tmn@localhost ~]$ cd /opt/weblogic/
[tmn@localhost weblogic]$ ll
total 1043464
-rwxrwxrwx 1 root root 1068506707 Dec 13 10:45 wls1036_generic.jar
[tmn@localhost weblogic]$ pwd
/opt/weblogic
[tmn@localhost weblogic]$
6、检查 java 环境
[tmn@localhost weblogic]$ java -version
java version "1.8.0_144"
Java(TM) SE Runtime Environment (build 1.8.0_144-b01)
Java HotSpot(TM) 64-Bit Server VM (build 25.144-b01, mixed mode)
7、安装 weblogic
[tmn@localhost weblogic]$ java -jar wls1036_generic.jar
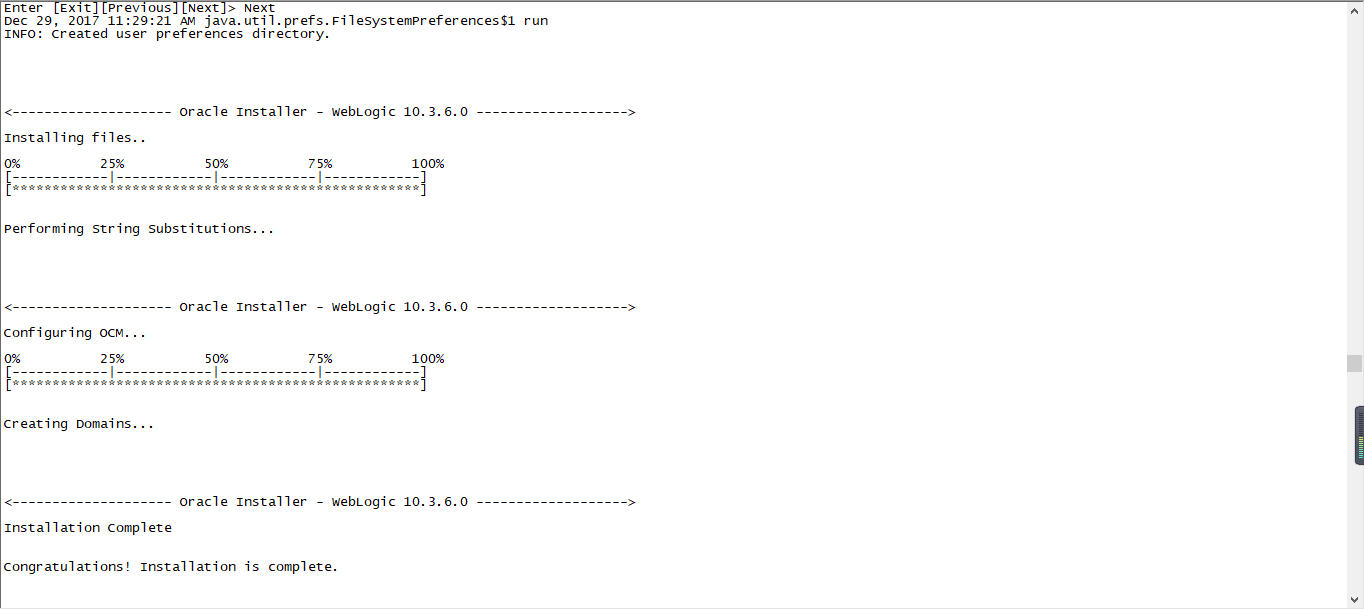
Enter [Exit][Next]> Next
Enter new Middleware Home OR [Exit][Previous][Next]> Next
Enter index number to select OR [Exit][Previous][Next]> 3
Enter [Yes][No]? No
Enter [Yes][No]? Yes
Enter index number to select OR [Exit][Previous][Next]> Next
Enter index number to select OR [Exit][Previous][Next]> Next
Enter 1 to add or >= 2 to toggle selection OR [Exit][Previous][Next]> Next
Enter index number to select OR [Exit][Previous][Next]> Next
Enter [Exit][Previous][Next]> Next
Press [Enter] to continue or type [Exit]>
8、进入 weblogic 配置脚本目录,准备执行 config.sh 脚本
[tmn@localhost bin]$ cd /home/tmn/Oracle/Middleware/wlserver_10.3/common/bin
[tmn@localhost bin]$
[tmn@localhost bin]$ ll
total 112
-rwxr-x--- 1 tmn tmn 22801 Dec 29 11:30 commEnv.sh
-rwxr-x--- 1 tmn tmn 2124 Dec 29 11:30 config_builder.sh
-rwxr-x--- 1 tmn tmn 2276 Dec 29 11:30 config.sh
-rwxr-x--- 1 tmn tmn 2581 Dec 29 11:30 pack.sh
-rwxr-x--- 1 tmn tmn 2150 Dec 29 11:30 setPatchEnv.sh
-rwxr-x--- 1 tmn tmn 4084 Dec 29 11:30 startDerby.sh
-rwxr-x--- 1 tmn tmn 4090 Dec 29 11:30 startManagedWebLogic.sh
-rwxr-x--- 1 tmn tmn 1450 Dec 29 11:30 stopDerby.sh
-rwxr-x--- 1 tmn tmn 2089 Dec 29 11:30 unpack.sh
-rwxr-x--- 1 tmn tmn 3300 Dec 29 11:30 upgrade.sh
-rwxr-x--- 1 tmn tmn 31219 Dec 29 11:29 wlscontrol.sh
-rwxr-x--- 1 tmn tmn 13740 Dec 29 11:29 wlsifconfig.sh
-rwxr-x--- 1 tmn tmn 786 Dec 29 11:30 wlst.sh
9、执行 config.sh 配置脚本,创建 domain
[tmn@localhost bin]$ ./config.sh
Enter index number to select OR [Exit][Next]> Next
Enter index number to select OR [Exit][Previous][Next]> Next
Enter number exactly as it appears in brackets to toggle selection OR [Exit][Previous][Next]> Next
Enter value for "Name" OR [Exit][Previous][Next]> Next
Enter new Target Location OR [Exit][Previous][Next]> Next
Enter option number to select OR [Exit][Previous][Next]> 2
Enter new *User password: OR [Exit][Reset][Accept]> tjyd@123
Enter option number to select OR [Exit][Previous][Next]> 3
Enter new *Confirm user password: OR [Exit][Reset][Accept]> tjyd@123
Enter option number to select OR [Exit][Previous][Next]> Next
Enter index number to select OR [Exit][Previous][Next]> Next
Enter index number to select OR [Exit][Previous][Next]> Next
Enter index number to select OR [Exit][Previous][Next]> 1
Enter index number to select OR [Exit][Previous][Next]> Next
Enter option number to select OR [Exit][Previous][Next]> Next
10、启动 domain,验证是否安装成功
进入创建的 domain 目录
[tmn@localhost ~]$ cd /home/tmn/Oracle/Middleware/user_projects/domains/base_domain/bin
启动 domain
[tmn@localhost ~]$ nohup ./startWebLogic.sh &
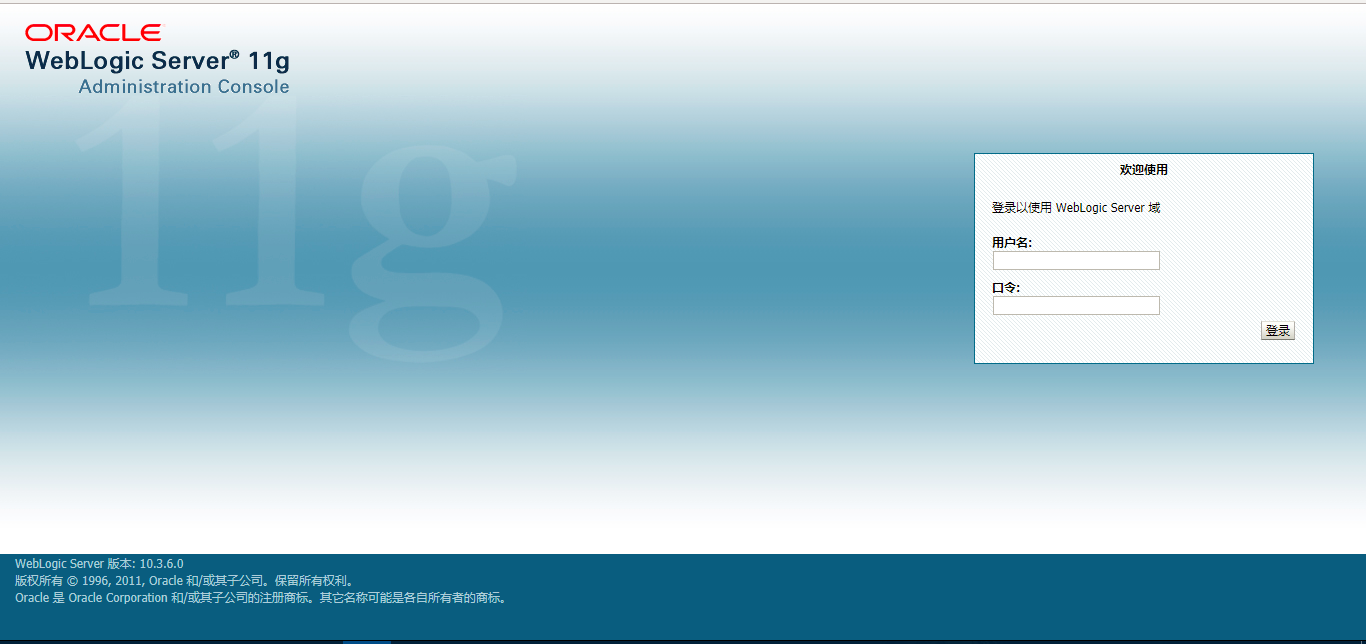
登录网址 http://192.168.116.129:7001/console/login/LoginForm.jsp 验证


