Zabbix的基础使用
一、基础使用
1.1. 监控的添加
1)添加主机组➡️➡️添加主机➡️➡️添加监控项➡️➡️根据监控项目添加图形或者触发器(建议使用模板);
2)主机添加的接口类别:
1-AGENT:Zabbix提供agent客户端,适配于Linux、Windows等;
2-SNMP:使用SNMP协议监控服务器、交换机、路由器等;
3-JMX:监控JAVA进程;
4-IPMI:监控硬件信息;
2.1. 模板的使用
1)系统自带模板;
2)自定义模板:创建模板属于某个主机组,然后创建监控项目(图形、触发器);
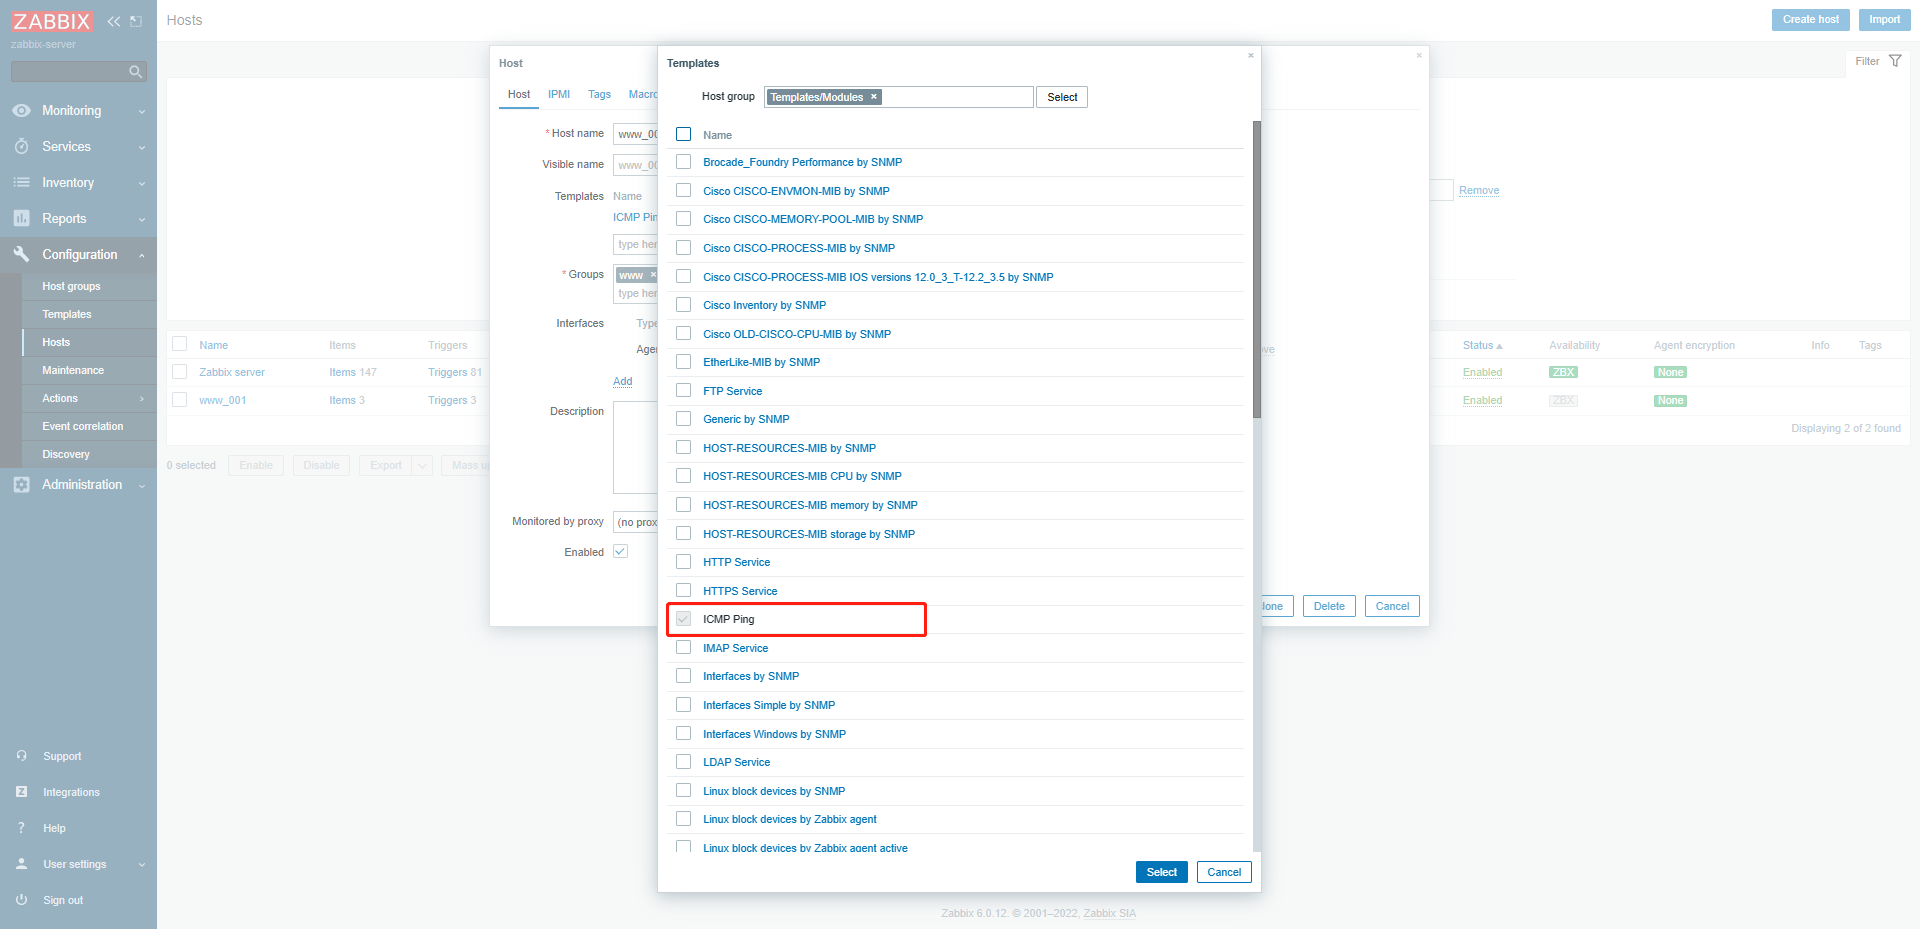
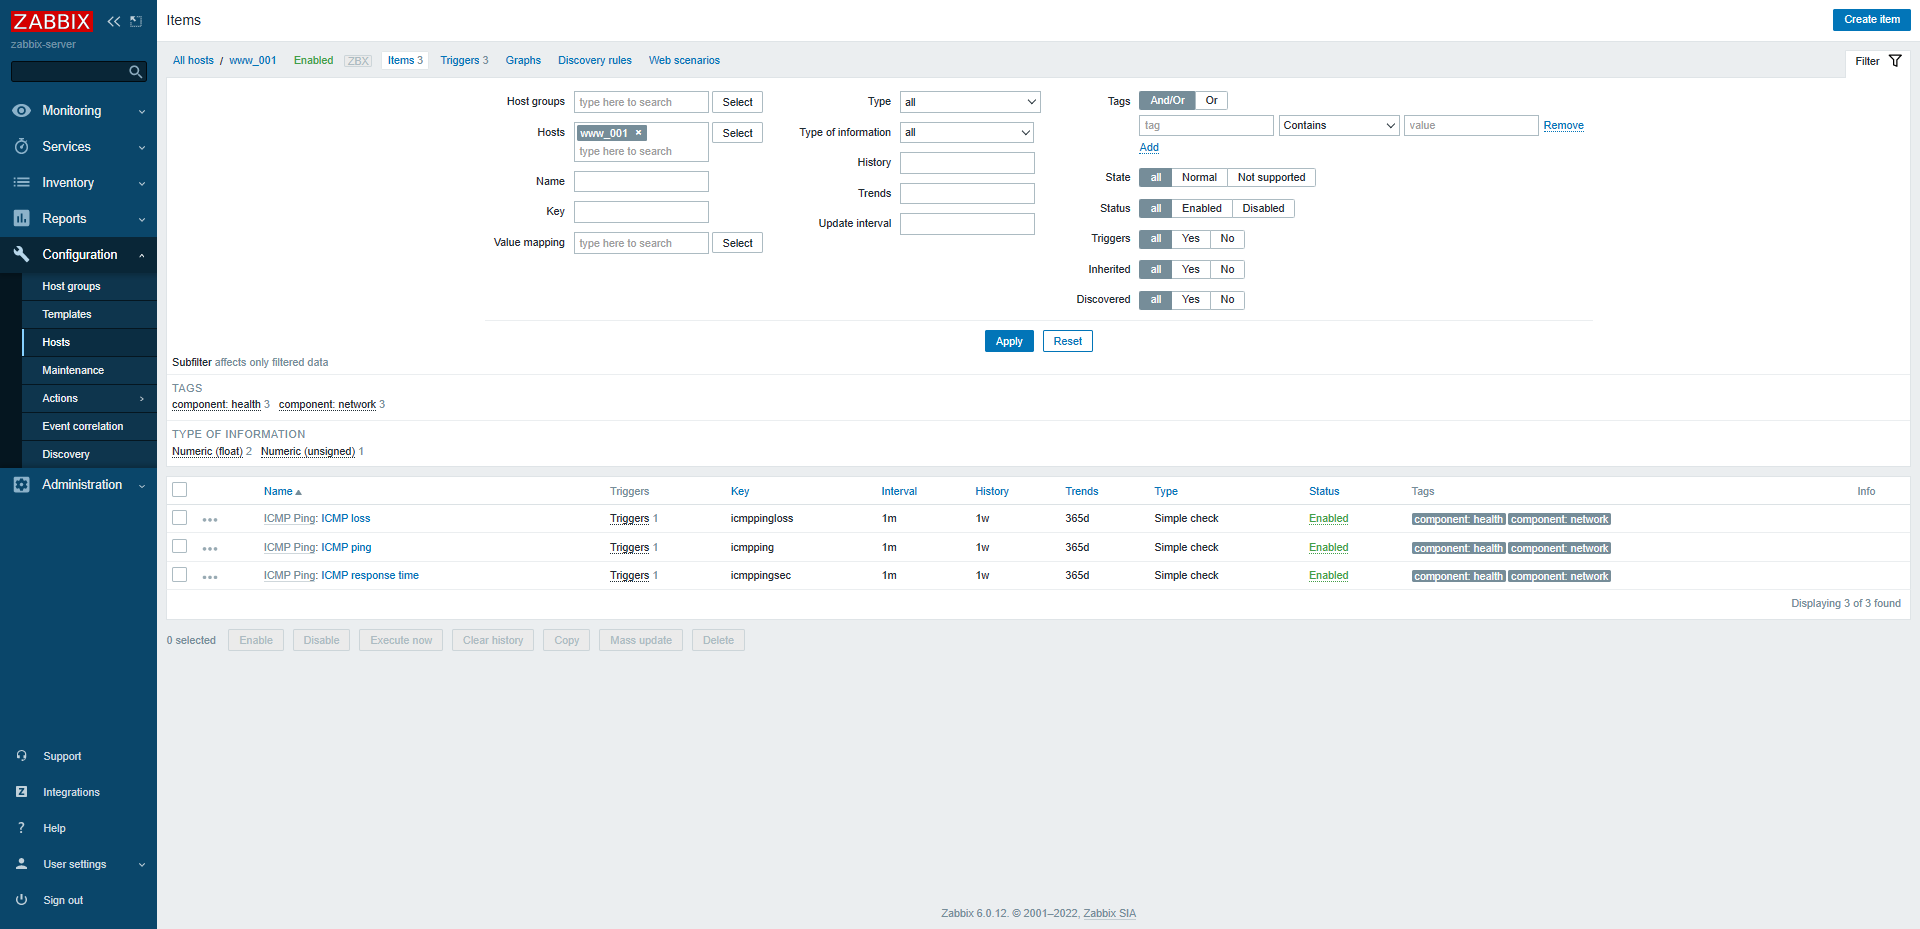
3.1. Zabbix 配置告警(邮件及钉钉)
-
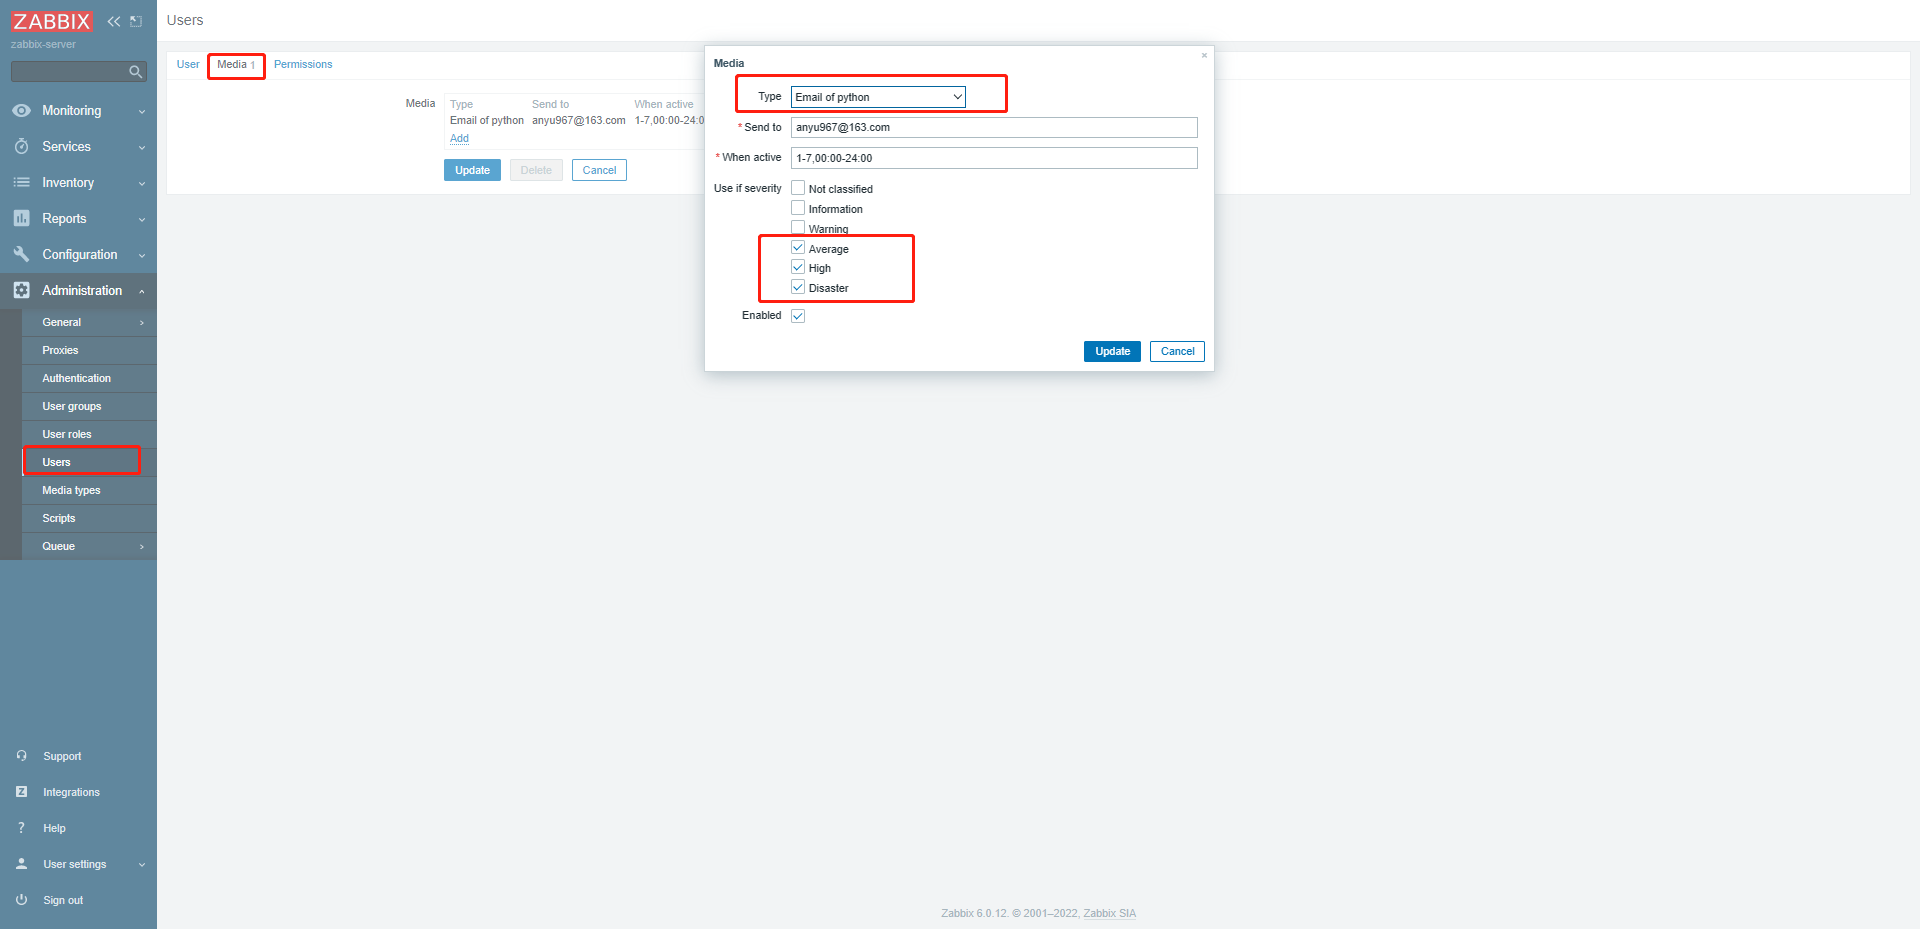
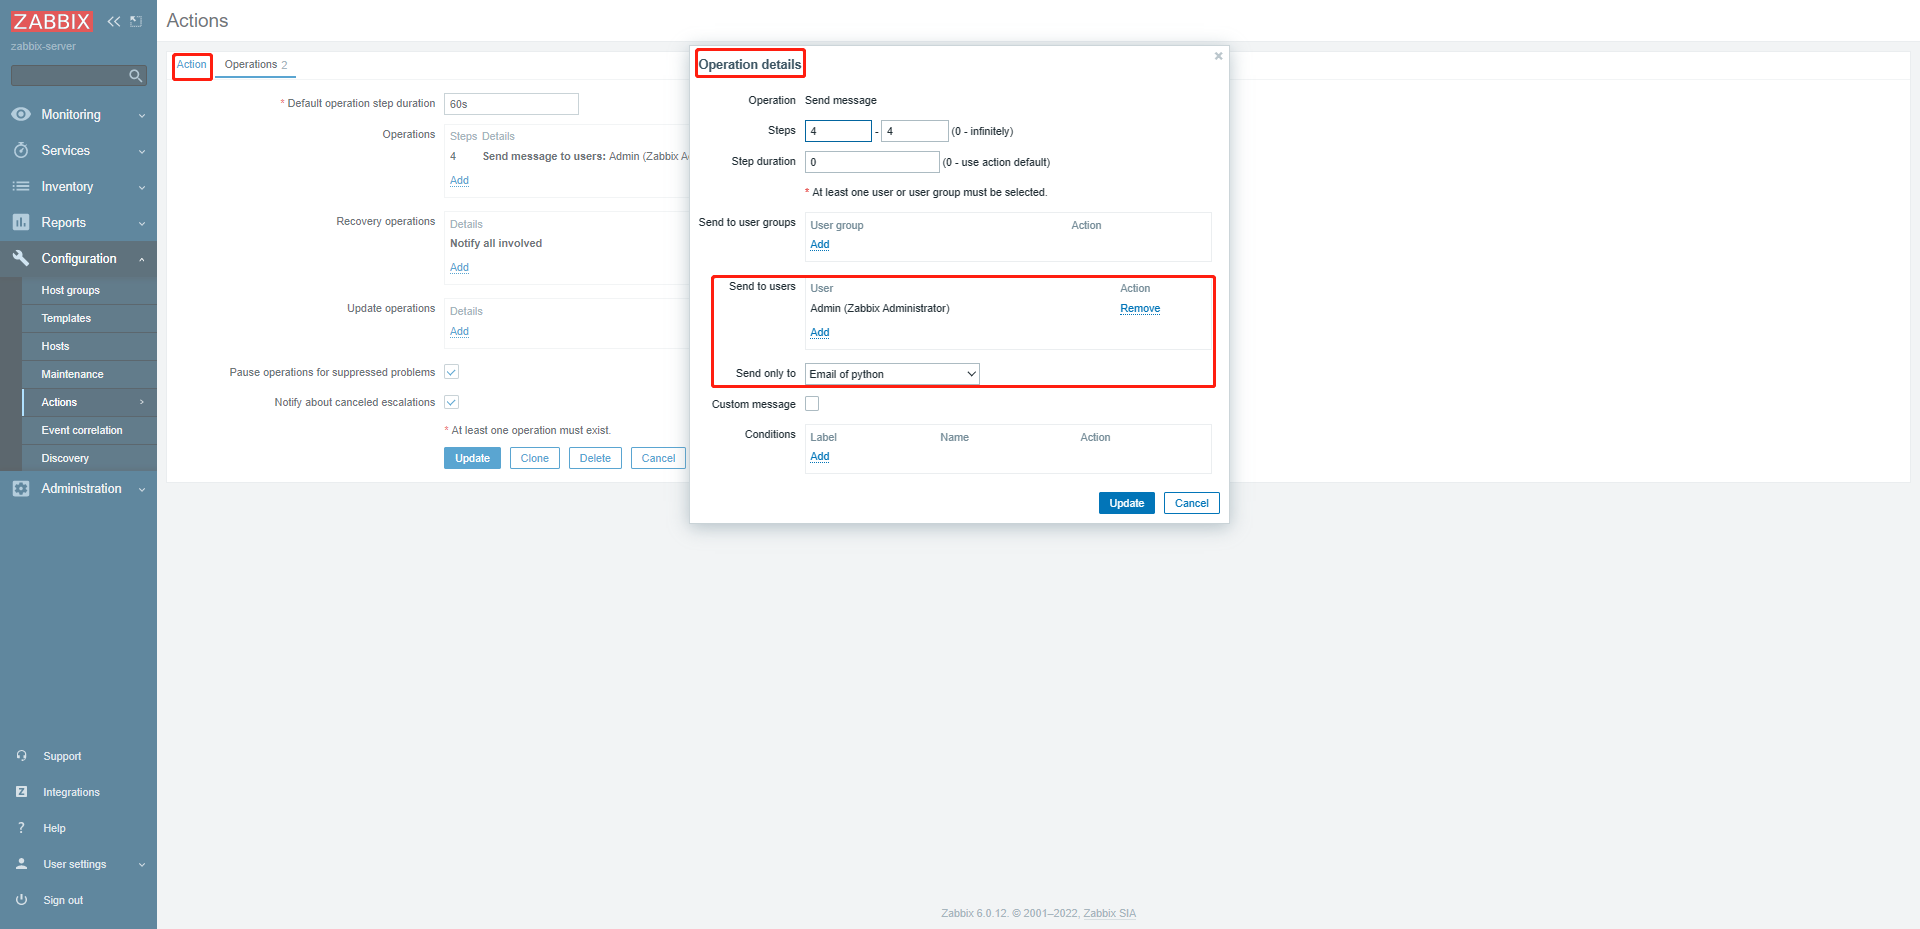
1、邮件告警配置(配置告警媒介-配置触发器-配置动作Action)
- 1)新建脚本➡️➡️告警媒介里配置(
消息模板{HOST.NAME1} {HOST.IP1})➡️➡️给用户配置告警媒介; - 2)在模板里创建触发器
- 3)设置动作action(延迟告警发送)(
{EVENT.NAME} ({HOST.NAME1} {HOST.IP1}));

# 注意告警脚本的配置路径
[root@harbor alertscripts]# cat ./zabbix_sendmail.py
#!/usr/bin/python
#-*-coding:utf-8-*-
from email.mime.text import MIMEText
from email.header import Header
from smtplib import SMTP_SSL
import sys

smtpaddr = 'smtp.163.com'
myemail = 'xxxxx@163.com'
f = open('/home/application/zabbix/.passwd', 'r')
password = f.readline().strip()

recvmail = sys.argv[1]    # 接收者
subject = sys.argv[2]     # 主题
content = sys.argv[3]     # 内容

msg = MIMEText("""%s"""%(content), 'plain', 'utf-8')    # 内容
msg['Subject'] = Header(subject, 'utf-8').encode()      # 主题
msg['From'] = myemail    # 发送者
msg['To'] = recvmail     # 接收者

try:
  smtp = SMTP_SSL(smtpaddr)
  smtp.login(myemail, password)
  smtp.sendmail(myemail, recvmail.split(','), msg.as_string())
  smtp.quit()
  print('success')
except Exception as e:
  print('fail:'+str(e))

[root@harbor alertscripts]# chmod +x ./zabbix_sendmail.py
[root@harbor alertscripts]# ./zabbix_sendmail.py xxxx@163.com 'zabbix disk' 'content: disk > 90%'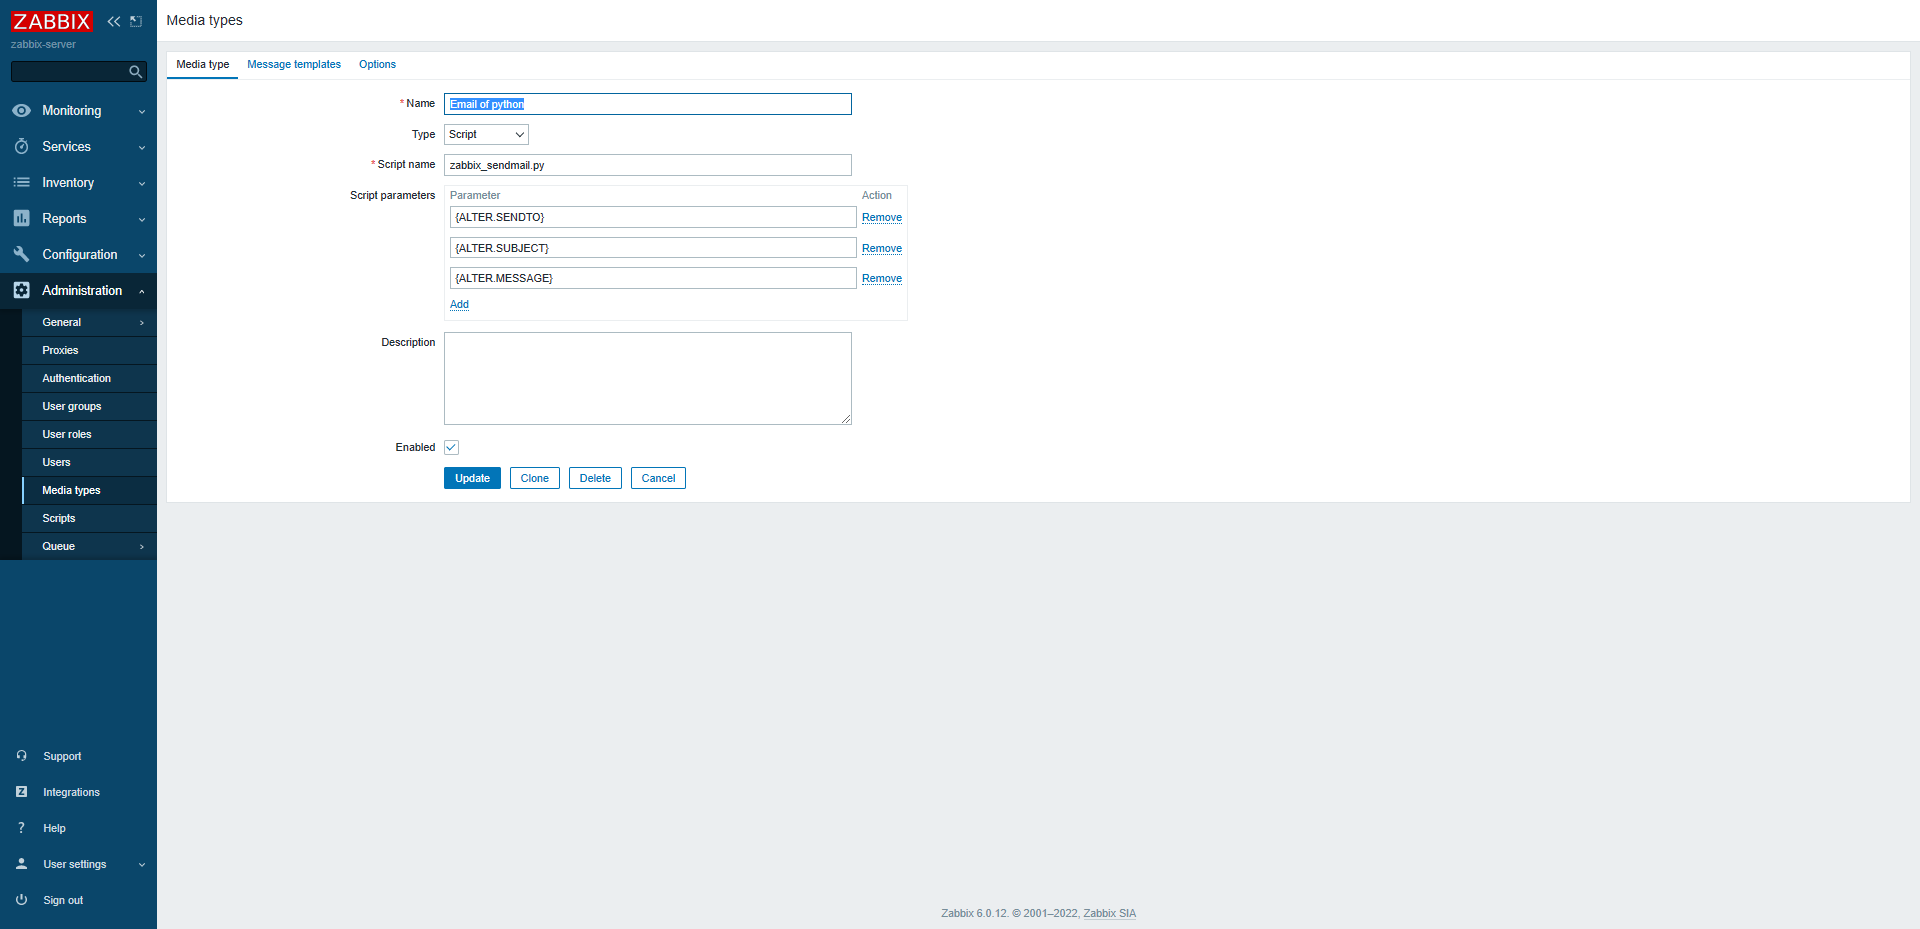
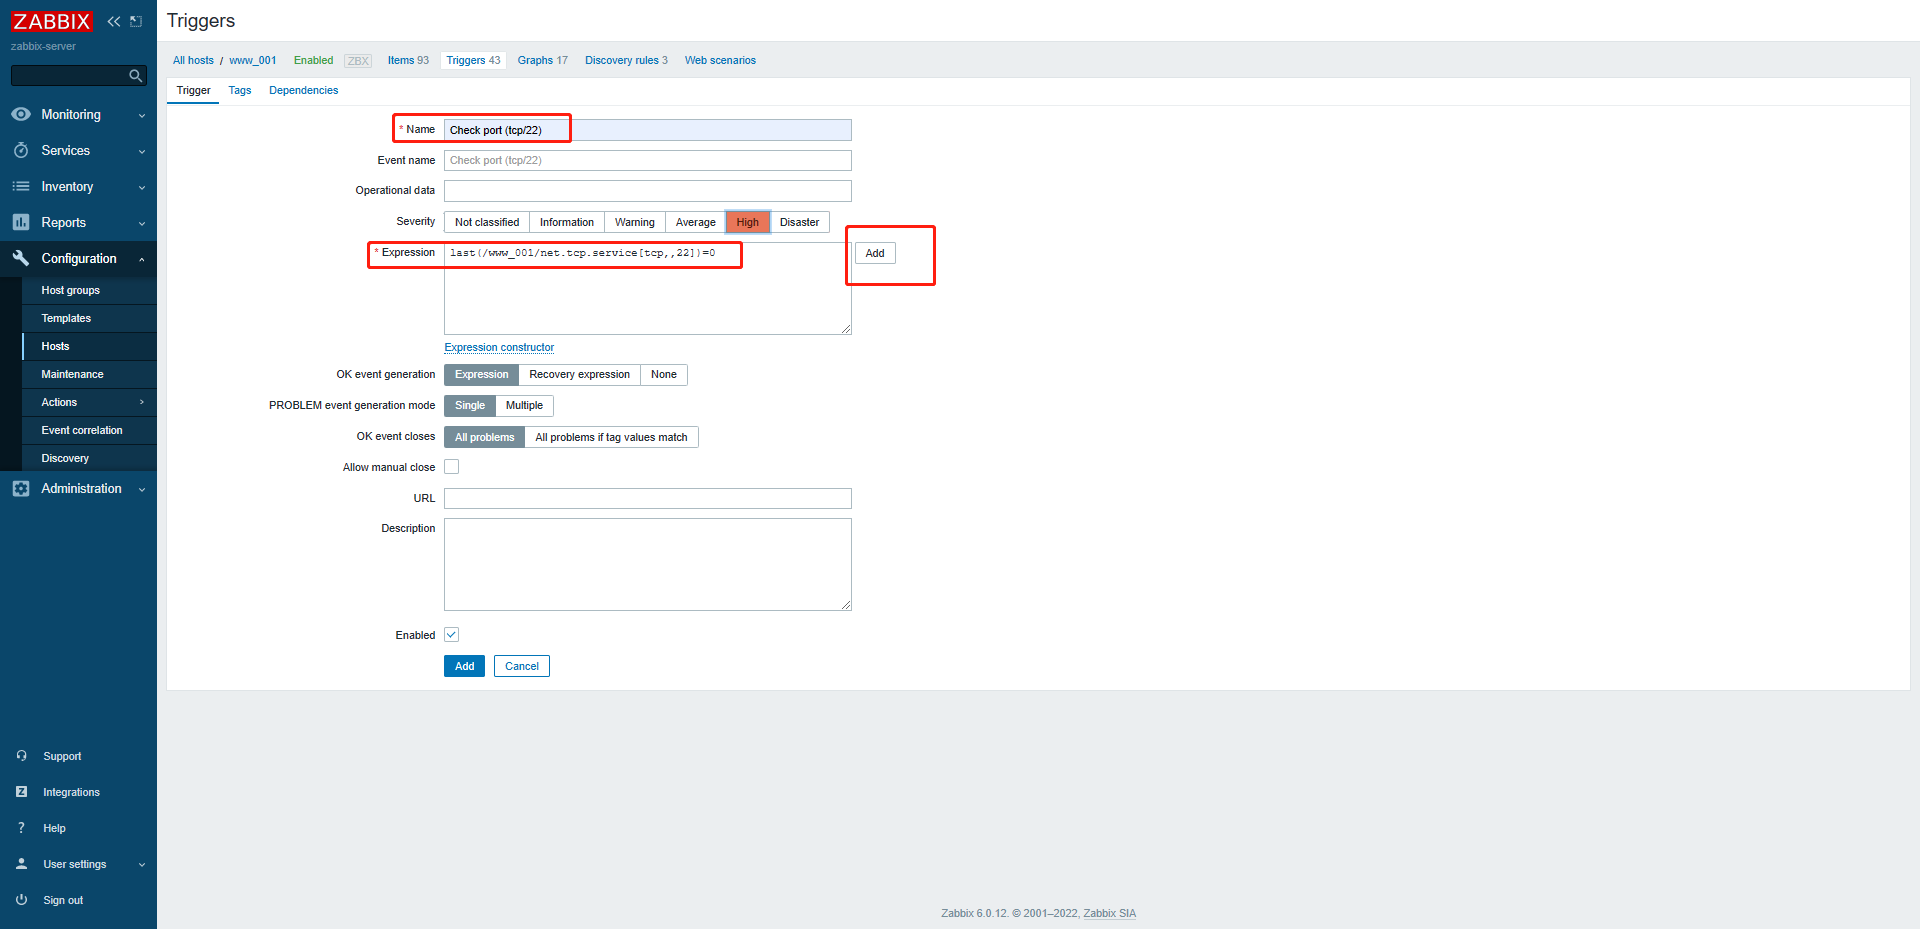
- 1)新建脚本➡️➡️告警媒介里配置(
-
2、微信告警配置
Registration and Login -Help Center - WeCom
#!/usr/bin/python #- * -coding: utf - 8 - * - import json import sys import urllib, urllib2 agentid = 'xxx' corpid = 'xxx' corpsecret = 'xxx' # get tocken gettoken_url = 'https://qyapi.weixin.qq.com/cgi-bin/gettoken?corpid=' + corpid + '&corpsecret=' + corpsecret token_file = urllib2.urlopen(gettoken_url) token_data = token_file.read().decode('utf-8') token_json = json.loads(token_data) my_token = token_json['access_token'] # send wechart touser = sys.argv[1] # many user: 'zhangsan|wangwu' content = sys.argv[2] # content post_content = { "touser": touser, "agentid": agentid, "msgtype": "text", "text": { "content": content, } } json_content = json.dumps(post_content) url = 'https://qyapi.weixin.qq.com/cgi-bin/message/send?access_token=' + my_token response = urllib2.urlopen(url, json_content) print(response.read().decode('utf-8')) -
3、钉钉告警配置
1)通讯录里的userid要用到;
2)工作台自建应用;
[root@harbor alertscripts]# cat ./zabbix_dingding.py
#!/usr/bin/python
# -*- coding:utf-8 -*-
import json, urllib2, sys

appkey = 'xxxx'
appsecret = 'xxxx'
agentid = 'xxxx'
touser = sys.argv[1]
content = sys.argv[2]

tokenurl = 'https://oapi.dingtalk.com/gettoken?corpid=' + appkey + "&corpsecret=" + appsecret
tokenresponse = urllib2.urlopen(tokenurl)
tokenresult = json.loads(tokenresponse.read().decode('utf-8'))
token = tokenresult['access_token']

sendurl = 'https://oapi.dingtalk.com/message/send?access_token=' + token
headers = {
  'Content-Type': 'application/json'
}
main_content = {
  "touser": touser,
  "toparty": "",
  "agentid": agentid,
  "msgtype": "text",
  "text": {
    "content": content
  }
}
main_content = json.dumps(main_content)
req = urllib2.Request(sendurl, headers=headers)
response = urllib2.urlopen(req, main_content.encode('utf8'))
print(response.read().decode('utf-8'))
本文来自博客园,作者:anyu967,转载请注明原文链接:https://www.cnblogs.com/anyu967/articles/17324345.html


